Zoo Animal Cupcakes
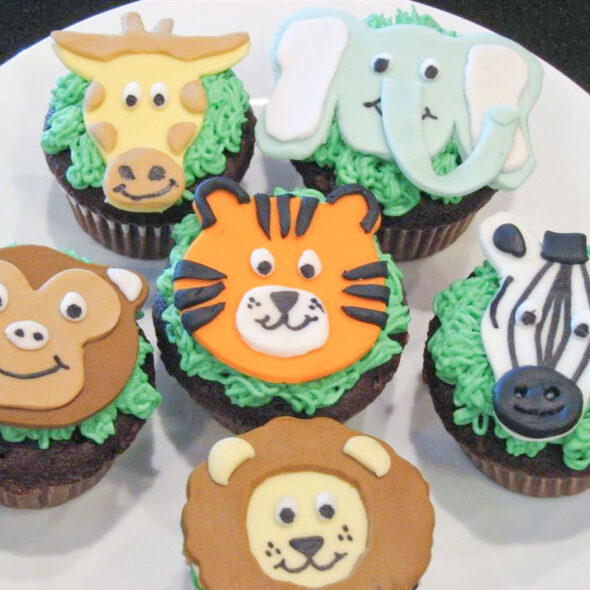
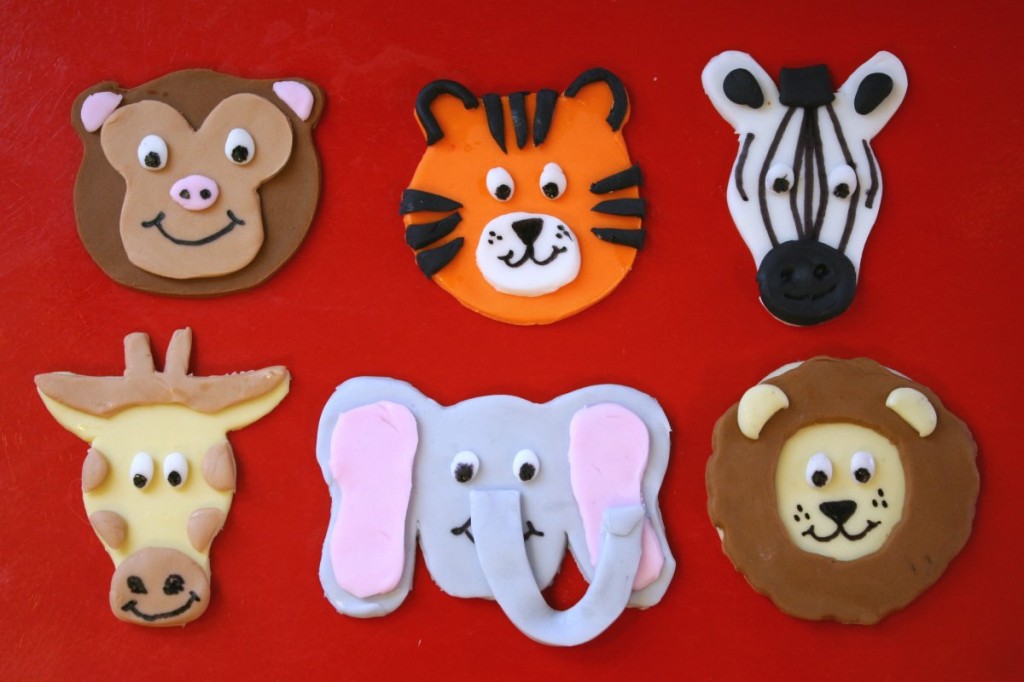
Jo's daughter's recent birthday party, which was held at the zoo, obviously had a zoo animal theme. In keeping with that theme, I made her some zoo animal toppers out of fondant to put on cupcakes to serve to the kids. I loved the result almost as much as the kids did. I think my favorite is the giraffe, but the birthday girl loved the monkey best!
The animals are created using fondant, which is sort of like frosting in the form of clay. It's generally too complicated to make from scratch, especially when pre-made fondant is so readily available in stores. Fondant is easy to roll out and cut into shapes, and is completely edible. It's also completely fun!
Working with fondant
Before we get into the details of the cupcakes, here are a few tips for working with fondant.
- Keep wrapped when not in use. Fondant dries out quickly, so only take as much out of the package as you need to work with at a time. Keep any fondant that you're not working with in a plastic bag or wrapped in plastic to protect it.
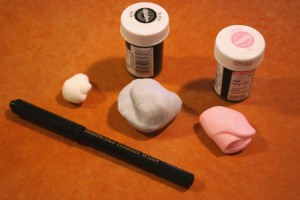
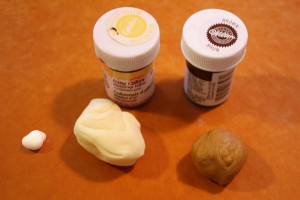
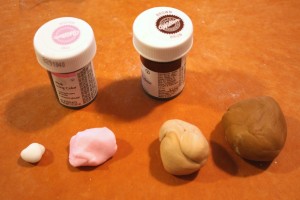
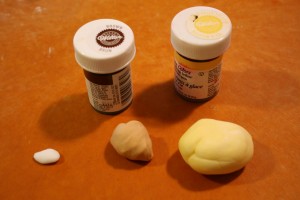
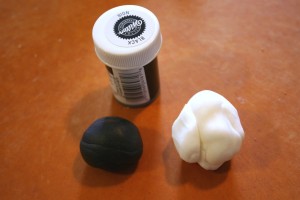
- Use paste food coloring. To make different colors of fondant, just mix in some paste food coloring
, a little at a time. Don't use the liquid stuff, because it will thin the fondant down too much.
- Dust your rolling surface with cornstarch. When rolling fondant out with a rolling pin, it will often stick to your work surface. To avoid this, put a very light dusting of cornstarch on the surface before rolling the fondant out.
- Adhere with water. To stick one piece of fondant to another, all you need is a little dab of water between the pieces. Keep a small bowl of water nearby to dip your fingertips in to "glue" pieces together.
The pattern
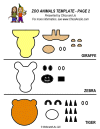
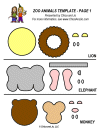
To make it easier for you to cut out the fondant pieces into the shapes needed for each animal, we've created free downloadable patterns for you!
- Page 1 has patterns for the lion, elephant, and monkey
- Page 2 has patterns for the giraffe, zebra, and tiger
For the larger pieces (like the faces), you can cut out the pattern and place it on the rolled fondant, then use a paring knife to trace around the shape. For the smaller pieces (like the eyes), it may be easier to leave the patterns uncut, and form the fondant by hand, then place the pieces on the patterns to make sure they are the right size.
Now let's get started!
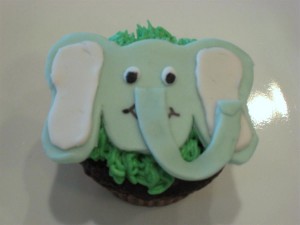
The elephant
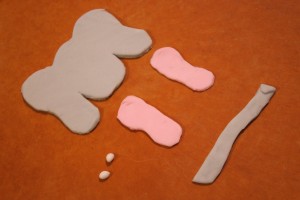
For the elephant, you'll need fondant tinted gray and pink, as well as a little bit of white. Cut the face and trunk out of gray and the ears out of pink. Form two little eyes out of white.
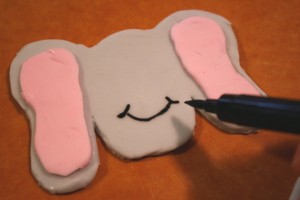
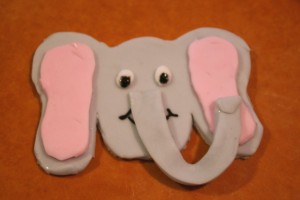
Place the ears onto the face then use a black food coloring marker to draw on a mouth. Add the trunk and curve it up. Add the eyes and use the marker to draw on the pupils.
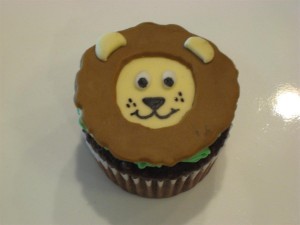
The lion
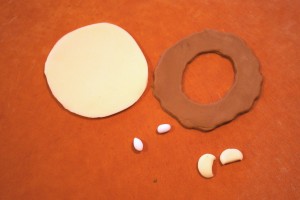
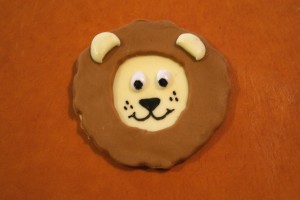
For the lion, you'll need fondant tinted a soft yellow and a medium brown, as well as a little bit of white. Cut the face and ears out of yellow and cut the mane out of brown. Form two little eyes out of white.
Place the mane on the face and attach the ears on top. Use the black food coloring marker to draw on a nose, mouth, and whiskers. Add the eyes and use the marker to draw on pupils.
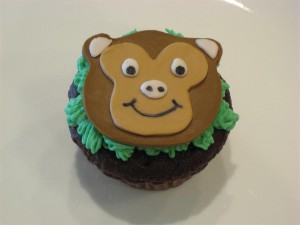
The monkey
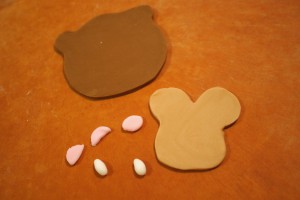
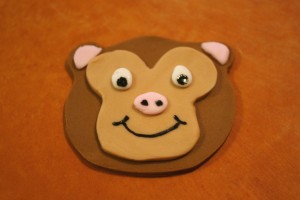
For the monkey, you'll need fondant tinted pink, tan, and brown, as well as a little bit of white. Cut the head out of brown, the face out of tan, and the ears and nose out of pink. Form two little eyes out of white.
Place the face on the head and attach the ears and nose. Use the black food coloring marker to draw on the nostrils and mouth. Add the eyes and use the marker to draw on pupils.
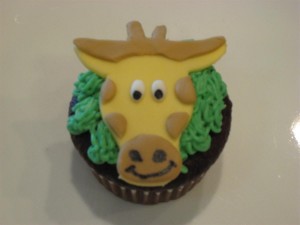
The giraffe
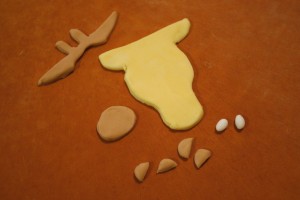
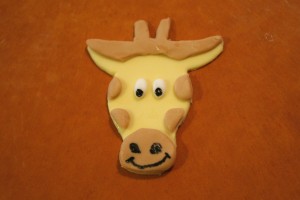
For the giraffe, you'll need fondant tinted a soft yellow and tan, as well as a little bit of white. Cut the head out of yellow and cut the ears, nose, and spots out of tan. Form two little eyes out of white.
Place the ears, nose, and spots onto the head. Use the black food coloring marker to draw on nostrils and a mouth. Add the eyes and use the marker to draw on pupils.
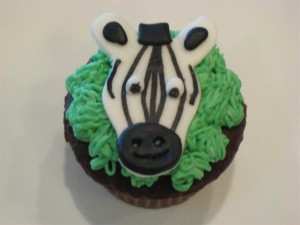
The zebra
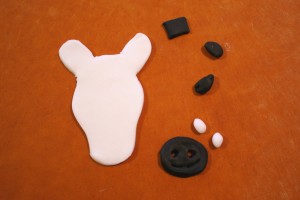
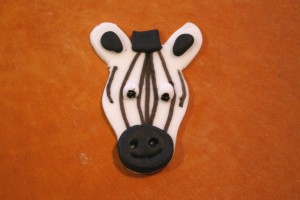
For the zebra, you'll need fondant tinted black, as well as some white. Cut the head out of white and cut the ears, nose, and mane out of black. Use a toothpick to cut nostrils and a mouth out of the nose piece. Form two little eyes out of white.
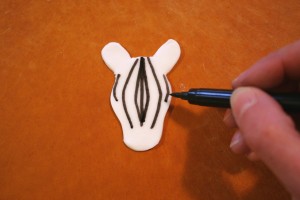
Use the black food coloring marker to draw stripes on the head. Place the nose, ears, and mane onto the head. Add the eyes and use the marker to draw on pupils.
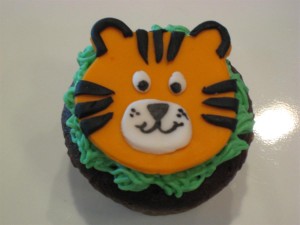
The tiger
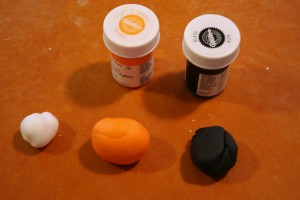
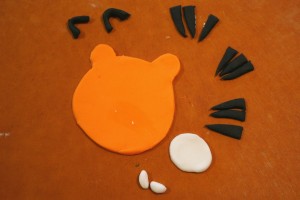
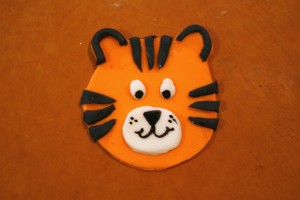
For the tiger, you'll need fondant tinted orange and black, as well as some white. Cut the head out of orange and cut the ears and stripes out of black. Cut the nose out of white and use more white to form two little eyes.
Place the nose onto the face and use the black food coloring marker to draw on the nose, mouth, and whiskers. Place the ears and stripes onto the face. Add the eyes and use the marker to draw on pupils.
The finished toppers
You can make all the zoo animal faces ahead of time and leave them on a piece of parchment paper or wax paper to dry. Then on the day of the party, just frost your cupcakes and place the animal face toppers on the frosted cupcakes and they're ready to serve.
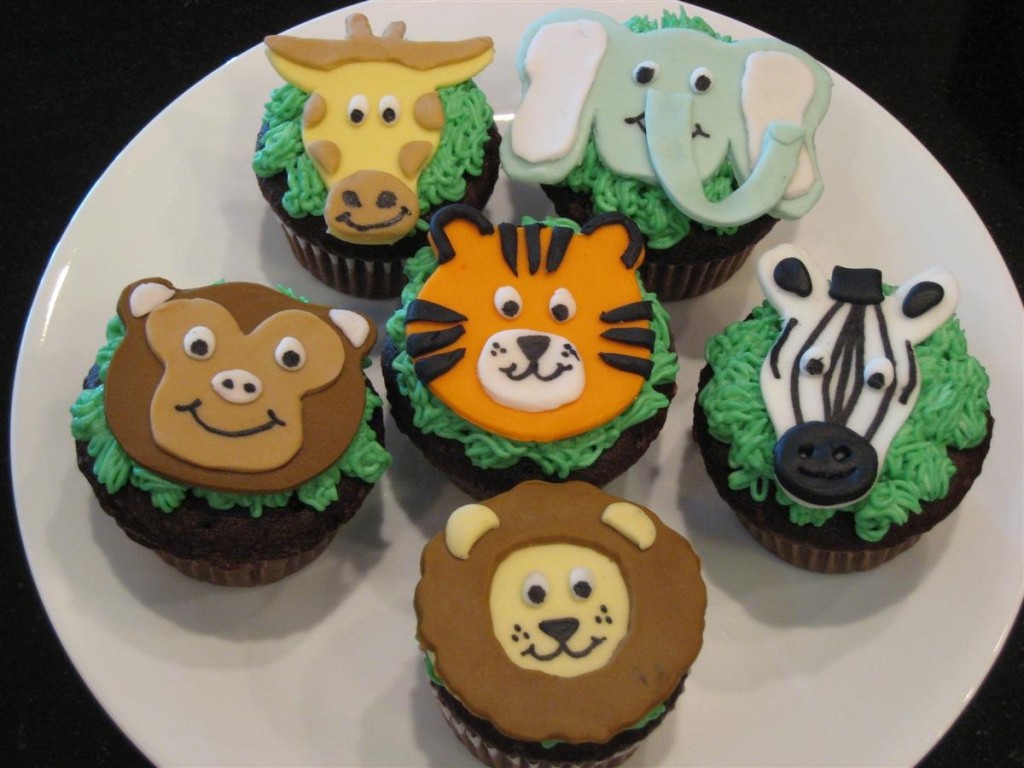
The finished cupcakes
Here are the finished cupcakes that Jo served at the party. For the frosting, she used a grass icing tip and green frosting to cover the cupcakes with grass. Then she placed the toppers on the grass. So cute!!




30 comments so far:
Those are just adorable. I particularly like the giraffe and the tiger.
SO cute! I'll be linking.
I love those animals!!! Could you tell me what tool you have used to cut the figures??
Thanks, luchy! I used a regular paring knife to cut out the shapes. To make it easier to repeat, I have provided templates to download and print for the shapes. Just cut out the shapes, lay them on the rolled fondant, and use your knife to trace/cut around them. Good luck!
Love the look of these! How far ahead of time can I make them nad is there a special method for storage to keep them from drying out or cracking?
G, I made this batch about four days ahead of time. I haven't tried longer than that, but I would guess you could easily get a week out of them.
For storage, we actually wanted them to dry out so that they would be stiff when placed on the cupcakes, so we put them on a platter and just covered them loosely with a paper towel to keep dust away. They did not crack as they dried. If you want to keep them soft and moist, you could cover them tightly with a sheet of plastic wrap.
I am thinking of making these for my son's Birthday. I have never used fondant before and am wondering how much to buy (of each color or total) if I want to make 25 - 30 animals? Also, where did you find the grey food coloring? I can't find that one. Thanks!
Hi Stephanie! To make 12 cupcakes, I used about one third of a 24oz package of Wilton fondant. I think one package would be enough to make 25-30 cupcakes, as long as you get lucky with the amounts you make of each color. For the grey fondant, just use black food coloring, but use a teeny tiny bit. Good luck!
Thank you so much for these templates, I just made these cute animal cupcakes and they turned out perfect!
You're welcome, Val! I'm so glad you liked the templates. We'd love to see your results, so feel free to post a photo to our Flickr group. :)
Just AMAZING!!!!!!!
I found a receipe for marshmellow fondant. Could I make these animals using this type of fondant? And can I make them a few day ahead too?
Hi Patty! I've never worked with marshmallow fondant before, so I'm not sure if it would work or not. Maybe you could mix up a small batch and form it into a few basic shapes, then let it sit a few days and see if it holds up? If it works, then you can make more and use it for the "real" shapes for your cupcakes. Please let us know how it goes!
My sister and I made these and they turned out great. Thanks so much for the great templates and directions!!
Rosie, that's awesome! We'd love to see a photo if you want to add one to our Flickr group or e-mail it to us.
What is the recipe to make this fondant? I've been searching everywhere! Help please! i LOVE these!!
Hi Jennifer! I just used some Wilton pre-made fondant. It's so much easier than trying to make it yourself :)
Just wanted to let you know i sent you an e-mail with my pics from the cupcakes i made for my daughter's 1st birthday! you can post them if you like!! thank you so much, i couldn't have done this without you!!
Amber, they turned out great! Thanks so much for sharing. We added your picture to our Flickr group so everyone could see. Check out Amber's cupcakes!
Such fabulous cupcakes.
Thanks, Sandy. We submitted our project to your challenge!
I found these while doing a search for zoo animals for a paper project I was making for a blog hop. I loved them and they inspired me to make punched animals for a Circus Theme on a blog hop. They will be posted on Saturday June 11 at 6 am EST. May I link back to this page to credit to you?
Tammy, feel free to tell your readers about our idea and link back to our tutorial!
Hi! I was wondering how long it would take to make 30 animals?
Shawna, that's going to depend on your comfort level with working with fondant. The first few might take a little longer, and you should get better the more you do :)
Thank you for posting the patterns!!! I am doing a safari themed party for my soon to be one year old!! and as a chef/pasrty chef everyone always is looking for me to do over the top things for my sons parties, and we are not just talking in the food department!!! Not only am i under taking 60 cupcakes with toppers but his smash cake for his photos the morning of the party and the 3 tier cake for the party, i will be making the toppers and all the animals for the cake this weekend to give them enough time to dry. Thank you again so much for your post!!
So glad we could help, Stacey. We'd love to see some photos of the cupcakes and other elements from your party if you want to share them in our Flickr group for reader projects.
I've never purchased any food coloring markers before, so I'm worried if they're too expensive. I'll have to search for some online. Thanks for the tips and knacks on how to make darling little cupcakes. The estimate on the budget is a bit heavy on the wallet, but it's worth the fun to make plenty of them.
my baby bday is in october , he will be 2 and i am so happy to find this idea , so i will start to practice now , so whem the time come wi will be ready !!!! loved it !!! thanks alot .
Thank you so much! This is just what I need, you have saved me hours of experimenting!