Update Fireplace Surround Tile with Vinyl
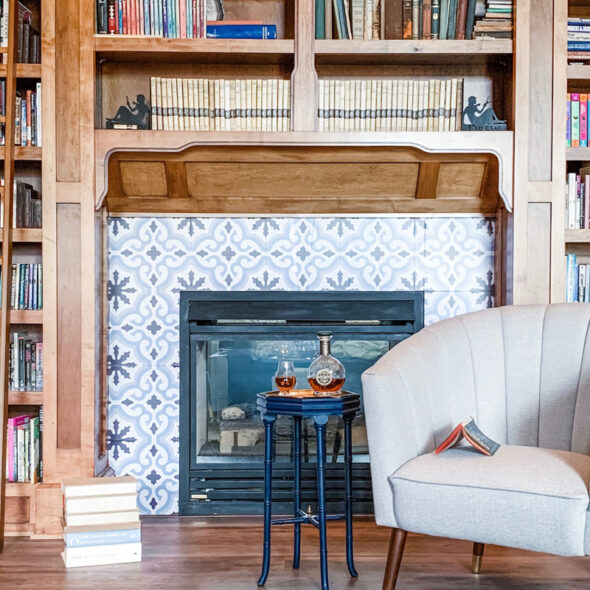
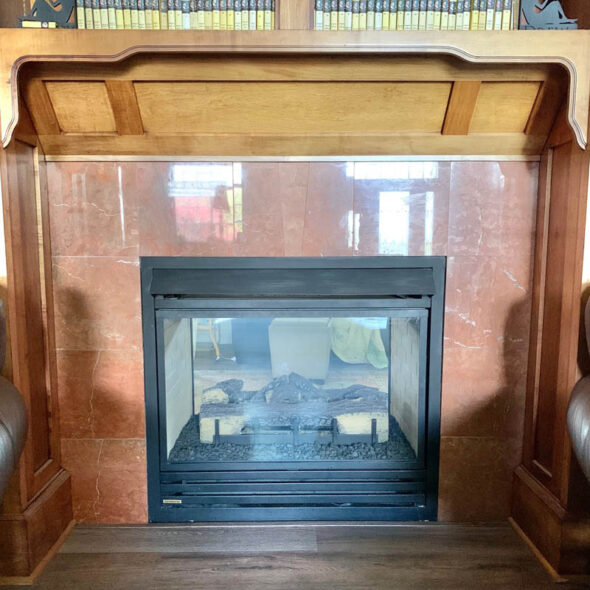
The fireplace in our living room had a red marble tile surround which was pretty, but super subtle. I never quite liked how it blended in with the maple bookshelves around it, so I started considering options for how to replace or re-cover the fireplace surround tile easily and inexpensively. Sure, new tile would look great, but that would require a big commitment to time and expense that I wasn't quite ready to take on.
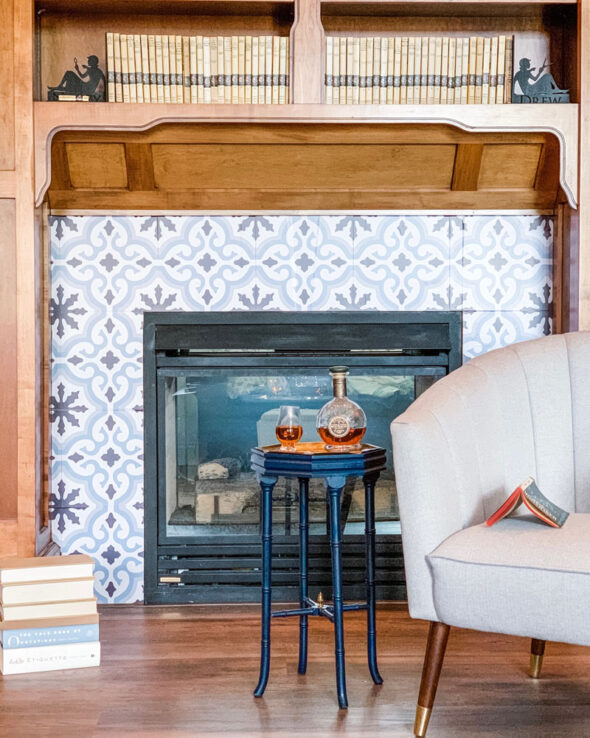
To keep things easy and allow me to consider a bolder option without a permanent (or expensive!) change, I decided to go with adhesive vinyl tile to completely change the look of the fireplace.
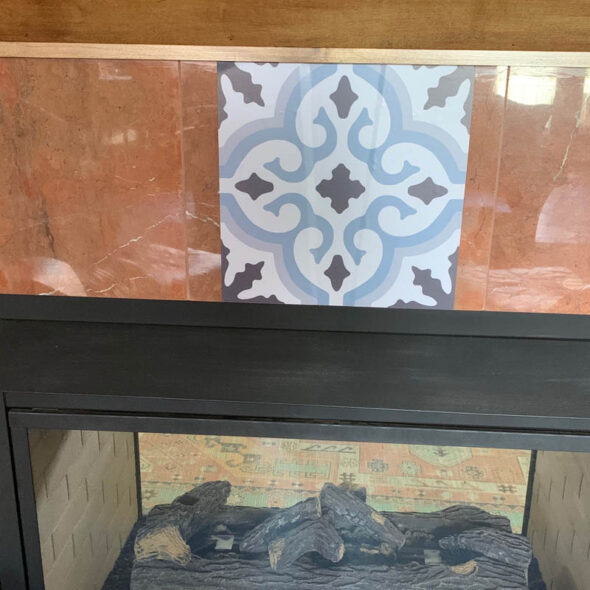
Applying vinyl tile is easy as long as you plan ahead and start off on the right foot. I measured to find the center-top of the surround, as well as the center of a vinyl tile. I aligned those two centers and stuck the first tile in place.
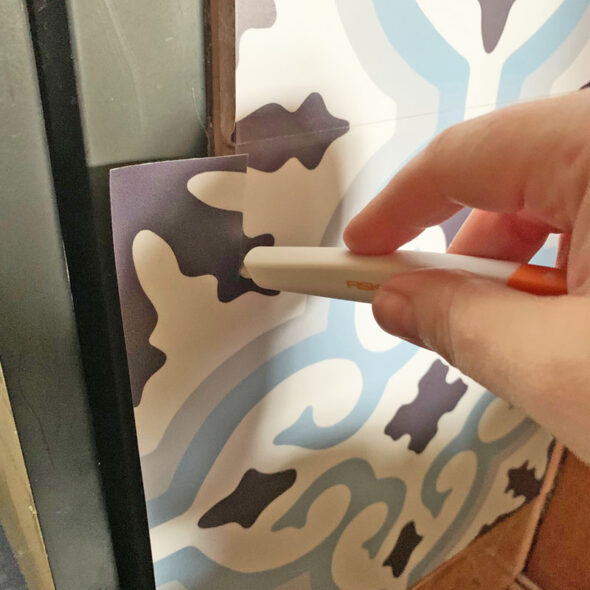
From there it was easy to continue, just adding more tiles to cover the space. When I got to the edges, I simply used a cutting blade to trim off any excess.
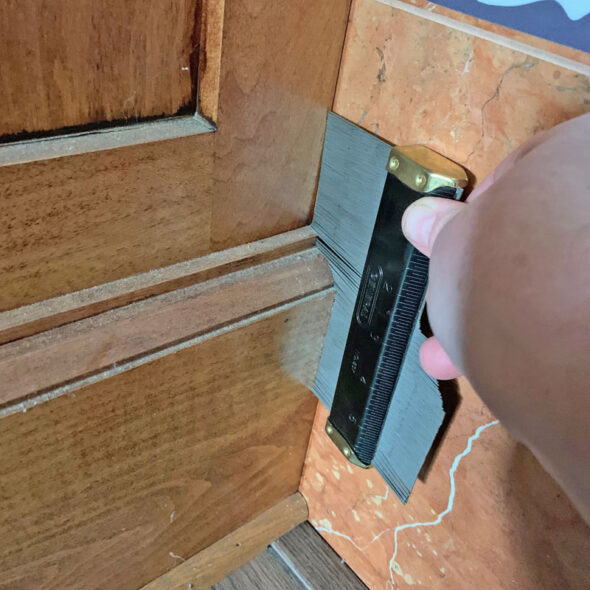
I had some tricky trim at the bottom which required some pretty intricate trimming. To help out with this, I used a contour gauge to get the exact shape, and then traced that onto the back of my vinyl tile. I have found a million uses for this handy little gadget!
That's it! This whole project took me less than an hour to do. If I hadn't had the tricky trim along the bottom, it probably would have only taken thirty minutes.
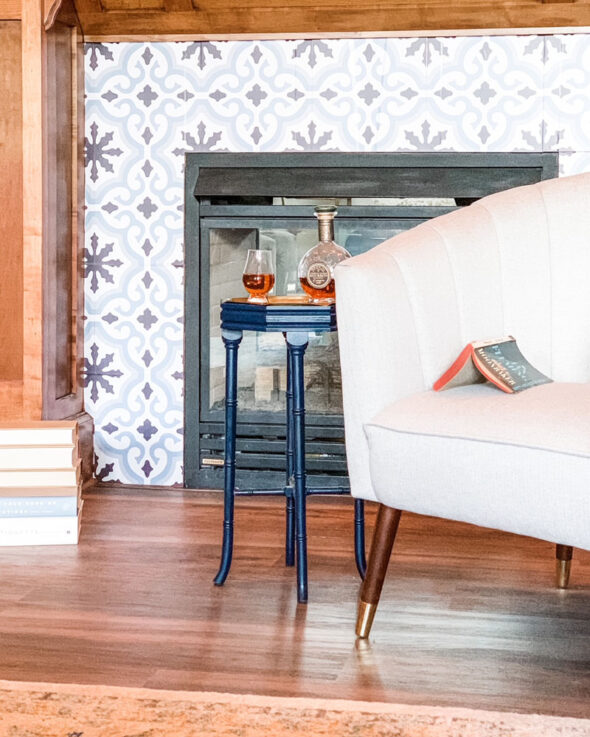
I have to say, I am really loving the contrast and the high-impact pattern. I think I will leave this for awhile to make sure I like it before investing in permanent tile.
Covering a tile surround with adhesive vinyl tiles is also a great solution for renters who want to upgrade their living space, since it can easily be removed when you move out.





One comment so far:
Nancy, our fireplace gets really hot, but there hasn't been any peeling over two seasons now. They work great!