Upcycled Advent Calendar Tree
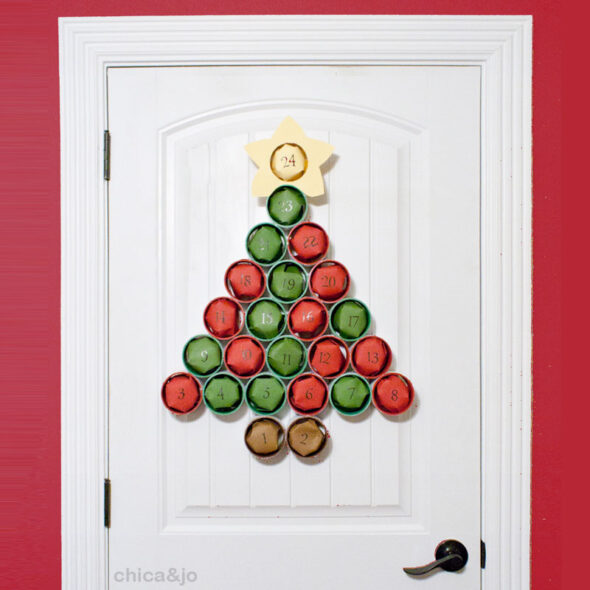
My friend Rosemary has been collecting empty cardboard cores from rolls of labels for weeks, thinking she would eventually come up with a project to use them on for the kids at her church. While brainstorming with her the other day, we finally came up with an idea. With a little paint and glue, I could upcycle them into a tree-shaped Advent calendar!
The cardboard rings I used measure 3" across and 2" deep, but you could adapt this project to any size you have. Sturdy cardboard shipping tubes could be cut to use as well, or you could even use PVC pipe cut into rings. Just make sure you choose something big enough to hold a present inside.
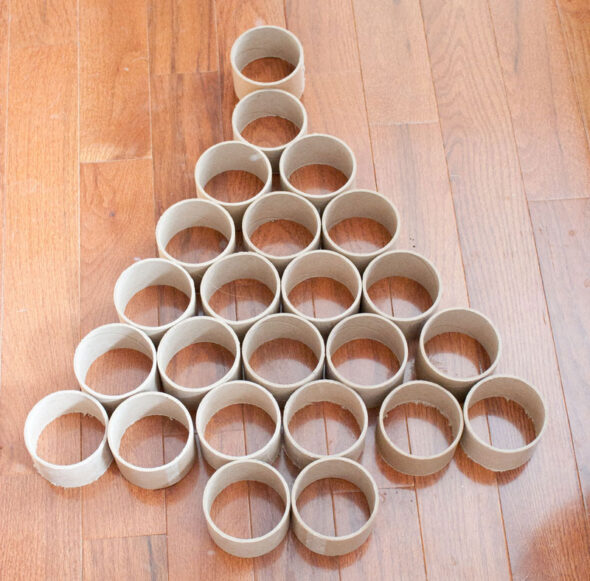
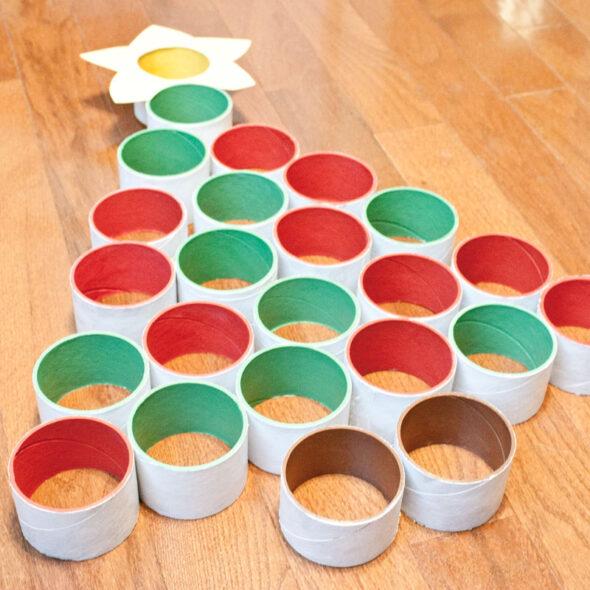
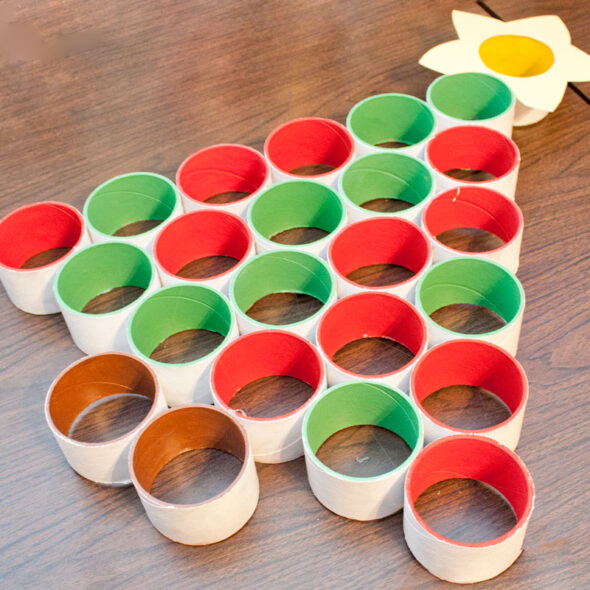
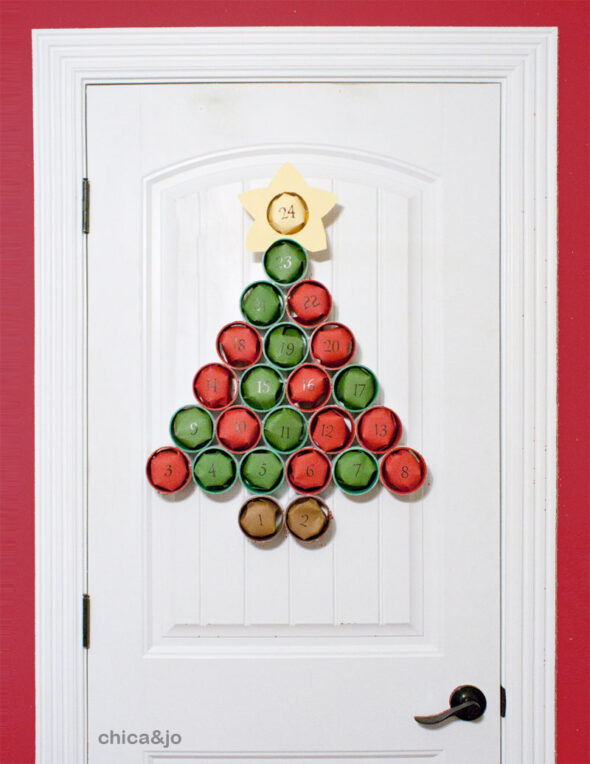
The first thing I did was grab 24 of the rings and lay them out on the floor into a tree shape that I liked.
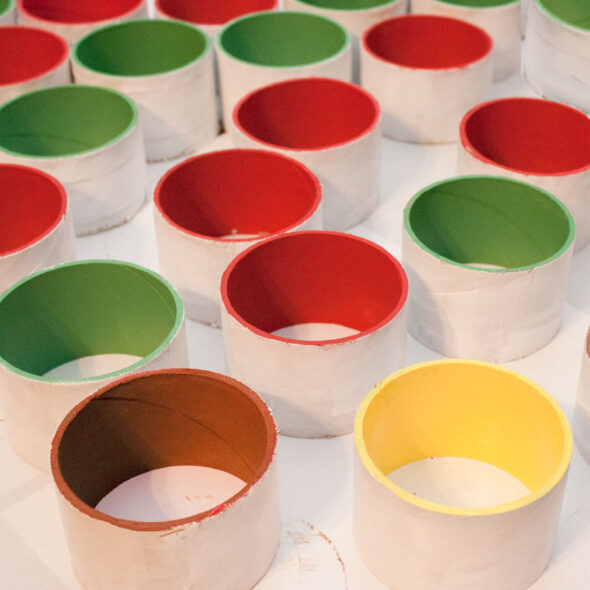
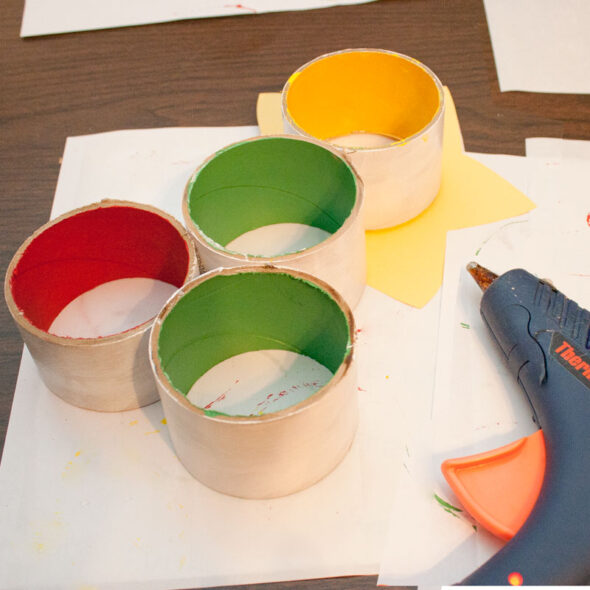
Then I painted the insides of the rings. I painted one of them yellow and two of them brown. The rest I split up and painted half red and half green. When the insides were dry, I painted the outsides white.
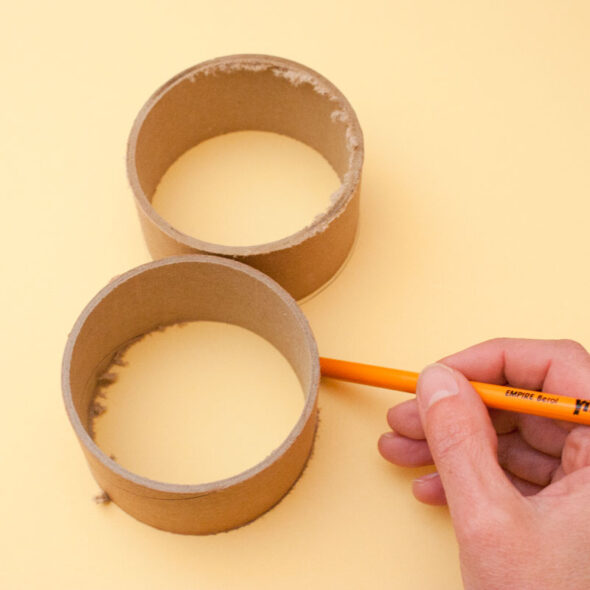
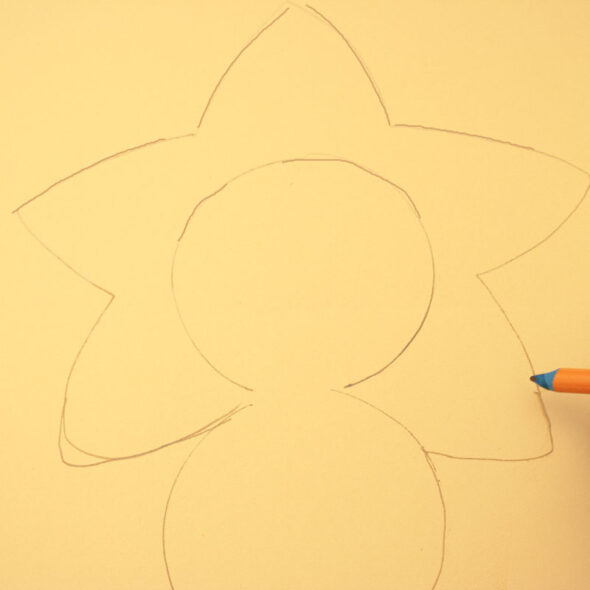
To make the star on top, I put two rings on a piece of yellow cardstock and traced their outlines with a pencil. I traced on the inside of the top ring and the outside of the bottom one.
Then I drew a star shape around the top circle on the cardstock, making sure it looked nice around the bottom circle as well.
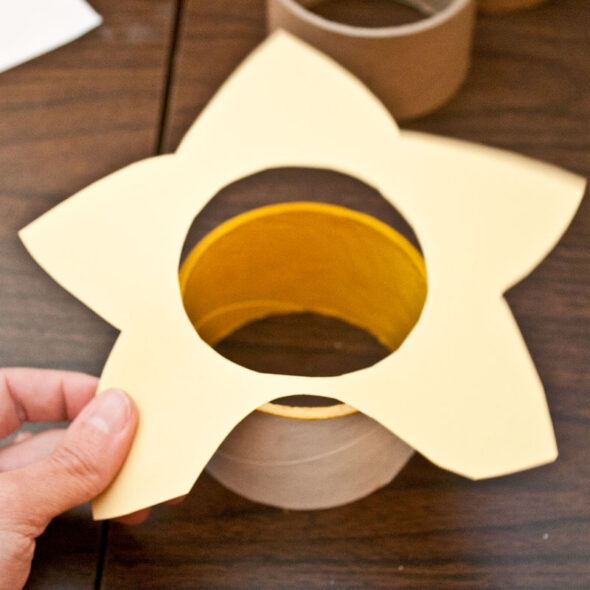
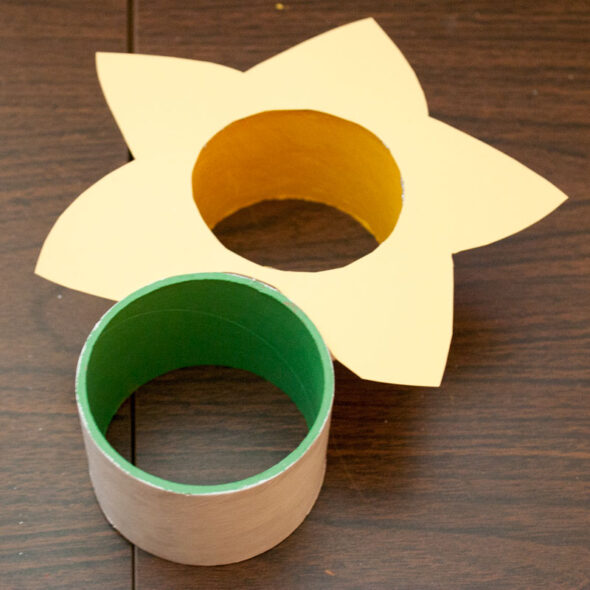
I cut the star shape out and used hot glue to attach it to the front of the yellow ring.
Then, to start the tree, I reached for my trusty glue gun. I put a bead of glue on the outside of one of the green rings and pressed it up against the yellow one, lining it up under the star. Perfect!
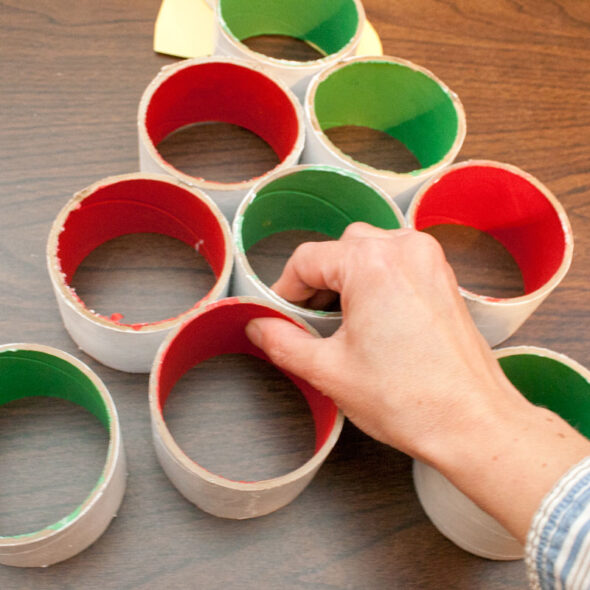
Then I moved all the painted rings back onto the floor and laid them out to be sure I was happy with the random placement of the red and green.
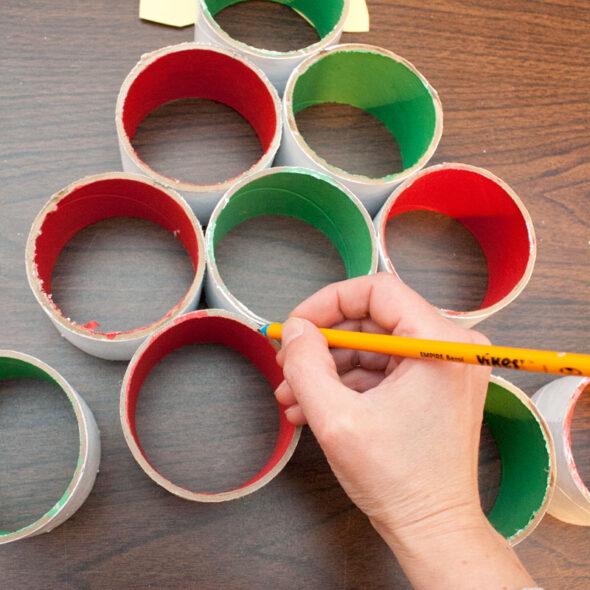
I moved the rings back up to the table, a few at a time, and glued them in place. Note that I put the rings face down on the table while I was assembling the tree. I did this because all my rings weren't the exact same depth, and I wanted them all to be flush and even on the front, for a nice, smooth appearance.
After attaching a couple of them, I figured out a good system for making sure to put the glue in the right place. First, I put the ring in position, then I drew little marks on it with a pencil where it touched the other rings.
Then I just lined the glue up with the marks, and when I pressed it into place, it was perfect!
Before too long, my entire tree was glued together.
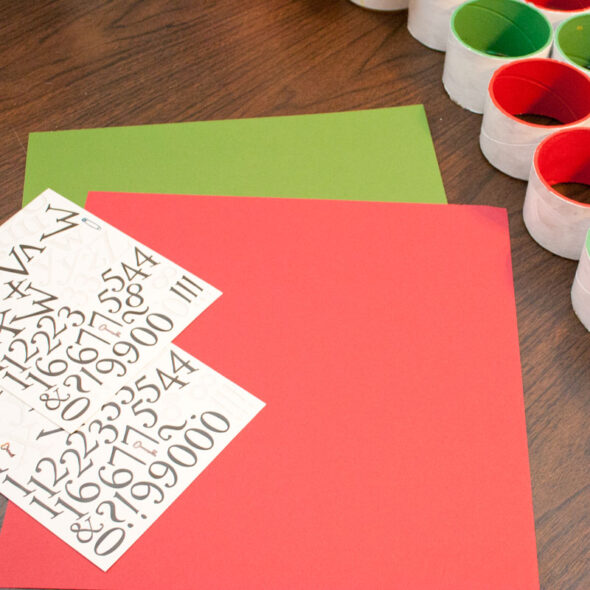
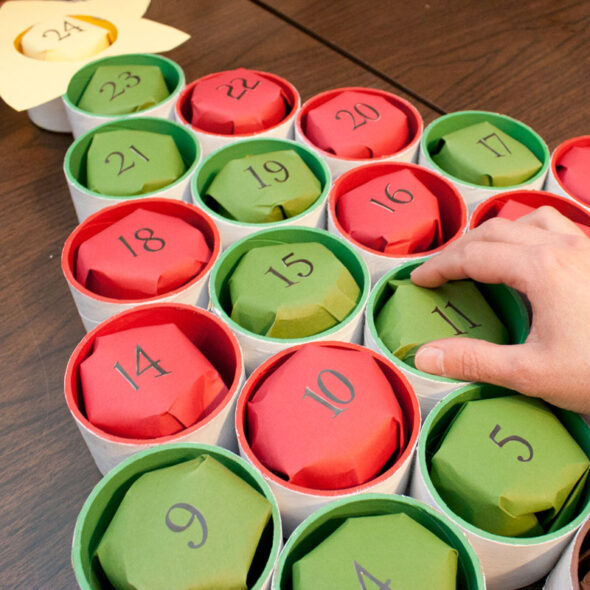
Now I just needed to add the gifts. To wrap them, I grabbed some cardstock that matched my red, green, brown, and yellow paint. I also found some number stickers in my scrapbooking stash. I cut the cardstock into 6"x6" squares, making enough to match the cylinders (1 yellow, 2 brown, 11 red, and 10 green).
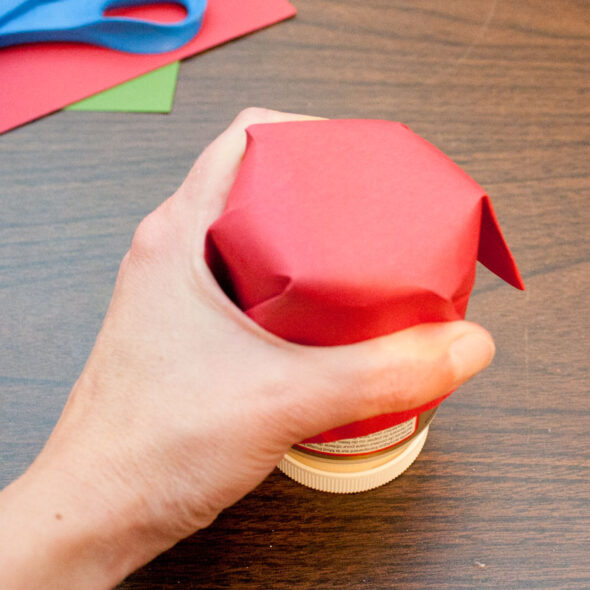
I found a jar that was almost as wide as my rings, set the cardstock on top, and squashed it down with my hands, forming a sort of cup shape.
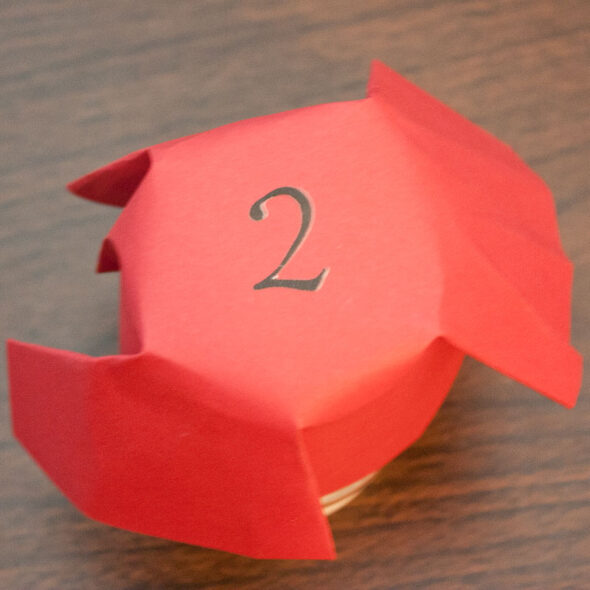
While it was still flat on the jar, I added the number sticker for the day (1 through 24) to the center of each one.
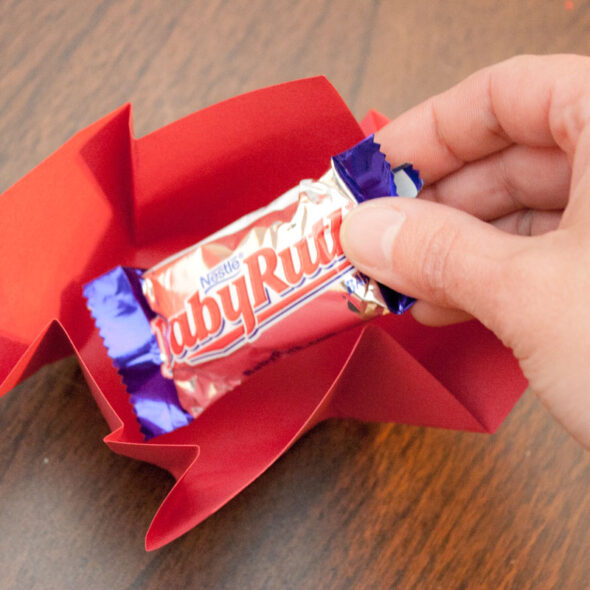
Then I tucked a little gift inside and taped the paper shut on the back.
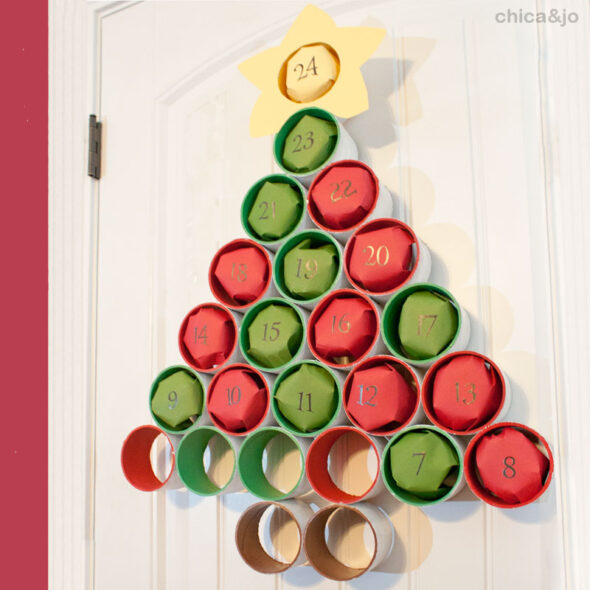
I put all the little gift bundles into the compartments on the tree. I chose to start with 1 at the bottom because I figured the star would be perfect for Christmas Eve.
The tree can hang on a simple nail or Command hook, but here are a few things to be careful of when hanging:
- Be sure you don't hang it by the top (star) ring, because it's only attached to the next one with one bead of glue. Use at least the second ring, which is attached in more than one place.
- Don't put too many heavy toys in the compartments, or the weight might pull the glue apart.
- If you make this out of PVC, which is quite a bit heavier, hot glue might not be strong enough to hold the weight. Set it on a table or mantle instead of hanging it on the wall.
Rosemary took it to her church and showed the kids how to make more, and they loved the craft and the resulting Advent calendar. Each day they get to remove one of the gifts. I think the tree looks as pretty with the rings empty as it does full!




3 comments so far:
I wonder if you could use old frosting containers or if it would be too heavy?
What a clever idea, Stephanie! I can't remember if there's much of a lip on the top of a can of frosting or not. As long as they can be put right up against each other, I think it would work very well.
Hubby is a plumber so I'm always thinking of things to do with PVC. They would work the same way but be a bit sturdier. I think I'm gonna try it.