Upcycle Christmas Gift Bags into Art
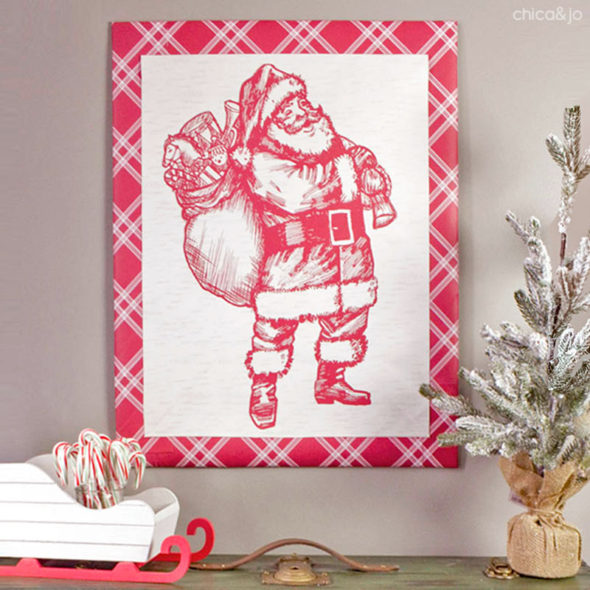
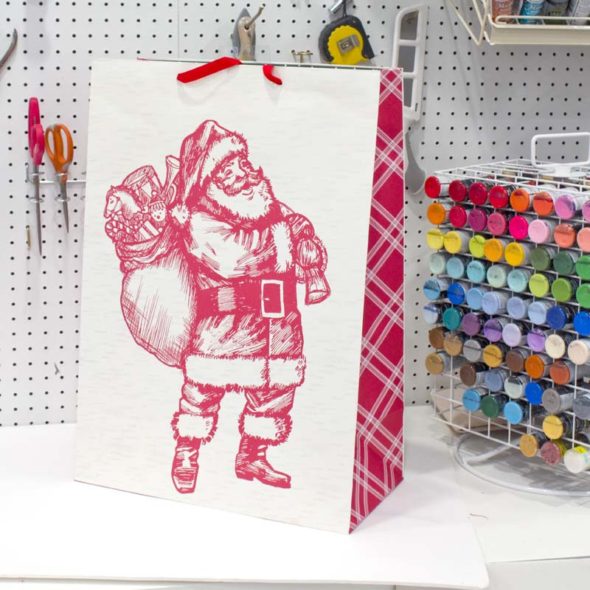
Every once in a while, I see a gift bag that's just too pretty to throw away (or give away), and that's exactly what happened to me last week while shopping for Christmas decor at Target. I picked up an awesome gift bag with a vintage Santa on it, and with it's large size and perfectly vintage look, I decided it would serve much better as art than as a bag.
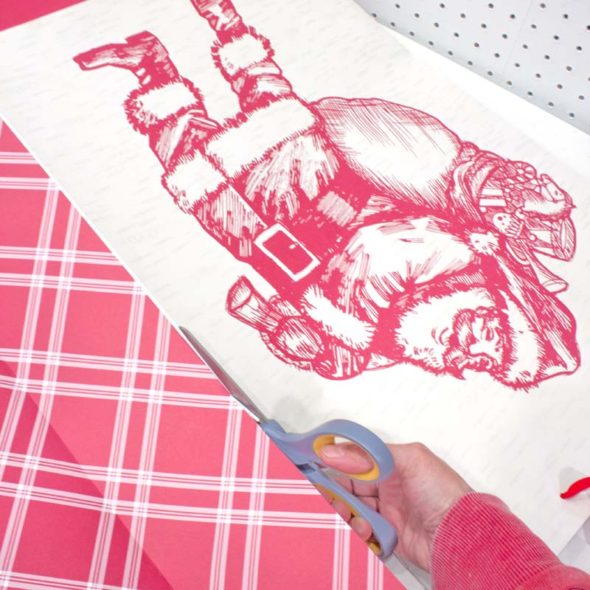
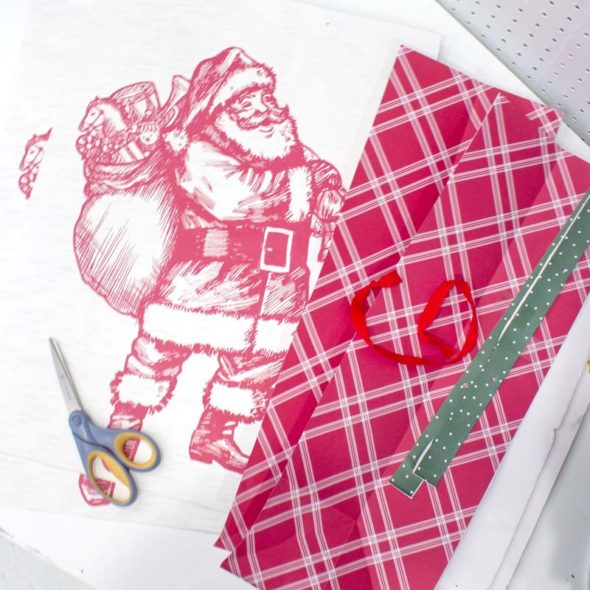
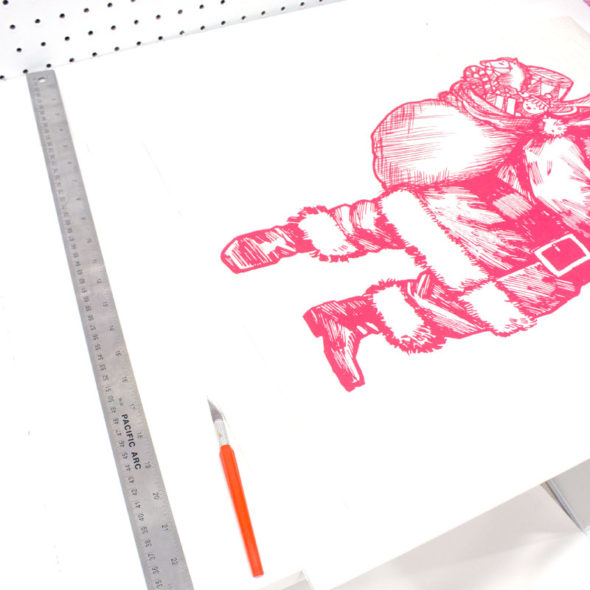
I started by carefully cutting the bag into pieces, separating the lovely plaid side panels from the featured Santa image on the front.
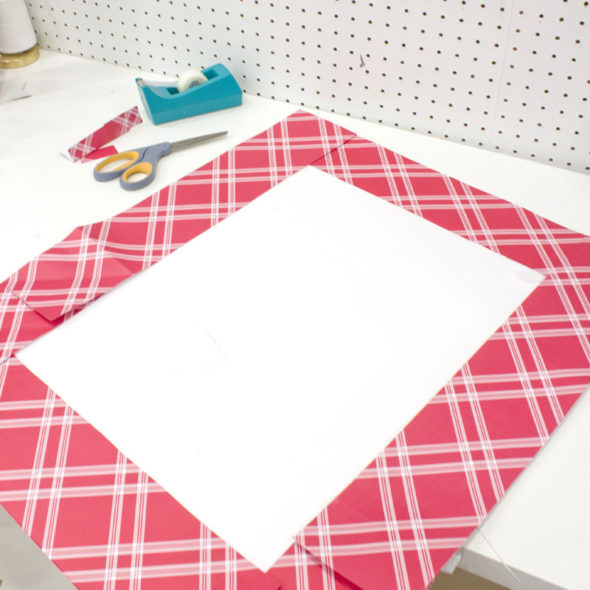
I knew right away that the plaid sides would be perfect for a matte around the image.
To create a sturdy base for my Santa wall art, I used a straight edge and craft knife to cut a piece of white foam core a few inches larger than the Santa image.
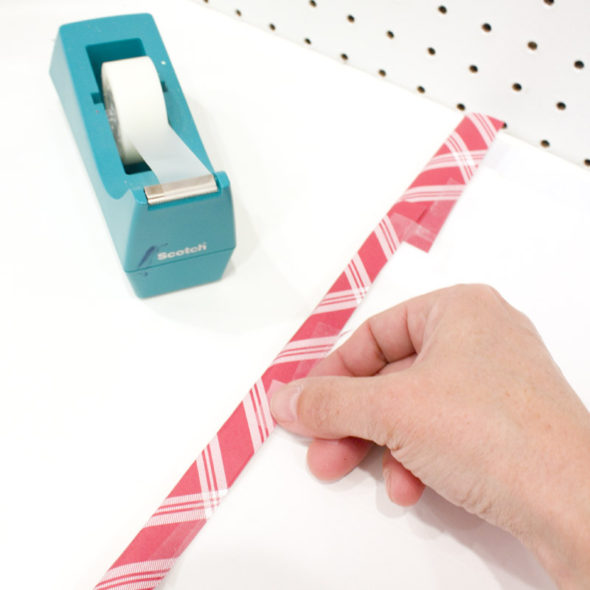
Then I laid out the plaid pieces around the edge, lining up the pattern at each seam.
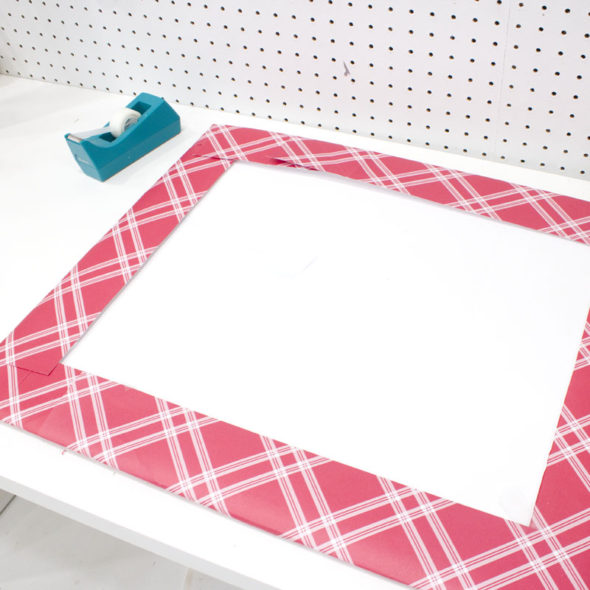
When the matte was complete, I wrapped the edges around the foam core, and secured to the back with tape.
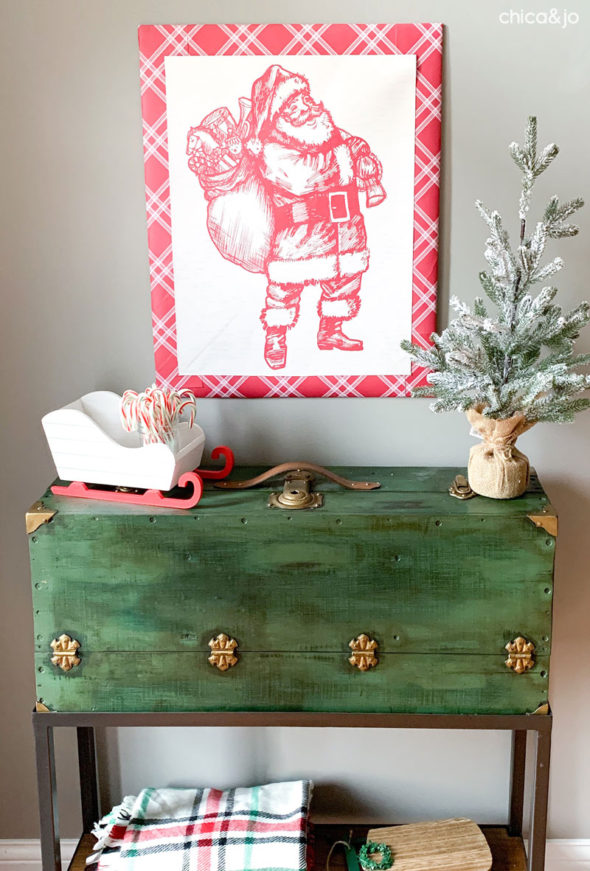
With that, I had a perfectly coordinating matte for my vintage Santa wall art.
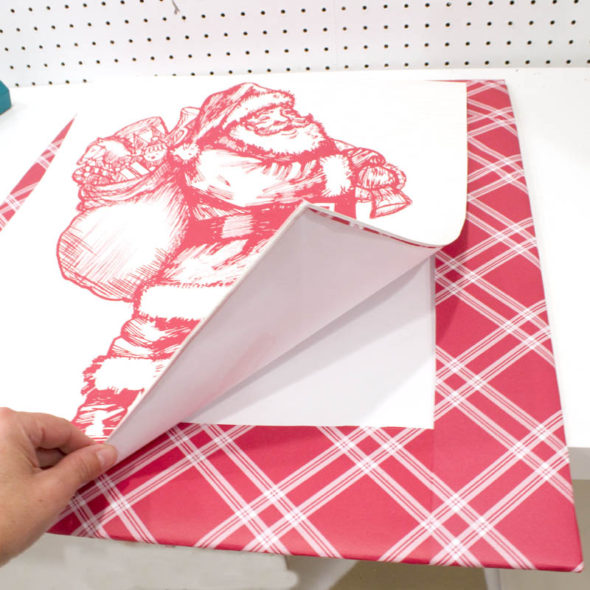
I used some double-sided tape to adhere the Santa art, centering it on the matte.
Since the finished piece was so lightweight, I was able to tape the original ribbon from the bag onto the back to create a hanger, and it was ready for the wall.
What an inexpensive and clever way to create Christmas wall art out of upcycled gift bags. I'll definitely be keeping an eye on any gift bags I see in the future, for any occasion!




2 comments so far:
I love all your craft ideas. I did the wooden blocks as a special gift to my son who turned 40 with old and forgotten pictures. Thank you but a bigger thanks because your instructions on everything make it so easy to follow
Cheryl, that's a lovely idea! We're so glad our tutorial helped you create such a thoughtful gift.