Transform a Fireplace Mantel into a Headboard
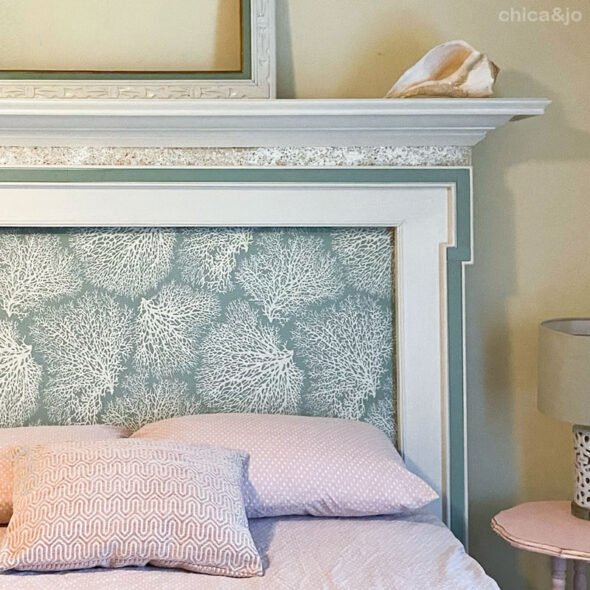
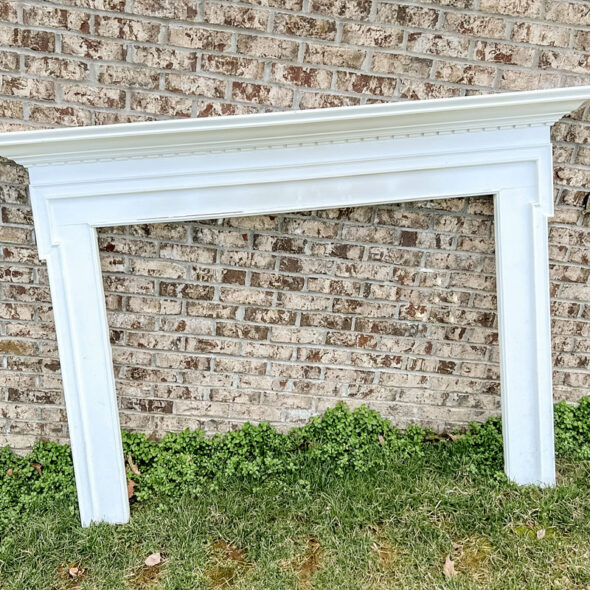
Jo picked up a really cool fireplace mantel at a yard sale recently and loved its clean lines. We knew it would be the perfect starting point for a complete transformation into something new. After some brainstorming, the perfect solution hit us — let's turn this old fireplace mantel into a new headboard!
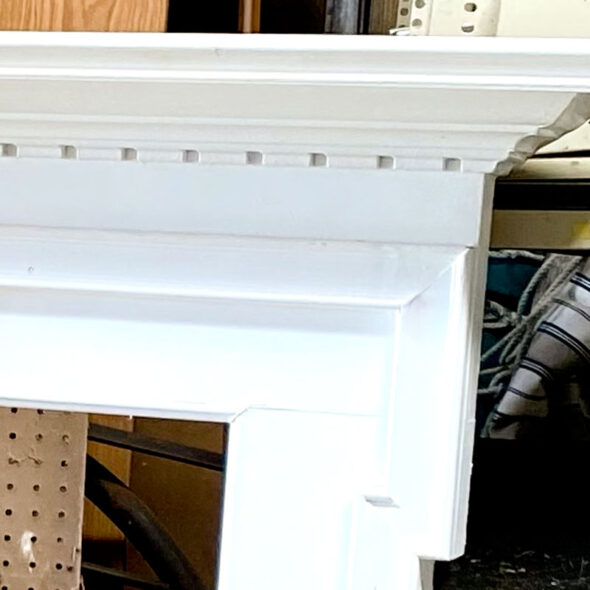
The mantel had some design details we liked, and some we didn't. The dentil molding at the top wasn't our favorite, but that wide channel that almost resembled a Greek key is something we definitely wanted to highlight.
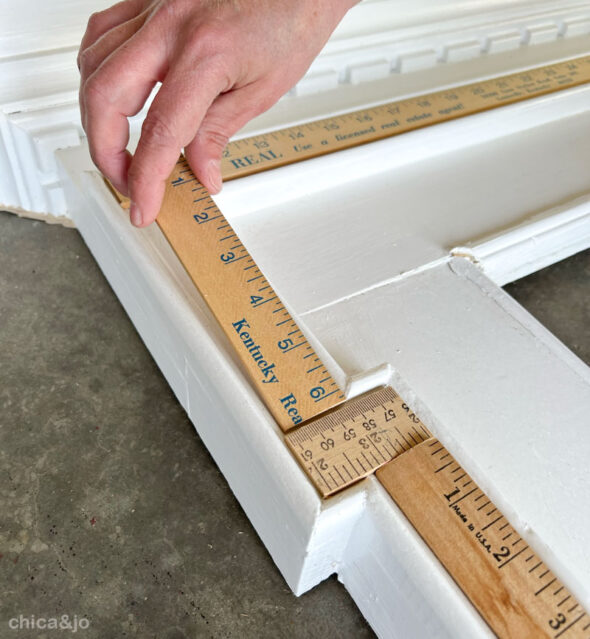
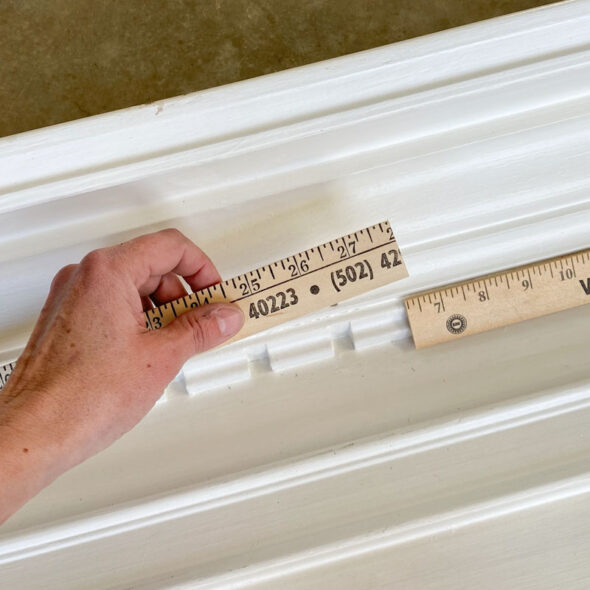
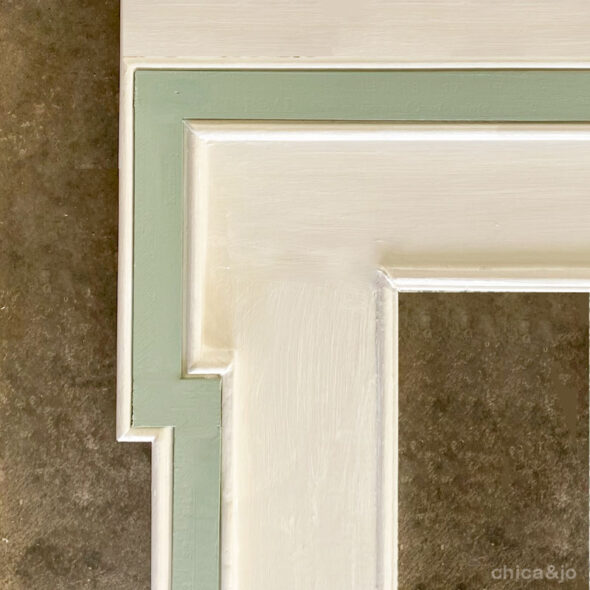
We started with that wide channel. Rather than just paint it, we wanted to add some texture. While doing some measuring to figure out how big the channel was, we realized totally on accident that a yardstick was actually the perfect size to fit inside! We cut a couple of yardsticks down to size and fit them into the channel like puzzle pieces.
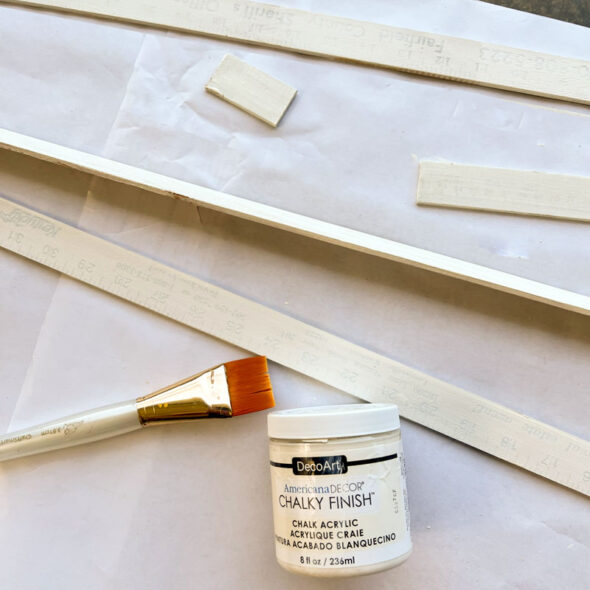
With the pieces cut, we then removed them all and gave them a good basecoat with Americana Decor Chalky Finish paint to cover all those markings quickly and easily.
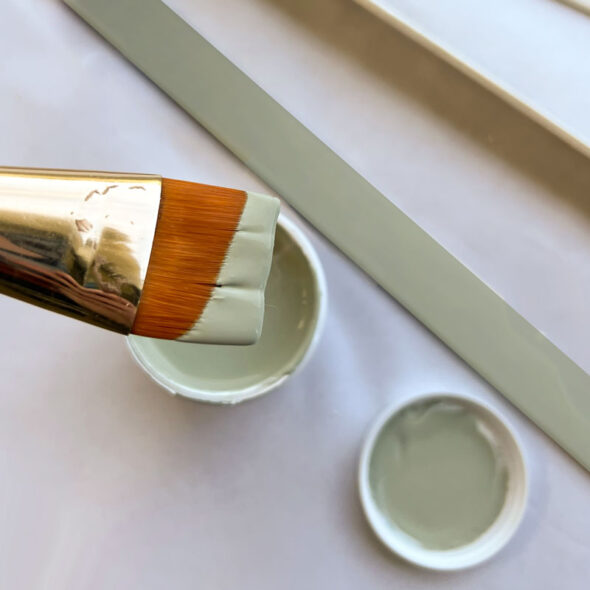
Then we finished them off with a coat of paint in a lovely soft teal/green that we color-matched to our fabric (more on that later!).
That dentil molding was next, and it turned out that yardsticks made great trim for covering that up, too. We cut the yardsticks to length, mitered the ends, and nailed them in place at an angle, using a lightweight brad nailer.
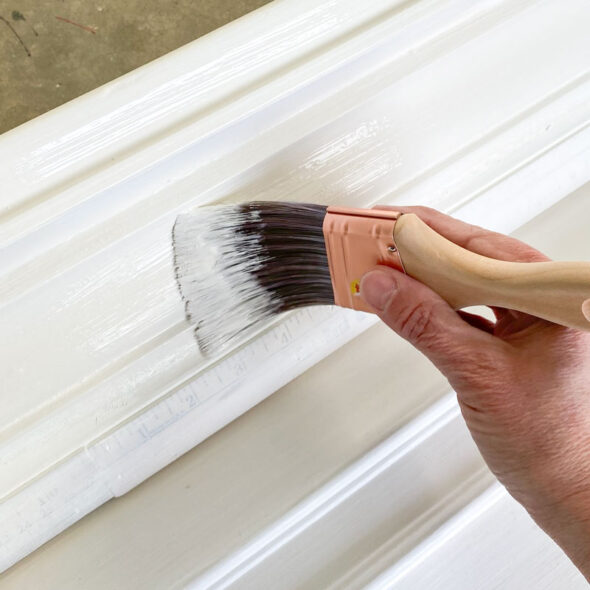
After caulking the gaps and filling the holes, we brushed on a coat of a creamy off-white paint to give the whole piece a fresh new look.
When the paint was dry, we added our painted sticks back into the channel, nailed them in place, and touched up the seams and nail heads. This extra piece of trim really highlights the channel so beautifully, and painting the sticks first ensured that we had perfectly straight lines that would have been difficult with hand-painting.
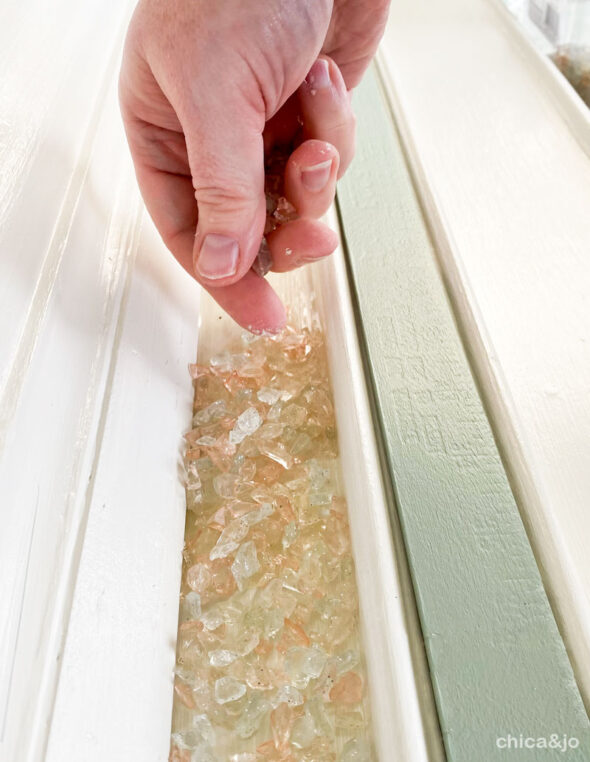
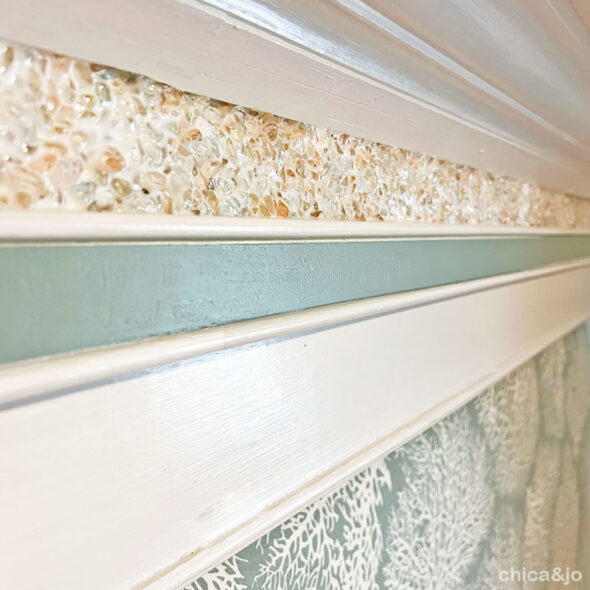
To add another element of texture to this headboard, we decided to decorate the flat surface just above the channel. With the mantel lying flat on the floor, we sprinkled some crushed glass pieces in coordinating colors of clear, sand, and coral into the space, filling it fully.
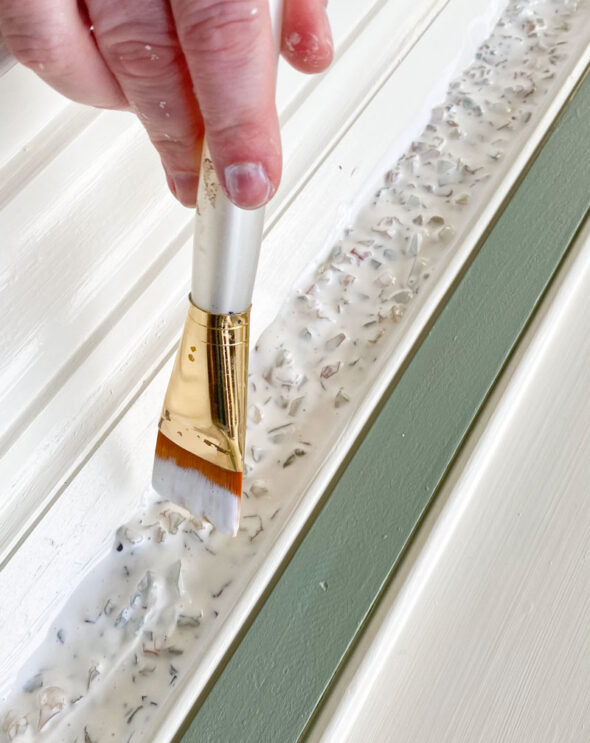
To seal it all up and adhere the pieces permanently, we applied a very liberal coat of decoupage medium over top, brushing it carefully between and among the glass pieces.
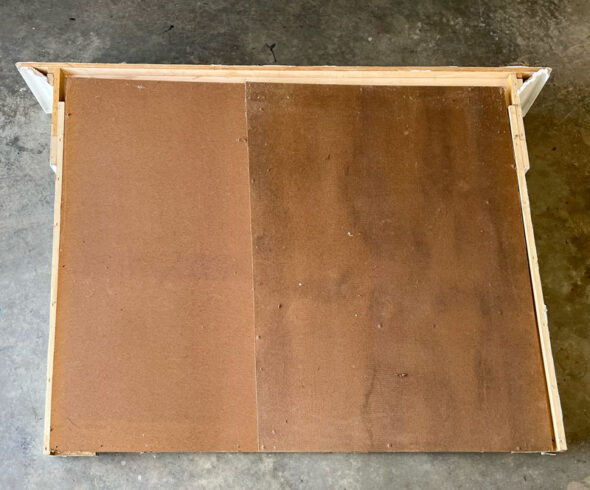
While we left the headboard to dry, we moved on to the upholstered backer that would go inside. We had previously cut a board large enough to fit the back of the mantel, to fill the open space.
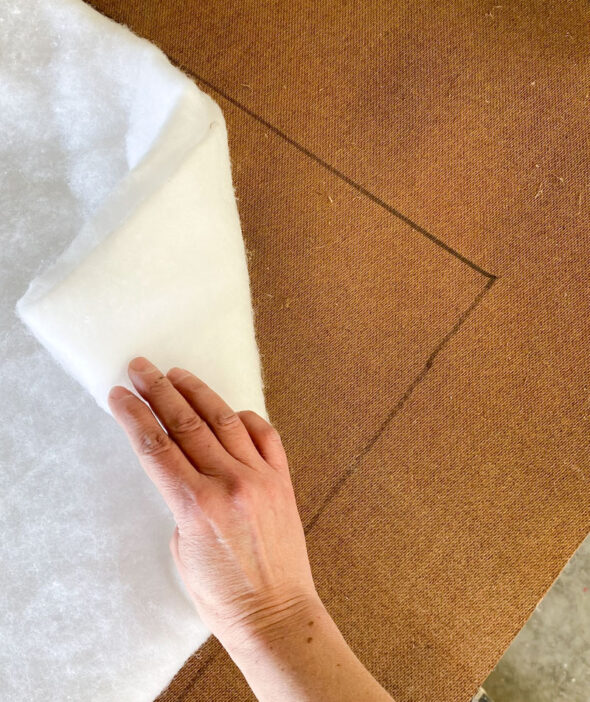
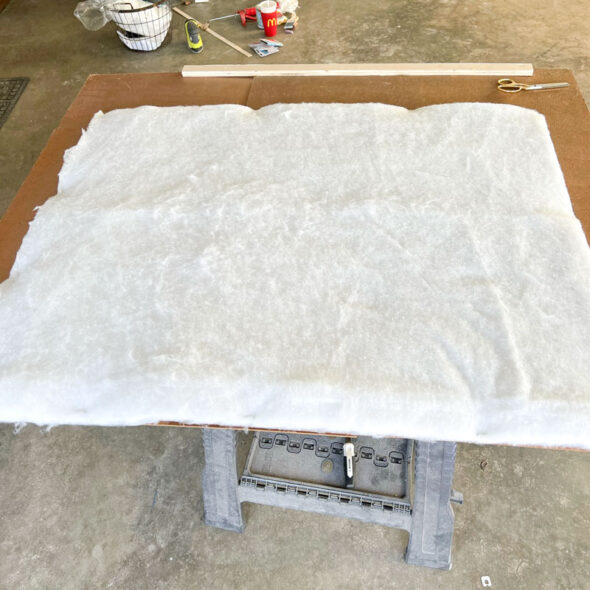
We then used a marker to outline where the opening met the board so that we knew where to upholster. We started with some poly batting and cut it to the size of that marked area.
We stapled the batting down along the edges to hold it in place.
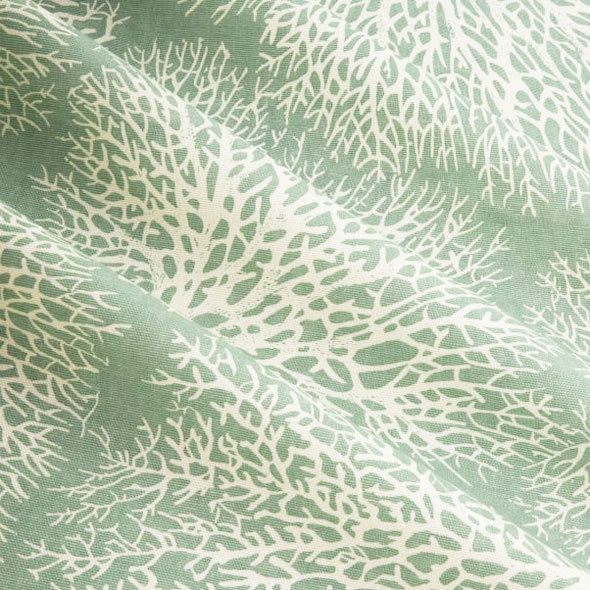
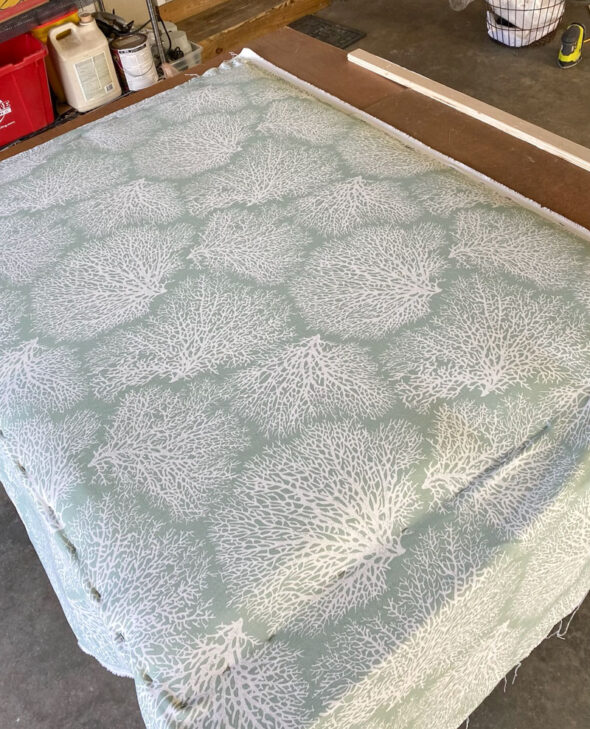
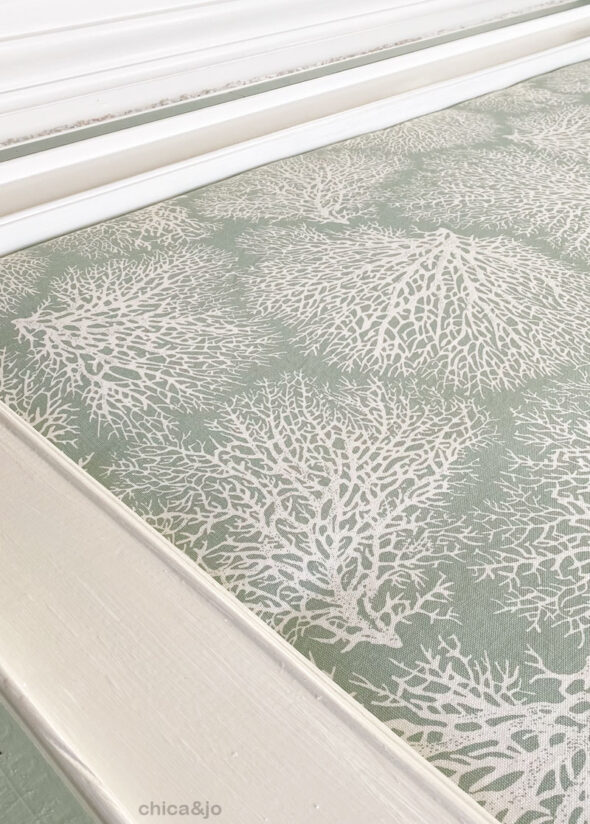
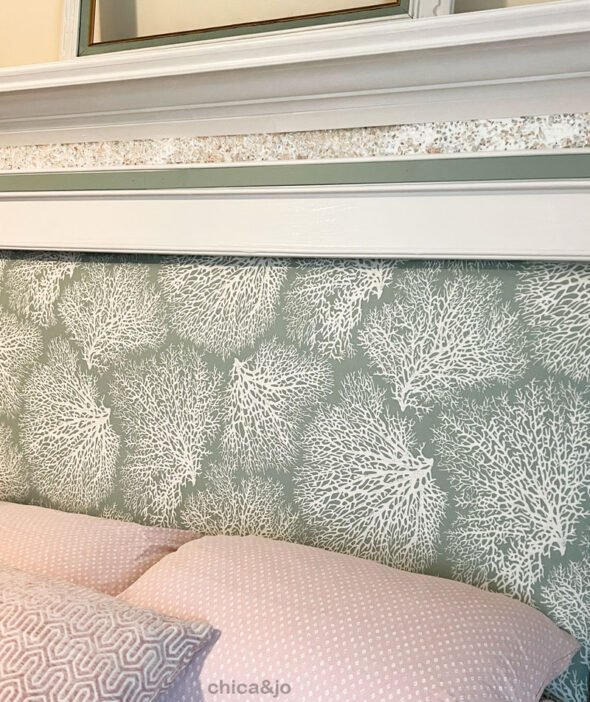
Then we covered it with fabric. The fabric we chose was this gorgeous fan coral design from Magnolia Home Fashions, in a soft teal/green color.
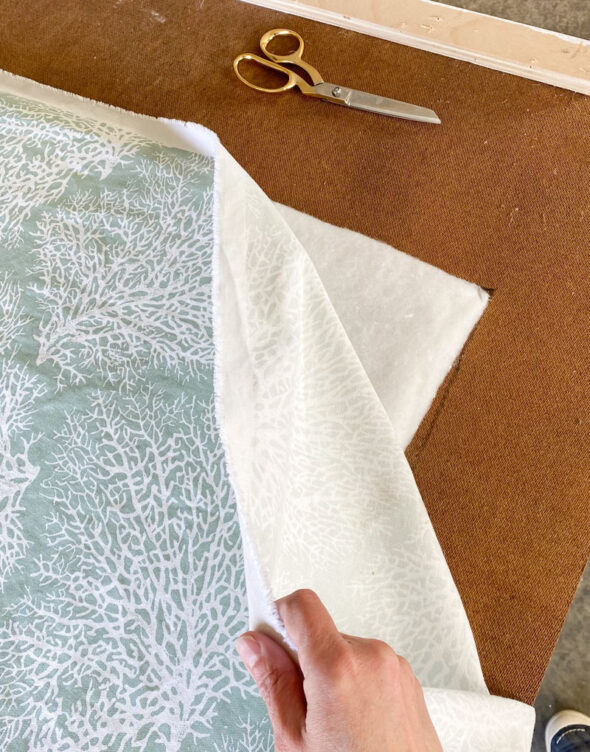
We laid the fabric over the batting, letting it go a couple inches past our marker lines.
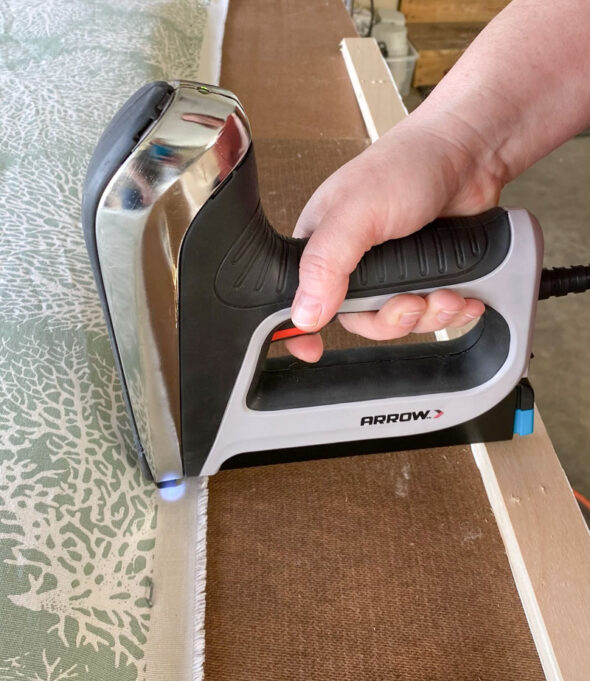
Then we pulled it tight across the board and stapled in place along the edges, using our Arrow electric stapler.
When it was all covered, we had a soft, upholstered surface that looks so cozy and chic.
We trimmed the excess fabric away and nailed the board to the back of the mantel. Oh, it was so satisfying to put that piece in place! This was the biggest impact step that transformed this mantel into a lovely headboard.
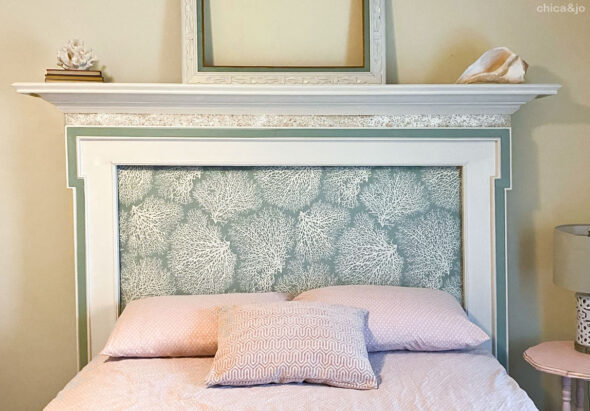
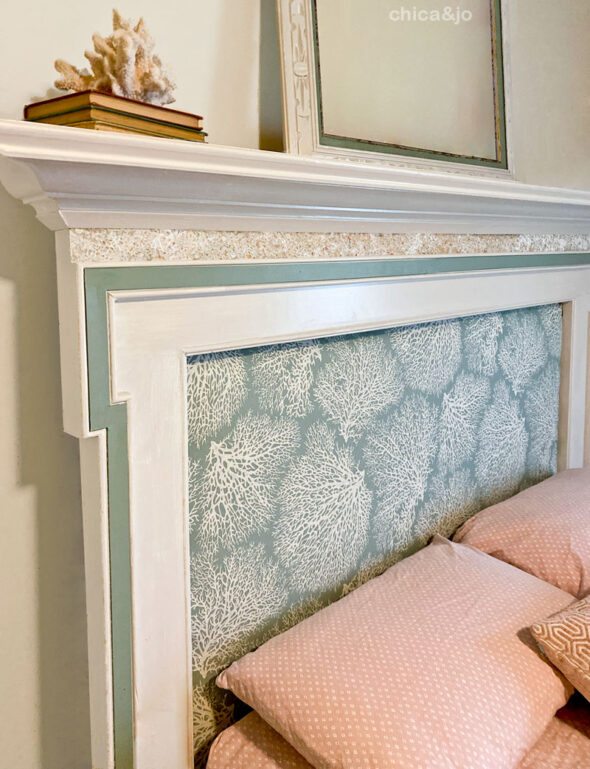
When we put the headboard on the bed, we couldn't believe how amazing it looked.
The teal stripe that we made from yardsticks is such a bold accent and outlines the upholstery so perfectly.
And that run of crushed glass embedded above it brings an unexpected pop of texture and drama.
The fabric works perfectly for this upholstered headboard, and brings a wonderful beachy, coastal vibe to the room.




2 comments so far:
I love the mantle transformation! I'm working on a similar project. Did you attached the mantle to the bed frame? How do you keep the mantle from falling over? I'm trying to work out how to get the mantle to stand on its own - the mantle I have is pretty heavy and I don't anyone killed in their sleep!
Thanks for your help!
Beth, we found it easier (and safer) to attach the headboard to the wall, so that it wouldn't ever tip over. We'd love to see your completed project... be sure to tag us @chicaandjo if you share on social media!