Tips for Hanging a Wall Mural
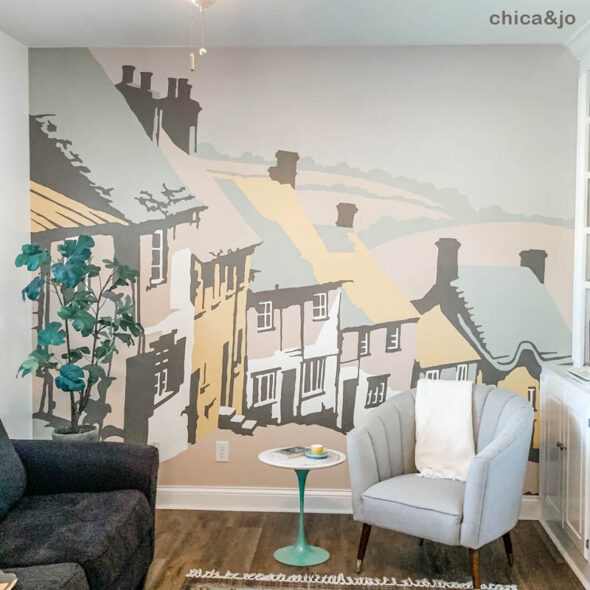
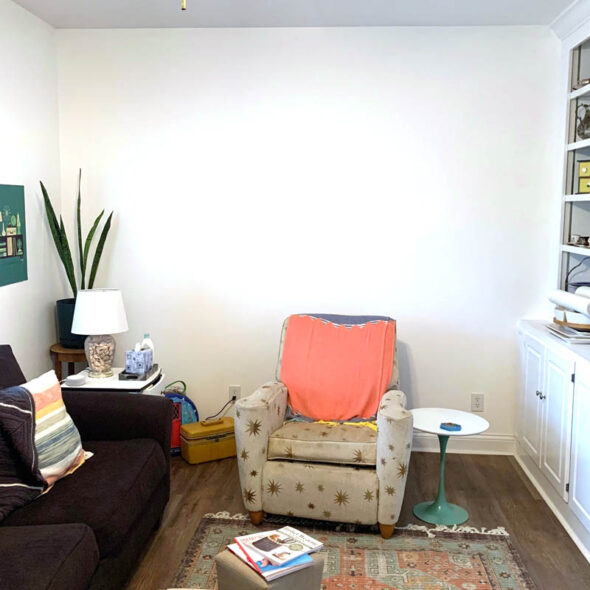
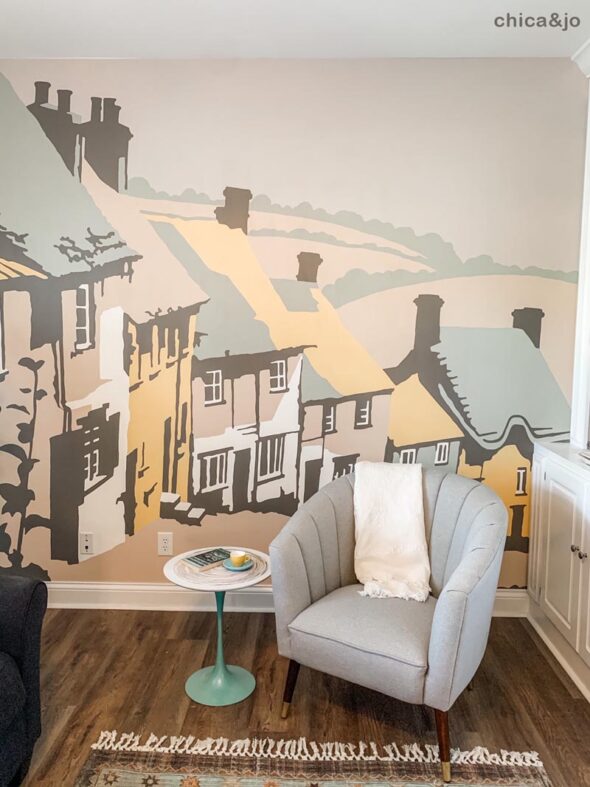
For a long time now, I have wanted something grand on the big, white wall in my hearth room. I couldn't figure out what to put there until Wallsauce reached out to me about trying out one of their murals. A custom mural would make a perfect accent wall in this space. My only problem was choosing which one I wanted from the thousands they have available online! I ended up choosing a design by Steve Read because I loved the style and color story.
Once I picked the design and measured my wall, I provided all the info to Wallsauce and they sent me the mural in the form of six wallpaper panels, sized and ready to fit my space. It was super easy to install, but there were a couple of tricky parts, so I'd like to share some tips I learned on how to hang a wall mural.
Cutting wallpaper around outlets
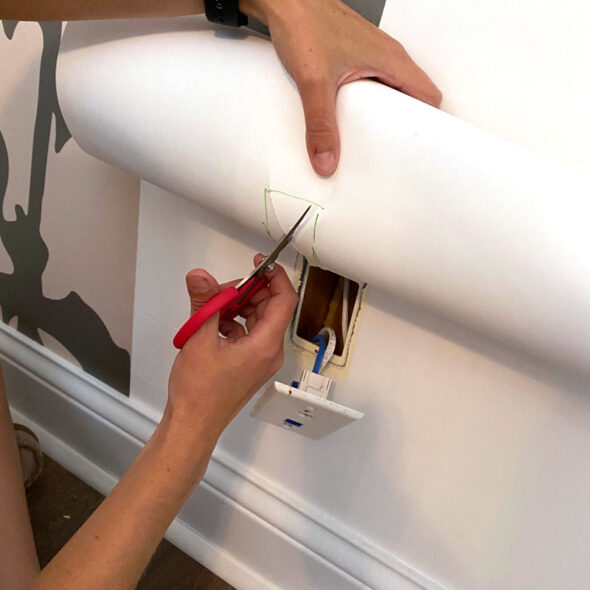
To get around outlets on the wall, you need to first remove the plates where possible, then hang the wallpaper panel (with no glue) down until the point where you run into the outlet. Dry-fit the paper the rest of the way down and use a pen or pencil on the underside to roughly outline where it lines up. Then use scissors to cut an X, forming flaps for the outlet to come through. Don't cut the flaps off, though, in case you mis-cut and need to lay them flat again to help hide the outlet hole. When you're satisfied, add the glue and roll the paper down and press it all into place. Then you can trim away the flaps and re-install the cover plate.
Making wallpaper seams disappear
Seams don't have to be tricky and you can essentially make them disappear just by following a few simple tricks. First, of course, is to make sure your patterns line up! This is where it really helps to have two people hanging wallpaper. One person can be towards the top and the other person makes sure things are lining up mid-way down the wall.
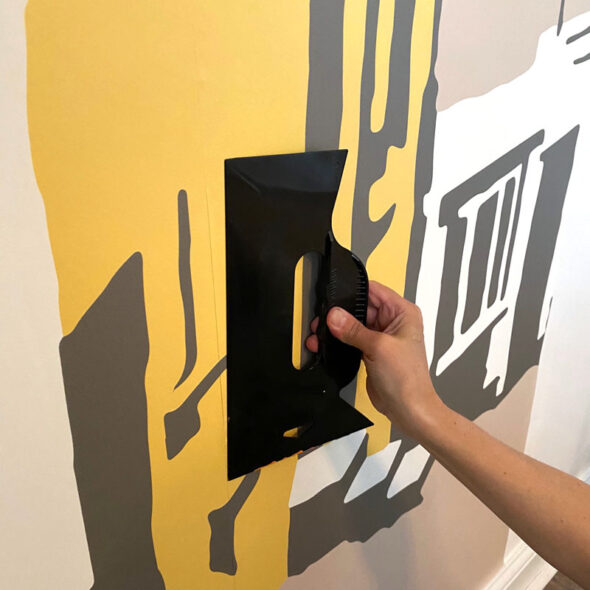
Wallpaper tends to shrink back a tiny bit after it dries, so make sure you really butt the edges up together, almost to the point where they are overlapping. Then use a straight edge to smooth the paper out towards the seam. Make sure you immediately wipe up any glue that might squeeze out.
Trimming wallpaper around moulding
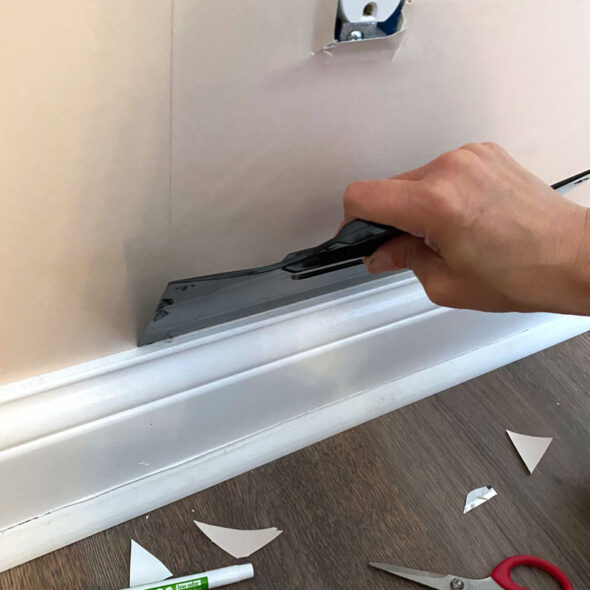
The best thing about getting a mural from Wallsauce is that they print it after they receive your specific measurements, so it's already the right size for your wall. We could not believe how spot-on the mural measurements were! Normally, you would need to use a straight-edge and a sharp utility knife to get rid of excess paper along the top and bottom, but we didn't have to trim the top and bottom at all.
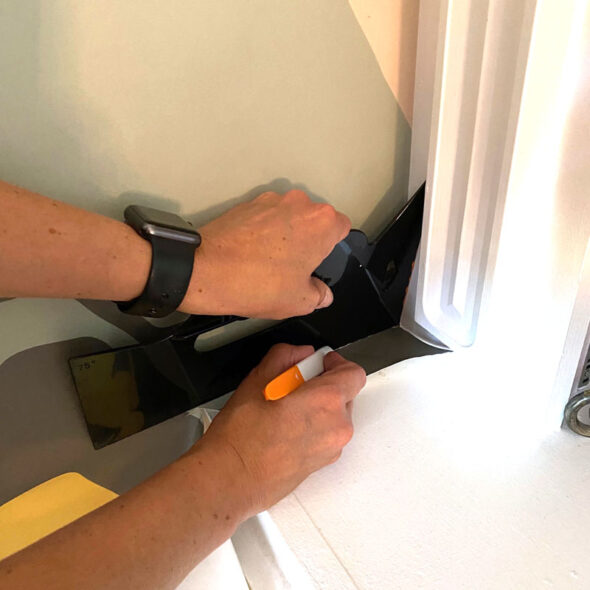
However, there are bookshelves on the right side of the wall, so it wasn't a straight line down on that side. When measuring for the mural, I measured the widest part of the wall (beyond the shelf that stuck out), so we had to make a couple of cuts to trim along the shelf edge. This was easy to do by holding a straight-edge held tightly against the shelf and making multiple passes with a very sharp paper knife.
That boring white wall is no more! I love how it fills that space without actually being overwhelming.
It's so fun to turn the corner to go into this room now and see the new mural.


