Spa-like Guest Bathroom Makeover Ideas
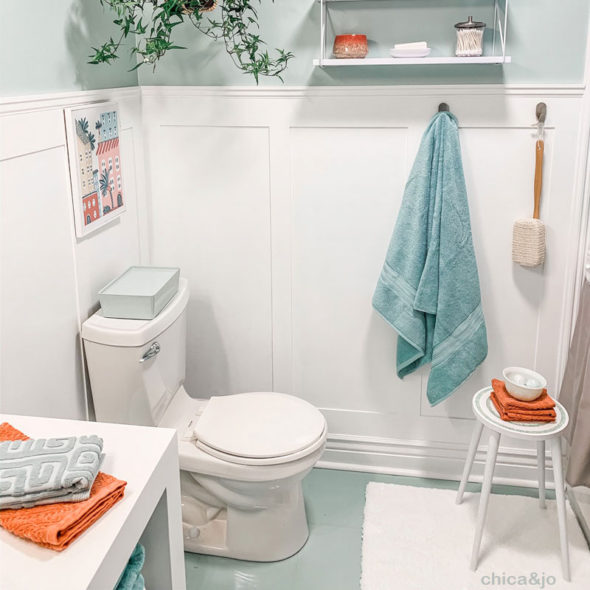
After living with our boring, brown guest bathroom for years, I finally decided it was time to renovate it, and make it a room I'm proud to have in my home. I always wanted to try painting a tile floor, and when I decided to give it a try, the inspiration for the whole room quickly fell into place. By the time it was done, I had transformed my boring guest bath into a beautiful and relaxing spa-like bathroom that makes a perfect guest retreat.
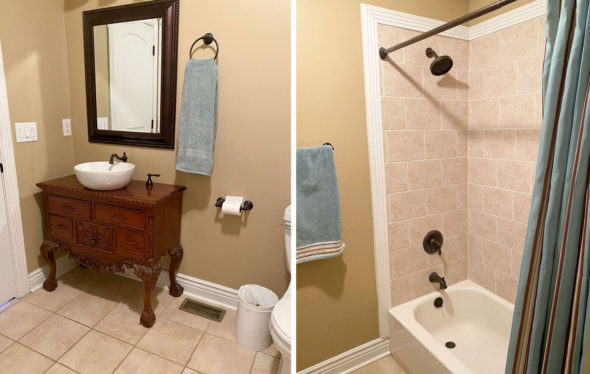
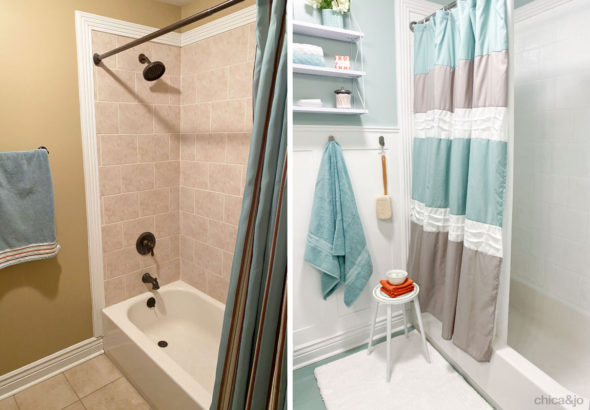
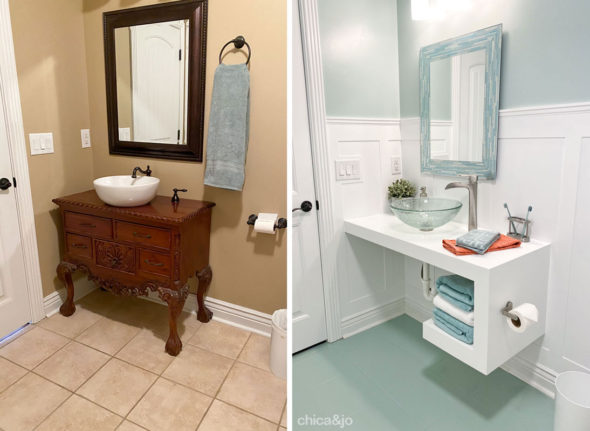
First, let me show you what this bathroom looked like before. It was SO brown it's hard to believe. It had a dresser-turned-vanity that was made of dark, carved wood, with a sink and faucet that didn't really fit right. It had icky brown walls, and the shower walls and floor were covered in two different kinds of brown tile. Yuck!
I've got lots of ideas to share with you about how I transformed this dated room into a spa-like guest bathroom, most of which give big impact for not much time and effort.
Paint the walls and ceiling with a fresh color
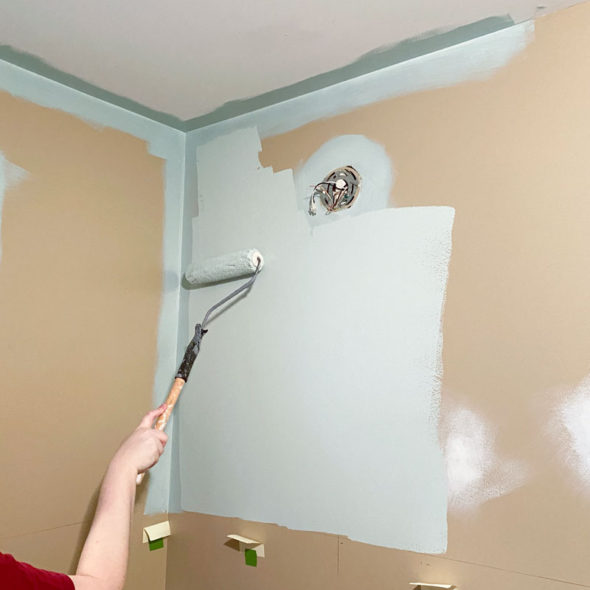
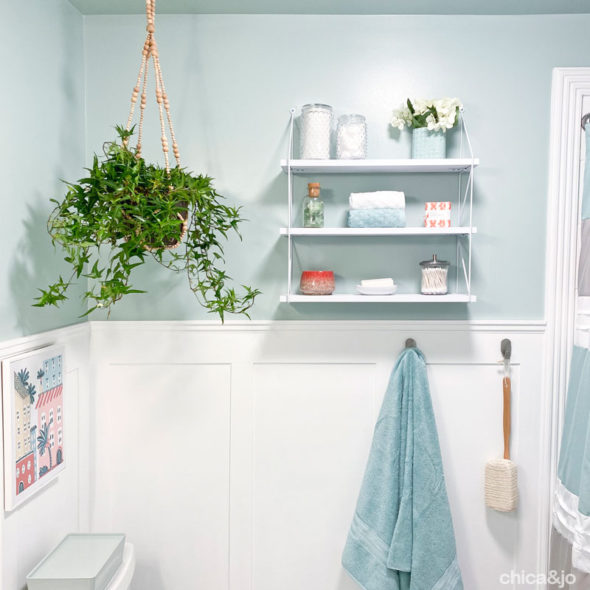
I tackled the walls first, starting with a fresh, new color that perfectly straddles the line between blue and green. We took this color up onto the ceiling as well, which was admittedly a little scary to do, but turned out to be the perfect choice. Trust me — that white expanse of ceiling would have stood out, but now the ceiling just magically blends into the wall color seamlessly.
DIY Board and Batten
To lighten up the room and give it texture, I decided to add board and batten wainscoting. This was a super easy way to transform the room in a huge way. All I really needed was a sheet of 1/4" thick lauan (that's a really smooth plywood that comes in 4'x8' sheets), which I cut into 4" wide strips for the horizontal pieces and 3" wide strips for the vertical pieces.
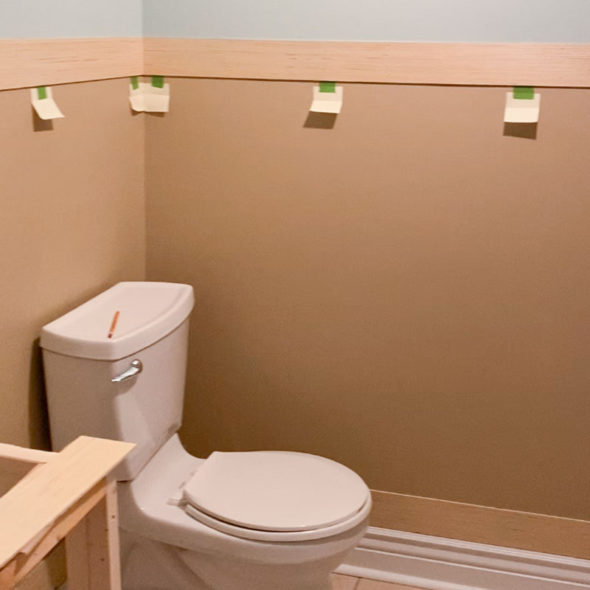
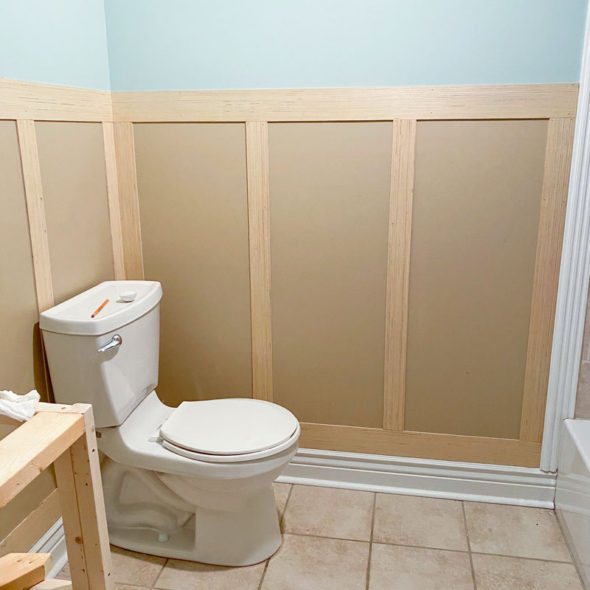
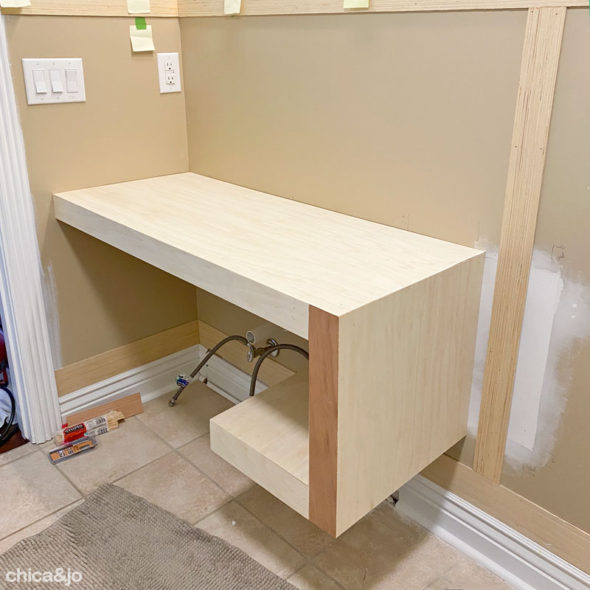
I started by putting 4" wide strips horizontally on the top and bottom of the wall, then Jo and I measured out the distance for the 3" wide vertical pieces and marked them with Post-It notes (which just so happen to be 3" wide, too!). We spaced them out as evenly as we could along each wall. Much calculation and math was involved!
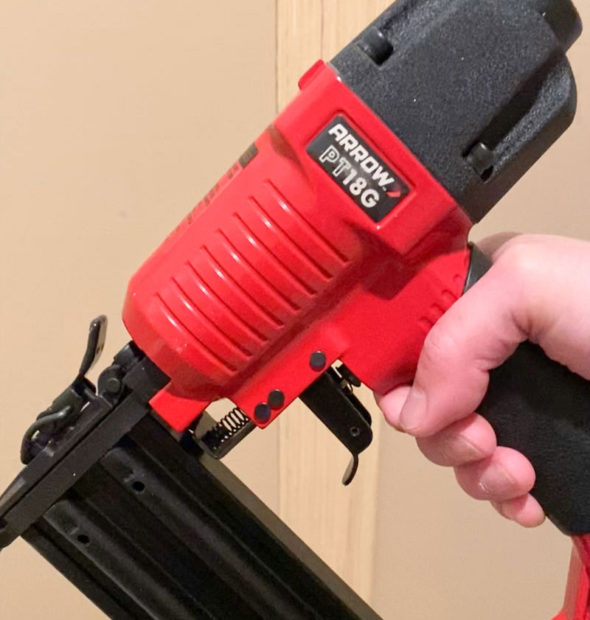
To attach the lauan to the walls, I put some wood glue on the back just to help hold it in place, then used my Arrow pneumatic brad nailer to nail the boards in place. This thing saved SO much time on this whole project! I'm not sure I would have survived all this construction with a regular hammer and nail.
I applied the 3" vertical strips at the marked areas, and was amazed at the difference already.
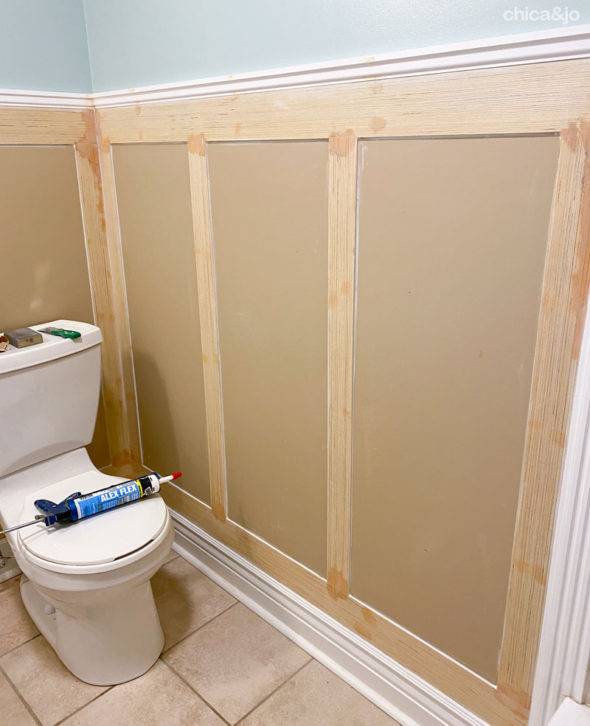
To finish it off, I put some decorative trim molding along the top. Then I used wood filler to fill all the brad holes, sanded them smooth, and caulked all the edges.
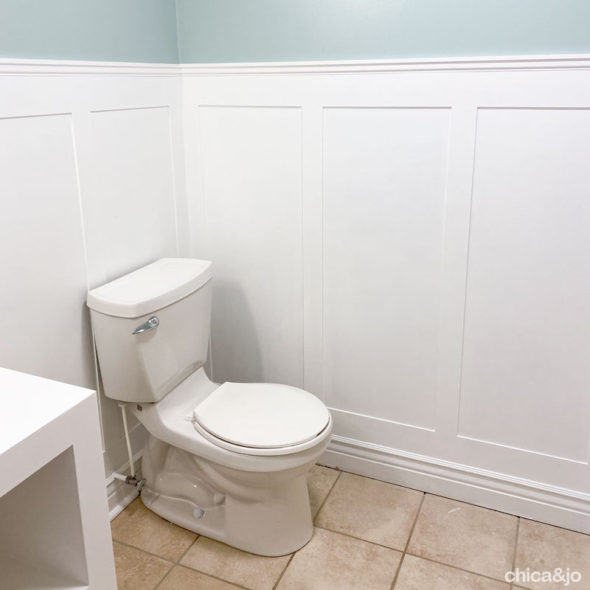
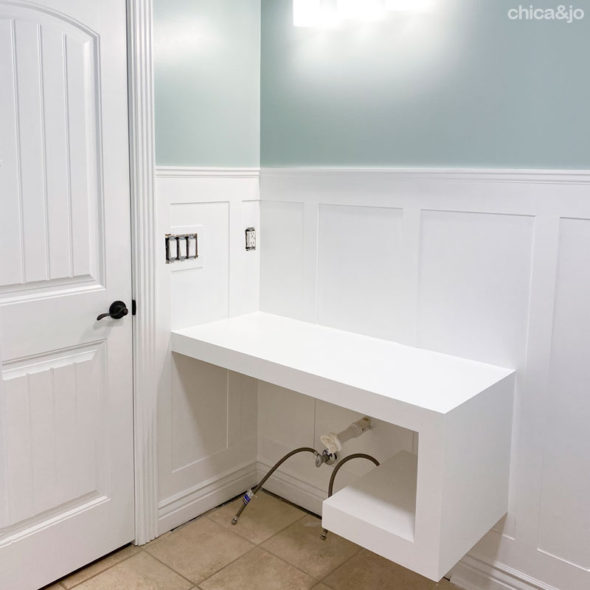
Three coats of white, semi-gloss paint later, and the board and batten was done, and looking beautiful!
Custom floating vanity counter
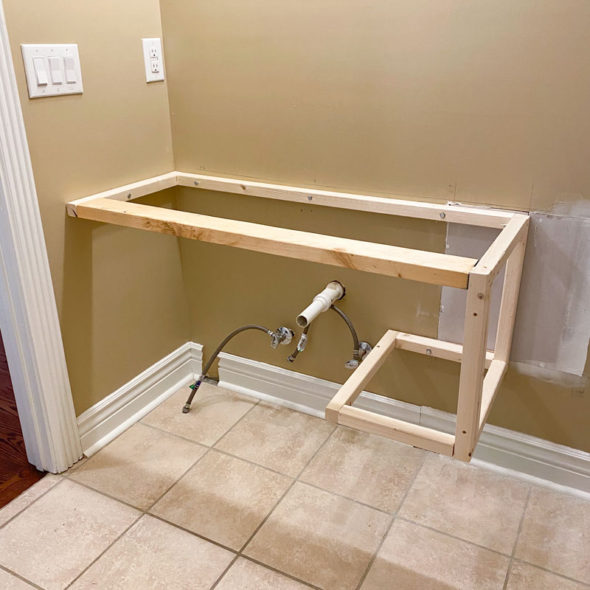
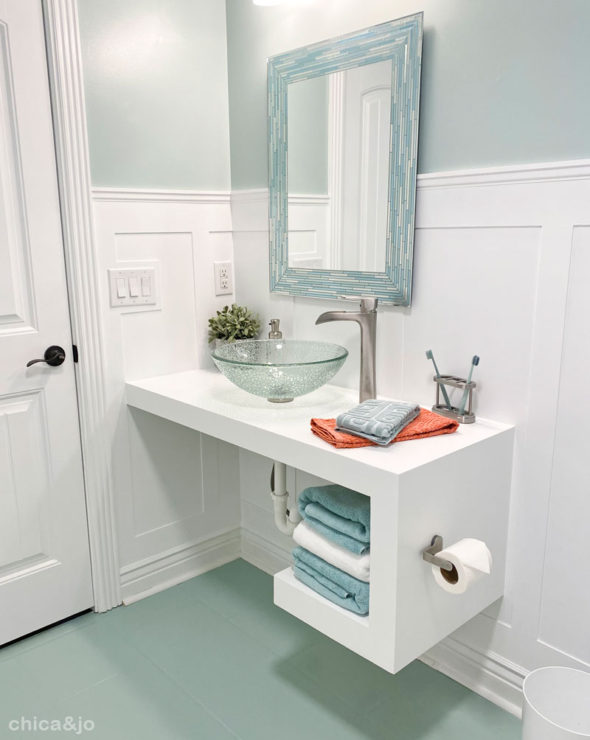
For the vanity in my new spa-like guest bathroom, I decided to go with clean, simple lines and a modern touch. I started by building a wooden frame for a counter with a drop down side and floating shelf for towels.
After securing it to the studs with lag screws and adding several hidden braces and supports, I skinned the whole thing with 3/4" thick birch plywood.
Then I sanded everything smooth and painted it the same glossy white as the walls. I added a coat of polyurethane to the top to give it some extra protection against water.
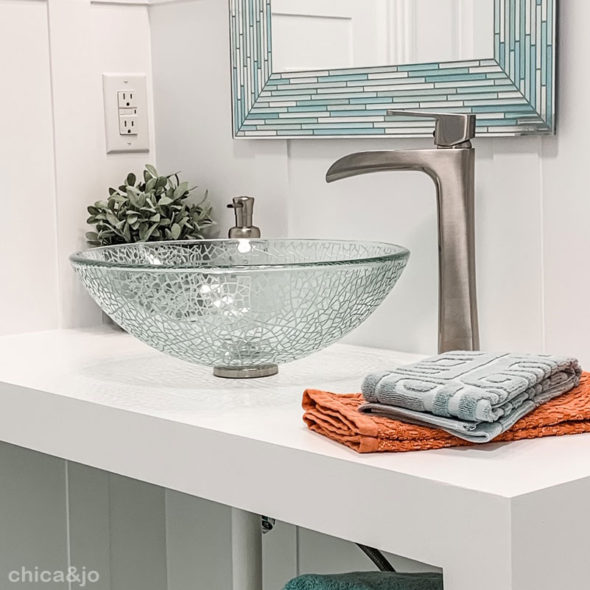
To dress the counter, I found a gorgeous cracked glass vessel sink that reminded me of sea glass, and a brushed nickel waterfall faucet. I'm in love!
Painted shower tile
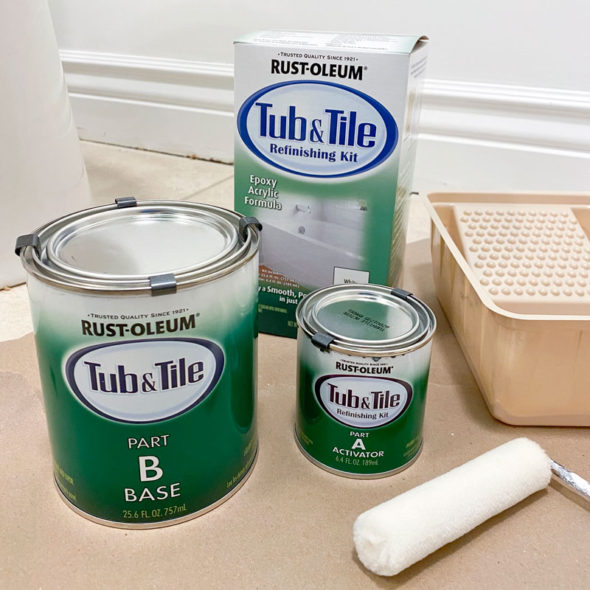
I just had to do something about that brown tile on the shower walls, so I reached for a clever product, Rust-Oleum's Tub & Tile Refinishing Kit in white.
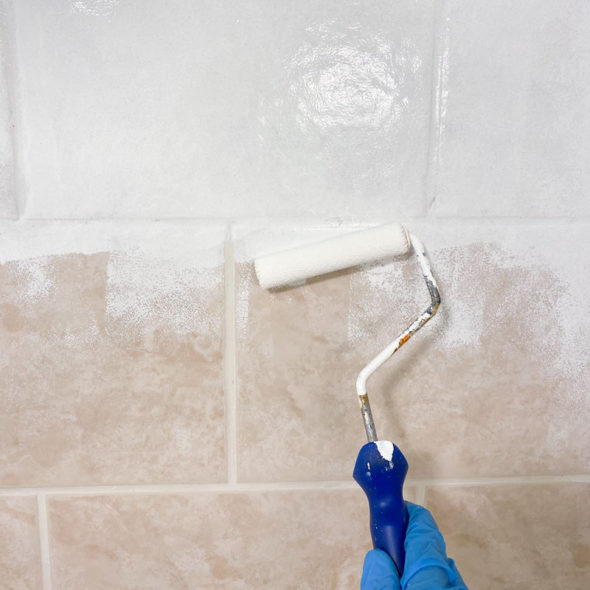
I prepped the tile according to the package directions (scrub, dry, sand, wipe), made sure the room was well ventilated, put on my gloves, and mixed the two-part epoxy paint together. Then it was just a matter of rolling it on in smooth, even strokes.
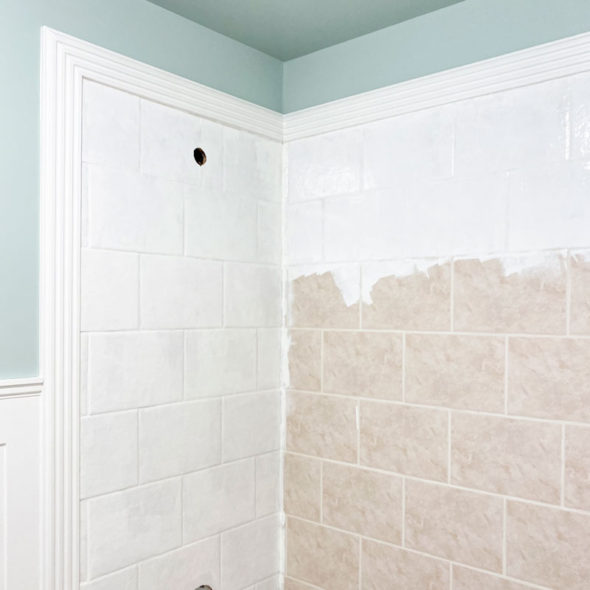
With just the first coat going on, I was already saying goodbye to the ugly brown tile!
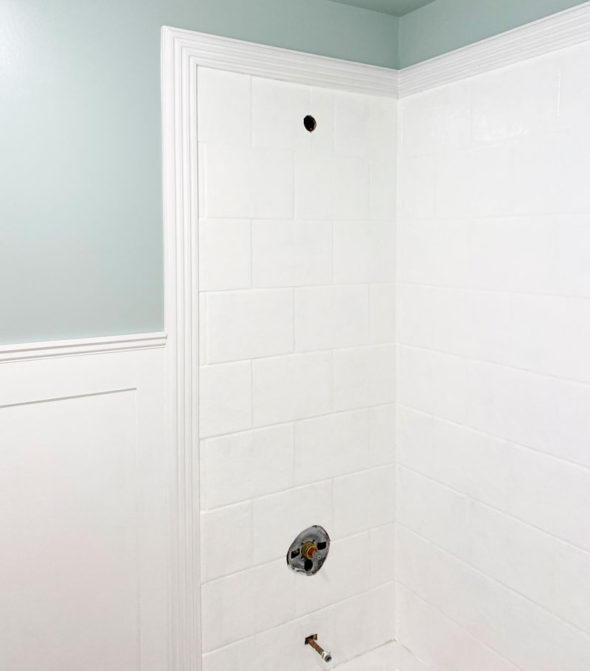
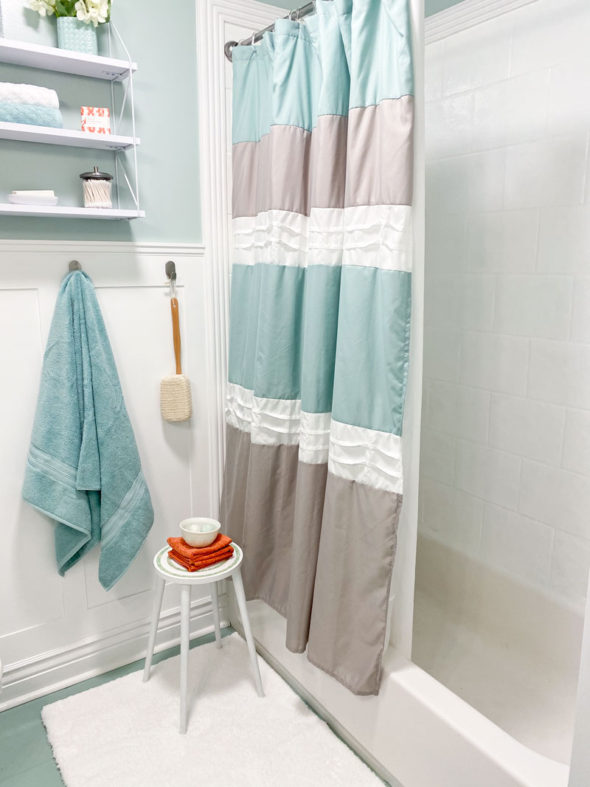
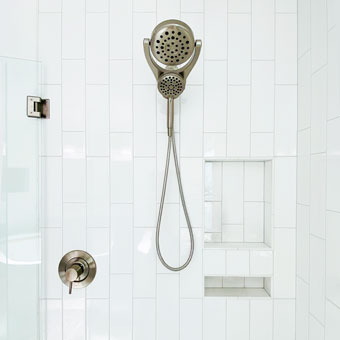
After two coats (and a few days of cure time), I had a gorgeous new white shower with a glossy new finish.
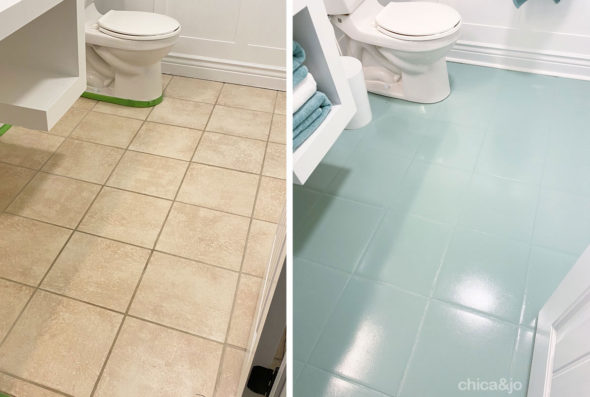
Painted tile floor
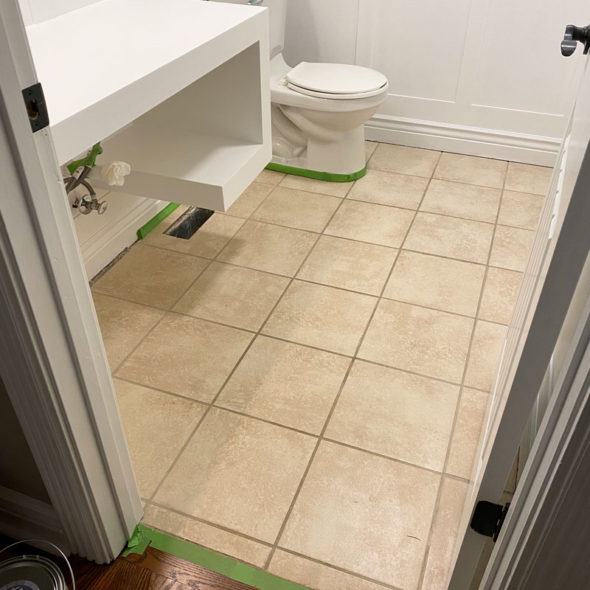
Not to be outdone by the shower tile, my floor tile also needed a refresh. I mean, the prettier the rest of the bathroom got, the uglier the floor looked in comparison!
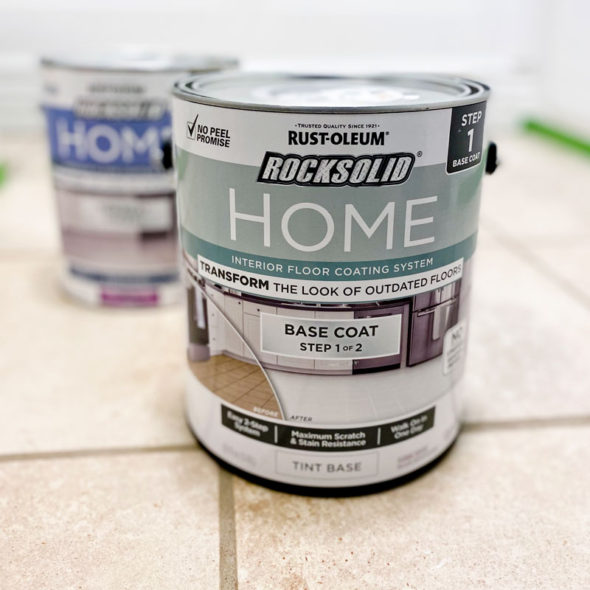
This time, I reached for Rust-Oleum's RockSolid Home paint, formulated specifically for tile and other floors. This system includes two parts — a tinted base coat (I chose Seafoam) and a clear top coat.
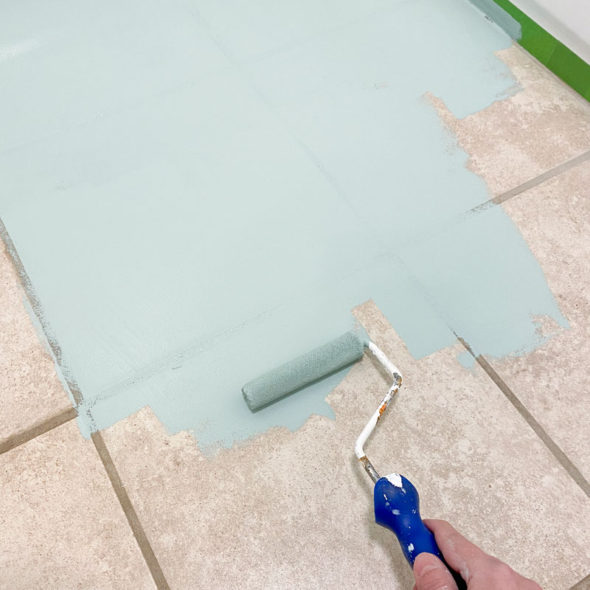
The base coat couldn't have been easier to apply, and only took me about 20 minutes. I just rolled it on with a short-nap roller, rolling RIGHT OVER THE GROUT, and keeping it as smooth and even as I could.
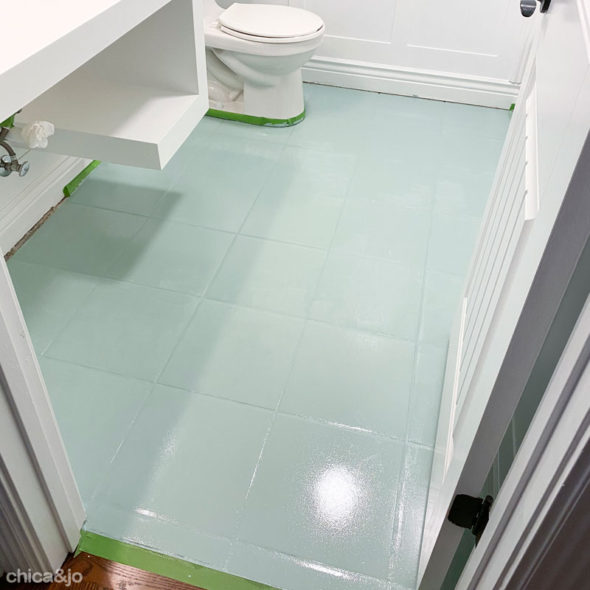
After letting the base coat dry 6 hours, I applied two coats of the top coat (in semi-gloss) and let it dry for 24 hours. (At this point it was okay for light foot traffic, but it still needed 7 days to be fully cured and hardened.) The difference it made to the floor is truly remarkable.
Personal touches with toiletries
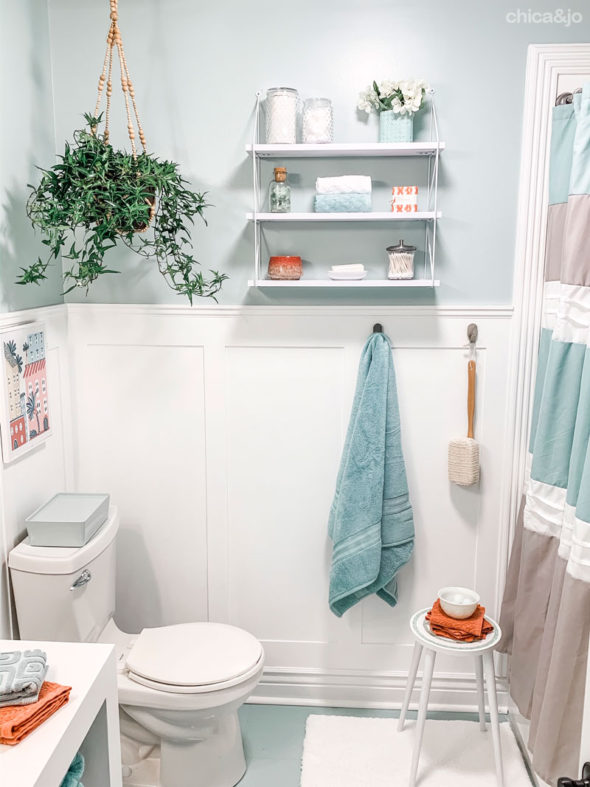
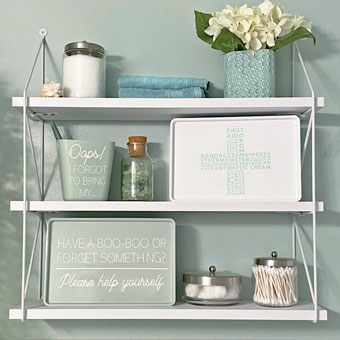
To make my guests feel truly welcome and pampered in this bathroom, I added lots of personal touches. An inviting plant, some lush towels, and toiletries like pretty soaps, cotton balls and swabs really set the mood and soften the space.
I grounded the space with the addition of gray from a bold striped shower curtain, softened up the floor with a plush bath mat, and added a cute little table for guests to keep their toiletries within reach of the shower.
More lush towels on the shelf and more brushed nickel accessories rounded out the vanity. Oh, and don't forget the gorgeous sea glass mirror to finish it off.
I also added new light fixtures with bright white bulbs, which really gave the room a clean and fresh look. When we added in some pops of coral color, the whole room really came together beautifully, and I could not be more pleased with it. I'm certain my next guests will think they've stepped into a whole new house!
Spa guest bath makeover — before and after
Just look at this amazing transformation! It's amazing what a little paint can do.
UPDATE: One year later
It has now been a year since I renovated this bathroom, and I'm happy to say that the painted tile is holding up beautifully!
The floor has no nicks or scratches, and still looks just as good as it did when I first painted it. The grout even still looks great, with no cracks or peeling.
The shower walls are still a glossy, crisp white with a smooth finish. There has been no peeling on the surface or in the corners, and the epoxy finish has held up wonderfully. It still looks brand new and functions great!




4 comments so far:
This looks so great!!! Out of curiosity how has it held up since you’ve completed it?
Tara, the paint has held up perfectly. Granted, this is a guest bath that doesn't get daily use, but so far there isn't a single mark or blemish on the floor or shower tile.
Do you remember the name/color of the paint you used on the walls? Or something comparable?
Brian, the color is Sky House, an HGTV Home / Sherwin Williams color number HGSW3297.