Refurbished Hutch Turned into a Console Table
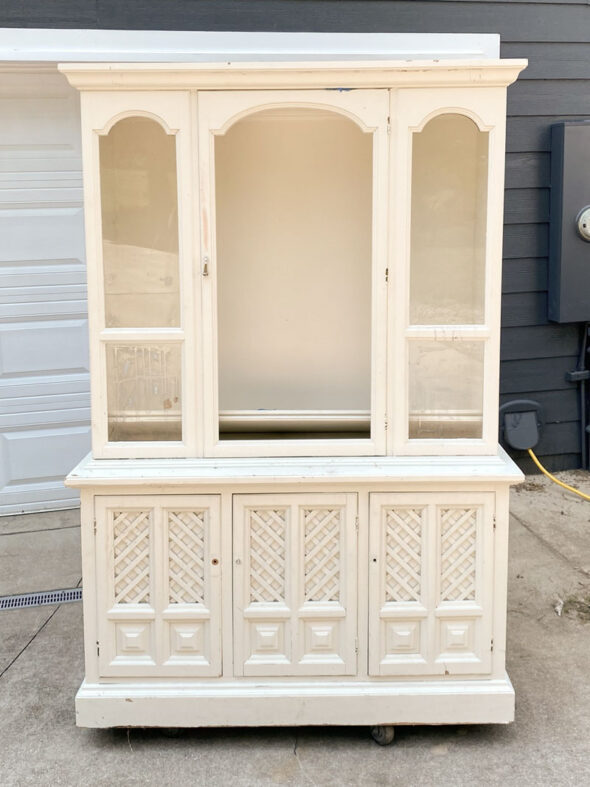
I could not believe my eyes last weekend when I was driving through my parents' neighborhood and saw an amazing hutch on the curb, free for the taking. It was a little dirty, but structurally very sound, so I snatched it up right away.
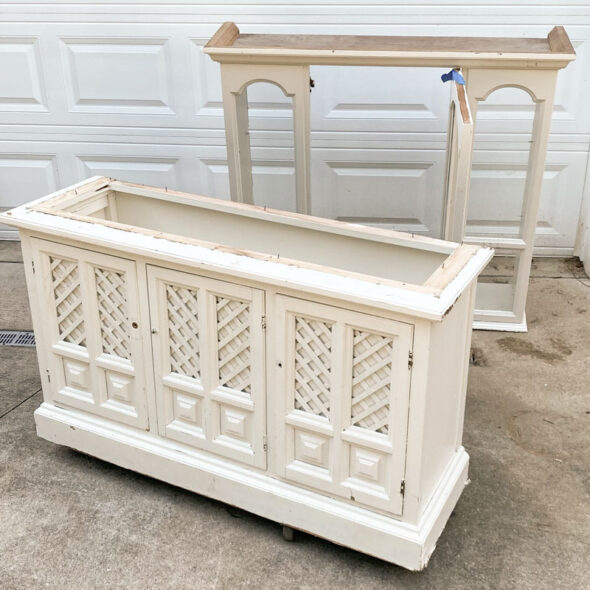
I had no need for a hutch in our home, so I decided to repurpose it by turning it into two separate pieces that were easier to work with.
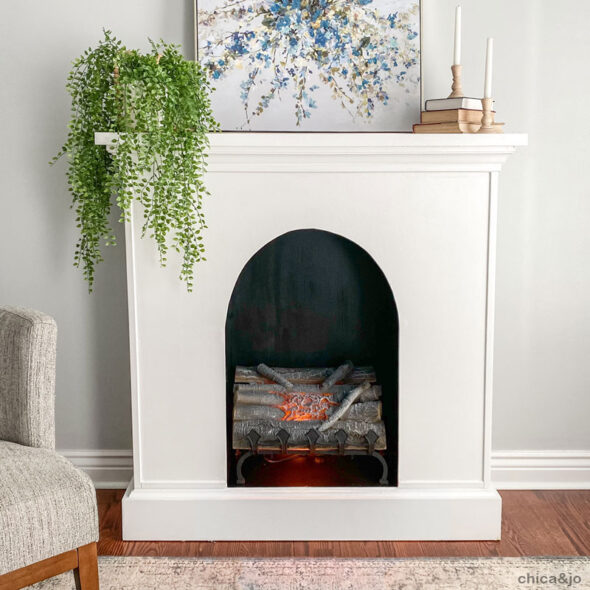
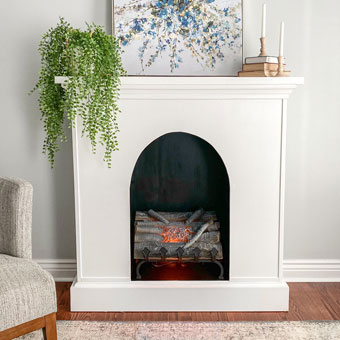
The top cabinet ended up undergoing quite a transformation, and you can read all about how I turned it into a faux fireplace. You won't even believe it!
VIDEO: Overview of turning a dining room hutch into a console table
Here's an video showing an overview of how we transformed the bottom of this hutch into a console table.
VIDEO: Turn an old hutch into two new pieces
If you want a more detailed look at how we transformed this dining room hutch into TWO pieces — this fireplace AND a console table, check out our full video on YouTube.
If you prefer step-by-step instructions, keep reading to see exactly how I turned the bottom of this hutch into a gorgeous new console table!
How to turn a hutch bottom into a console table
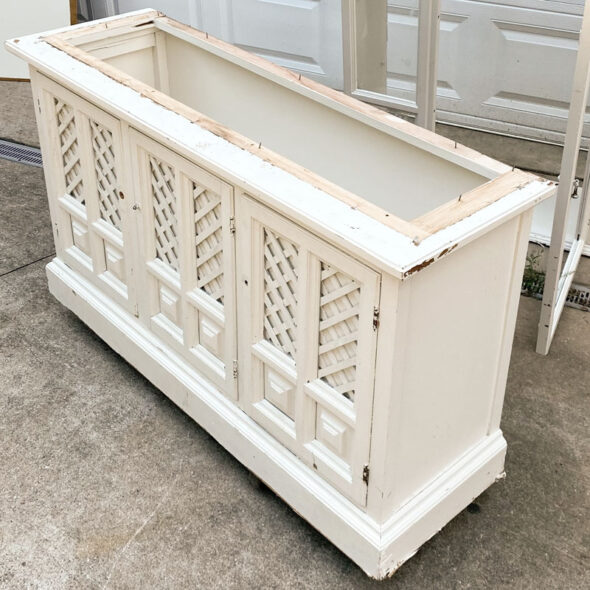
The bottom half of this hutch was the perfect size to make a console table / cabinet that would be suitable for a hallway or just about any room in the house. It just needed a little work and a fresh new color.
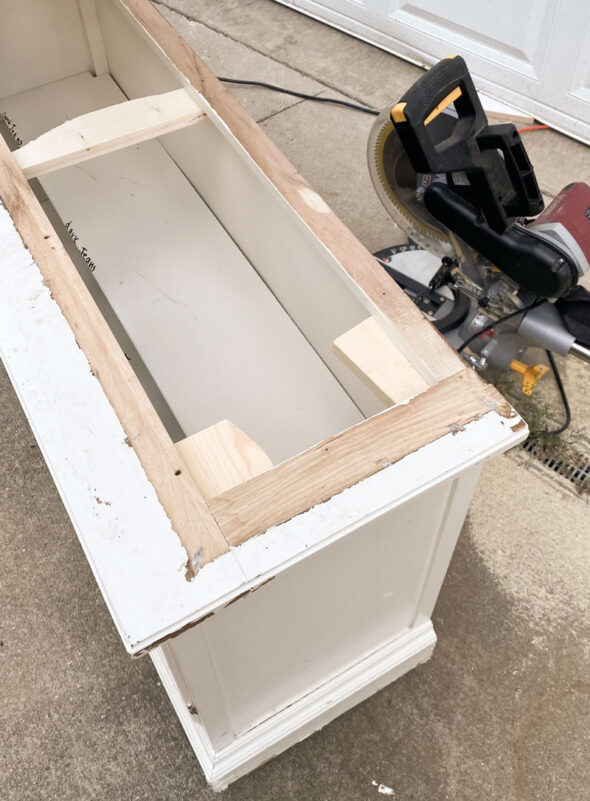
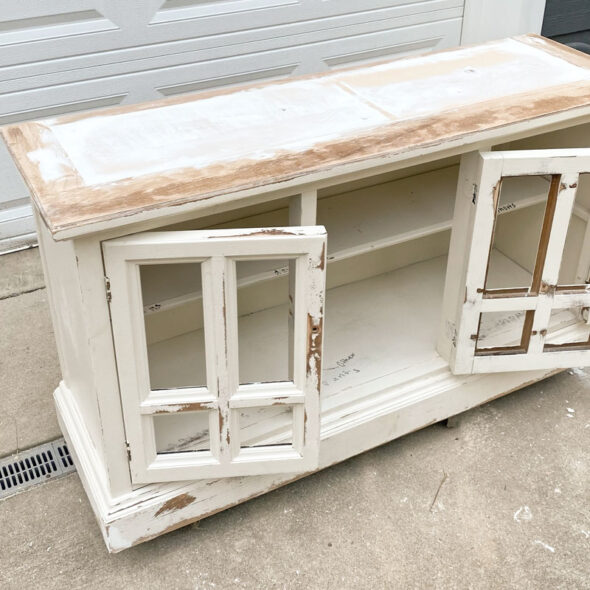
Oh, and it also needed a new top! Unfortunately, the cabinet didn't have a solid top (it was part of the piece I removed), so I needed to fill the gap with a new piece of wood. I first added some brackets for support, made with some scraps of wood that I screwed in from underneath.
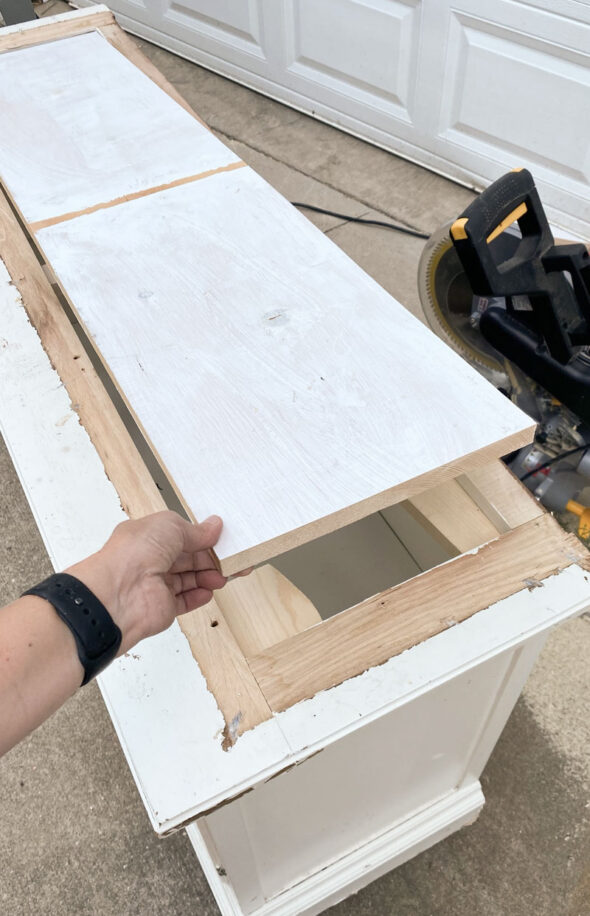
Then I cut some scrap wood to fit, plopped it in place, and secured it with screws. It would have been nice to replace the entire top with a solid piece of wood, but I was trying to keep this project easy and inexpensive, so I did an inset piece instead.
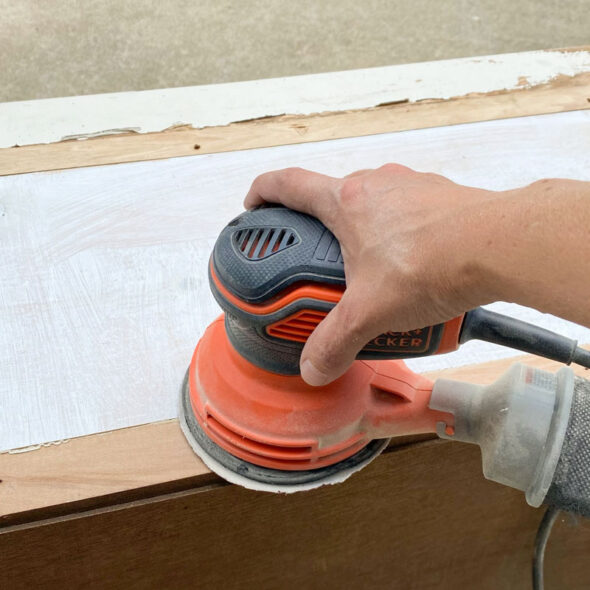
I used my orbital sander to sand everything flush until the inset was perfectly level with the rest of the top.
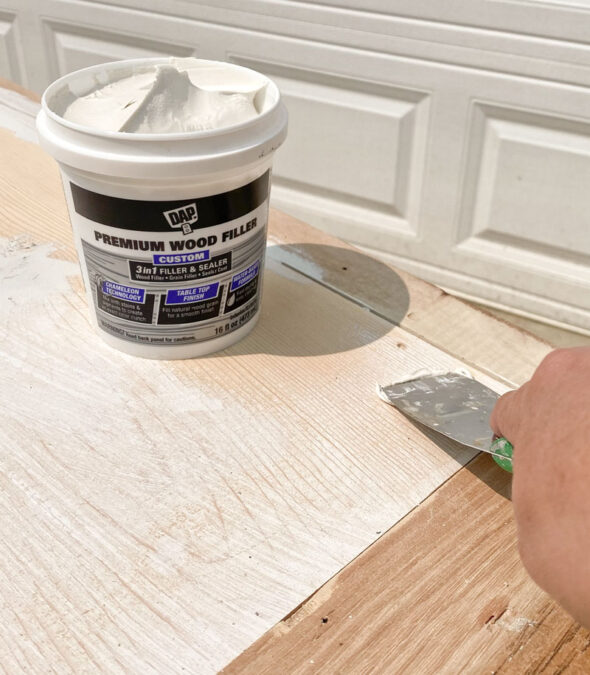
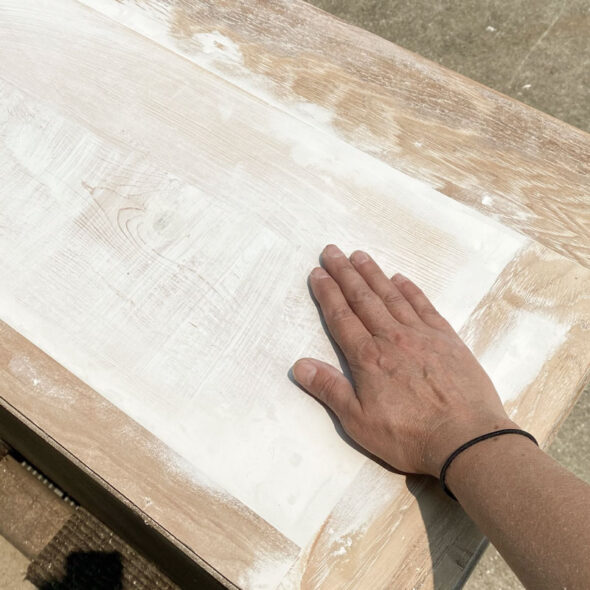
Then I used some wood filler and a putty knife to fill all the gaps, cracks, and holes.
After it dried, I sanded it smooth, then added more filler, then sanded again! I kept working it until everything was so smooth that I couldn't feel any edges or bumps when I ran my hand along the surface.
I also gave the rest of the cabinet a good sanding to get rid of any rough spots or paint drips from the previous coat of paint.
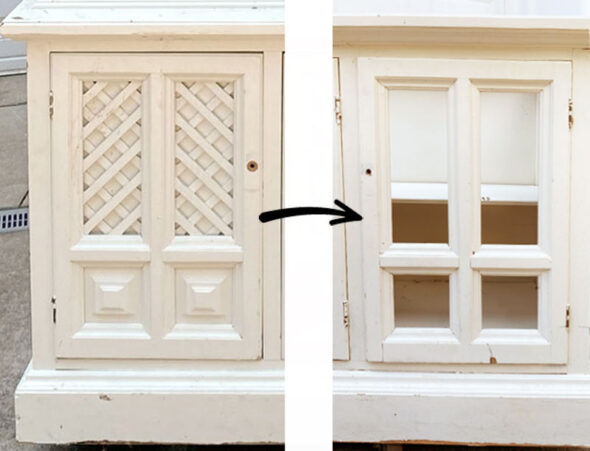
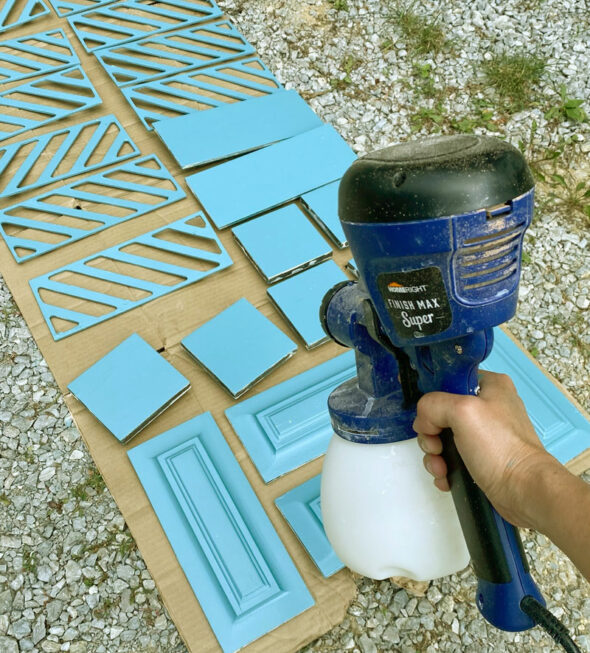
I was then that I discovered that the panels on the doors were actually removable. The dated lattice and ornate molding actually popped right out, revealing openings with a much more modern look!
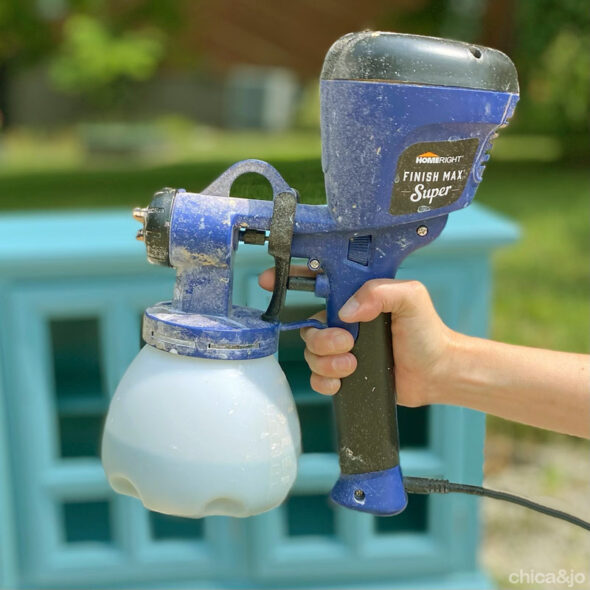
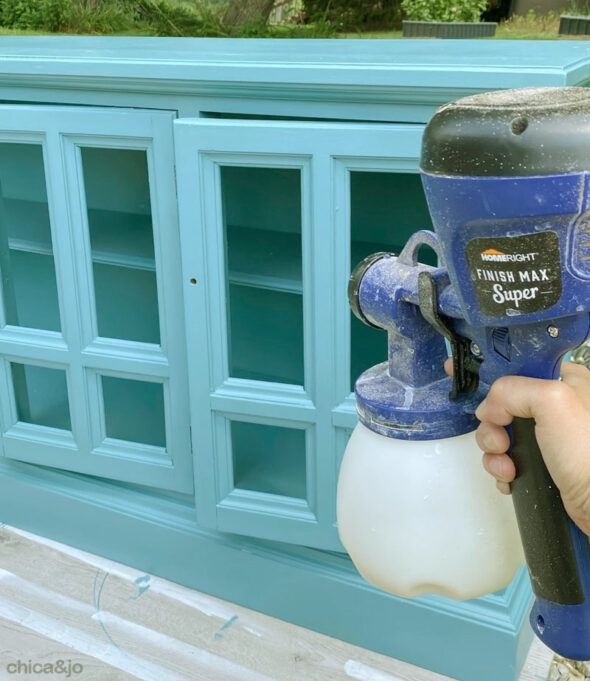
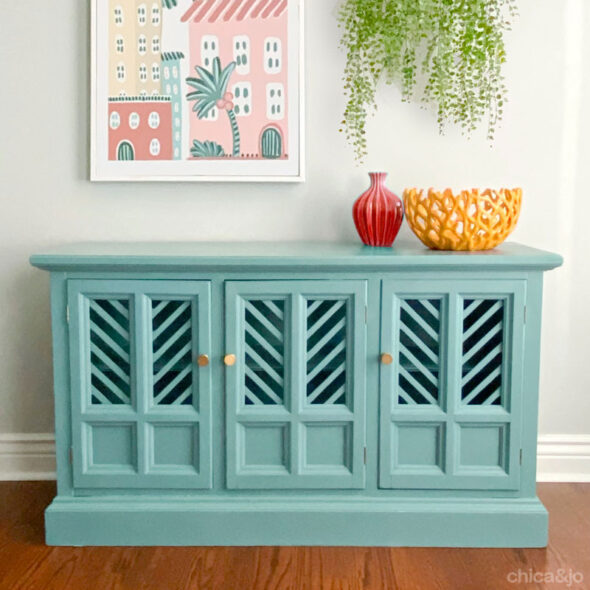
With all the prep done, it was finally time to paint. I reached for my workhorse paint sprayer, the HomeRight Finish Max Super, and loaded it up with some paint in a gorgeous shade of turquoise called Bubble Turquoise by Behr.
I sprayed the entire cabinet, resulting in a smooth and clean coat. What a difference a fresh coat of paint in a fun new color can make!
When the paint was dry, I also sprayed the whole thing with a coat of clear varnish in a satin finish, to give it a polished look and an extra layer of protection against everyday wear and tear. The HomeRight did a fantasic job with this, as well, and I had the whole thing coated in just a few minutes.
While I was at it, I also sprayed and sealed all of the panel pieces that I had removed from the doors. I was delighted to find that they were made up of lots of pieces that I could mix and match to achieve many new looks for the door.
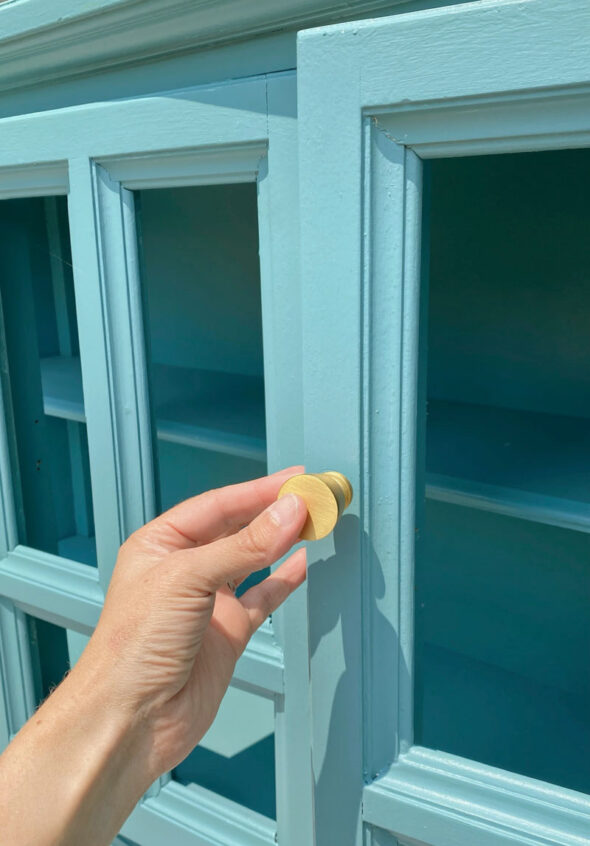
To finish the doors off, I added some new brass knobs and it was good to go.
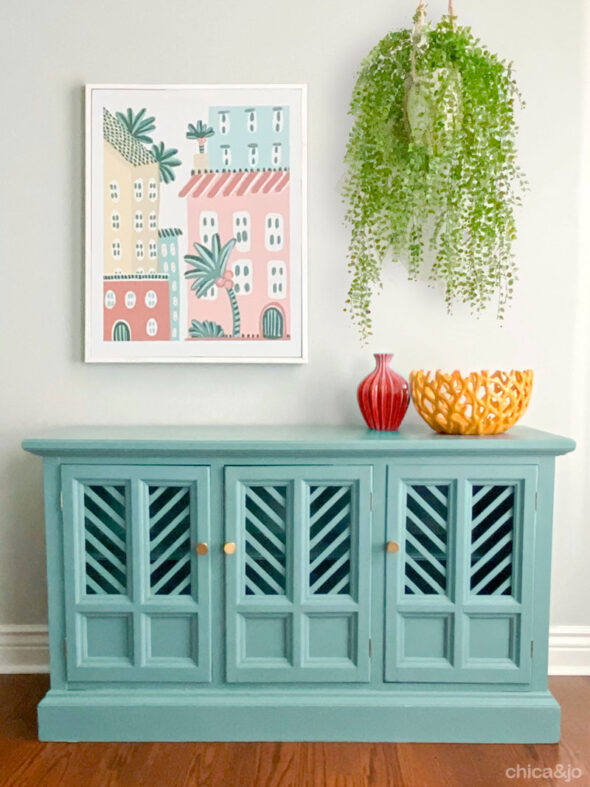
For the door panels, I ended up choosing the angled slats on top and solid panels on the bottom. I just love the herringbone effect it gives. So much better than the lattice that was there before.
This cabinet is now a treasured piece of furniture in my home, and I'm still in awe when I look back at the transformation.


