DIY Modern Geometric Wedding Table Numbers
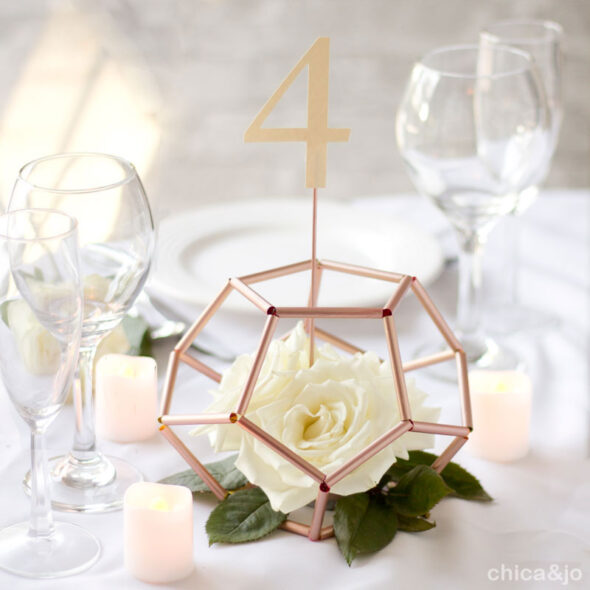
We're in love with the recent trend of modern Himmeli decor, with its geometric and minimalist design. We thought it would be a great design element to include in some DIY wedding table numbers perfect for the tables at a reception.
What is Himmeli?
Pulling inspiration from the traditional Finnish reed ornaments, modern Himmeli shapes like cubes, pyramids, and diamonds are typically handmade from brass tubes. With endless shapes and designs possible, Himmeli figures and shapes are showing up in weddings and household decorations everywhere.
Creating rose gold Himmeli tubes from straws
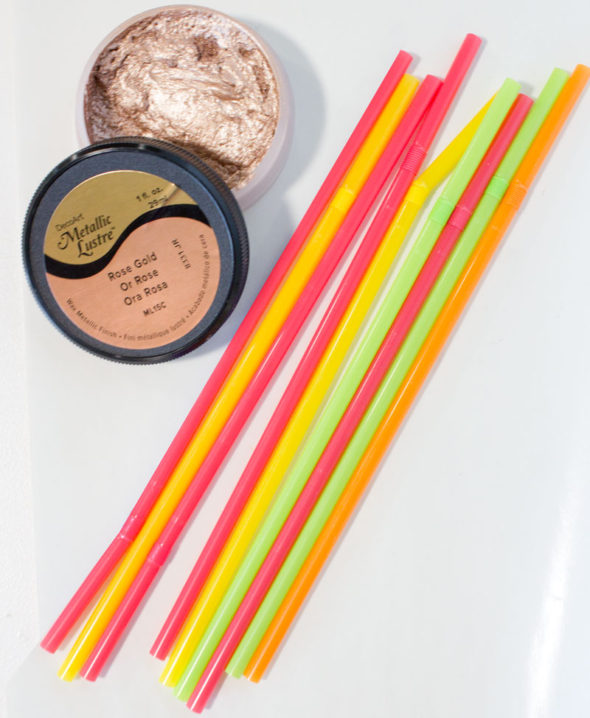
So how did I create my rose gold Himmeli tubes affordably and from household supplies? I just reached for some plastic drinking straws and a tub of Metallic Lustre wax in Rose Gold. You can use pretty much any color of straw you want, but white or clear would probably work best if you've got them (I didn't!). And don't reach for paper straws... you need the smooth finish of the plastic straw to really look like metal.
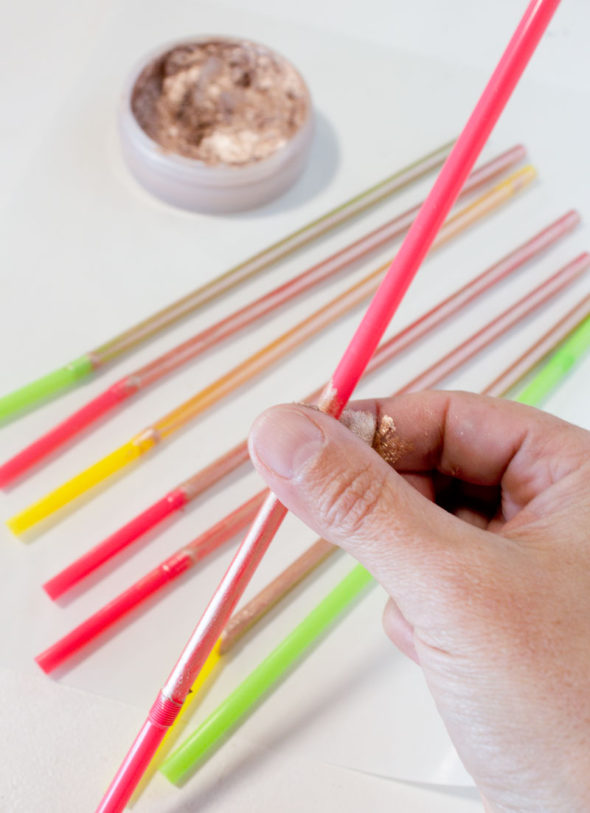
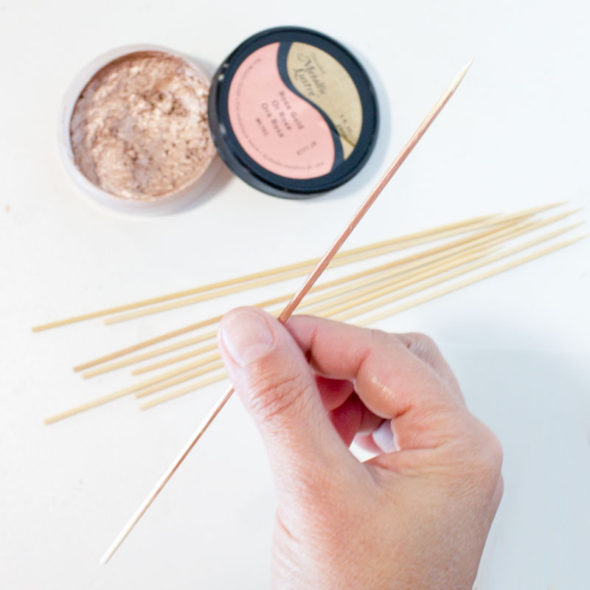
To transform the straws, I just dabbed my finger in the wax and smeared it on the straw. I didn't bother to do the short end of my bendy straws, since I knew I would be cutting that part off anyway.
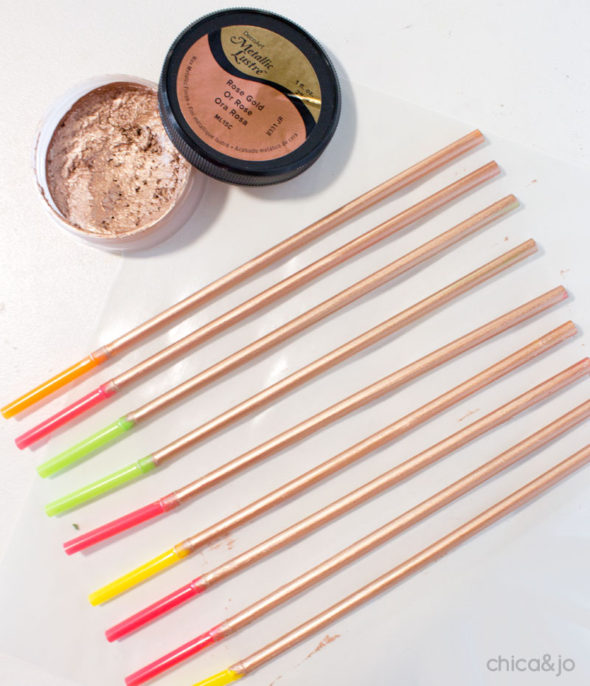
After letting the first coat dry, I applied a second coat, and achieved 100% coverage. You can't even tell that I used different colors of straws! I love the polished, metallic look that comes so quickly and easily with even the tiniest amounts of Metallic Lustre.
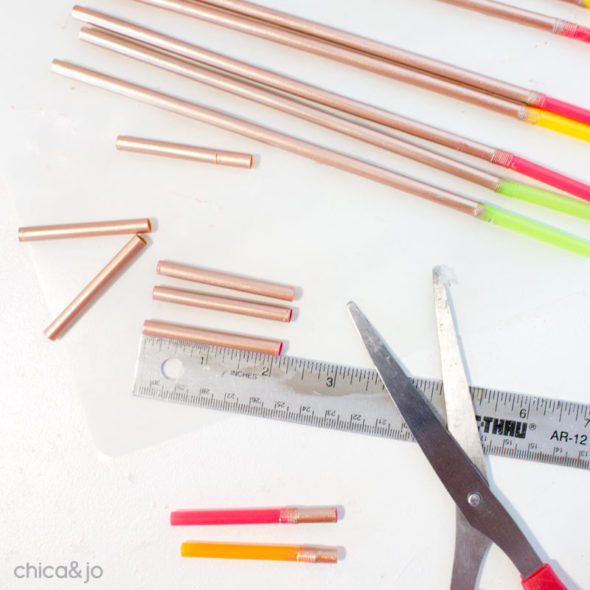
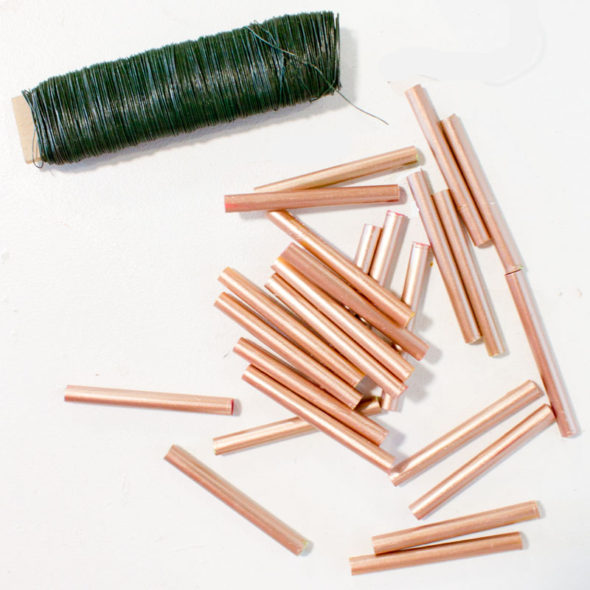
After the wax had dried, I cut the straws into 2" lengths. After discarding the bendy end of my straw, I could easily get three pieces from each straw.
For my 12-sided dodecahedron, which ended up about 6" tall, I needed thirty pieces, so I needed ten straws total. I also grabbed some thin florist wire for assembly.
Creating a dodecahedron Himmeli shape
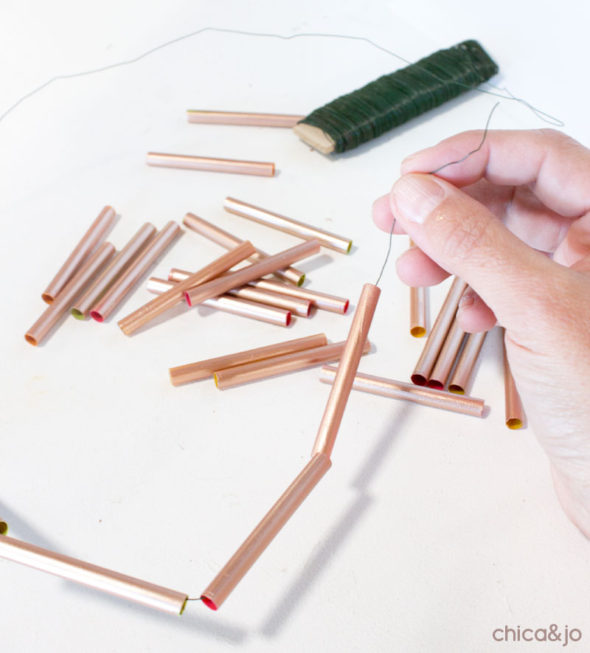
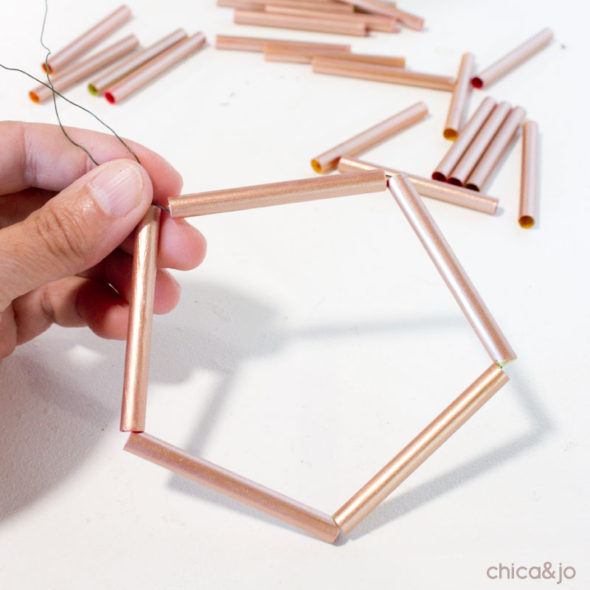
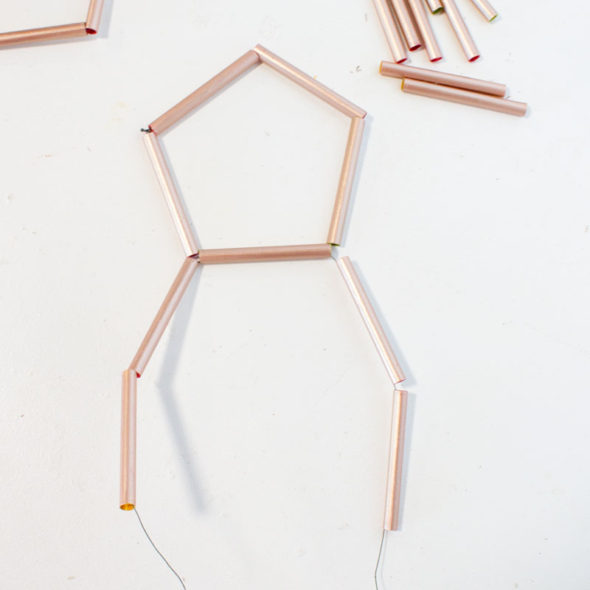
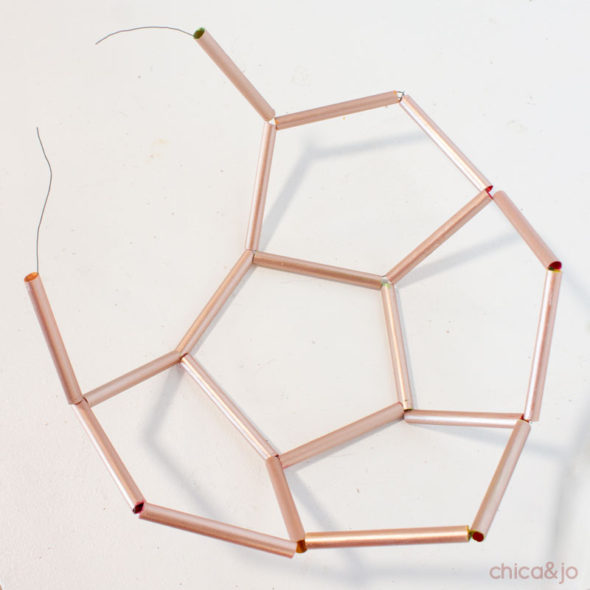
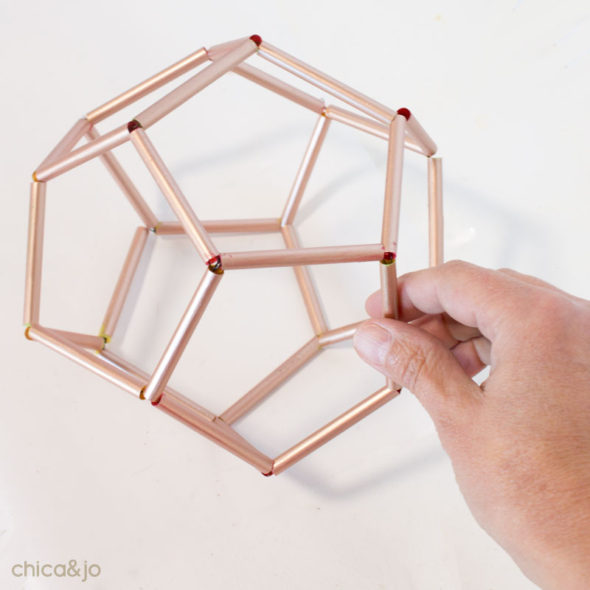
The dodecahedron shape has 12 flat sides, each made up of a five-sided pentagon. To create the first one, I just strung five pieces of straw onto a piece of wire.
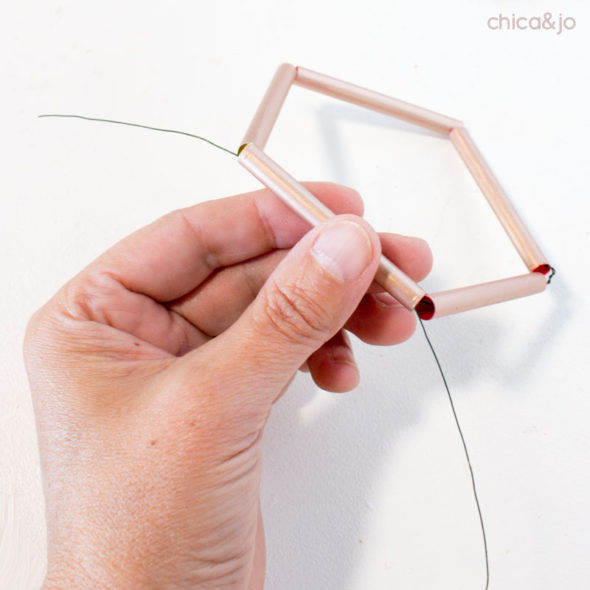
Then I pulled the ends together and twisted them tight, creating a pentagon that would be the base of the orb. I snipped the excess wire off and shoved the ends down inside the straws to hide them.
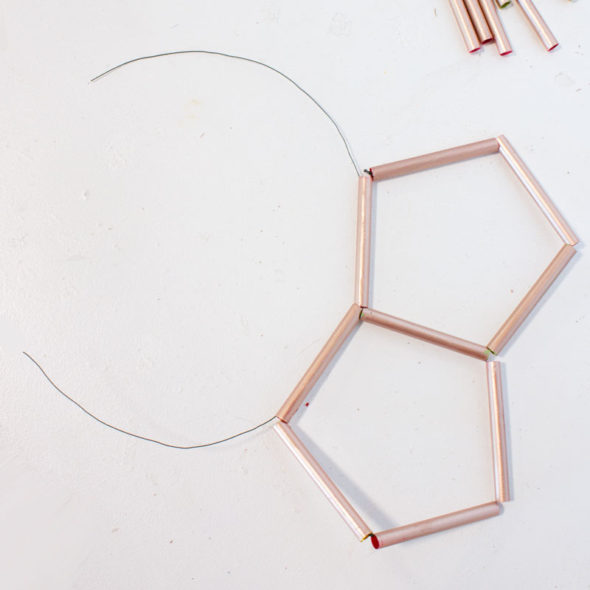
To create the next side, I ran a new piece of wire (about 12-14" long) through one side of the base...
...then I strung four more pieces onto that, ending up with five pieces total that I could twist together to form another pentagonal side.
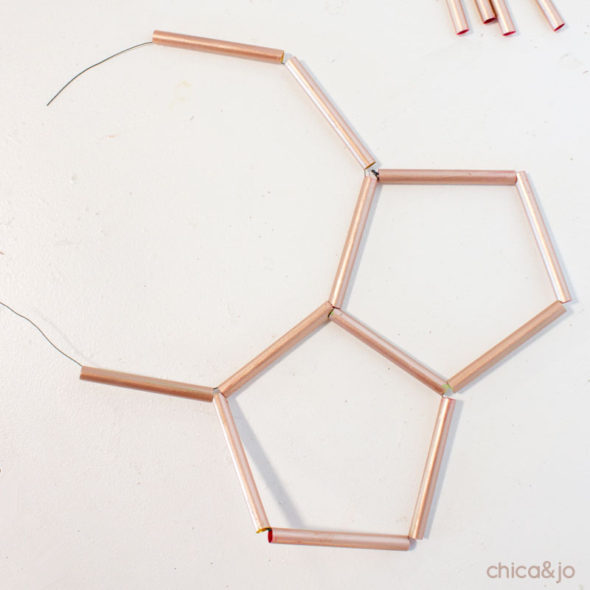
To form the third side, I strung a piece of wire through TWO existing straw pieces (one on each pentagon)...
...then added three more, creating a total of five once again.
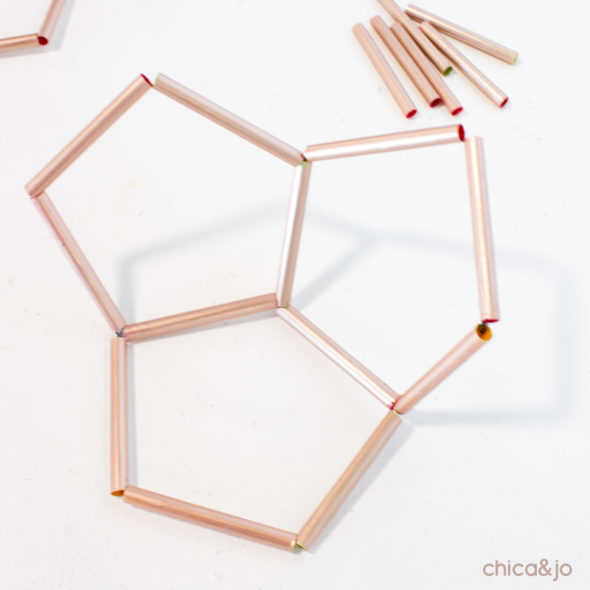
After twisting the wires shut, I had three completed sides, and they were starting to take on a dimensional form.
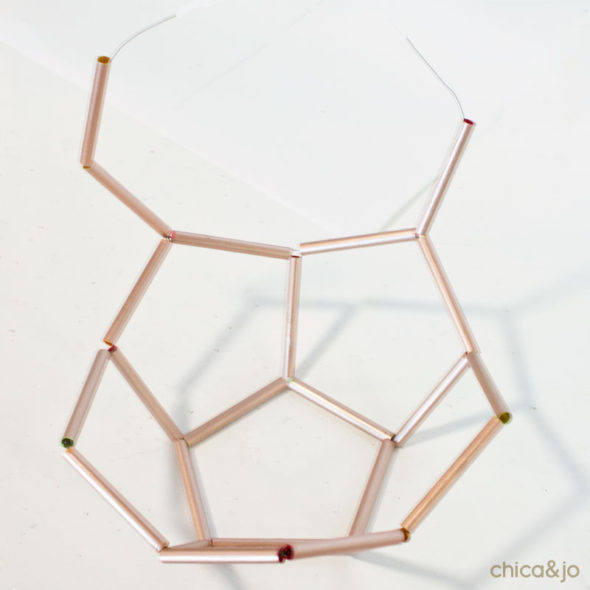
Using the same technique (through two, add three), I added the fourth and fifth sides. For the sixth side, I ran the wire through THREE existing pentagons and added only two more pieces.
With that, I had a curved, six-sided shape that resembled a bowl. Halfway there!
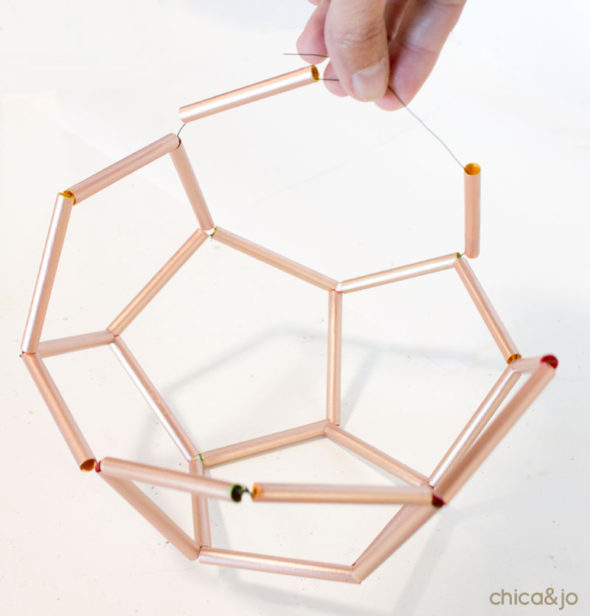
To start the top, I once again ran the wire through two sides, added three more, and created another pentagon.
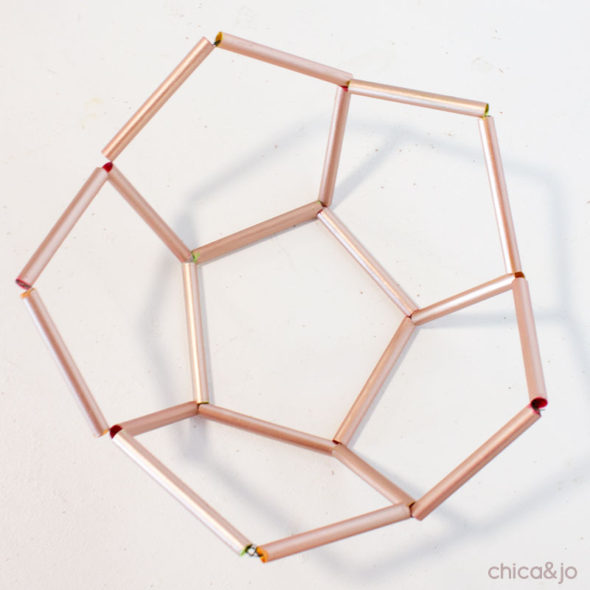
I kept on adding pentagons, stringing through two or three and adding two or three, as necessary, until finally my orb was complete. As long as you keep creating pentagons, the whole shape will just naturally form and come together easily.
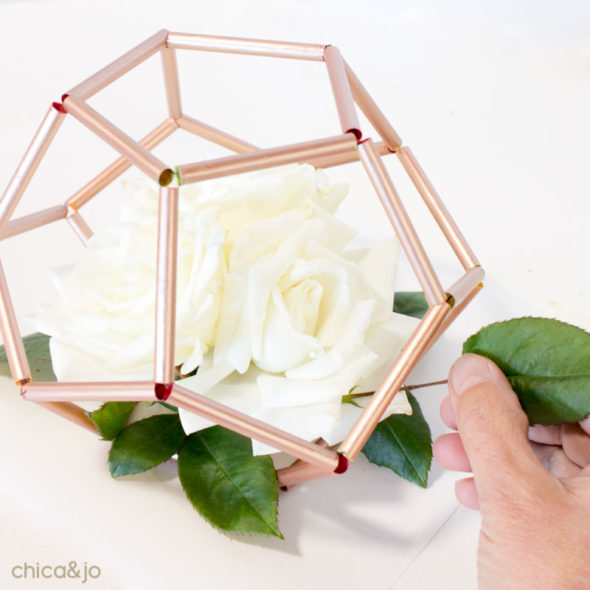
Then it just took some minor adjustments to push/pull the wire into an even shape, and the dodecahedron was complete!
Creating a floral centerpiece out of a Himmeli shape
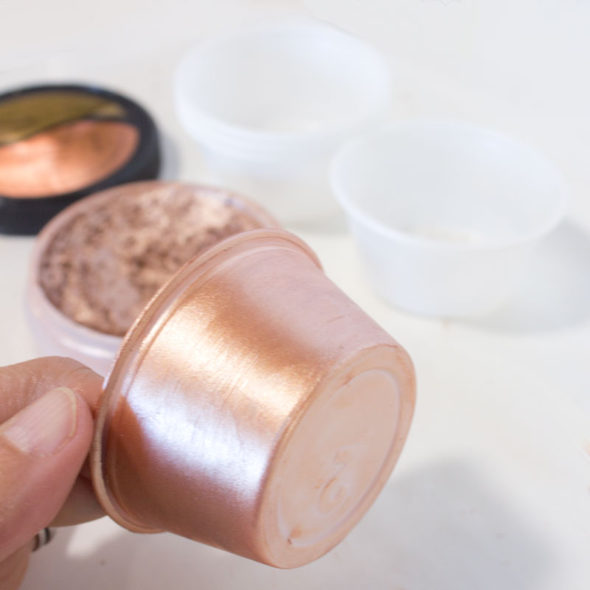
I needed something to hold the flowers in my Himmeli shape, so I reached for something super basic in my kitchen pantry — 2 oz plastic portion cups. I was afraid the white plastic would show and look cheap, though, so I covered them with two coats of Metallic Lustre. This stuff sticks to plastic so much better than most paints would.
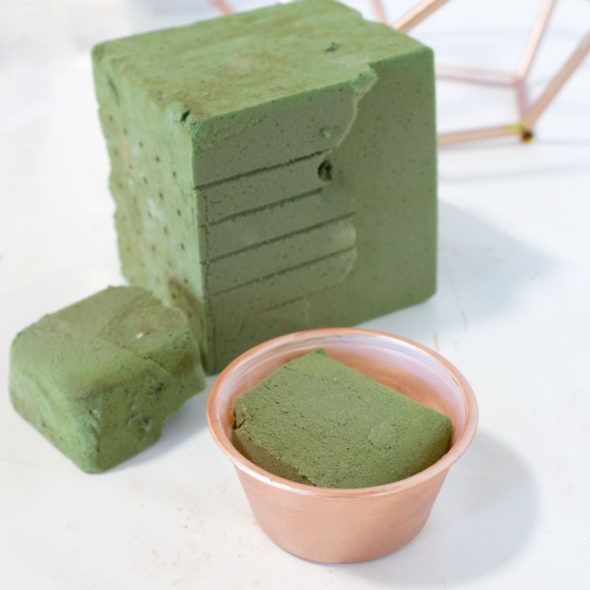
I tucked a little cube of floral foam into the cup, and soaked it with water. This would keep the flowers fresh as well as give me something firm to stick the flowers into.
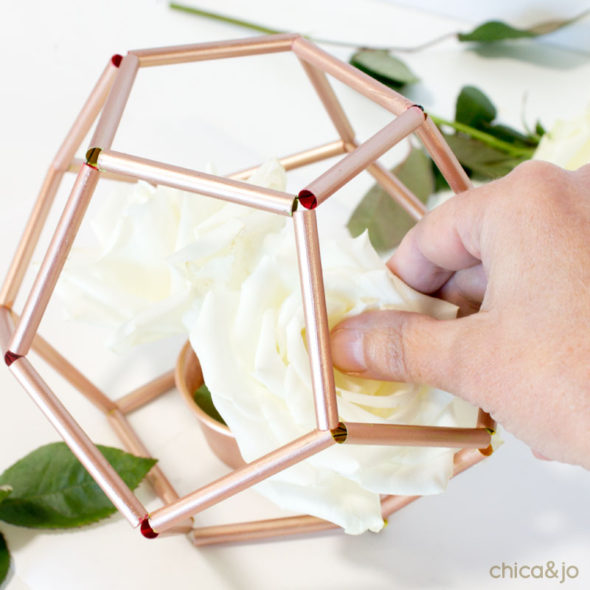
I put the cup inside the orb and tucked three white roses inside.
Then I added some sprigs of rose leaves all around to really finish it off.
Adding wedding reception table numbers
While it's a perfectly adorable floral Himmeli centerpiece as it is, I wanted to turn it into a table number for a wedding reception. I reached for the Rose Gold Metallic Lustre once again, and coated some thin bamboo skewers.
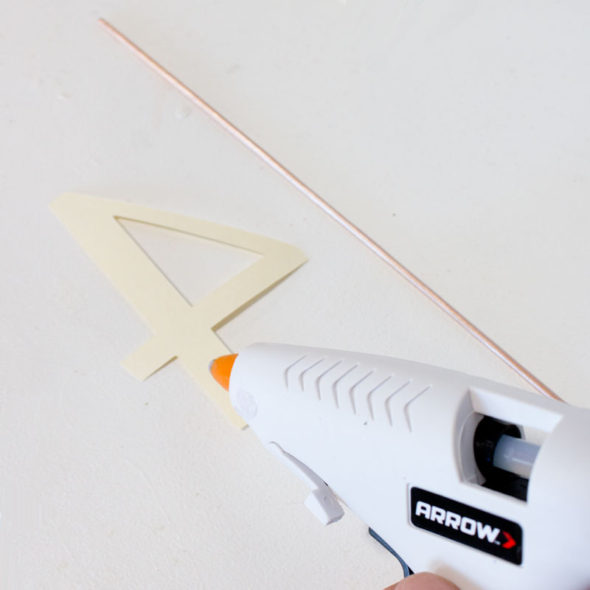
Then I cut table numbers out of cardstock and hot glued them to the skewers.
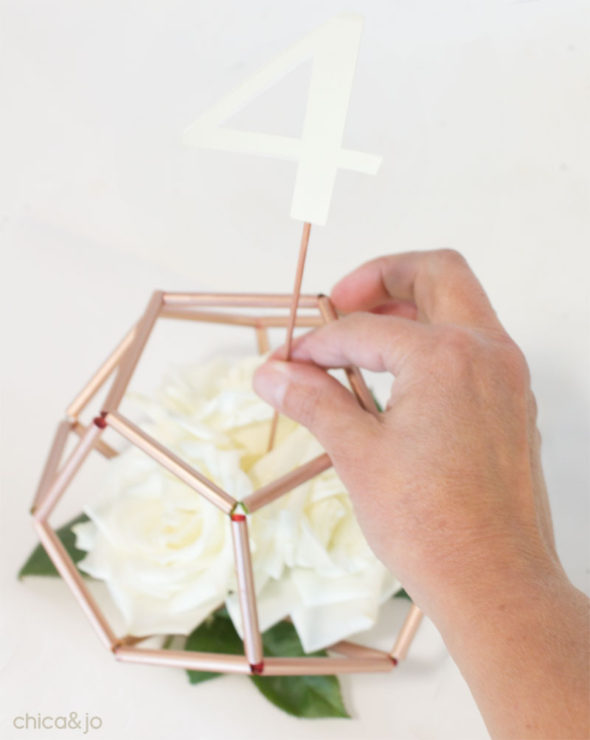
Finally, I tucked the skewer in the middle of the flowers, and it was done!
I'm so in love with this modern Himmeli wedding table number floral centerpiece. The rose gold looks perfect with the white roses, and brings a romantic touch to the wedding decor.


