Make an Ottoman from a Vintage Speaker Cabinet
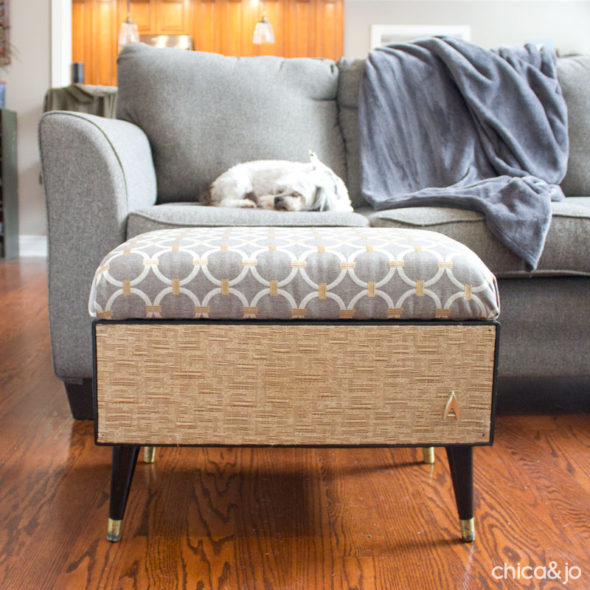
A good friend of mine recently moved into a new home and is taking it as a chance to update some of her furniture. She wanted a new ottoman, and decided it was the perfect opportunity to re-use a vintage speaker cabinet her grandparents had given her. Not so handy herself, she turned to me for help. With a little DIY magic, we transformed this old speaker cabinet into a trendy new piece for her living room.
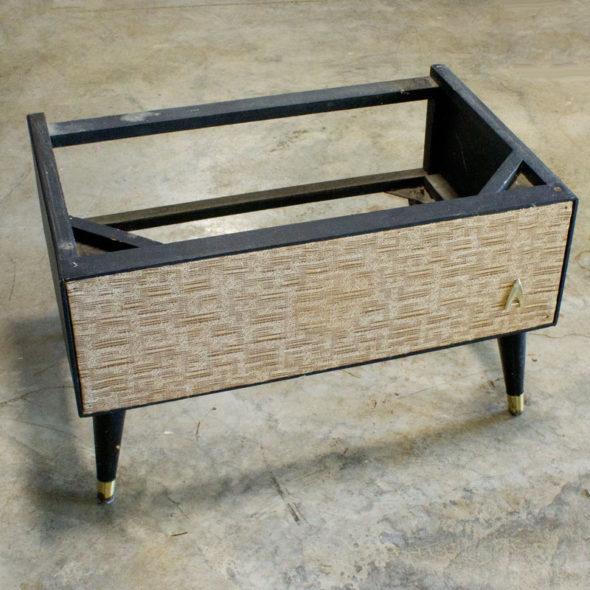
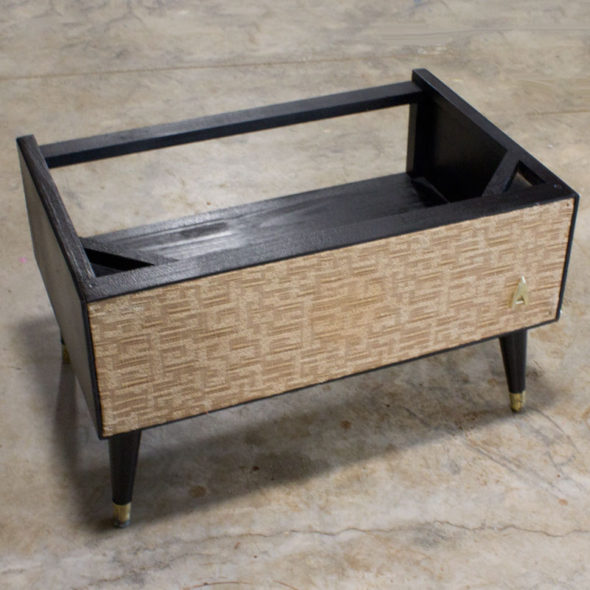
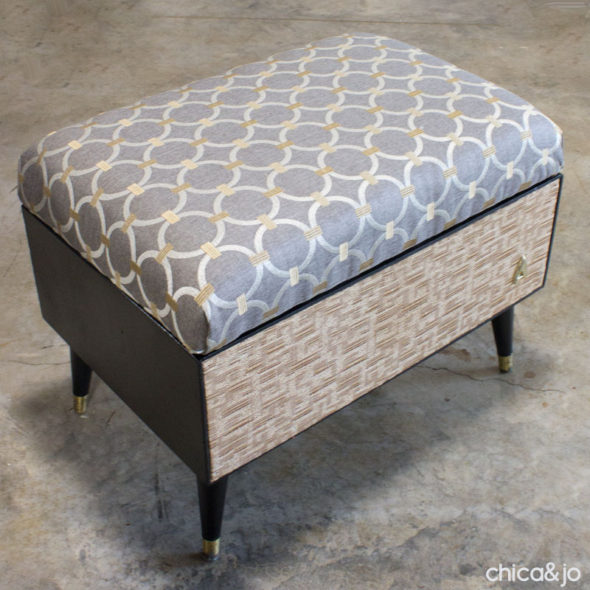
I don't know how it looked originally, but when I got the cabinet it was clearly missing some pieces. The clean lines and shape were the perfect start for an ottoman, though, and we especially loved the gold mesh speaker fabric and little gold medallion on the front.
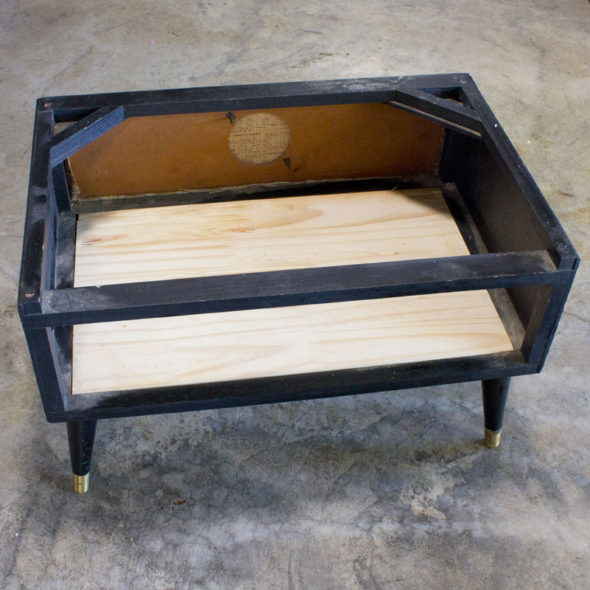
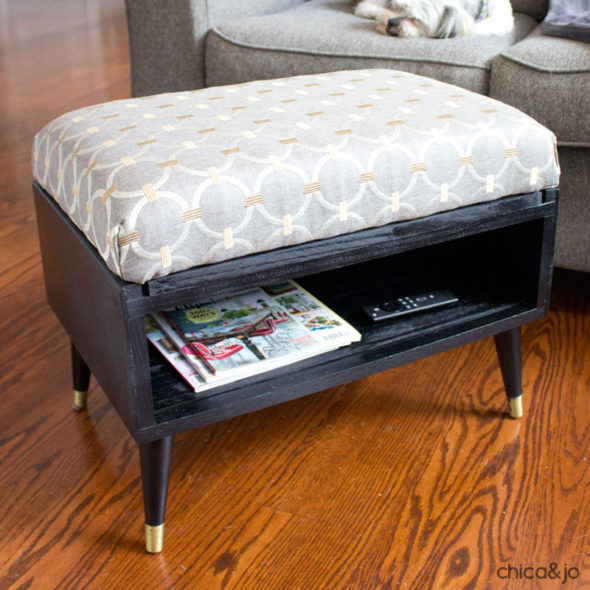
To fill in the missing bottom shelf, I cut a piece of 3/4" plywood to size and plopped it in place.
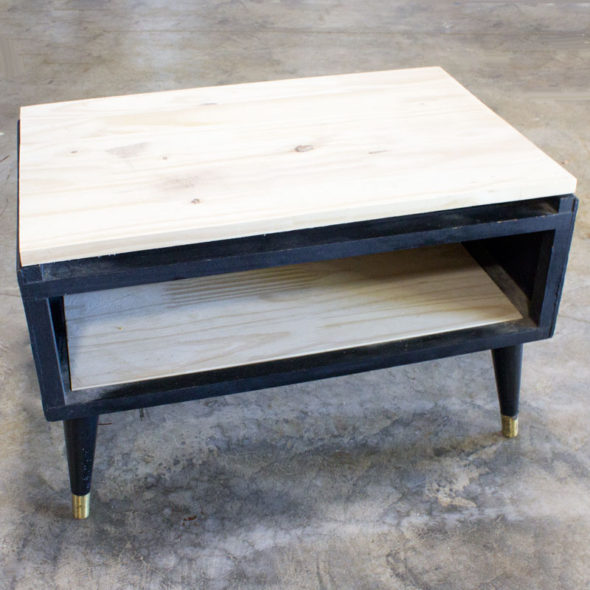
We wanted the finished ottoman to have a cushion, so I cut another piece for the top, making it about 1/4" short on all sides, so there would be room for the fabric and batting later.
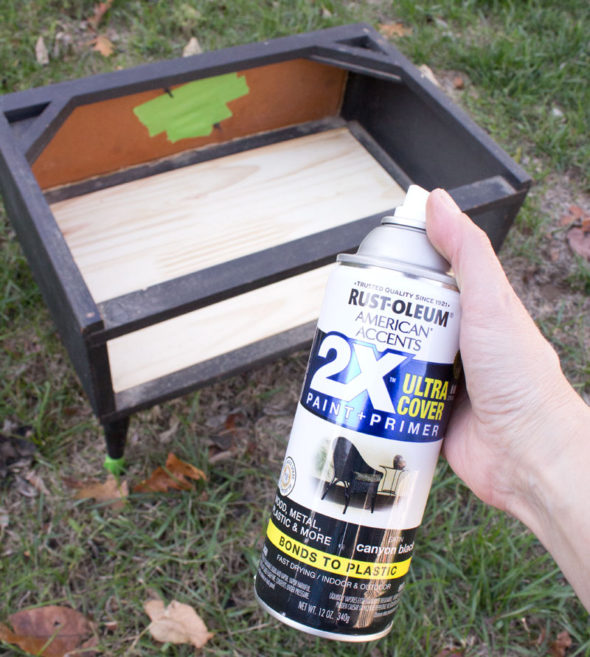
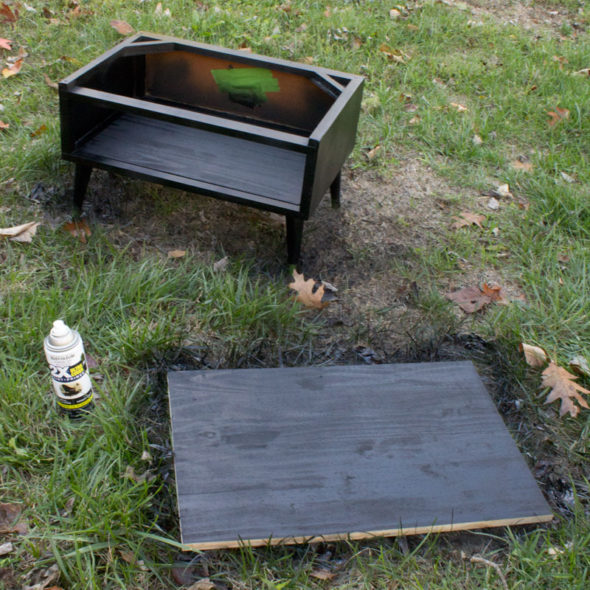
I masked off the gold fabric and the gold tips on the legs. And since I didn't want paint spraying through the fabric covering the "sound hole" on the inside of the front panel, I taped that off as well. Then I reached for some Rust-Oleum 2X Ultra Cover in satin black.
I painted everything on the base that would show, and gave the new bottom shelf a couple coats to seal it well. I only painted one side of the top board, since the fabric would be covering the other side.
Just refreshing the black paint made such a huge difference!
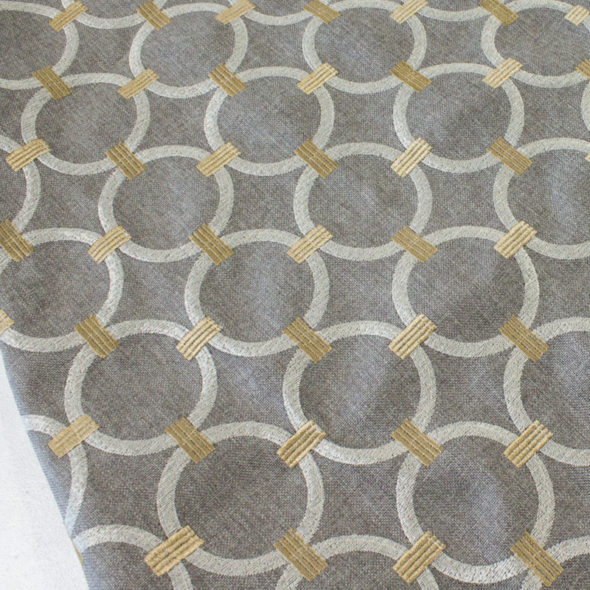
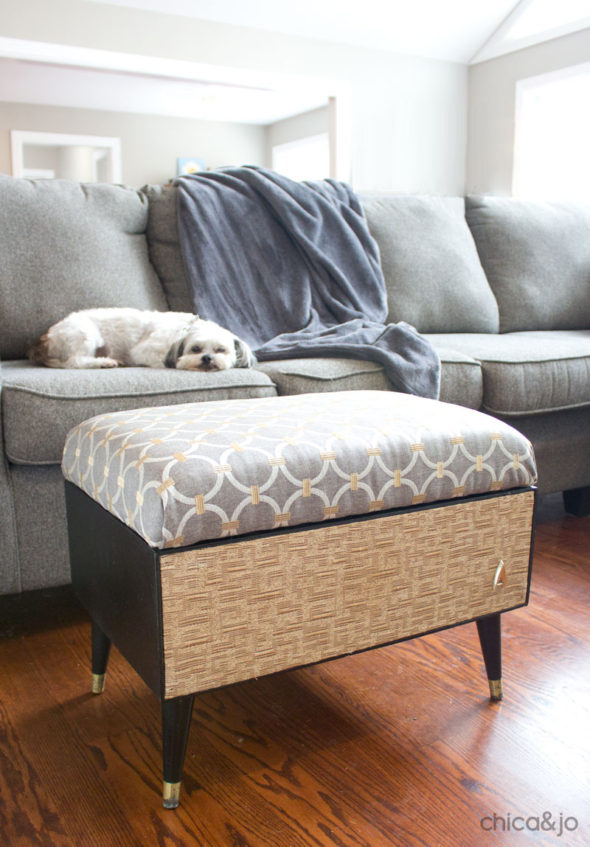
We searched several weeks for the just the right cushion fabric, and hit the jackpot in the upholstery fabric section at Hobby Lobby. This modern, geometric pattern was a perfect match to the style of the cabinet, and it had the gray to match her couch and the gold to match the mesh.
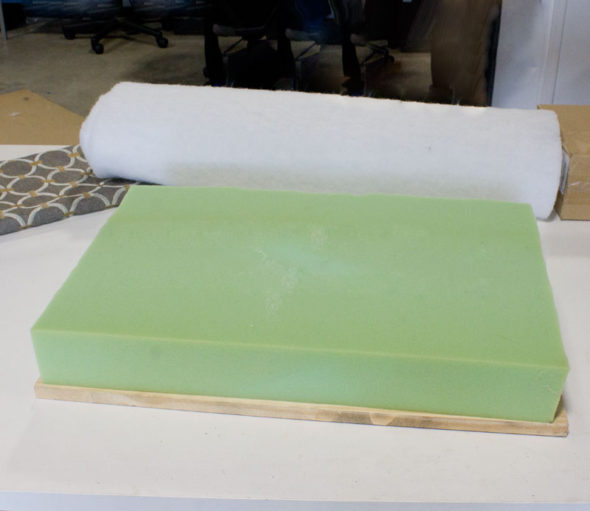
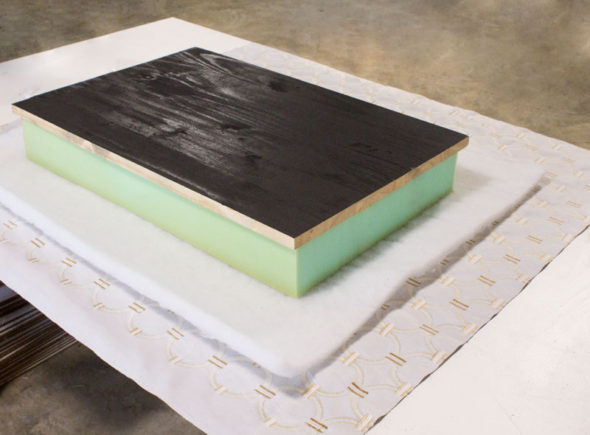
To create the upholstered cushion, I cut a piece of 4" upholstery foam a little smaller than the board, and grabbed a roll of polyester batting.
I carefully laid out all the elements on a table in the correct order. First the fabric (face down), then the batting, then the foam, then the board (painted side up).
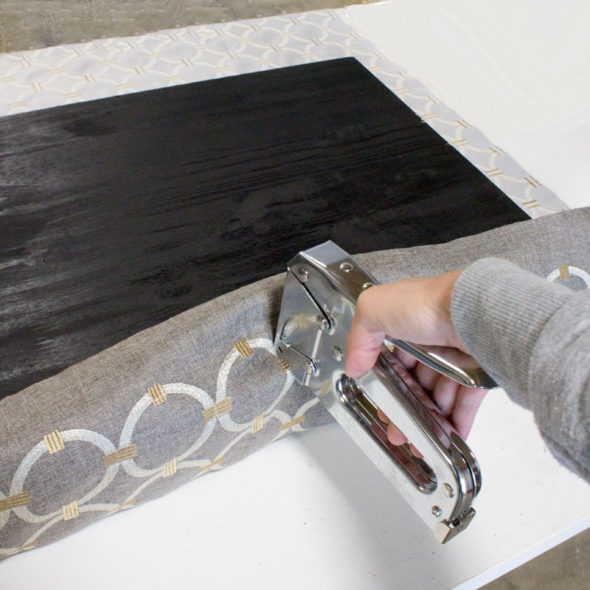
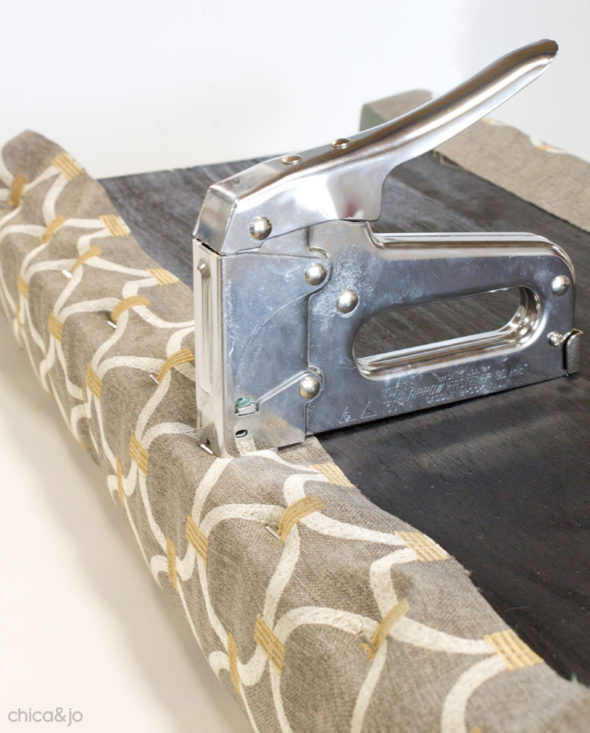
To attach it all together, I started with one of the long sides, and pulled the fabric up tight, securing it with my classic Arrow T50 staple gun.
I kept going along that side, securing the fabric in a straight line with more staples. Then I pulled the fabric super tight and did the same on the opposite side, keeping everything straight and even as I went.
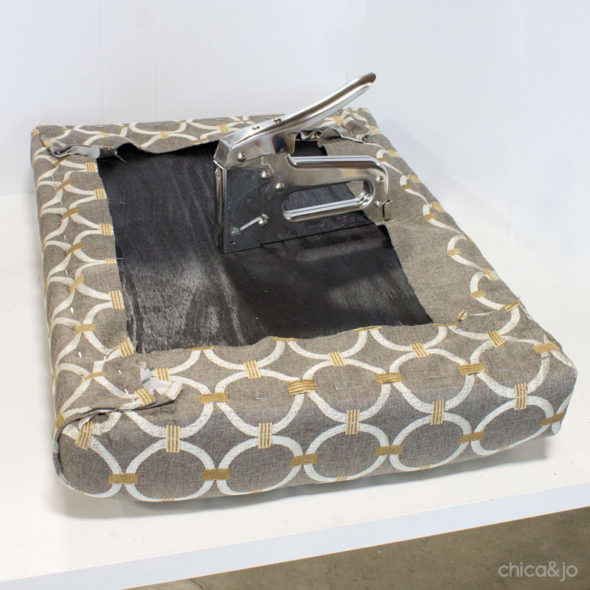
After doing the same to the two remaining sides, I carefully folded the fabric at the corners and stapled everything down securely.
I flipped it over and secured it to the top of the base with some screws from underneath.
My friend and I could not be more pleased with the result. It looks perfect with her grey couch and is a fun and functional addition to the living room.
The best part is the hidden storage on one side, thanks to that new bottom shelf I put in. It's just right for holding magazines and remotes!


