Make an Easy Wall Hanging from a Rug and Yarn
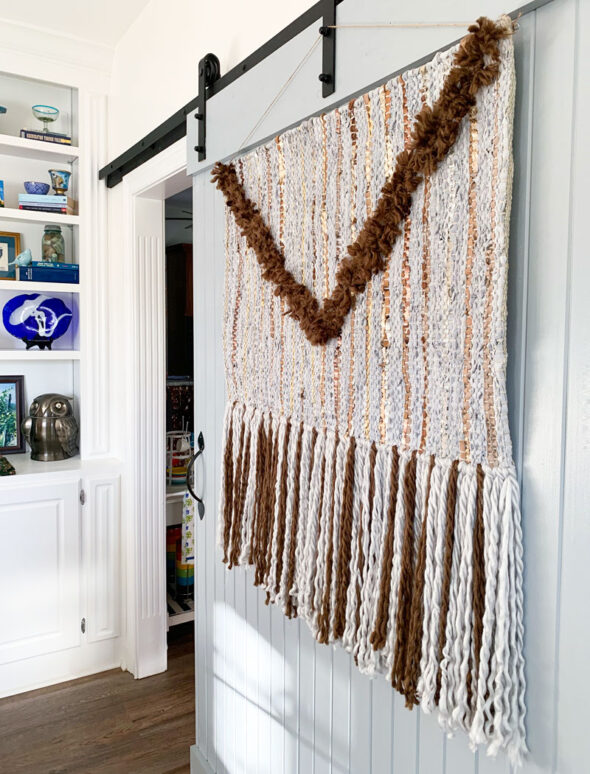
I love the texture and warmth a woven wall hanging can add to your space. For fall, I wanted a large wall hanging for my sitting room but when I went shopping, I realize that those were quite pricey, so I tried to think of alternatives.
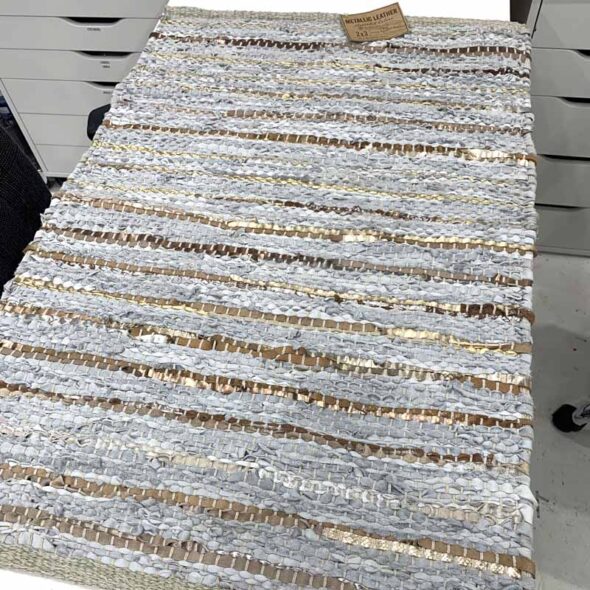
I started looking around World Market for inspiration to DIY something and came across a really pretty, small throw rug for $20. It had the colors I wanted and the width was about right.
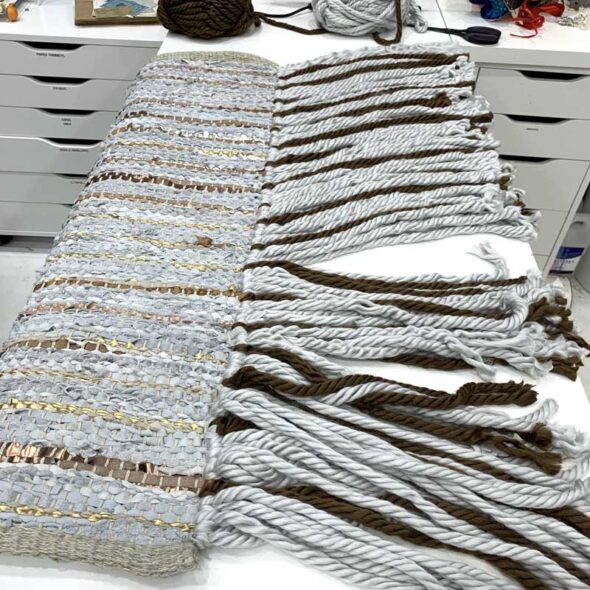
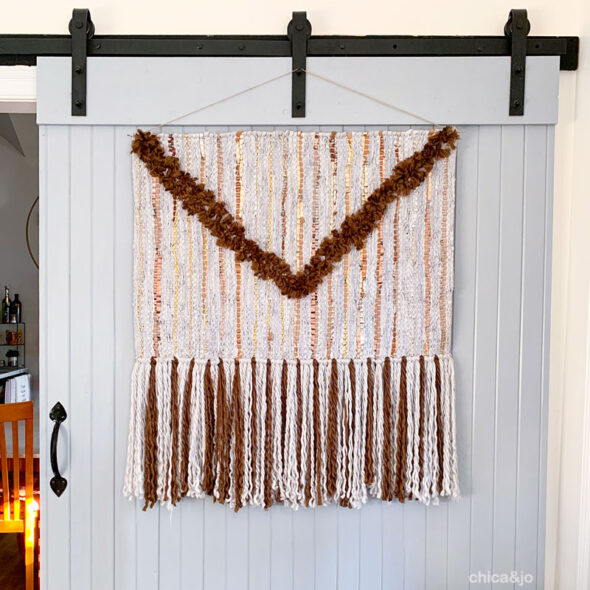
I couldn't just hang it as-is, though, or it would just look like a throw rug on a wall. I decided to embellish it, and purchased some chunky yarn from Hobby Lobby in coordinating colors to tie along the bottom edge to change the dimensions.
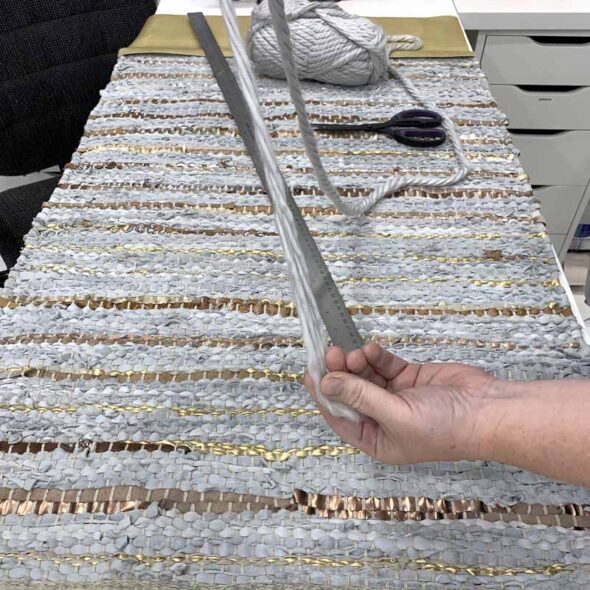
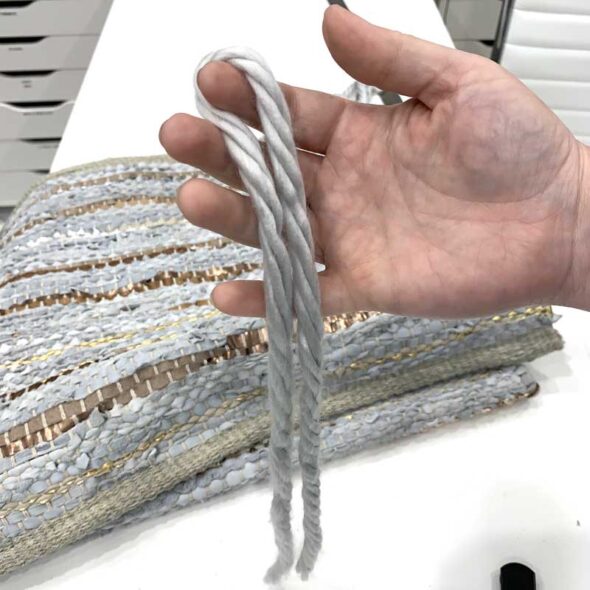
I cut the yarn to 32" long, but folded it in half for tying. This meant that it only added 16" of additional length on the final piece. That was the perfect length for the scale of this piece.
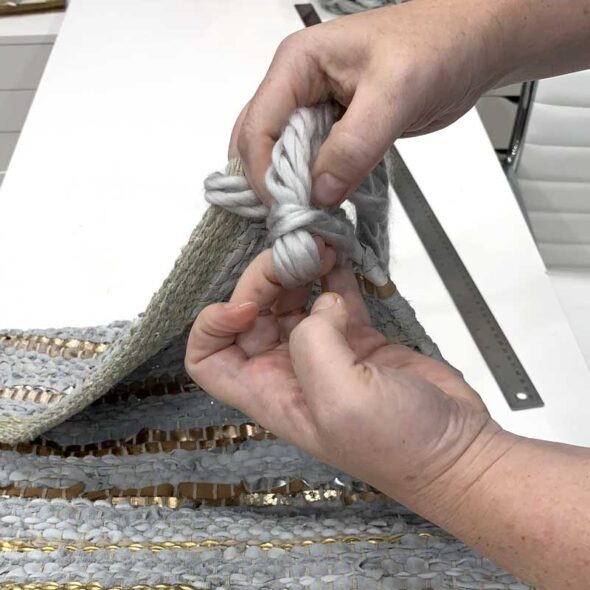
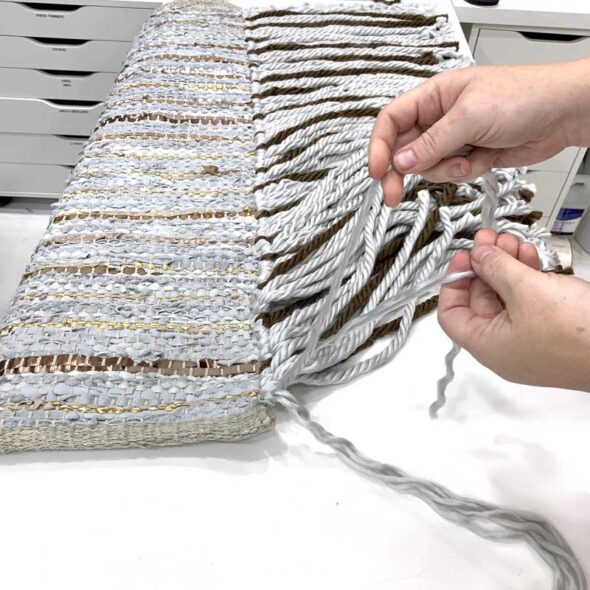
To add the yarn, I poked the folded end through the rug by first wiggling the weave open enough to form a hole. Make sure you start with a loosely woven run to make this part easier!
Once the yarn was through, I tied them with a simple Lark's Head Knot — just poke the two ends through the folded loop and pull them tight.
I alternated between two different yarn colors to tie in more of the original rug's color palette. I made a pattern with three pieces of the grey-blue and then one piece of the brown, repeating it until the whole bottom was covered in fringe.
Then I separated the twisted strands of yarn into individual pieces, making it all fluffy and full.
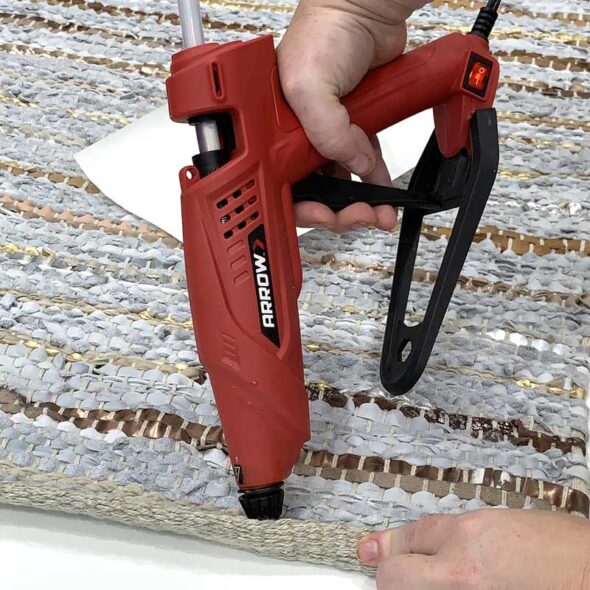
The edges on the short sides of the rug had a binding that made it pretty obvious it was a rug. To hide them, I just folded them back about an inch and used my Arrow glue gun to glue the makeshift hem in place. So easy!
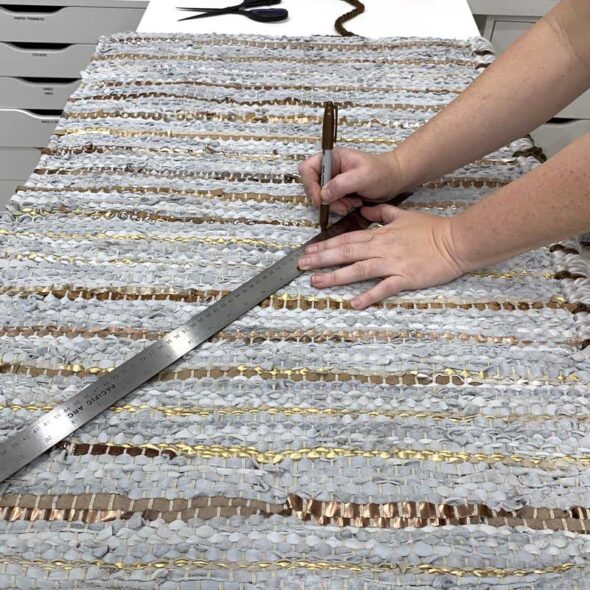
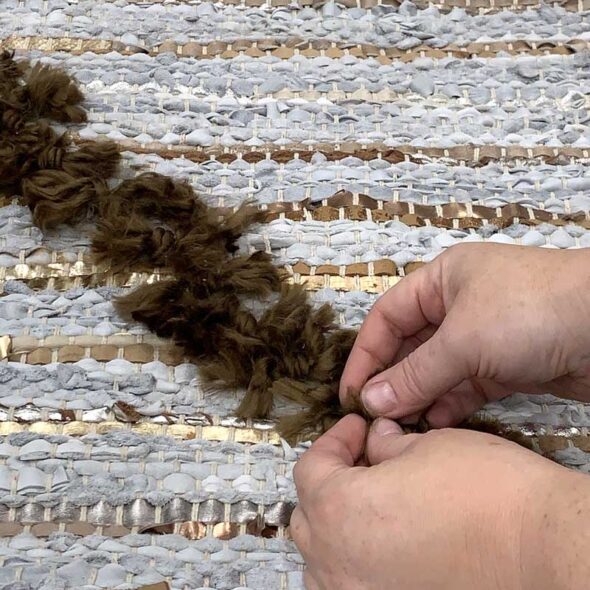
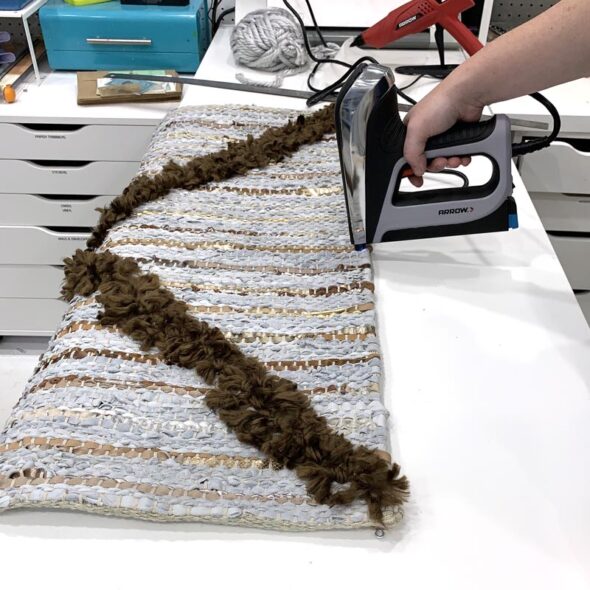
It was pretty, but I still wanted to add one more decorative detail to make it look more like a custom wall hanging. I decided to add tufts in the darker yarn color, to tie in the colors and add some contrast. I marked off a V-shape from the two top corners, meeting in the middle.
I tied short pieces of brown yarn in knots along the V shape and then frayed the yarn out to make little poofs.
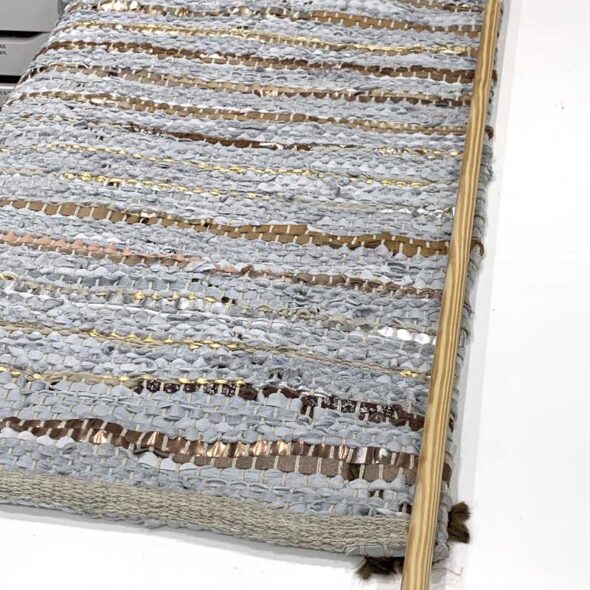
The last step was to create a hanger to display the rug. That was super simple — first, I cut a piece of half-round wood molding to the width of the rug.
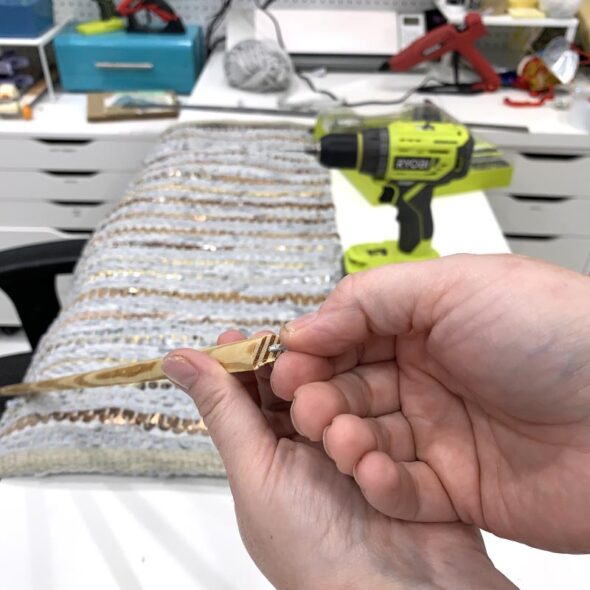
Then I pre-drilled a tiny hole in each end and added an eye screw to each hole.
I folded the top of the rug over the wood and used my Arrow electric staple gun to secure it along the back of my hanging.
I added a length of twine tied to each eye hook and it was ready to hang!
I love the oversized scale of this wall hanging as much as I love the small price tag. For under $30 I made a quick and easy custom wall hanging that looks expensive.
This idea could easily be adapted to fit any decor simply by choosing a rug and yarn that matches your style. You could even vary the number and pattern of the knotted detail to many other looks. My teens both want to make some for their rooms so I guess it is back to World Market and Hobby Lobby for me!


