Make a Simple Modern Bathtub Caddy
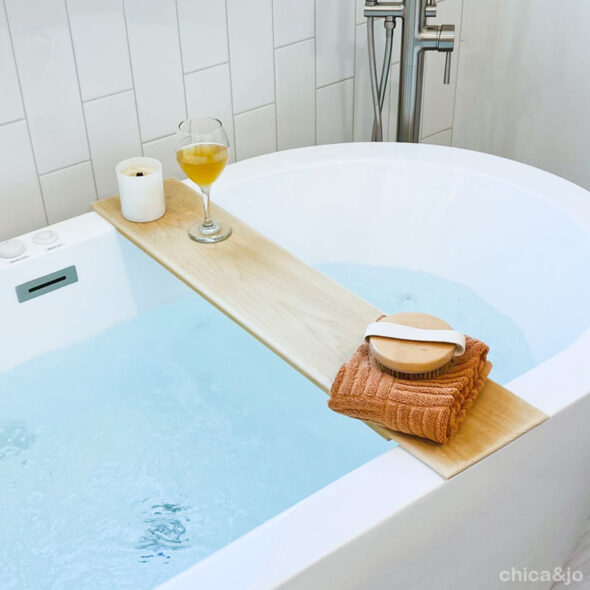
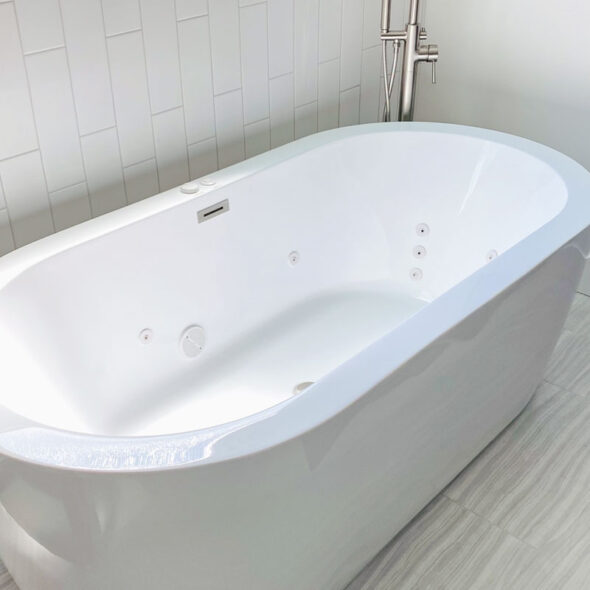
After my major bathroom renovation was complete, I needed a simple, modern style bathtub caddy tray for my new freestanding soaking tub. I couldn't find any extra long tub trays that would fit this wide tub, so I decided to make my own custom bathtub tray. And I did it from a single piece of lumber with no fasteners needed!
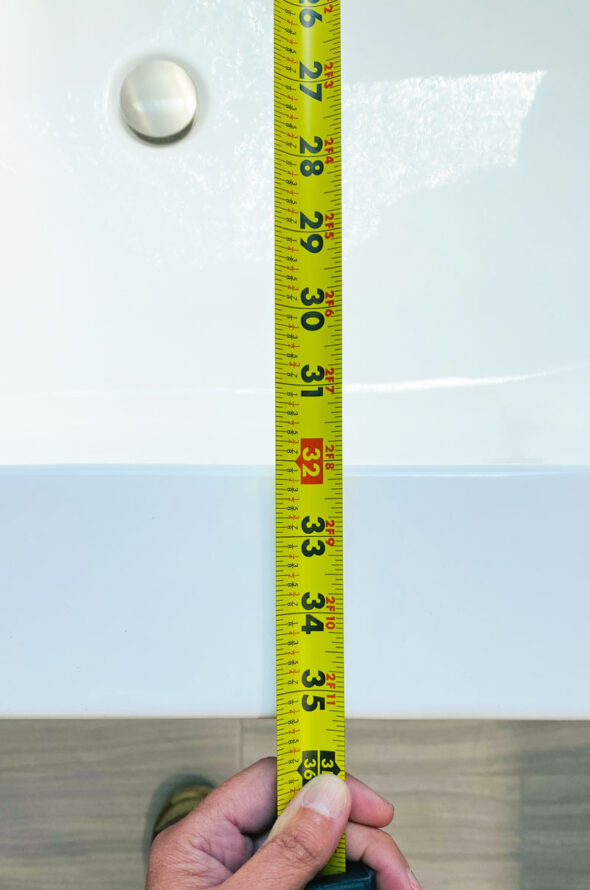
The first step, of course, was to measure the width of the tub, from outside edge to outside edge. Mine was almost 35-1/2" but I thought a tiny bit of overlap would be nice, so I made my tray and even 36" long.
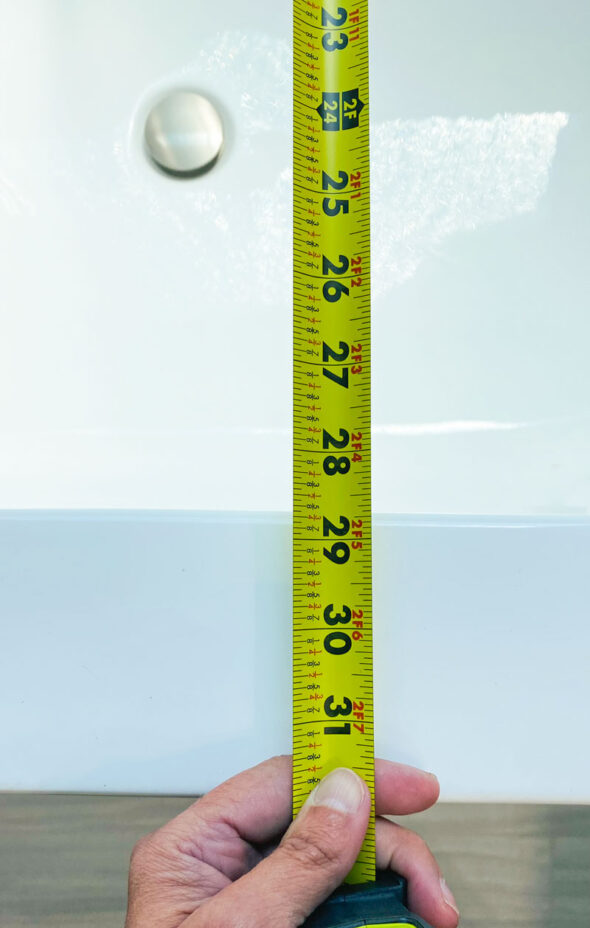
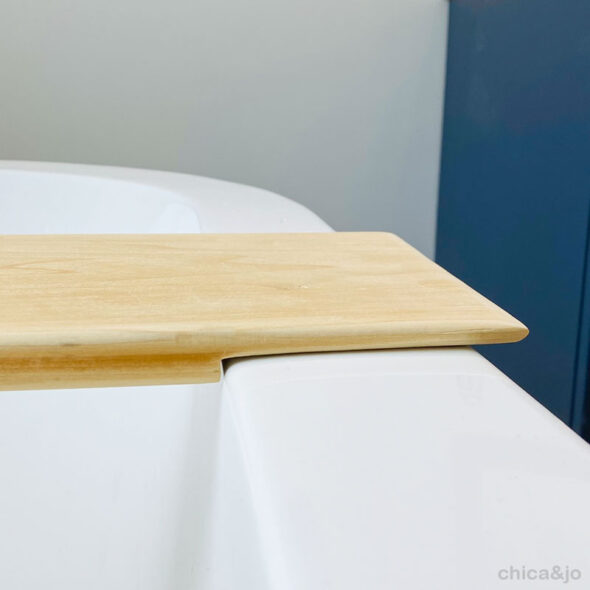
The plan was to have a tray that sits on the edges of the tub, but also fits between them so it doesn't slide out of place. For that, I needed to measure the inside opening of the tub. Mine was about 28-3/4", but I wanted to give a little wiggle room (to avoid possibly scratching the tub) so I dropped it down to 28-1/2".
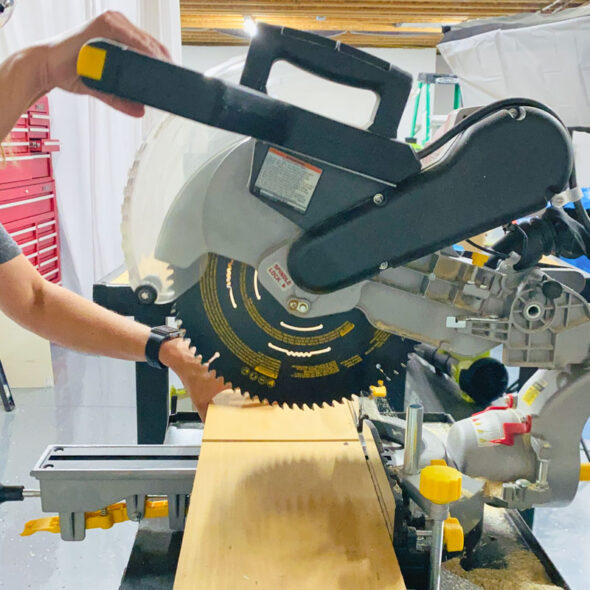
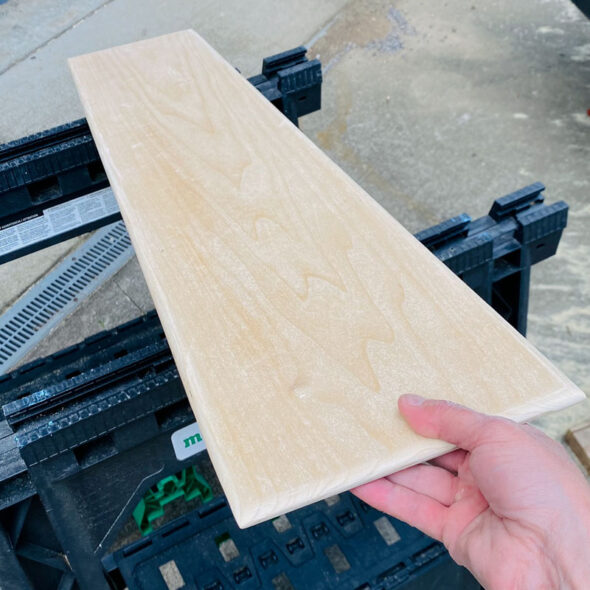
I got a piece of clear lumber that was about 7-1/2" wide and 3/4" thick, and cut it down to 36" long. This is the only piece of wood needed for this simple tub tray.
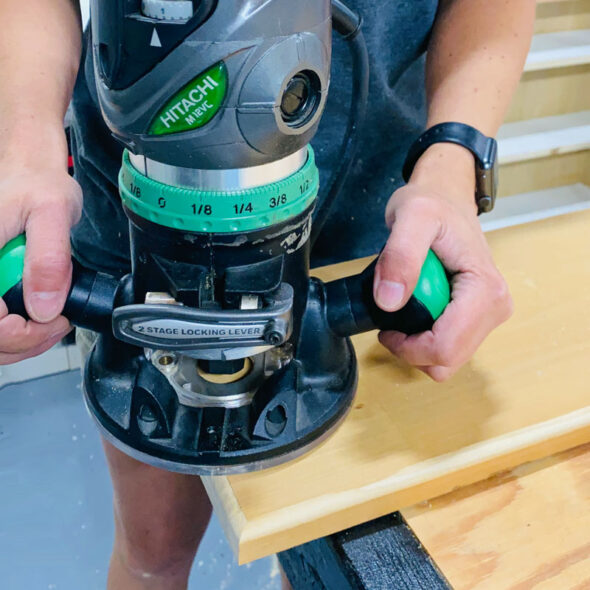
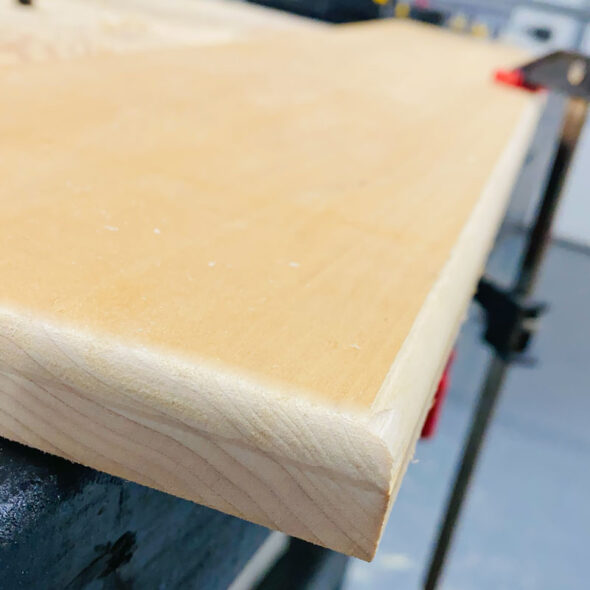
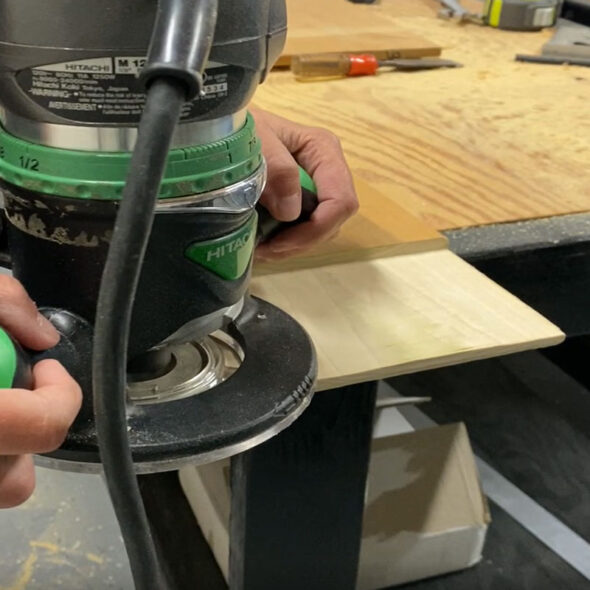
I used my router and a rounded bit to knock off the sharp corners of the board, all the way around.
I only did the top side of the board (for now, at least). I love this smooth edge!
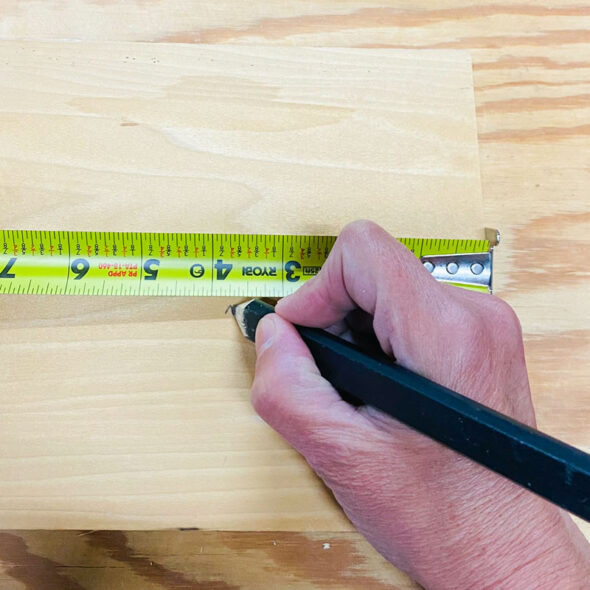
Now let's make the bottom narrower so it fits in the tub opening. Looking back at my original measurements, I subtracted the 28-1/2" from the 36", leaving me with 7-1/2". Divide that in two, and you get 3-3/4". That is how far in from each end we need to cut our notch. I flipped the board over (rounded side down) and measured in 3-3/4" from the end.
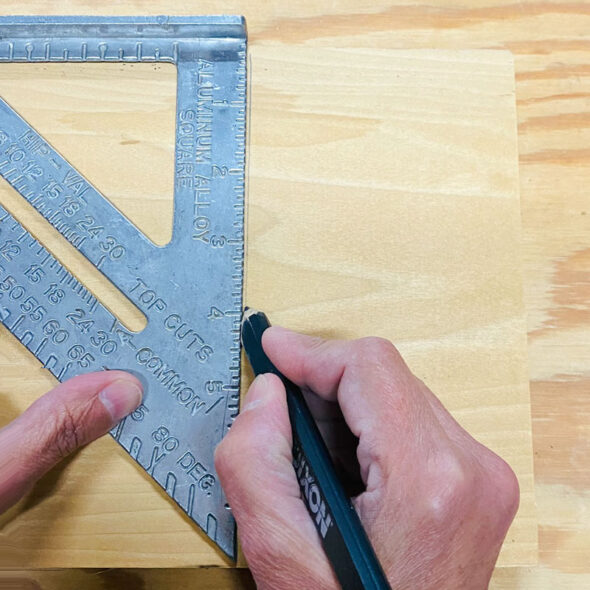
I used a speed square to draw a line at that mark. I did this on both ends of the board.
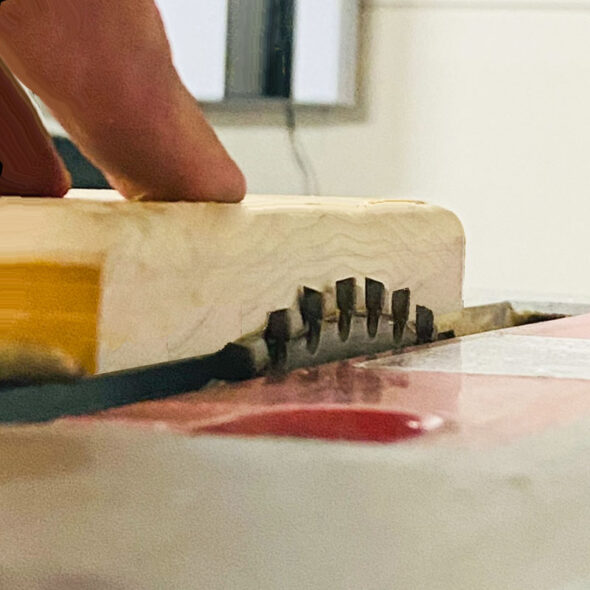
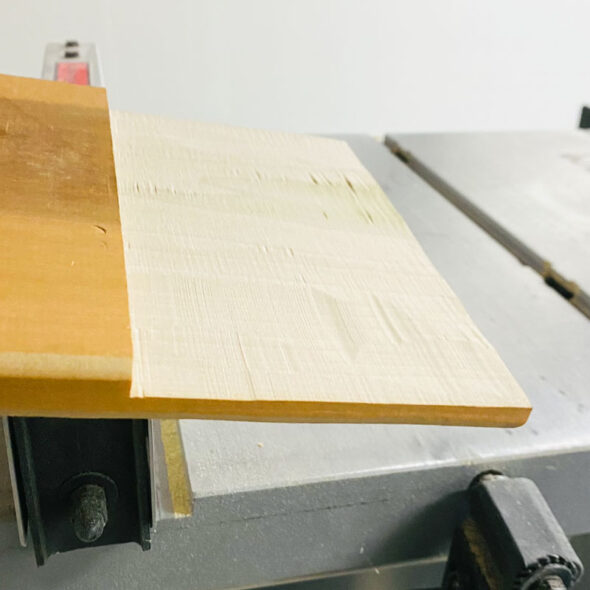
To make the lip/notch needed, we're going to basically make a really wide rabbet from this line to the end of the board. That means we're going to cut away half of the thickness of the board. To set this up, I put the board against the blade of my table saw and raised the blade until it was halfway up the wood.
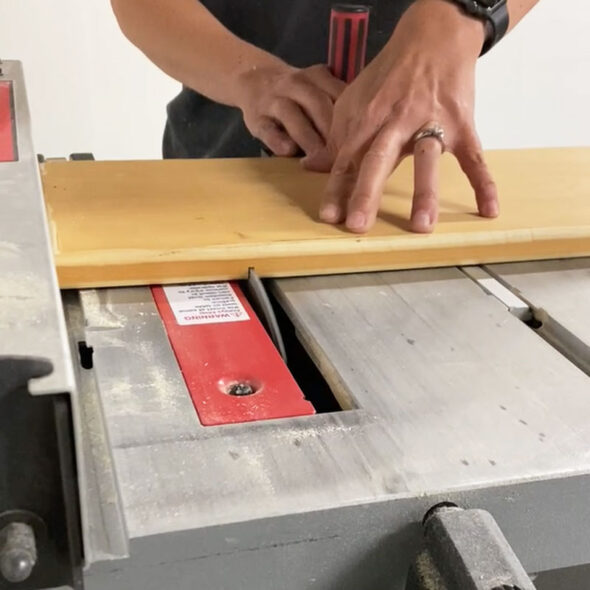
Then I set my rip fence to 3-3/4" (to match my measured line) and ran the board through. It made a perfect slice halfway through the thickness of the board.
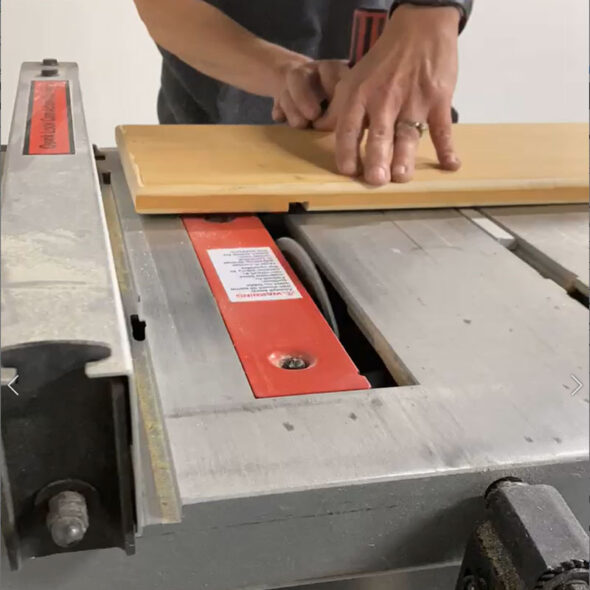
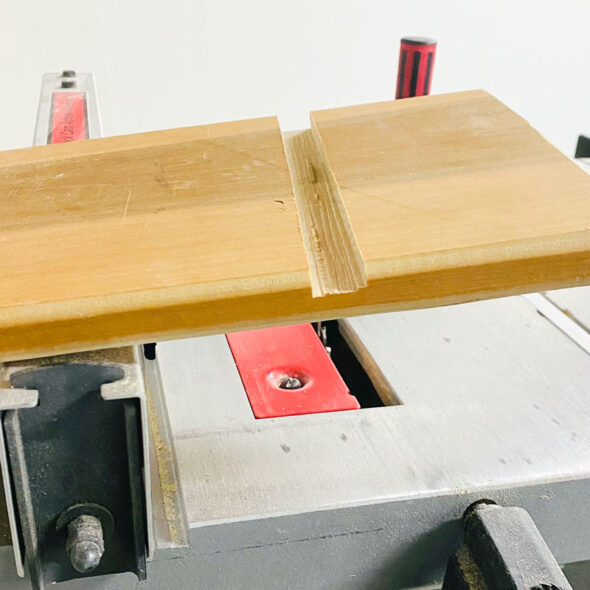
Then I scooted the board to the left just a hair and ran it through again, making another cut right next to the first. I kept repeating these steps to cut a channel in the bottom of the board.
I kept going until the entire area was removed, resulting in a super wide 3-3/4" rabbet. This will be the perfect notch for holding the tray in place!
To get rid of those new sharp edges, I ran the router along the bottom of the board, on all edges I could get to, all the way around the board.
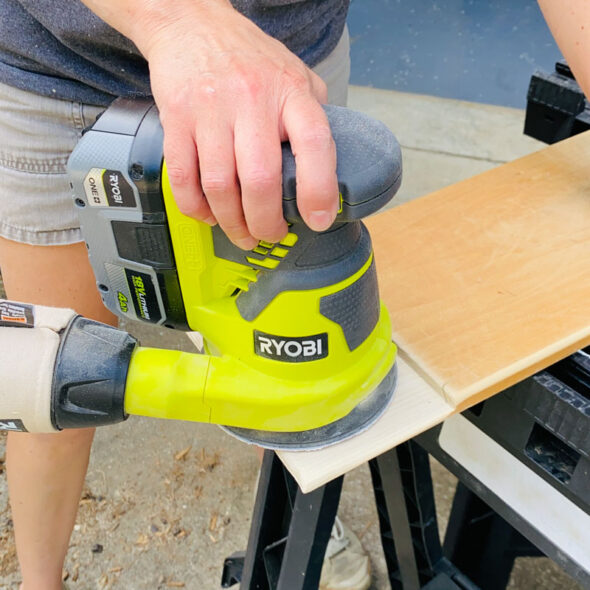
Then I used my Ryobi orbital sander to smooth out any remaining cut marks in the rabbet, and to sand the whole board on both sides.
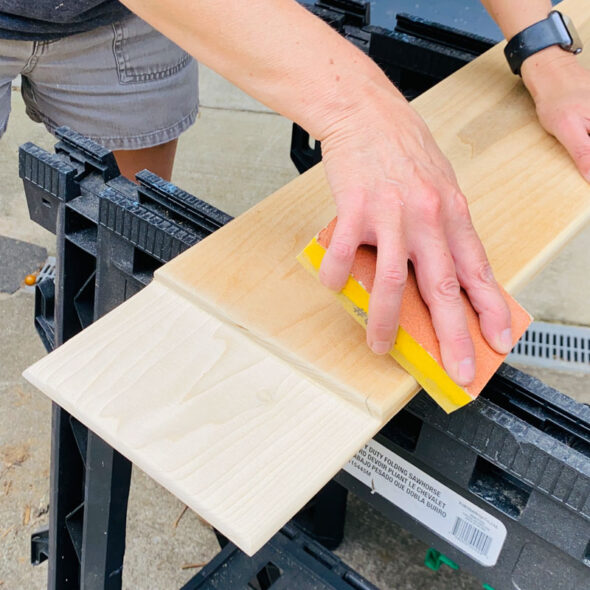
Finally, I grabbed a sanding sponge in a finer grit and ran it along all edges to make them buttery smooth.
A quick dusting off and it was done! At this point it's ready for stain or sealer, as desired.
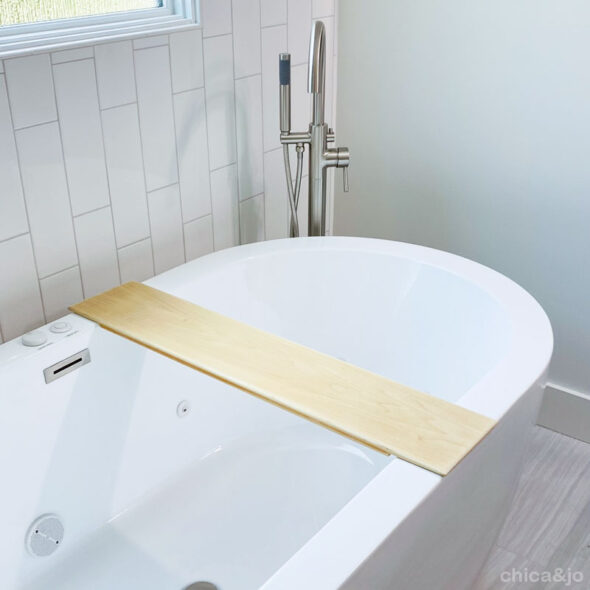
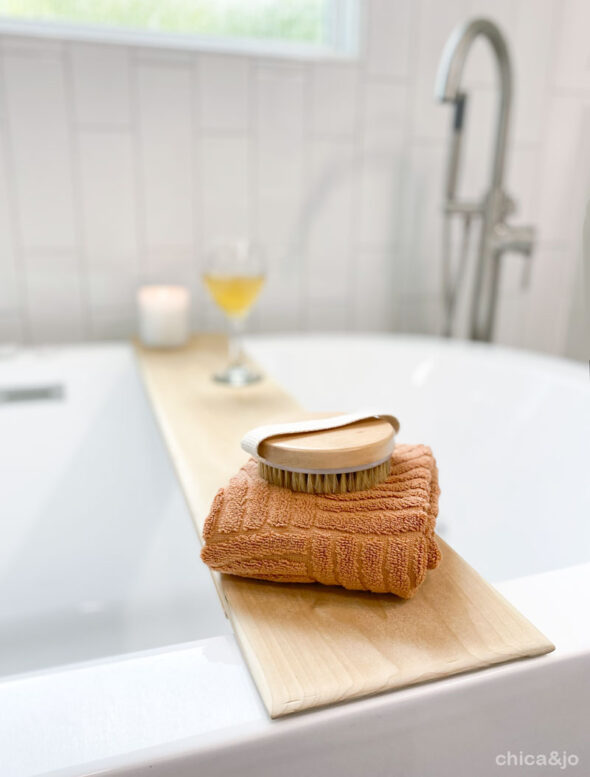
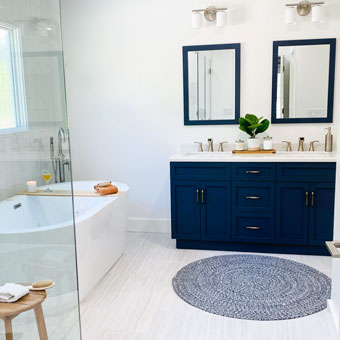
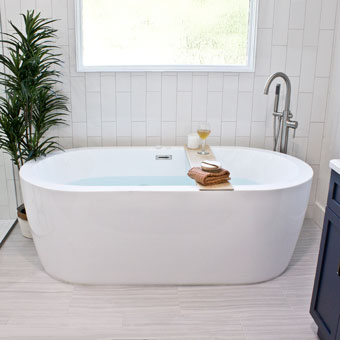
I put the caddy on my tub and it was a perfect fit. Simple, clean, and modern, just like my new bathroom.
And the notched rabbet edges work exactly as I'd planned. They keep the tray in place with no twisting or falling off possible. And those beautiful rounded edges won't scratch the tub or the person in it!
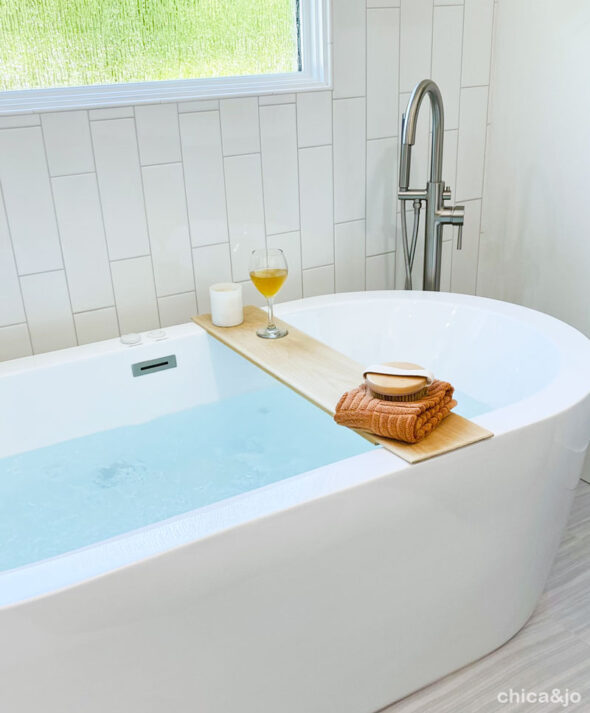
This tray is perfect for holding a candle, wine glass, or anything I need nearby while having a good soak.
I especially love how the wood brings a warmth to the bathroom, and feels a little extra cozy.


