Make a Pirate Party Invitation
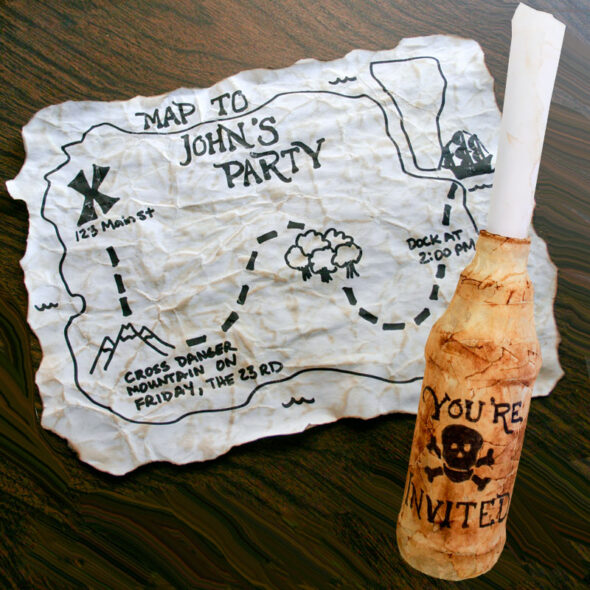
A good friend recently threw a pirate-themed birthday party for her son. She was eager to have some really fun and unique invitations, and that's exactly what I came up with for her. What says "pirate" more than a treasure map in an old bottle, right?
These invitations were a lot of fun to make, and the kids even helped us with most of them. They were quite proud of the results and the party guests were thrilled to receive them. Here's how to do it.
Supplies needed
To make the paper pirate map invitation, you'll need:
- regular white copy paper
- a black marker
- a squirt bottle of water
- a lit candle (optional)
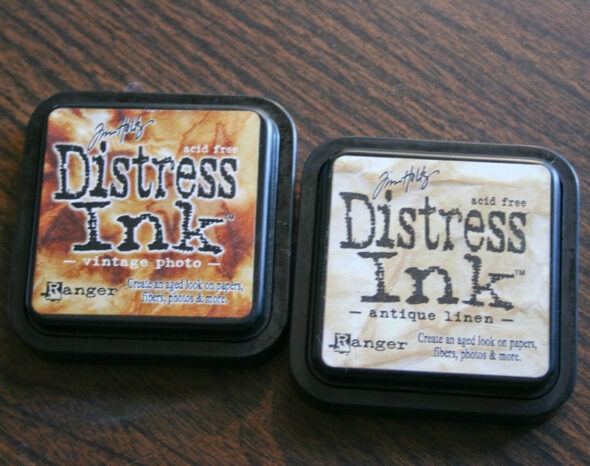
- Tim Holtz Distree Ink in "Antique Linen"
To make the aged bottle that holds the invitation, you'll need:
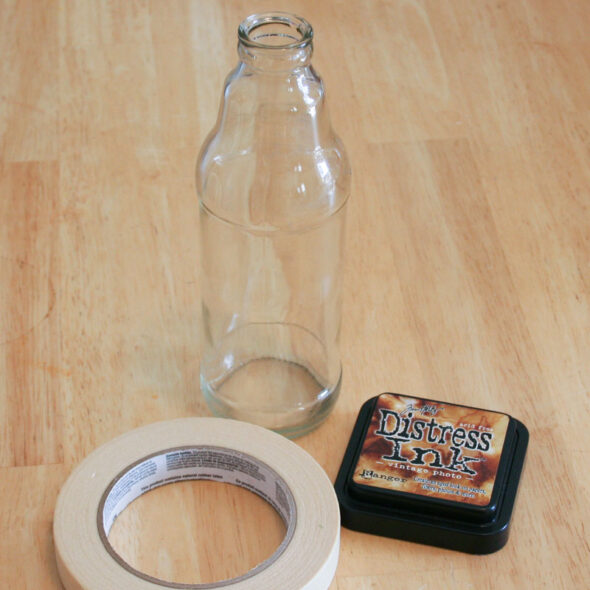
- an empty glass bottle
- beige masking tape
- varnish or sealer
- Tim Holtz Distress Ink in "Vintage Photo"
If you can't find the Tim Holtz' Distress Ink, you could use a regular brown stamp pad, but the Distress Ink works SO much better because it's made especially for this type of project.
It's water-based, so it will blend and smear and make your items look really worn and ragged, which is exactly the look we're going for here. Trust me, this stuff blends amazingly well and is totally worth having in your craft bag.
Making the pirate map invitation
Step 1: Draw the map
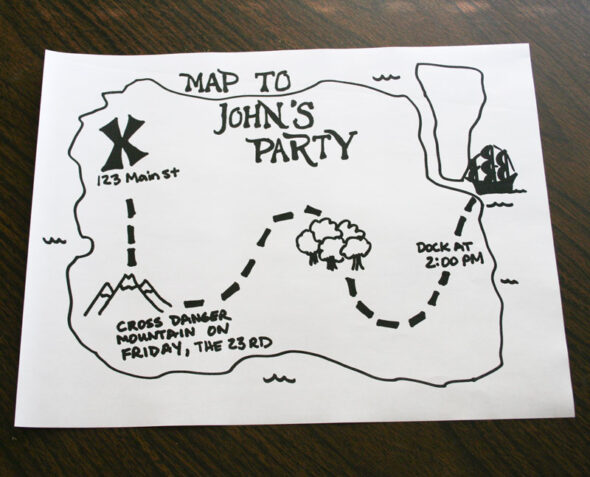
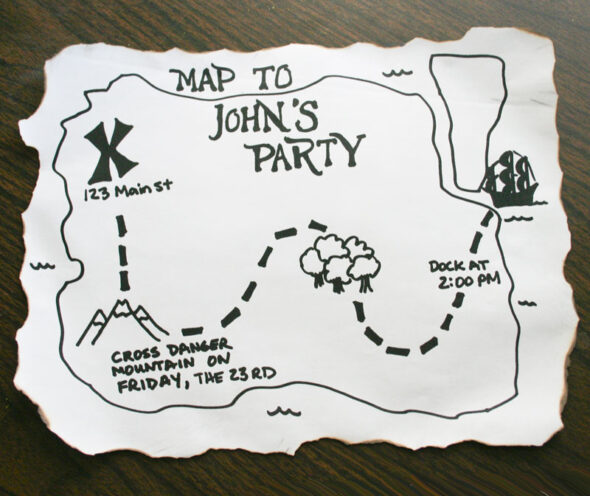
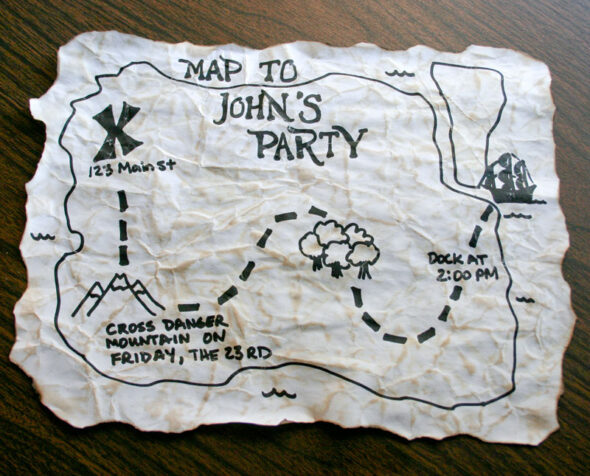
To make the map, just use a blank marker to draw on some white copy paper. Have some fun and keep it loose and graphic. Make a big island with jagged shores.
Put a giant "X" to mark the spot of the party and label it with the address where the party will be. Make a bold, curving, dashed line for a path around the island and put several obstacles or landmarks along the way, each one giving a clue to the party (things like guest of honor, time, date, etc).
If you need some inspiration to get you started, I scanned my
sample pirate map for you to use as a starting point. You'll obviously have to change the details, but you can trace parts of it for your map.
For help with fonts, try searching for pirate font samples online to model your handwriting after. Just do the best you can to copy it. Remember that we want this to be rugged and distressed, so it doesn't have to be perfect!
Step 2: Make copies
Once you've got your map drawn, make enough photocopies of it for all the invitations you need to send. Again, you can use regular white copy paper for this.
Step 3: Distress the map
Time to make that pretty white map look rugged and old! To get rid of those straight paper edges, you can either tear the edges or burn them. I like the look of the burning better myself, so that's what I did.
Just light a candle and carefully hold the paper next to the flame until it lights. As soon as it catches, blow it out so the whole thing doesn't catch on fire.
SAFETY NOTE: I recommend doing this outside and keeping a metal bowl nearby so that you can toss the paper in it if the flames get out of control. It's also handy to have a damp towel on hand so you can pat it on any smoldering edges to put them out completely. Obviously, this is the one part of this project that your kids should NOT help with. Please be careful!
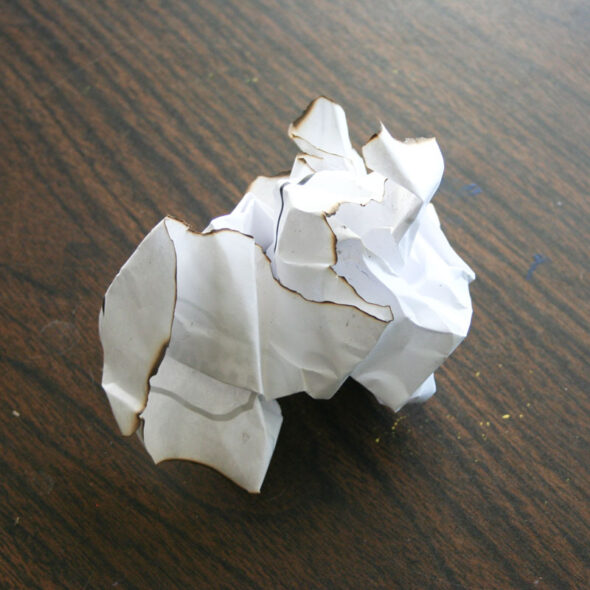
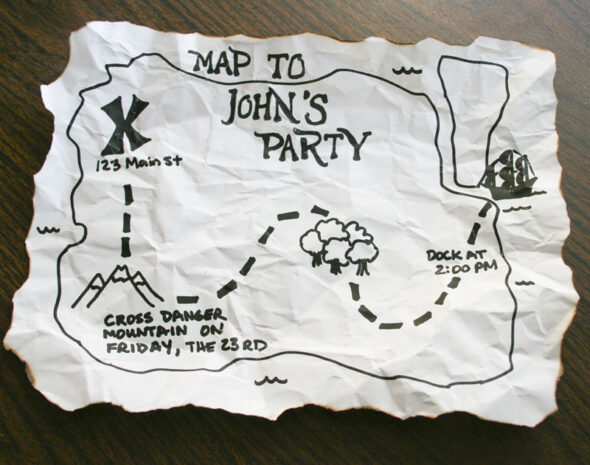
Now that the edges are nice and rough, take the entire page and crumple it into a ball. (This is the part the kids will really love!) You want to get the paper full of nice crinkles and folds.
When you're content, unfold the paper and press it out flat on the table.
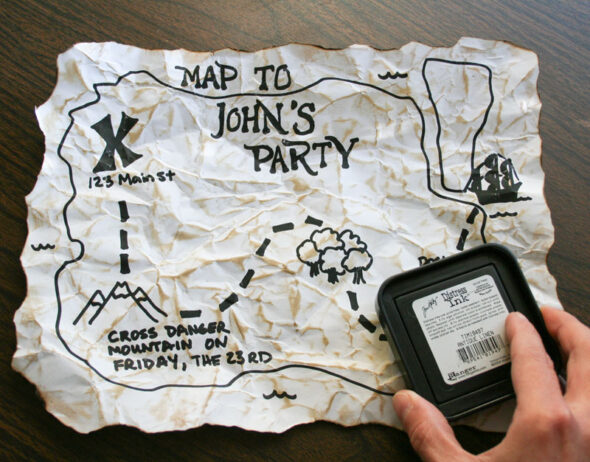
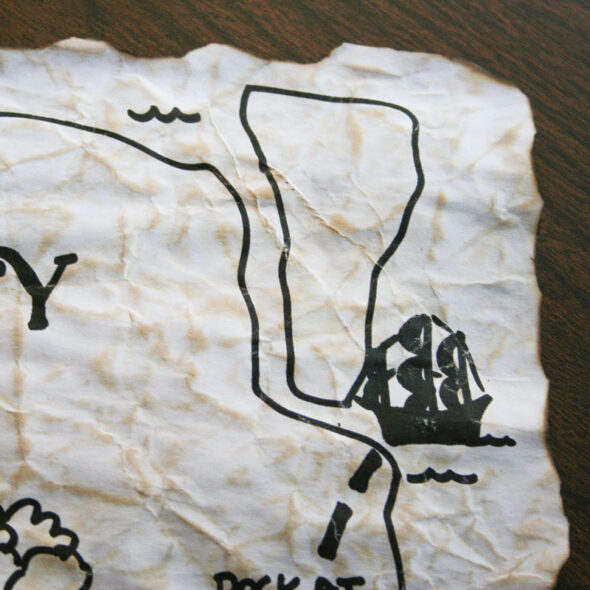
Now take the Antique Linen Distress Ink and rub the pad lightly over the paper. You'll see that the ink sticks to the folds and creases but not to the flat parts of the paper. The result is a really cool distressed look.
Be sure to ink the front and back of the paper, and go a little heavier on the edges, to give it a nice look.
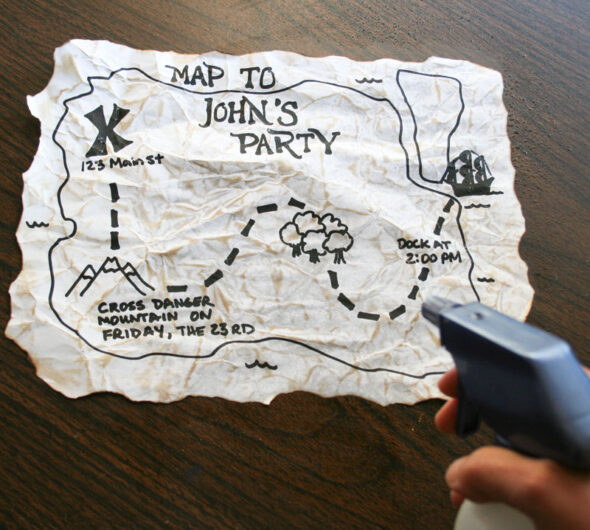
To tame down those harsh ink edges and and also wear the map out a little more, we're going to spray it with water. Grab your squirt bottle and spritz water evenly all over the paper. Use enough water so that the paper is thoroughly wet, but not so much that there are puddles.
The water will do two things. First, it will cause the ink to bleed a little, creating a really nice smeary effect on the paper. Second, it will relax the creases you made so that the map is a little closer to flat (and will be easier to roll up later).
Be careful not to handle the map much when it is wet, or else you might tear it. Leave it flat on the table until it's totally dried. If you want to hurry the process along, you can use an embossing gun or hair dryer to gently dry the paper.
Making the aged bottle to hold the invitation
Okay, the maps are done, so now let's make a faux aged bottles to put them in.
Step 1: Find an empty bottle
You can use just about any glass bottle you've got, in any color. It can be from soda, beer, barbecue sauce, or whatever is sitting empty in your recycling bin. Soak it in hot water to remove the label and then dry the bottle thoroughly.
(If you don't have any bottles handy and need to make some invitations now, I suggest you make root beer floats for everyone!)
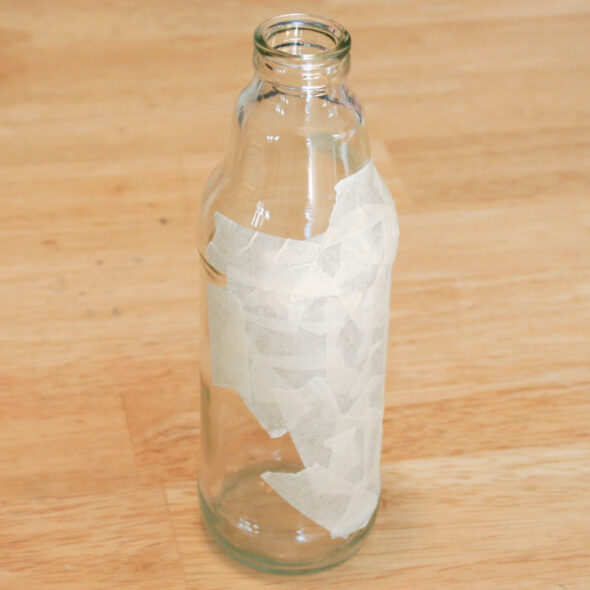
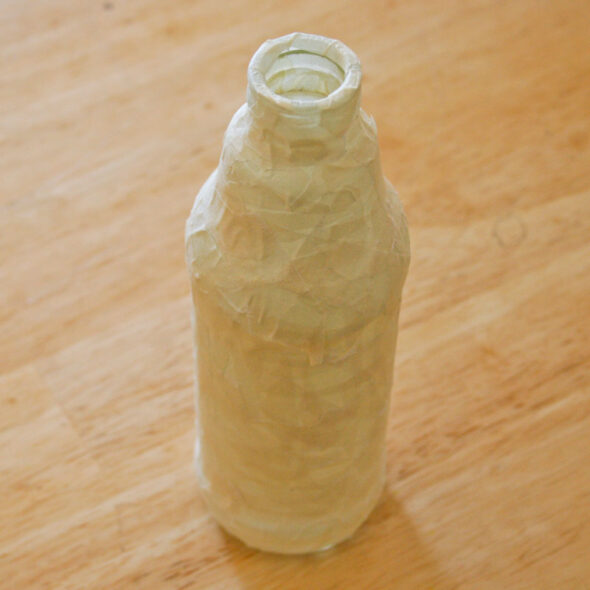
Step 2: Cover the bottle with masking tape
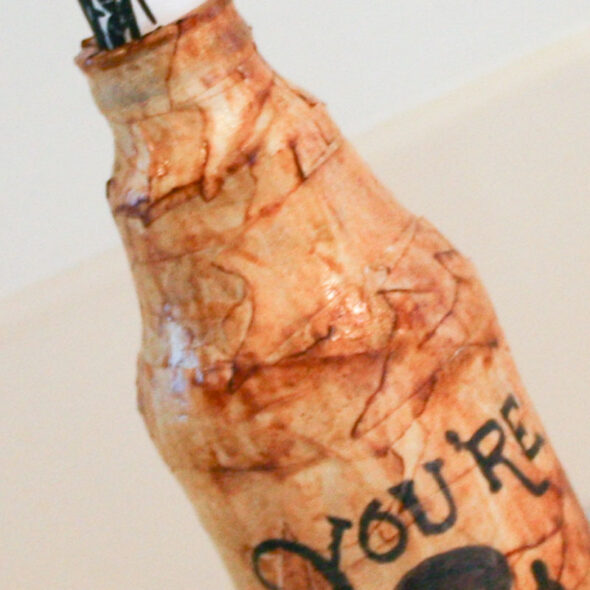
Now you're going to use an old technique I've been doing since I was a kid — you're going to cover this bottle with tape to make it look like old leather or canvas.
Just take some ordinary beige masking tape and start tearing it into tiny pieces (about 1/2" to 1"). Add the pieces of tape to the bottle, overlapping them quite a bit.
Be sure to TEAR the ends of the tape (rather than cut) because you want it to look really rough and random. Keep going until you have the entire bottle covered with tape pieces.
Step 3: Distress the tape with ink
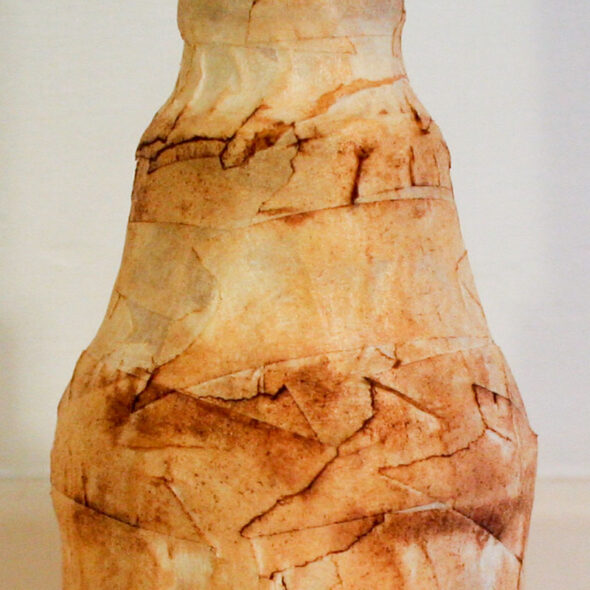
When I was a kid, this is where I would pull out my dad's paste shoe polish for the next step, but since not many folks have shoe polish these days (including my dad), I found that ink makes a great alternative. Grab the "Vintage Photo" Distress Ink and rub it all over the bottle.
The ink will be darker on the edges of the tape, which will look really neat. If you have trouble getting into the curves along the neck, remember that this Distress Ink is water soluble, so just get a damp paper towel and smudge and dab the ink into all the crevices.
Step 4: Add text decoration (optional)
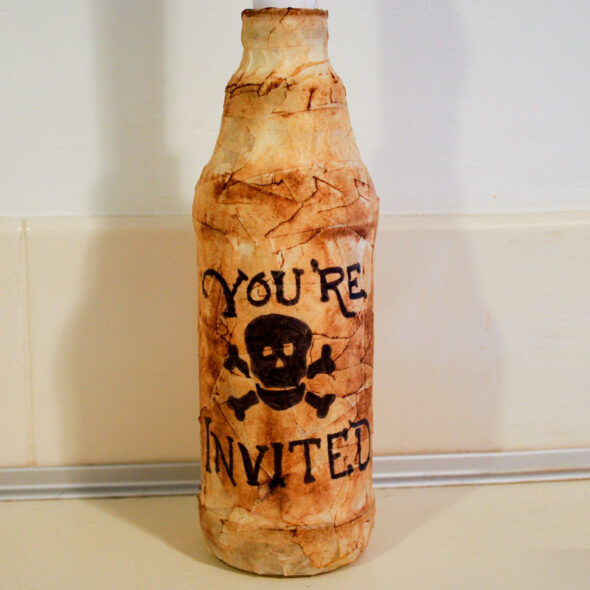
At this point you can optionally add some decoration to the bottle. Use a black permanent marker to draw a skull and crossbones or a pirate ship and add the words "You're invited". This will help your guests instantly know that this is an invitation.
Step 5: Seal with a varnish
The bottle is basically done, but it's a good idea to seal it before giving it to guests. The Distress Ink is water-based, and will rub off without much effort. To seal it in, just coat it with some spray varnish or sealer.
Work quickly and carefully, because the water-based ink will actually blend into the varnish, but that's a good thing, because it will let you push the ink around and create the perfect result. The varnish will also darken the colors and add a really rich look to the finished bottle.
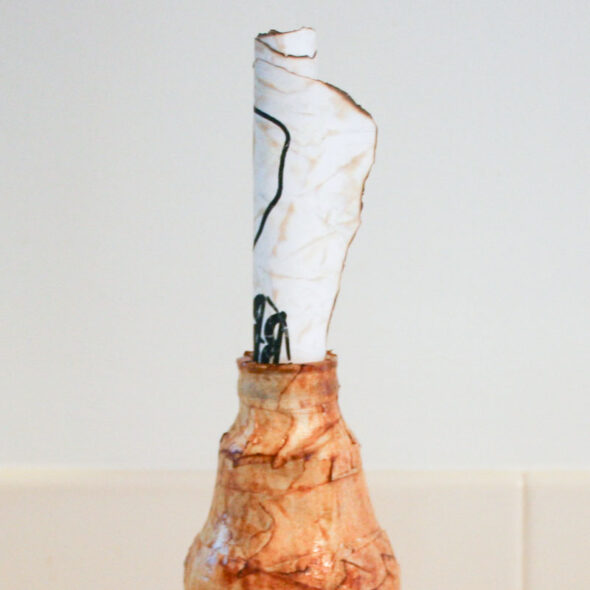
Roll up the map and stick it into the bottle (but make sure it doesn't go all the way in). Your invitations are now ready to be delivered to your guests.




10 comments so far:
What a great idea! That's so creative!
This is an awesome idea. I've been searching the web for the last several months for something like this and your idea is the best I've found! I'm so glad I decided to search once more. Thanks SOOO much! I'm definitely going to do this for my son's 5th birthday party in January. Please let me know if there are any other pirate party ideas you have.
Alina, we are glad they will work so well for your son's birthday party. Check back next week for another pirate post! If you come up with any great ideas while you are planning, please let us know.
I was in search of soemthing unique and this is it!! Thank you so MUCH!
This was FANTASTIC! We accidently used the aged photo distressing ink, which was a bit too dark for the front. But we quickly learned that if we did the back, when we wetted the paper it bled through and looked great!
We made our pirate map on the computer and printed it. I made the mistake of using our company document station, which uses toner, not ink. If/when we do this again, I recommend using an ink jet printer to get more "bleed" from the ink.
Also, burning was fun (the wife didn't like it...especially since we lost one...well, two...to fire. Whoops. hehe). If you fold it prior to burning, you can darken the creases pretty nicely. Also, you can get some great burns by holding the paper over the flame and have it darken the paper.
Thank you again for this great idea!! We loved it.
~Chris
Chris, we will have to try the folding technique next time. We would like to see pictures of how yours turned out if you are willing to share them in our Flikr group or you can email them.
hey!..i seen this right after i held my daughters 6th birthday party, she is an october baby, so i keep her parties kinda halloweenie themed. After seeing your site with the pirate map and message in a bottle, I immediatly started planning her next b-day a year early! Now there is only 6 months left and her birthday will be here again. I started collecting the Arizona Iced Tea Glass bottles and i have already started taping them with the masking tape since i will have around 30-40 invitstions to make. I am so excited. If you like i can send in some photos after her next b-day, i plan to also add some sand and some coins at the bottom, i'm also going to be making mermaid tales for all the girls and pirate hats and eye patches for the boys!!....lots to do should be fun*
Thank you so much,
Dani : )
So glad we could help inspire a party theme for your daughter, Dani. We'd love to see photos after the party. If you've got a (free) Flickr account, please post some to our Flickr group for reader photos.
thanks for the great idea,it really worked oh and this was for my 8 birthday i'm 7 now and turning 8 on may 12th.And what is distrees ink?
from Mani thanks :) :) :)
xxx ooo. ps.great thinking.
Mani, Distress Ink is a special brand of water-based ink that makes a nice distressed look when applied to paper. It comes in a lot of colors. Take a look here on Amazon.