Little Debbie Christmas Tree Advent Calendar
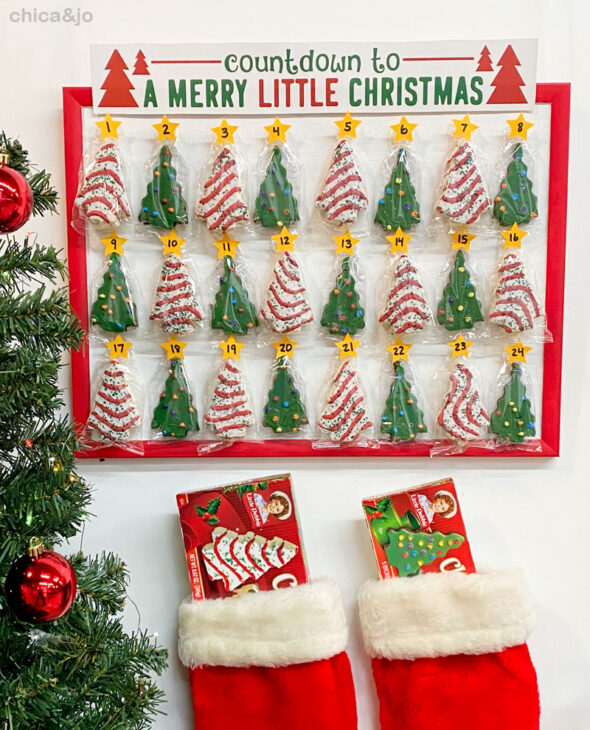
Admit it. There's something special you see in the stores every year that amps up your Christmas spirit and gets you excited. Whether it's cherry cordials, eggnog, or Coca-Cola polar bears, I'm sure you've got a favorite. For me, it's Little Debbie Christmas tree cakes. I can't help it, I love them so much! This year I grabbed extras because I was inspired to create an advent calendar out of them. It was such a fun and easy way to create an inexpensive Christmas countdown calendar full of tasty snack cakes, perfect for kids and adults alike.
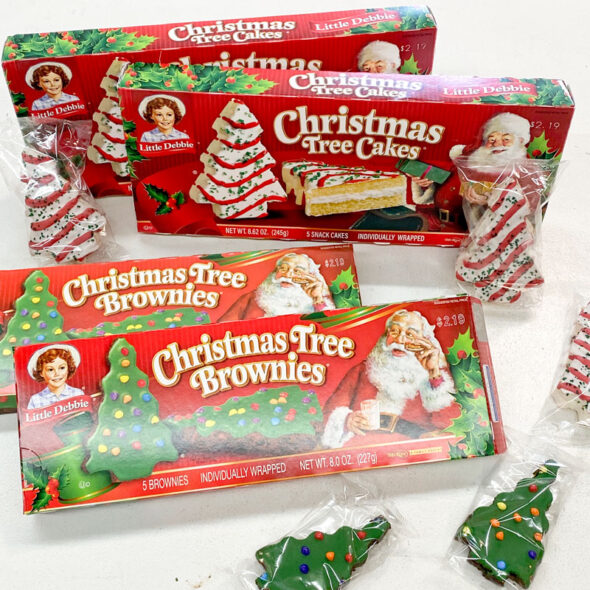
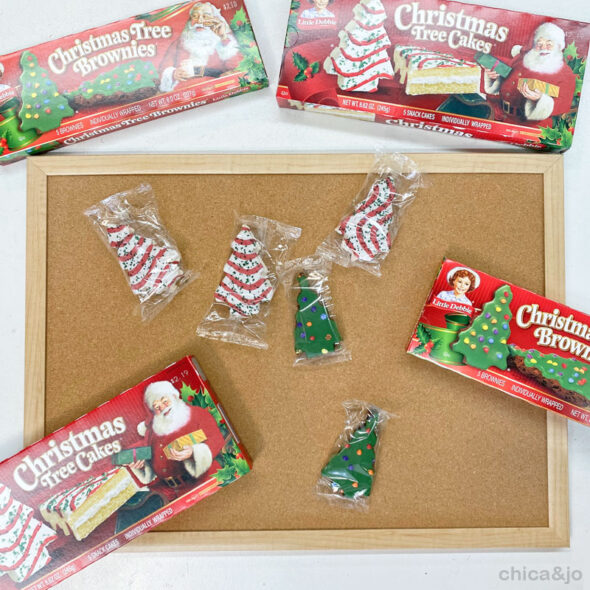
When I hit the Little Debbie Christmas trees display at the store, I picked out the white-frosted cakes and the green-frosted brownies. I needed 12 of each and they come 5 to a box, so I got three boxes of each. Enough for my advent calendar with a few left over for snacking.
To display the trees, I made a super simple base out of a 17" x 23" framed corkboard.
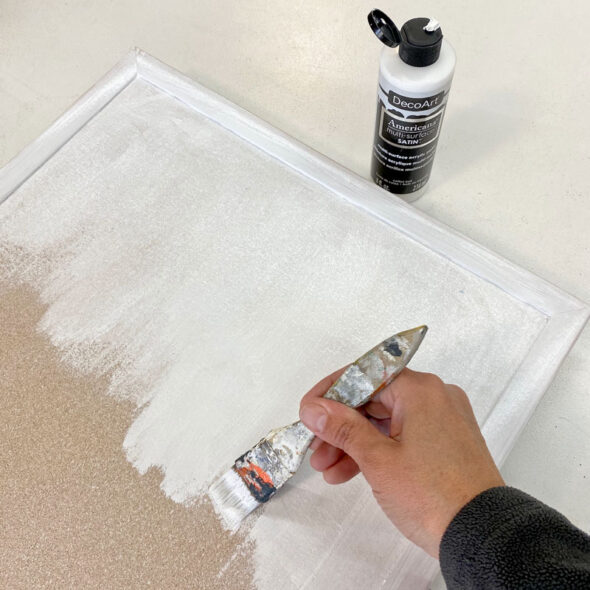
I didn't like that boring brown cork, though, so I painted it white with Americana Multi-Surface paint. The cork soaked up the paint a bit, so it took three coats to get good, solid, coverage. I painted the frame white, too, to give it a good basecoat.
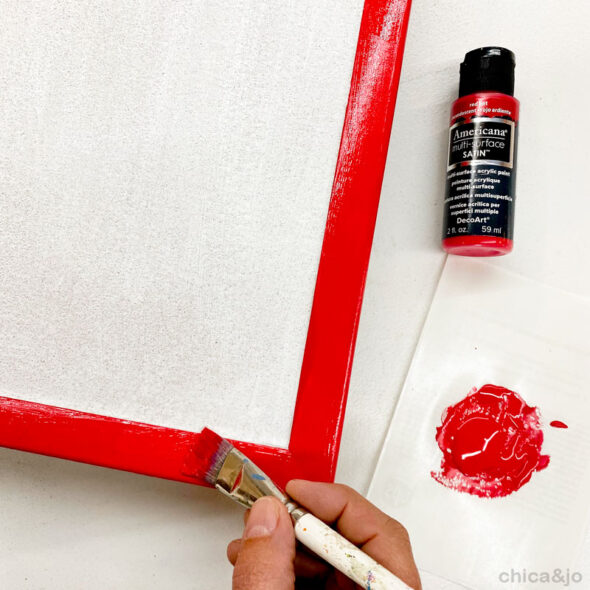
Then I painted the frame with more Multi-Surface paint, this time in "Red Hot" red.
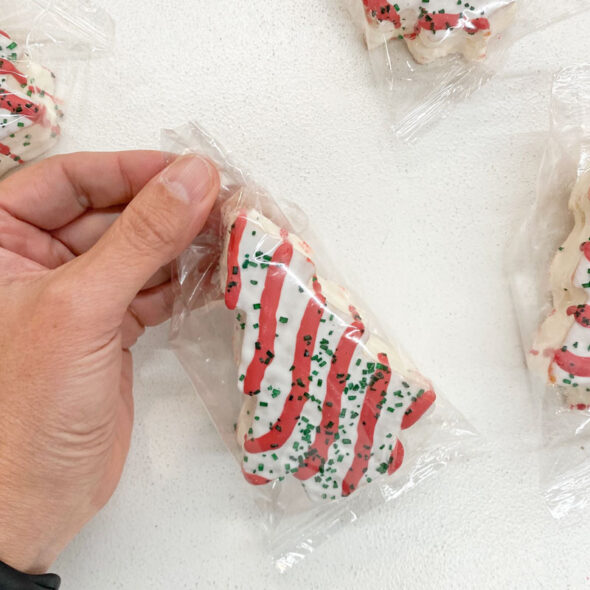
To add the trees to the corkboard, I first folded back the top corners of the packaging and secured them behind the tree top with a little piece of tape.
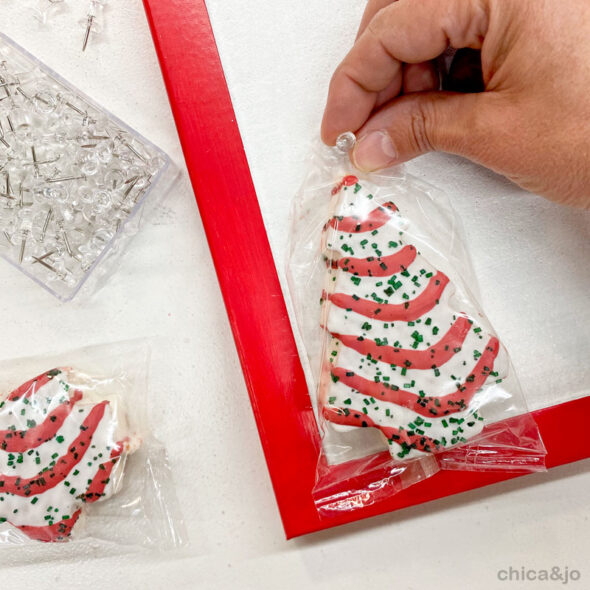
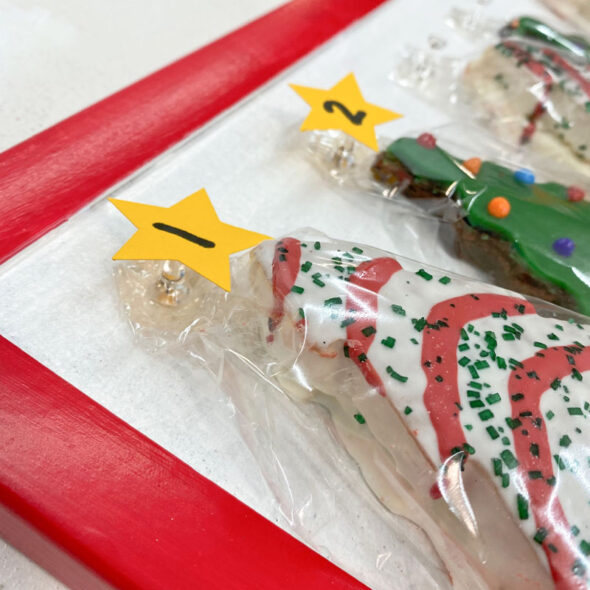
Then I secured the tree to the corkboard using a clear push pin. It's important to use clear here so that they are basically invisible.
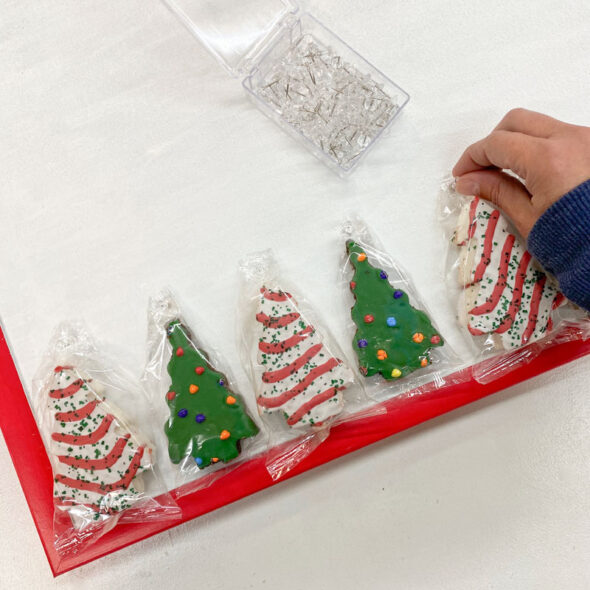
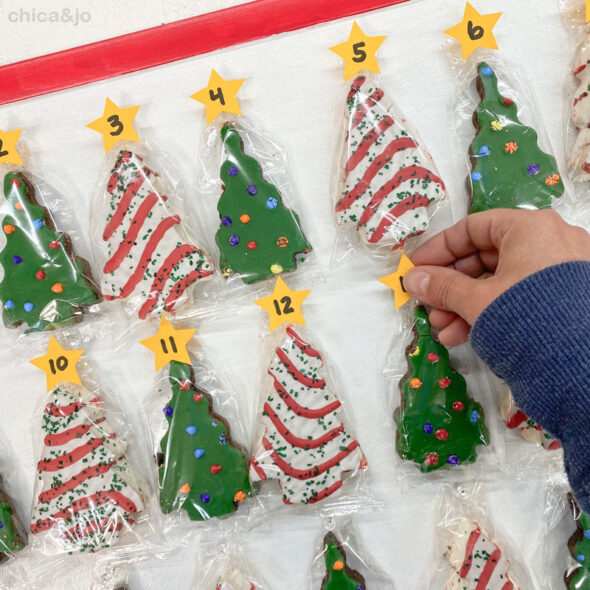
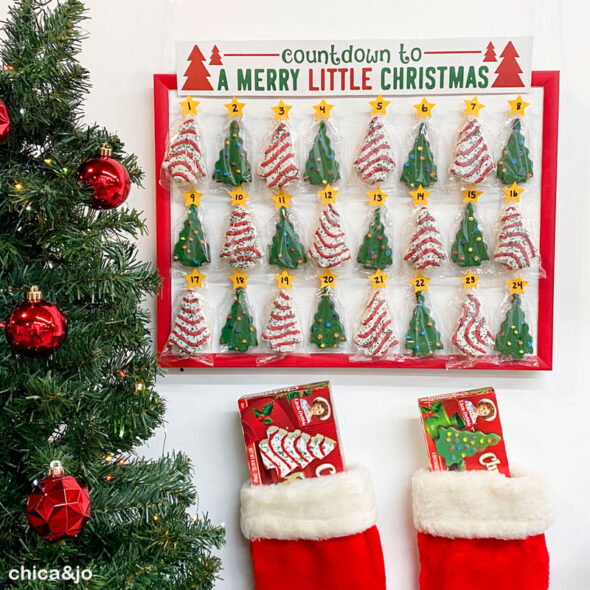
I put eight snack cakes across the bottom of the board, as far down as they could go, and alternated between the white and green trees.
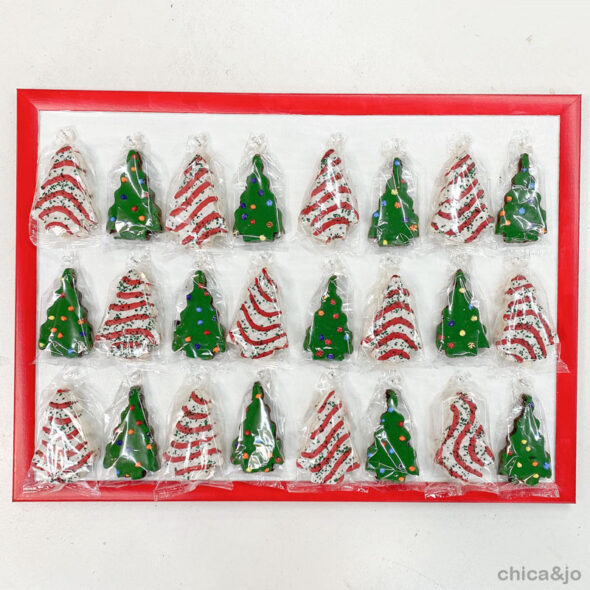
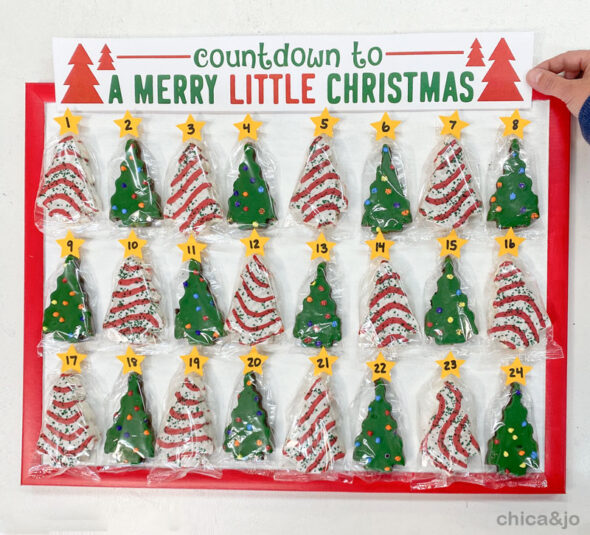
Then I put two more rows on top, for 24 total trees. I left a little extra space at the top to make room for the sign later. It's pretty cute already, right?
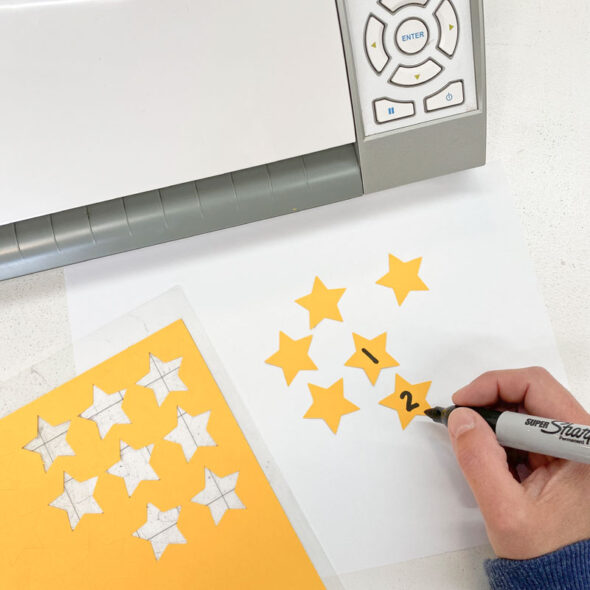
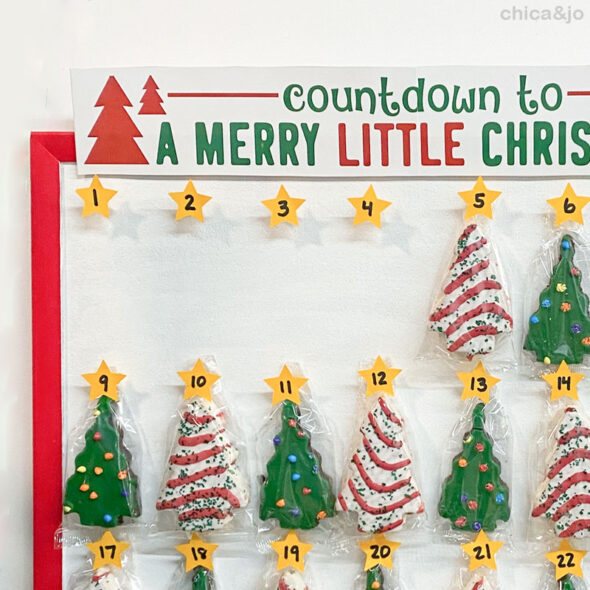
To top (and number) those trees, I cut some little stars (about 1") out of yellow cardstock. I used my Silhouette to cut them (here's my .studio cut file if you want to use it) but you could use a star-shaped paper punch or cut them out by hand if you wish. I used a marker to write numbers 1 through 24 on the stars.
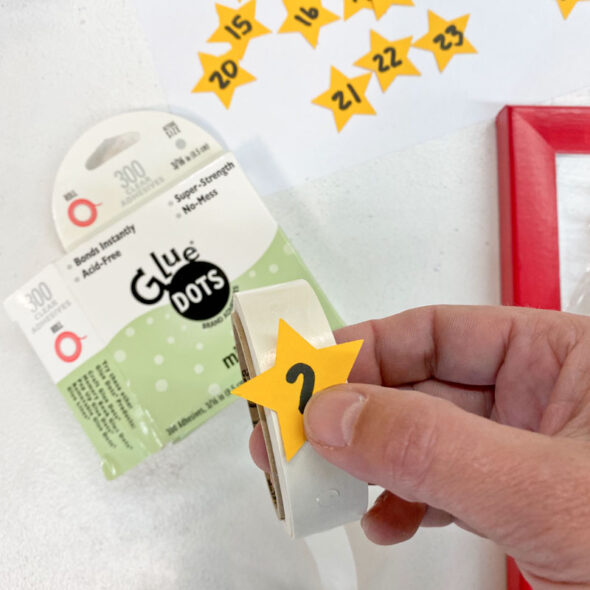
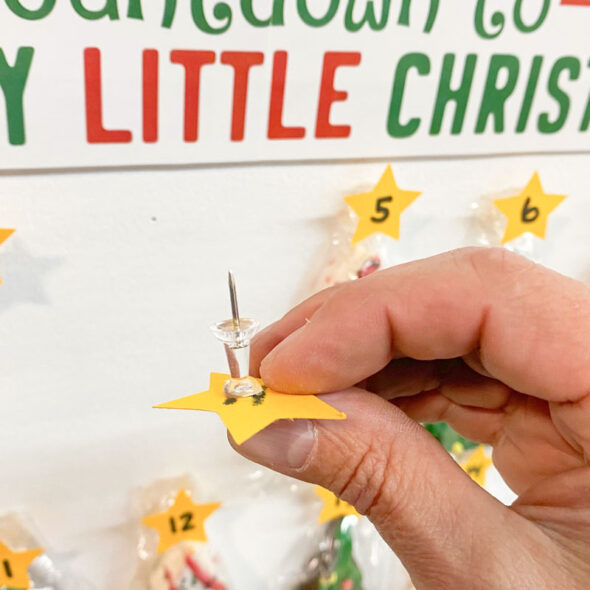
To attach the stars, I stuck them onto a roll of mini Glue Dots so that one dot was stuck to the back of the star...
...then I placed the star onto the pushpin. The tiny dot was plenty of adhesive to hold my star in place.
The push pins are perfect for this because they give just the height needed to get the star lined up with the front of the tree. And of course, they are easy to stick in corkboard and easy to remove and replace.
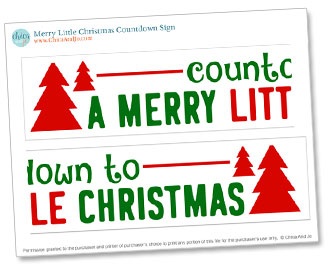
The only thing left is the sign across the top! I created a free printable for you to make this easy. Just download our "Countdown to a Merry Little Christmas" sign and print it onto white cardstock.
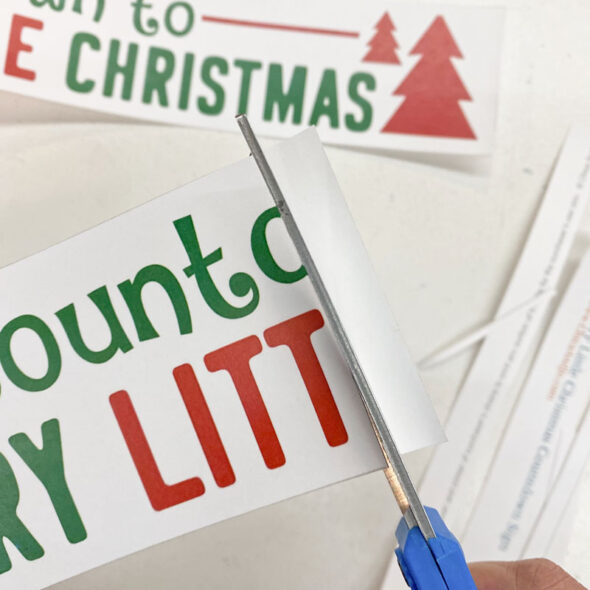
Cut out both pieces of the sign along the gray borders. For the right half of the sign, don't cut on the white border. For the left half of the sign, cut the white border RIGHT NEXT TO the edges of the green letter.
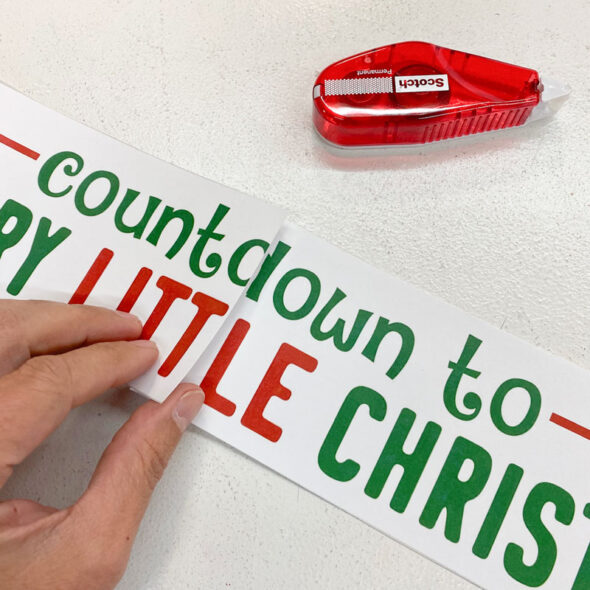
Then you can overlap the two pieces for a perfect match. The left half will line up perfectly on top of the right half, and that extra bit on the right half will slide underneath, giving you something to tape it to. Add a little double-sided tape between to hold them together.
Put more double-sided tape on the back of the whole sign and center it on top of the frame, down onto the corkboard a little.
And just like that, your Little Debbie Christmas tree cake advent calendar is ready to hang on the wall or prop on a shelf or mantle.
As you count down to Christmas, you can take one tree off to eat each day.
And because those stars are stuck to the push pins (not the cakes), you can stick the pin right back in the hole so that your calendar still looks pretty all month.
My Honey loves Little Debbie snack cakes as much as I do, so he is super excited about this addition to our home. I think we might have to fight over who gets the snack each day!


