IKEA Hack: MOPPE Organizer for Cake Decorating Supplies
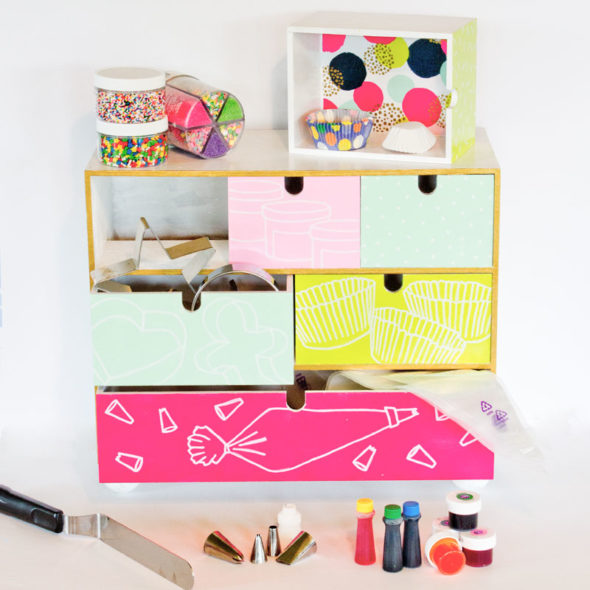
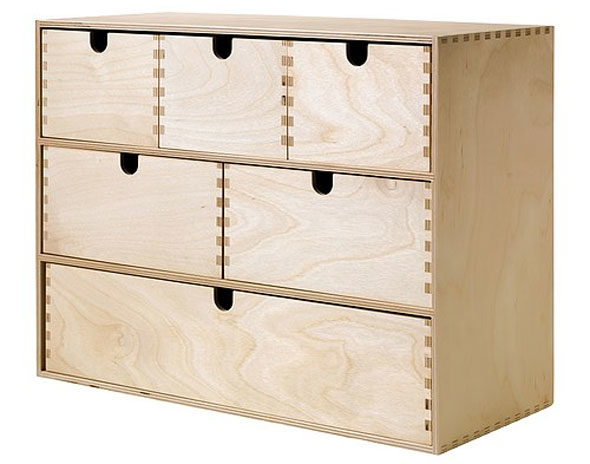
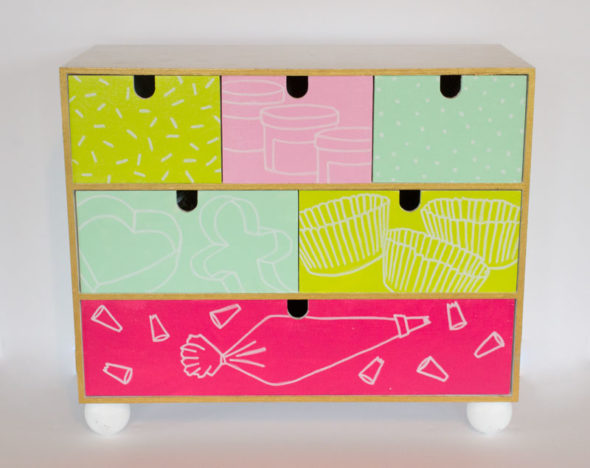
On our last visit to IKEA, Jo and I picked up a cute little wooden drawer organizer called MOPPE. We had so many great ideas on how we could IKEA hack this MOPPE, and on the drive home we finally settled on our favorite — an organizer for cake decorating supplies! I have a lot of baking supplies and love to use them to decorate cakes, cupcakes, and cookies. What better way to keep them organized and neat than with adorably marked drawers for tips, sprinkles, cupcake liners, coloring, and more.
Paint the cabinet and drawers
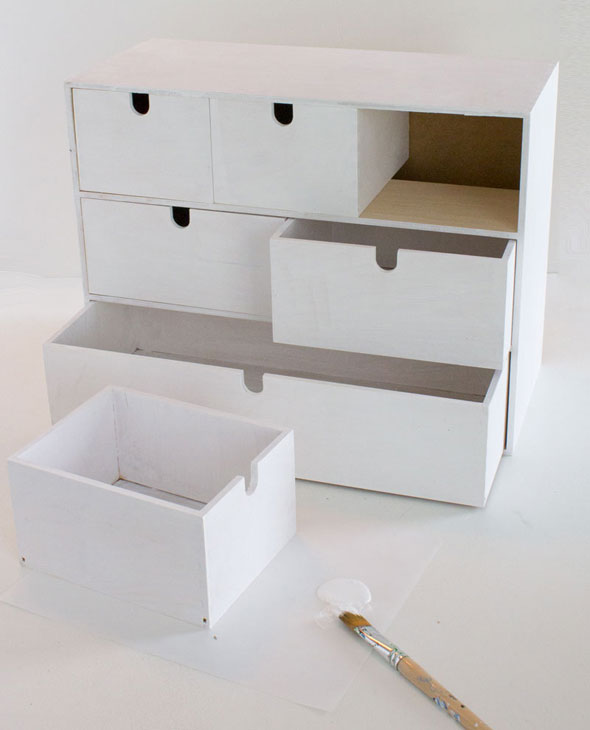
The first step was to paint the MOPPE with a basecoat of white, to give it a fresh, clean look.
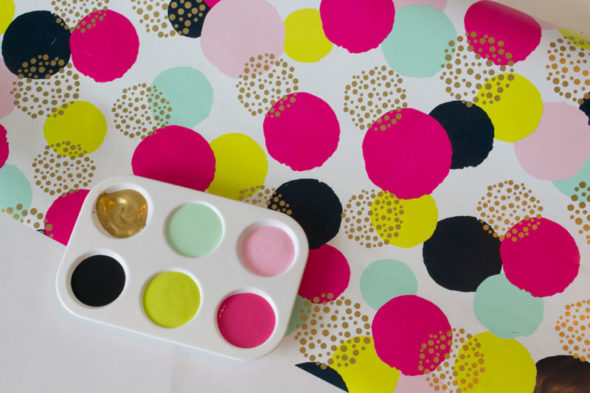
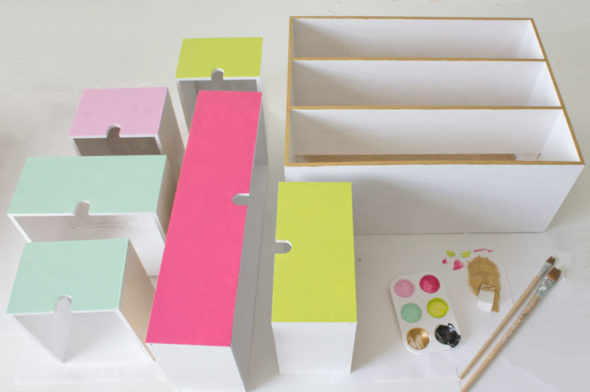
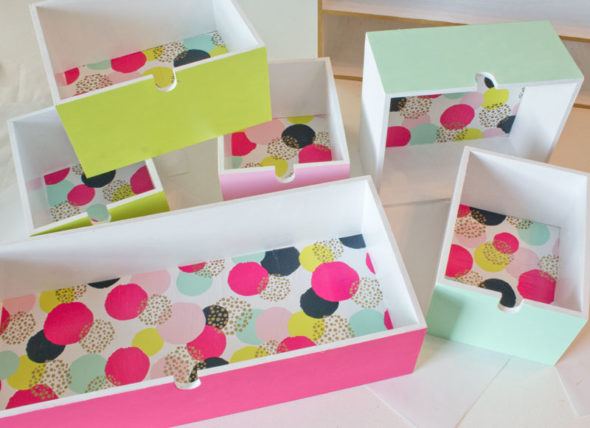
Then we hit Jo's wrapping paper stash for inspiration. This part is totally up to your imagination — you can pick a design and colors that suit your personality or decor. We picked out a crazy design with bold dots and bright colors, and knew it would be a great color palette and a fun pattern for lining the drawers. I picked out matching colors of acrylic paint and got to work.
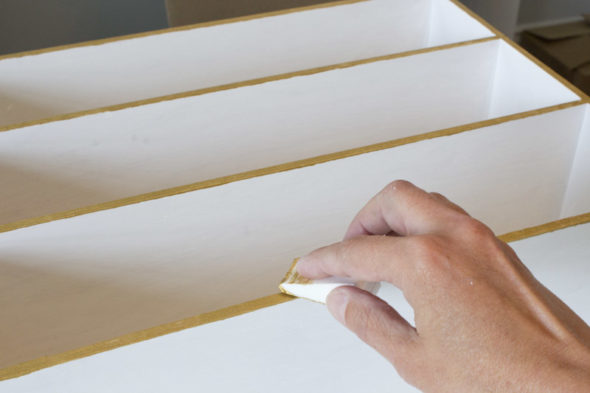
I used the metallic gold as an accent on the front edge of the box. I find that the easiest way to paint a flat, narrow surface like this is to dab the paint on with a foam cosmetic wedge. Hardly any paint gets on the side, like it would have if I'd used a brush.
Then I painted the drawer fronts with the remaining colors, making sure not to get two colors next to each other once the drawers were put back in.
Line the drawers with coordinating paper
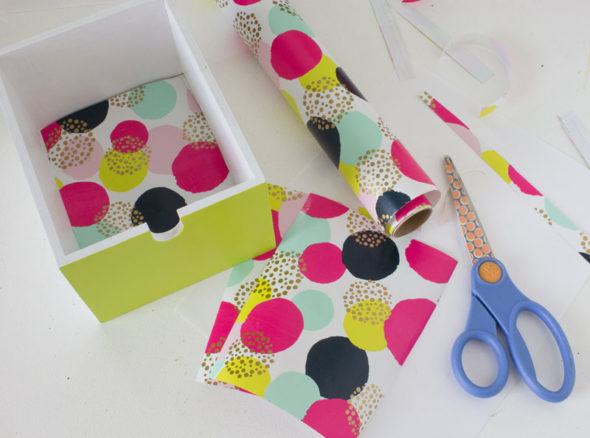
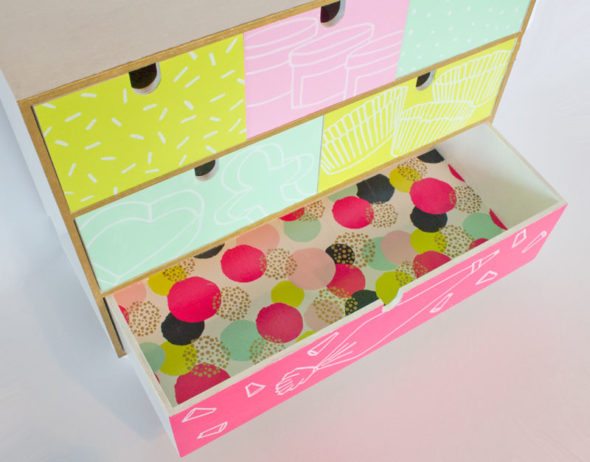
I cut pieces of the wrapping paper to fit the bottom of each drawer...
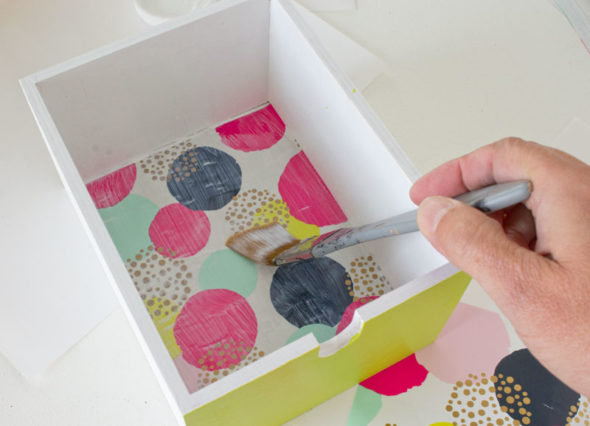
...and used some decoupage medium to seal it all up. I used a gloss finish so that it would be easy to wipe clean.
While I was at it, I went ahead and coated the entire drawer except the front (I need to add my designs first), so that it would be glossy all over.
Decorate the drawer fronts
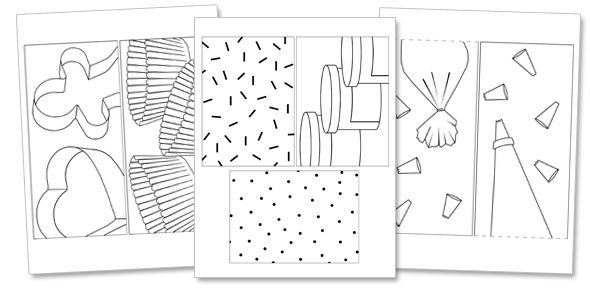
Next it was time to decorate the drawer fronts! To make this easier, I designed a template that I could trace. You can download my cake supply pattern to use on your MOPPE as well.
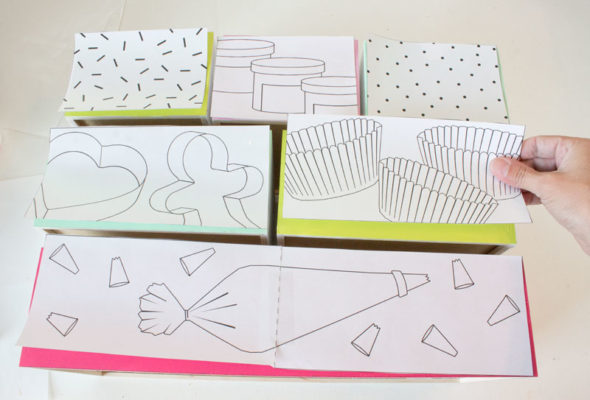
I printed the patterns and cut them out, then arranged them on the drawer fronts.
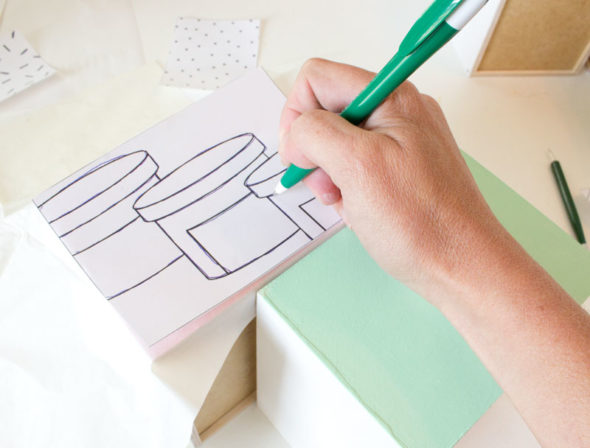
I used some white transfer paper to trace the designs onto the drawer fronts. I've got two tips to share on this step. First, make sure you use white transfer paper (not grey) so that you have an easier time covering the lines with white paint later. Second, use one of the other drawers to support your wrist as you go, so you have a flat surface to lean on. This makes drawing so much easier!
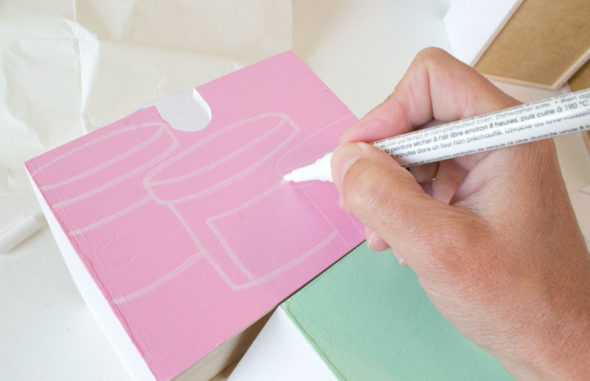
Next I traced over all the lines with a fine-point white paint marker. I had to trace the lines a couple of times to get the paint opaque enough.
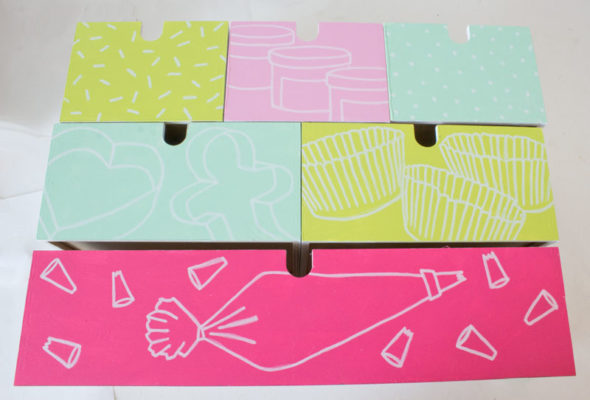
Just look at those cute little drawer fronts!
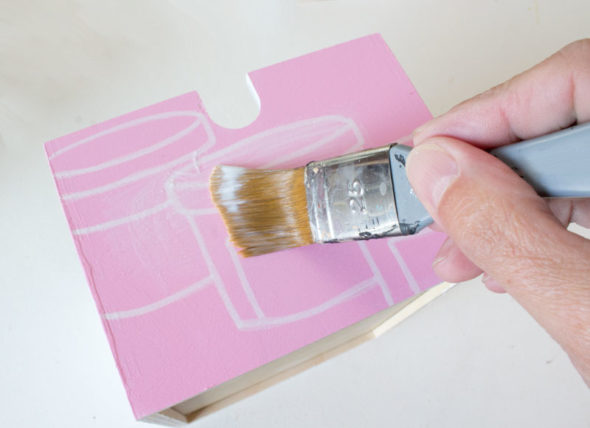
When the white lines had dried, I sealed them with another quick coat of gloss decoupage medium, and let it all dry thoroughly overnight to be sure the drawers wouldn't stick when I put them back in.
Add ball feet
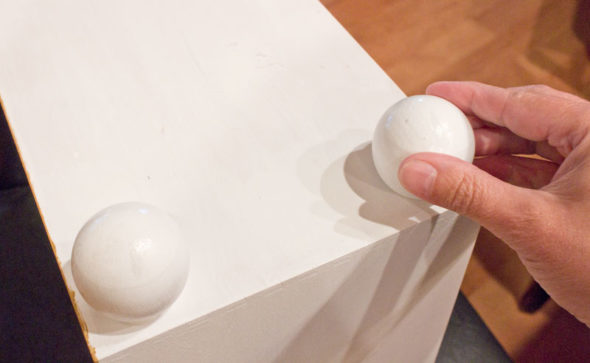
The last step for the box was to add some chunky ball feet to the bottom. I think this little touch gives the cake supply organizer so much more charm.
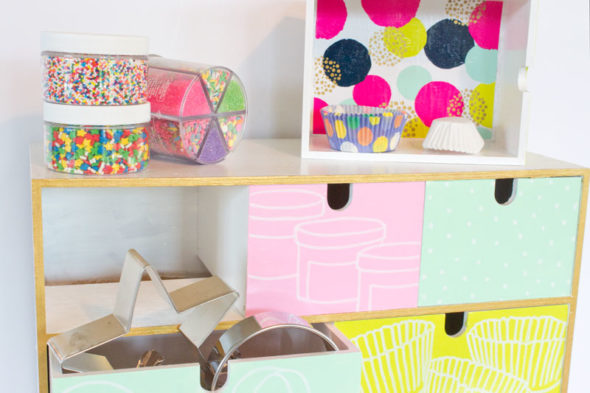
I could not be more pleased with how the transformed MOPPE turned out. I'm all set to store my sprinkles, coloring, sugars, cookie cutters, cupcake liners, bags, and tips!




2 comments so far:
I keep looking at that box every time I go to IKEA and my mind freezes up when I think about how to use it. Love your idea! Can you post some of your other considerations in the comments? Or will we be seeing some other version in future blog entries?
Pat, thanks for the kind words! We considered several areas of our homes that could use organization, such as sewing supplies, paints, spices, or bathroom counter items. We settled on the cake supplies because they really needed some organization, and the pieces are so tiny that they easily fit in just one box.