How to Temper Chocolate
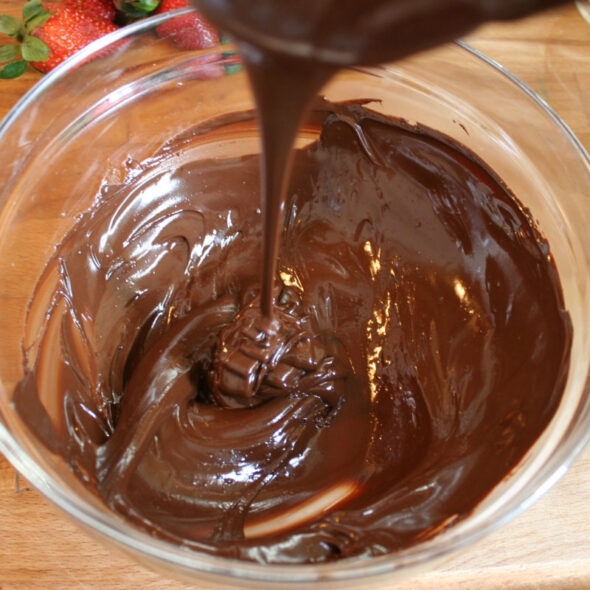
When I attended a chocolate making class recently, I learned how to temper chocolate, which is something I've wanted to do for many years. I've tempered chocolate at home twice since then, and I'm thrilled to have this technique in my arsenal. It makes such a huge difference in candy making!
In case you don't know what I mean by tempering, let me explain a little. You know how a chocolate bar or chocolate chips that you buy in the store is always nice and crisp, glossy, and hard, and can sit perfectly fine at room temperature without melting? Then that same chocolate, after you melt it and dip something in it, somehow loses all of those qualities and instead becomes fragile, starts to melt anywhere except in the fridge, and no longer has a snap to it. Why is that? Well, it all has to do with the crystals in the chocolate. In non-technical terms, the crystals fall apart when the chocolate melts, and you need to line them up again as it cools in order to re-form the chocolate in its previous glory. This crystal business is the art of tempering, and fortunately it's a lot easier than it sounds. All you need to do is manage your heat as you melt and cool the chocolate.
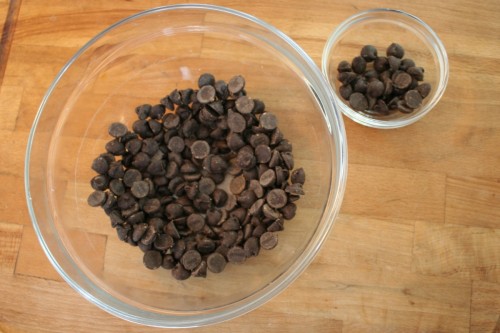
Here, let me know you a simple example of tempering that I did this weekend. Start with some chocolate chips in a large heat-proof bowl, but set a handful of them aside for later. (These are not for snacking -- we'll use them as part of this technique -- so don't eat them!)
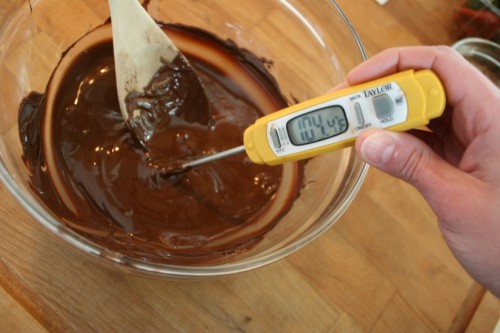
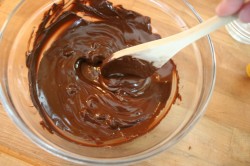
Using either a double-boiler or your microwave, melt the larger bowl of chocolate just until it reaches 105 degrees F. An instant read thermometer is going to be your best friend for this technique, so please invest in one of you don't already have one. Watch this carefully because it does not take much to reach 105 and it will happen quite quickly. You do not want to go over 110 or else your chocolate will begin to burn. (Note that my chocolate temperature was at 105 but by the time I grabbed my camera, it had started to drop a little!)
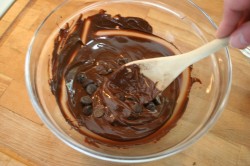
Now add those reserved chocolate chips to the melted chocolate and stir. There will be plenty of residual heat to melt them as you stir, so don't worry. The reason we add hard chocolate at this time is because the hard chocolate has perfect crystal alignment in it. By "seeding" our melted chocolate with proper crystals, it helps to get the rest of the melted chocolate's crystals all lined up and working beautifully. It's basically chocolate peer pressure, and it works!
All that's left to do at this point is to cool the chocolate, and how you do this is more important than you might think. You need to continue to stir the chocolate until it reaches the right temperature range, which will vary slightly depending on what kind of chocolate you're using.
- dark chocolate: 88-90 degrees F
- milk chocolate: 86-88 degrees F
- white chocolate: 80-82 degrees F
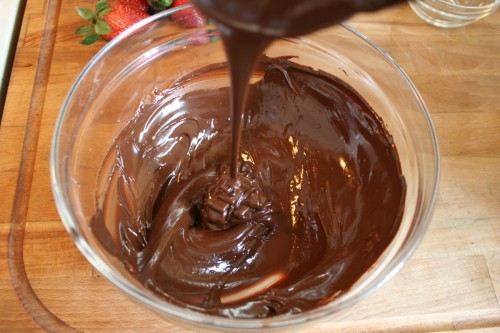
Just stir, stir, stir the chocolate and keep checking the temperature until it reaches the right range. This will take 5-10 minutes and will be very boring, but it's necessary, so stick with it. When you get to the right temperature, the chocolate will be shiny and glossy and the crystals will be in perfect alignment.
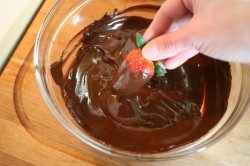
When the temperature is right, start working! I went straight for my favorite chocolate snack, chocolate-covered strawberries. Be sure that the strawberries are very dry and just dip them in the chocolate then set them on a piece of parchment paper to harden. Yum!
That's all there is to tempering. You can now coat, dip, and mold your chocolate without fear of it becoming a soft mess. In the past, I have often turned to fake-chocolate candy melts and sacrificed flavor for a hard coating, but no more. It's all chocolate from now on!
Of course, as easy as all that is, it is admittedly time-consuming. If you're looking for a faster and even easier way to temper your chocolate, you can always buy a tempering machine. Maybe one day I'll be lucky enough to have one of my own, but until then I'll just stir, stir, stir!







9 comments so far:
hee hee, chocolate peer pressure - that's funny cute;) I believe I suffer from chocolate peer pressure too.
Very, very cool - thanks so much for sharing this secret!
Thanks! This was so timely, as I made chocolate strawberries and cake balls for my husband's birthday yesterday. He said that the tempered chocolate was so much better. Definitely work the extra work.
Marcilla, I'm so glad this post helped you out and that you were pleased with the results. Looks like your Little Guy loved them too!
Can you do this to cover your popcorn with? Every time I met a chocolate bar and pour it over popcorn it never works! Do you think that by tempering the chocolate I will have better luck?
Can I give some advice re: melting chocolate? Don't use a wooden spoon. It saps the moisture out of the chocolate. Use a metal spoon instead :)
Chocolate peer pressure - what a fantastic term, that will make it easy to remember ;) I will have to come back to this method! I normally only melt chocolate for chocolate fondue, so tempering's not important, but for future reference it could be very handy.
Sara, tempered chocolate should give you a nice shine and snap, so if that's what you're looking for on your popcorn, that would probably do the trick. Sounds yummy!
Great tip about the spoon, Leah. Thanks for sharing!
good tip about the tempering machine