Harry Potter Hedwig Party Invitation
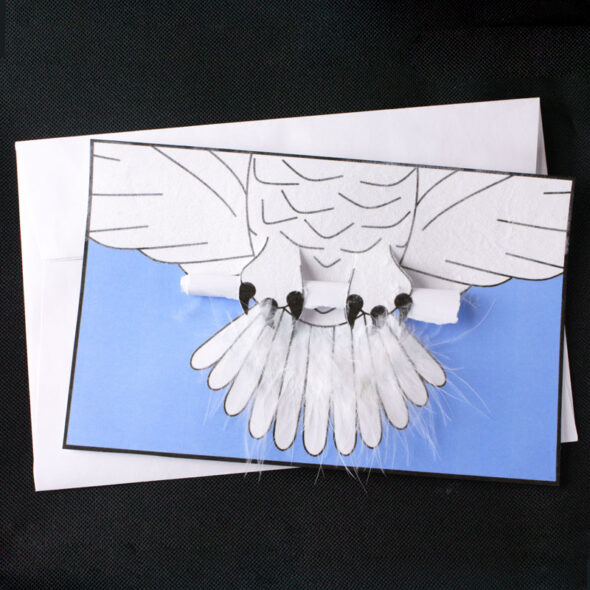
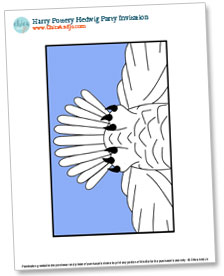
Plans are in the works for Little Jo's birthday party and I've been tasked with coming up with the invitation. Her favorite character from the movies/books is Hedwig, Harry Potter's pet snowy owl. Since Hedwig is known as a messenger throughout the stories, it made perfect sense that she be featured in the invitation.
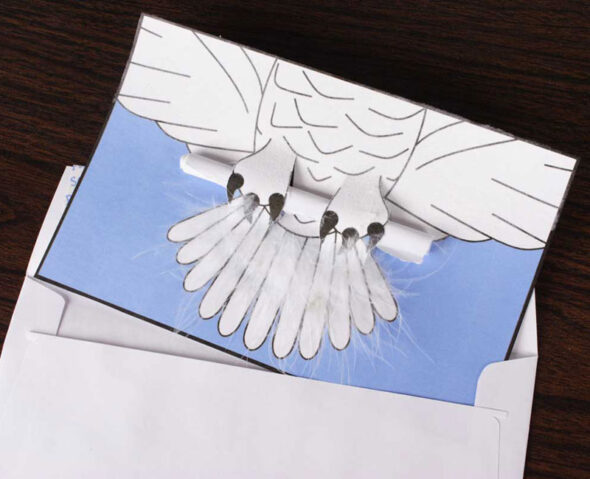
I wanted it to appear like Hedwig was delivering the invitation, so I started by designing an image of her flying, with talons outstretched. And so that you can make your own Hedwig invitations, I made it into a downloadable Harry Pottery Hedwig party invitation printable template.
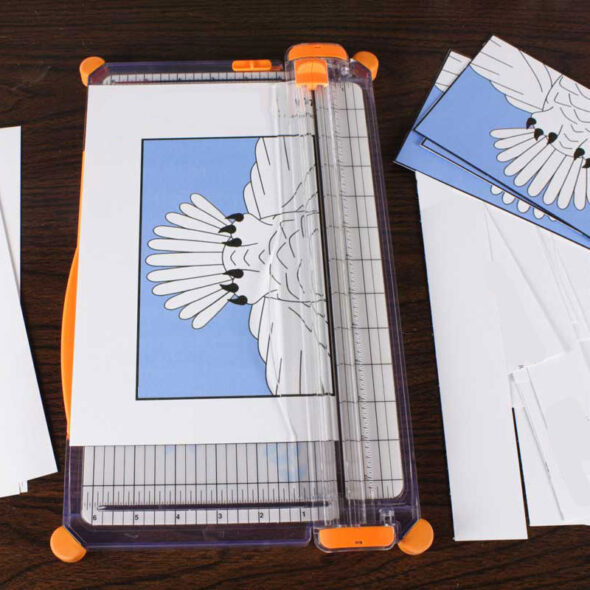
Once you've got the invitation template downloaded, print it onto white cardstock. Then use your paper trimmer (or scissors) to cut them out.
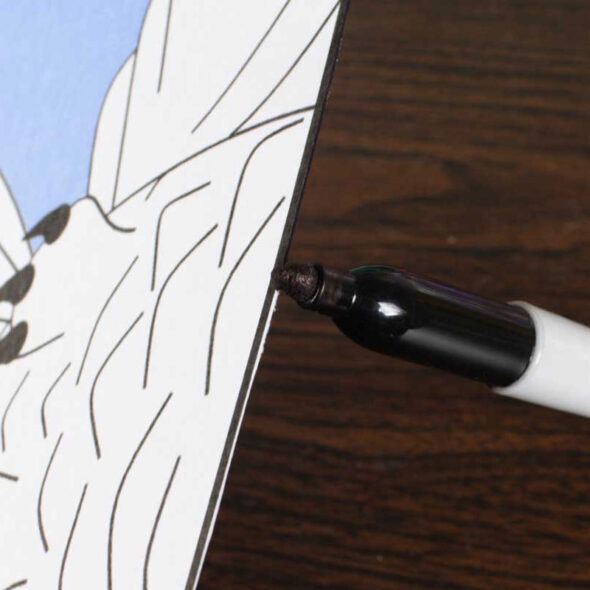
I want to share a little tip with you to really make your invitations looks sharp. When you print something onto white cardstock that has black on the edge, the white core of the cardstock shows on the sides. This is especially true if the blade on your paper trimmer is a little dull, like mine is. To fix this problem, just run a black marker along the edge of your cut cardstock, letting it color the exposed white core. It makes such a huge difference and makes your cards look so much more professional.
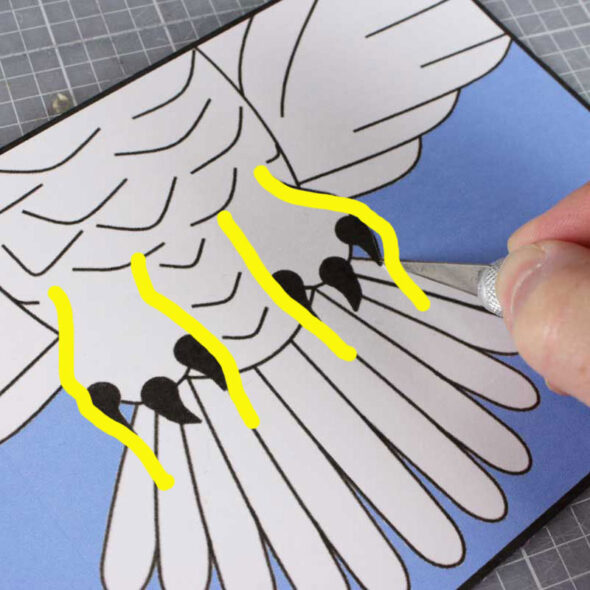
Now take an invitation and set it on a self-healing cutting mat and grab a craft knife. You need to cut along each side of each of Hedwig's talons, in the general area where I've marked with yellow in the photo below. Be sure you cut all the way through the cardstock.
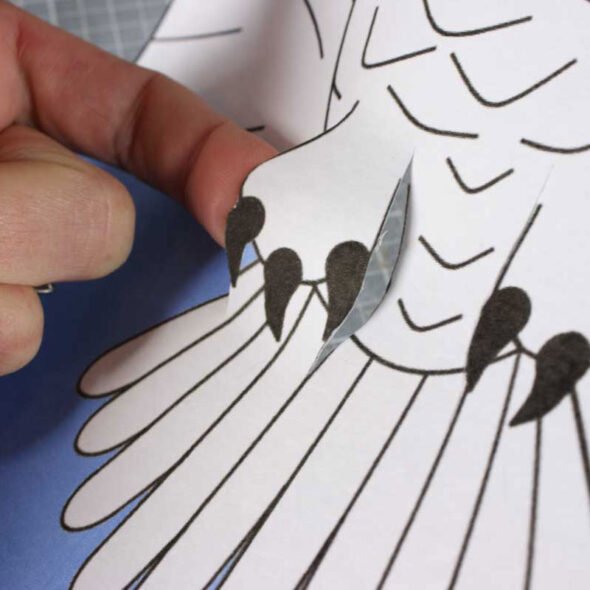
Once you've made your cuts, you should be able to pop the talons out and stick your finger behind them. This is where you will tuck the paper scroll that contains all the party details.
To make the scroll, open up your favorite word processing software and write out your party details (when, where, etc). I suggest using a fun Harry Potter font like Harry P or Wizard's Magic. The paper should be about 4" wide and 6" tall, and for an authentic look, I suggest tearing the edges, and you might consider using stationery that looks like aged parchment. Roll your printed sheet up really tightly.
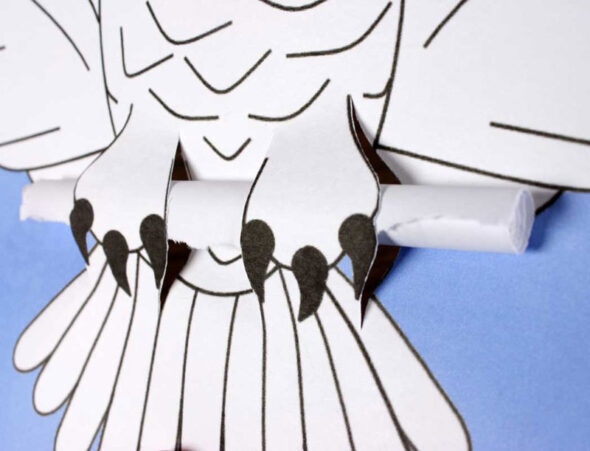
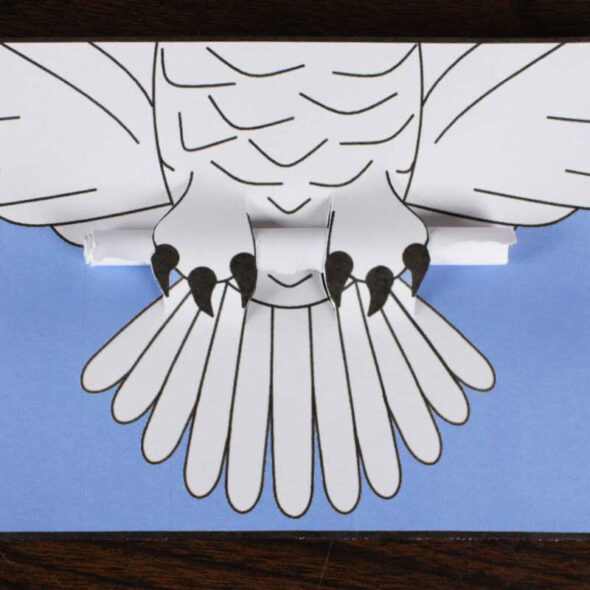
Then tuck it into the slots on the card, so that it's behind the talons.
It looks just like Hedwig is carrying the scroll.
Pretty cute, right? You could stop there, but why would you? We can embellish these invites and really take them over the top by adding some feathers.
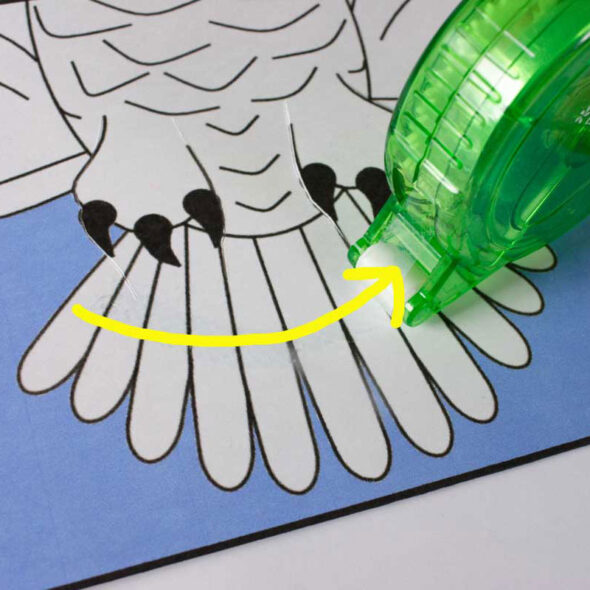
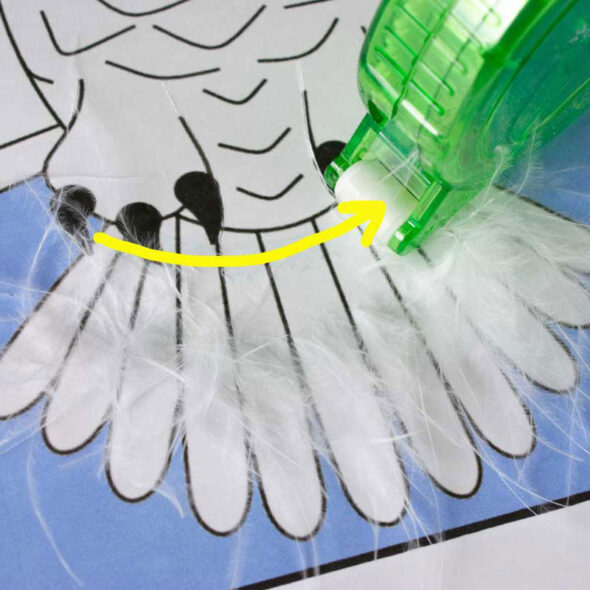
First, take the rolled paper back out. Then grab a tape runner and run a curved row of stickiness across the tail feathers, about halfway up, where I've marked in yellow in the photo below. (P.S. Do not use glue for this... I tried and it was a mess!)
Speaking of messes, you're getting ready to make a big one. Like, you'll need a vacuum after you're done, but it'll be worth it.
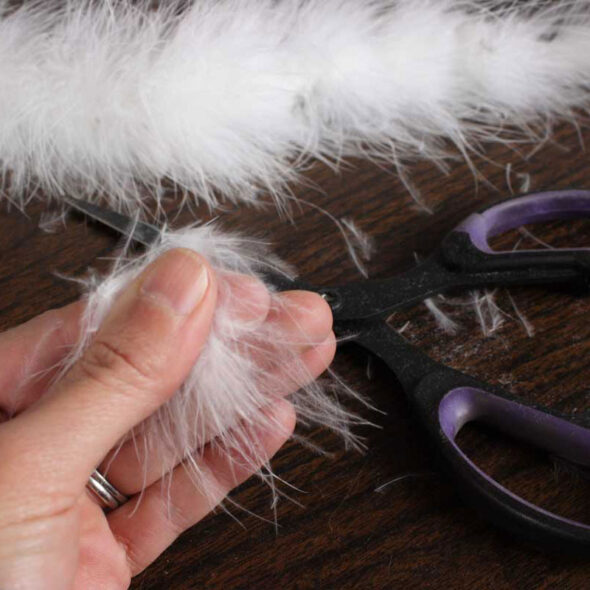
You'll need a white feather boa with really fine strands (not giant, thick feathers). I found one at my local Hobby Lobby store for just a few bucks. Grab a chunk of the feathers, hold them really tight to keep them from going everywhere, and snip them off with scissors.
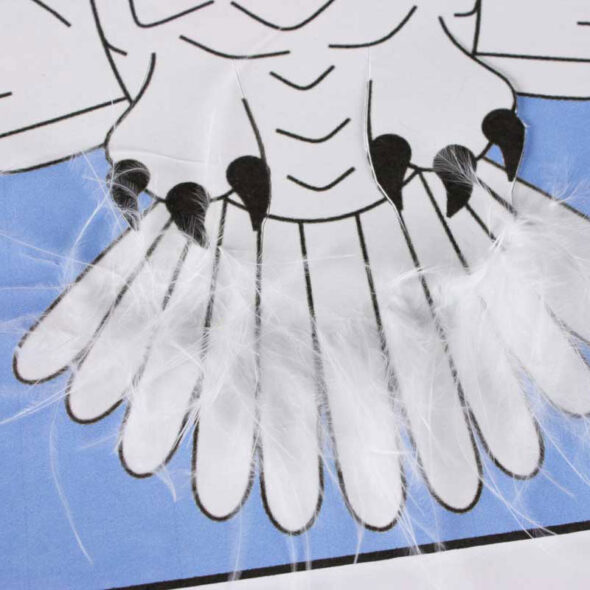
Now carefully stick the ends of the cut feathers onto the sticky tape on the invitation. It won't be perfect and bits of feathers will be flying around everywhere (thus the aforementioned mess) but keep sticking them on until the tape is covered.
For a little extra dimension, let's add a second row of feathers. Grab the tape runner again and add a second row of tape, this time near the top, where I've marked in yellow in the photo below.
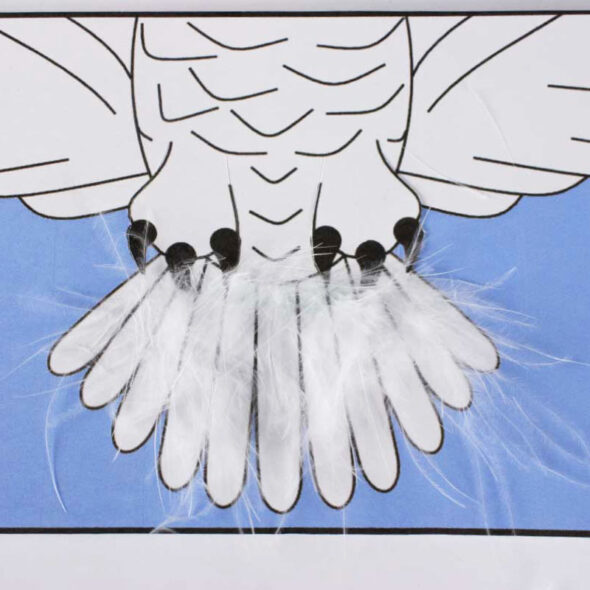
Cut more bits of feather and stick it to this row of tape, creating a full, feathery tail. I love it! It may seem like a lot of work, but if you do all the invitations at once, assembly line, it goes pretty quickly. And it's totally worth it.
When the feathers are done, tuck your rolled-up invitation paper back into Hedwig's talons and stick it into a 5 3/4" x 8 3/4" envelope (size A9).
I'd say this invitation definitely sets the tone for a fun and authentic Harry Potter party, wouldn't you?


