Make a Giant Shiny Brite Christmas Ornament Box
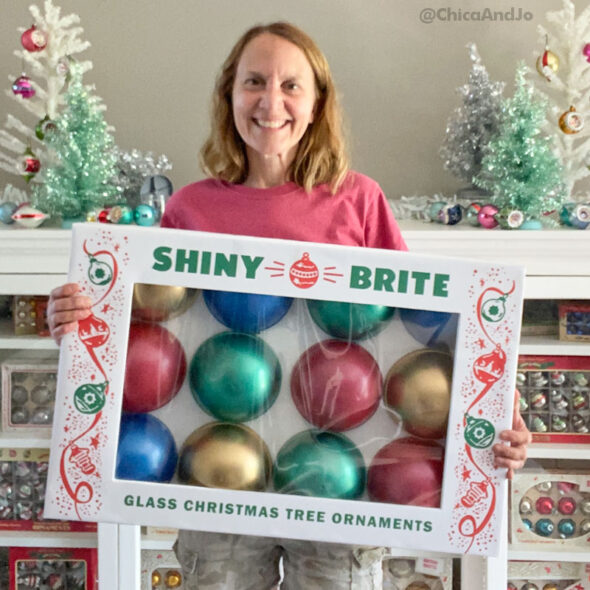
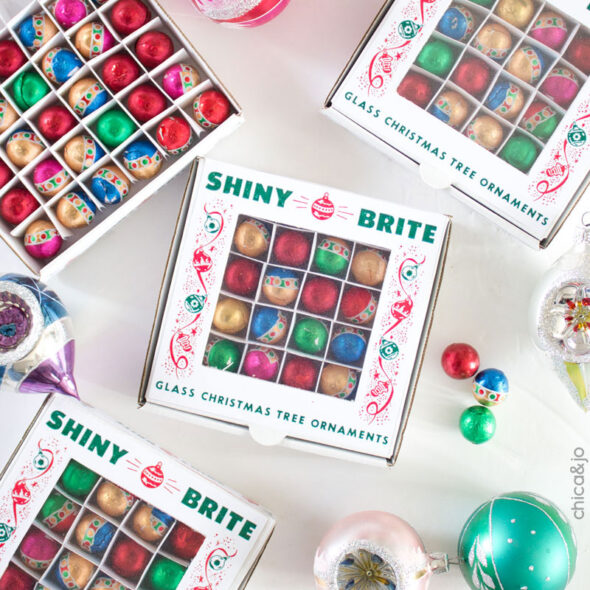
Jo and I love Shiny Brite ornaments and work them into our Christmas decor whenever we can. In fact, they are the focal point of the vintage Christmas ornament display that I set up in my foyer every year.
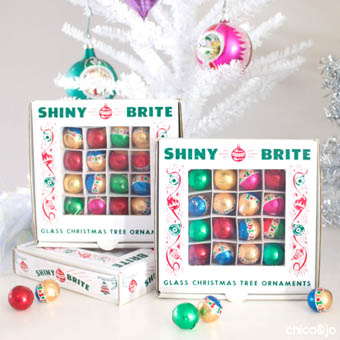
We have even made mini Shiny Brite ornament boxes that you can fill with candy ornaments and give out as favors.
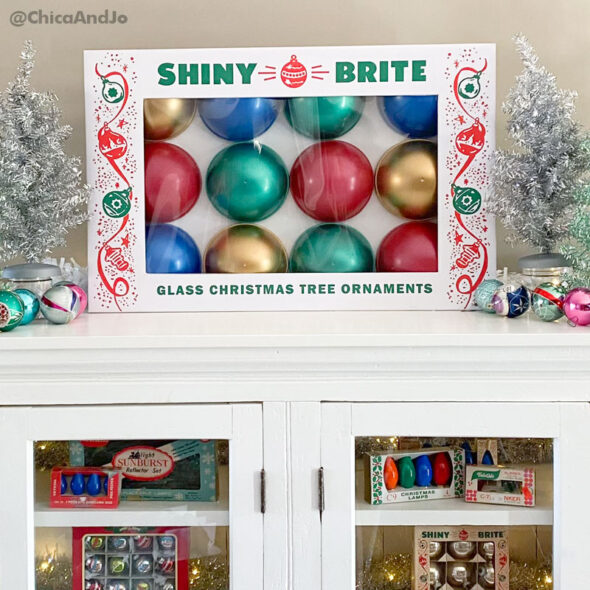
This year, we decided to go the opposite of mini and make a GIANT Shiny Brite box to feature prominently in my vintage ornament display.
VIDEO: Make a Giant Shiny Brite Ornament Box
Here's a video showing how we made our giant Shiny Brite box.
If you prefer step-by-step instructions, keep reading to see exactly how we made this giant ornament box, complete with oversized Shiny Brite ornaments.
Creating the ornament box
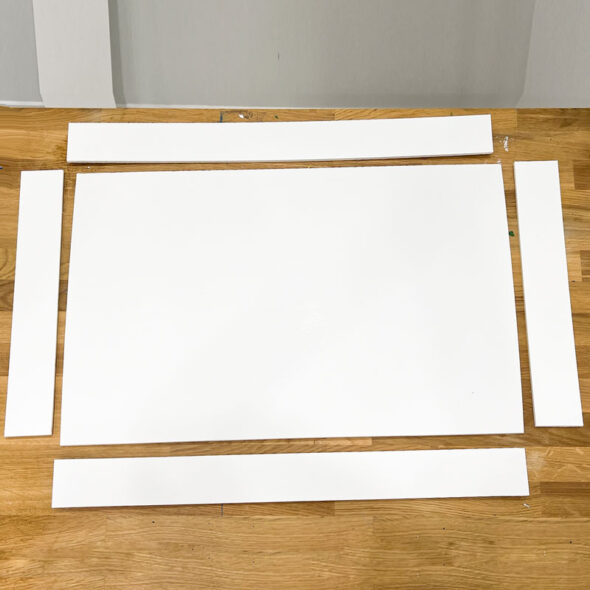
To create the base/bottom of the box, you'll need five pieces of 3/16" thick white foam core, cut as follows:
- 1 piece 18" x 28"
- 2 pieces 2-3/4" x 28"
- 2 pieces 2-3/4" x 17-5/8"
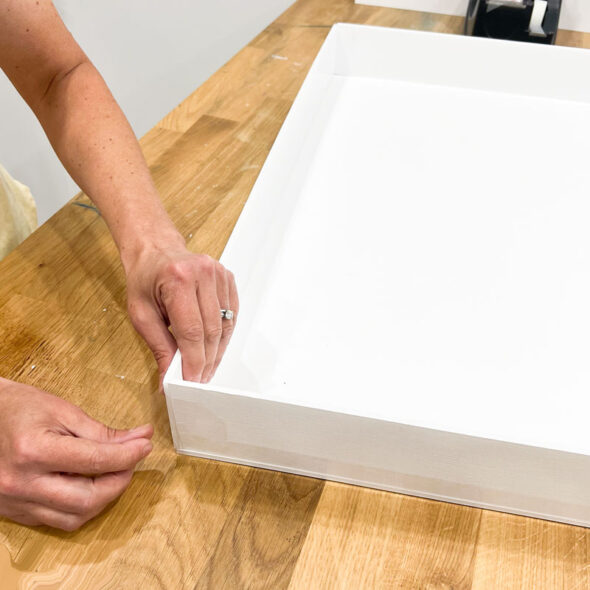
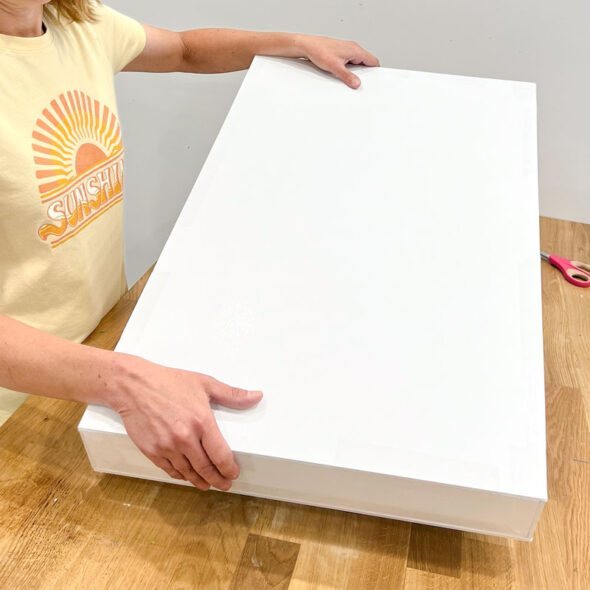
Add the small pieces to the sides of the large piece, securing with tape, to form the box bottom. All four side pieces should rest on top of the large piece and the two short sides should be placed between the two long sides.
Cut another piece of foam core that's 18" x 28" to serve as the box top. Add it to the open side of the box (it should fit right on top) and secure on all edges with tape.
You should have a solid rectangle box at this point, all ready to decorate.
Printing the Shiny Brite box cover
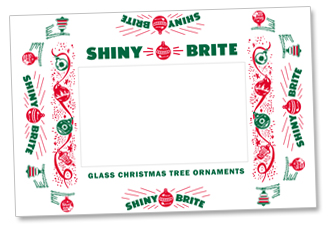
For the cover of this box, I took inspiration from my vintage Shiny Brite collection and designed a large version that would work as the cover on our giant ornament box.
I had the design printed at an office supply store in a standard 36" x 24" poster size onto matte stock.
If you'd like to make your own giant Shiny Brite box, you can purchase my design and have it printed at an office supply store. It's sized to print at 36" x 24" which is exactly the size needed to create the box using our instructions.
INSTANT DOWNLOAD -
PURCHASE NOW!
Giant Shiny Brite Box Printable – $7.99
from here immediately after your purchase is complete*.
Have questions? Email us at chicaandjo@chicaandjo.com
* File may be downloaded a maximum of 5 times.
Adding the Shiny Brite box design to the box
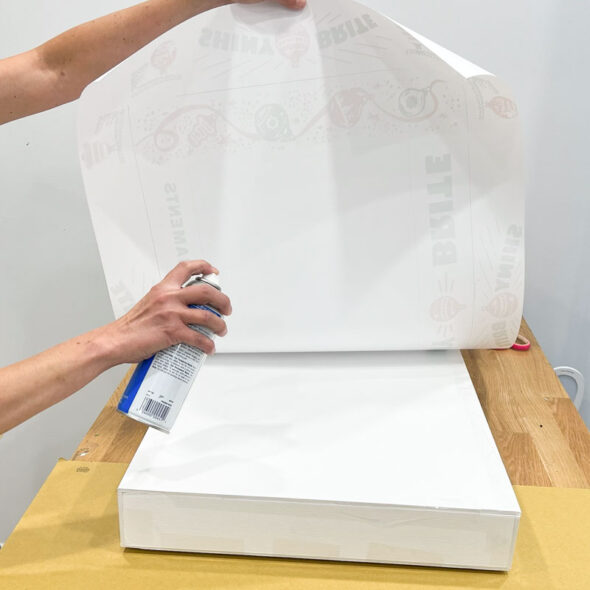
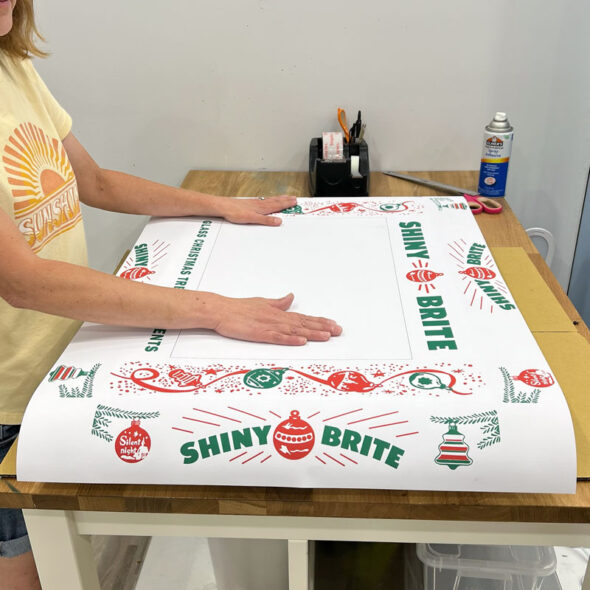
To add the printed poster to the box, center it on top of the box and use spray adhesive (or double-sided tape if you prefer) to stick it on.
Smooth out the paper and be sure it's stuck down well. You'll see the box sides hanging off the edges, and as long as you centered the poster well, they should line up perfectly on your box.
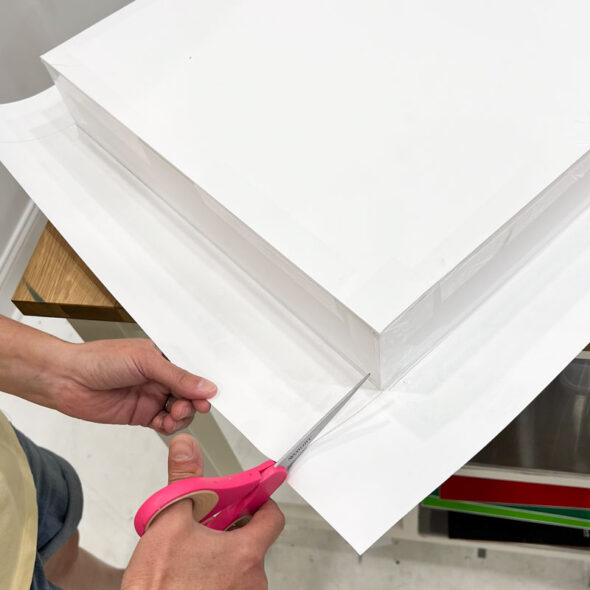
To attach the sides, you'll first need to make a few cuts. Flip the box over so that the design is face down on your table. Go to the short side of the box and use scissors to cut two notches (one on each side) to create a flap exactly as wide as the short side of the box.
Do the same thing on the other end, to create another flap.
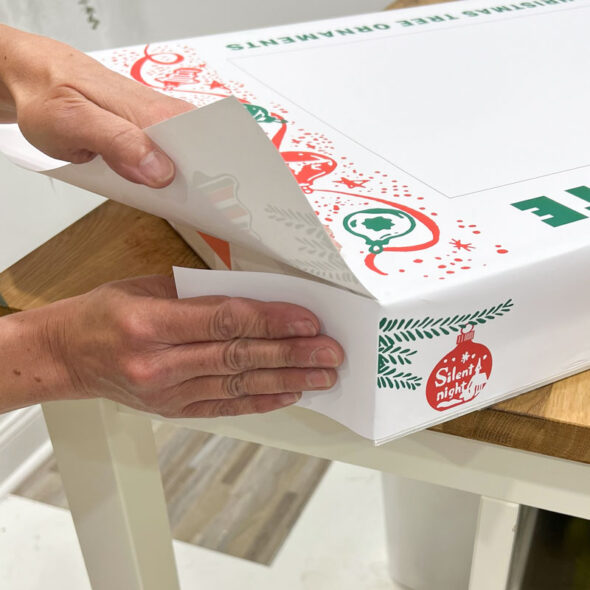
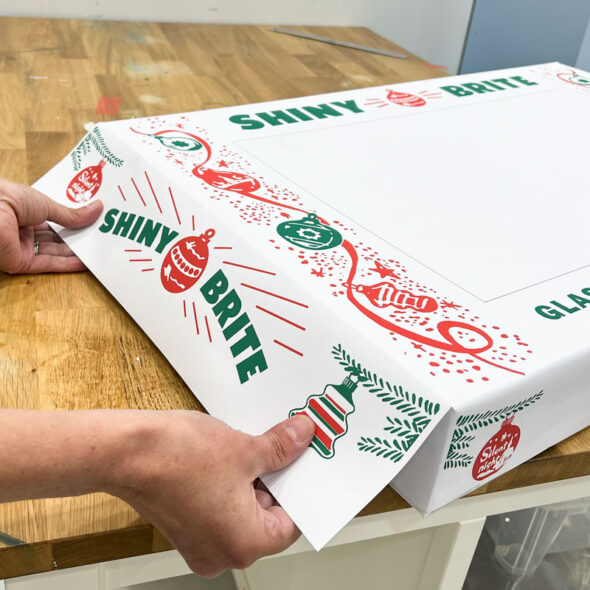
Now flip the box over and wrap the long sides around the corner of the box, tucking that extra white paper underneath that flap you cut. Secure with tape.
Do this on all four corners, so that the long sides of the box are fully wrapped and tucked around the corners.
Then pull your short-side flap straight down and secure with double-sided tape, finishing off the short side of the box.
Do this on both ends and you'll have a solid box fully wrapped in the poster design. Trim any excess paper if needed and you're ready for the last step... cutting the hole!
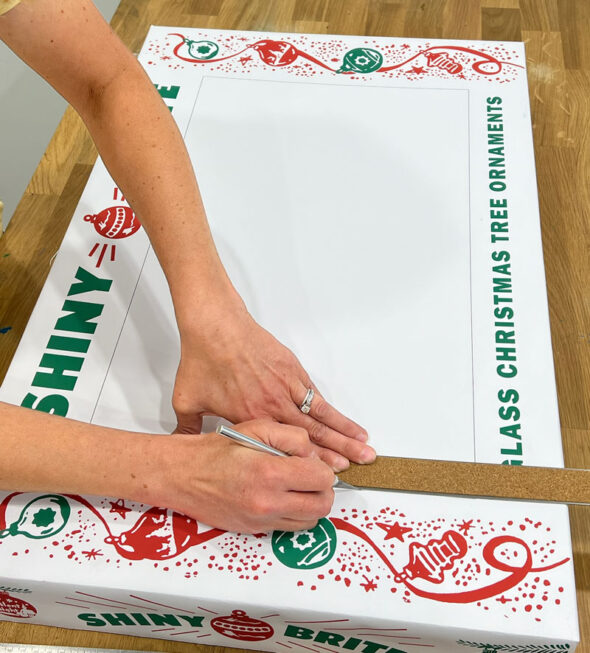
Use a straight edge and sharp craft knife to cut the hole out of the front of the box, right along the line on the poster.
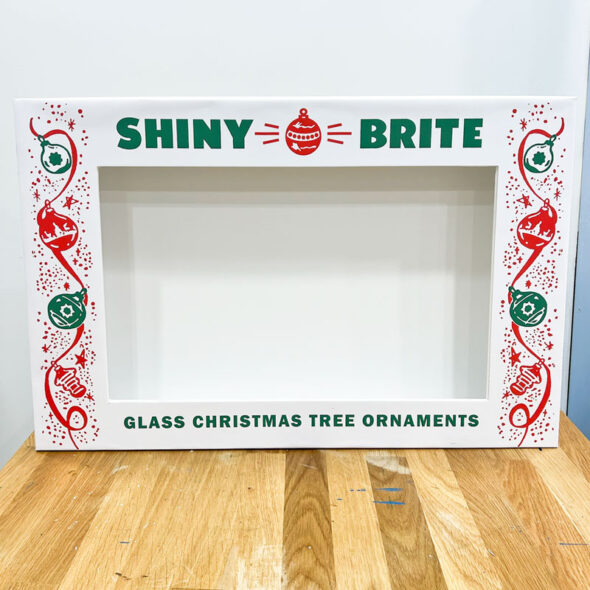
Now you have a completed box! You know what's next, right? Giant ornaments!
Creating oversized Shiny Brite ornaments
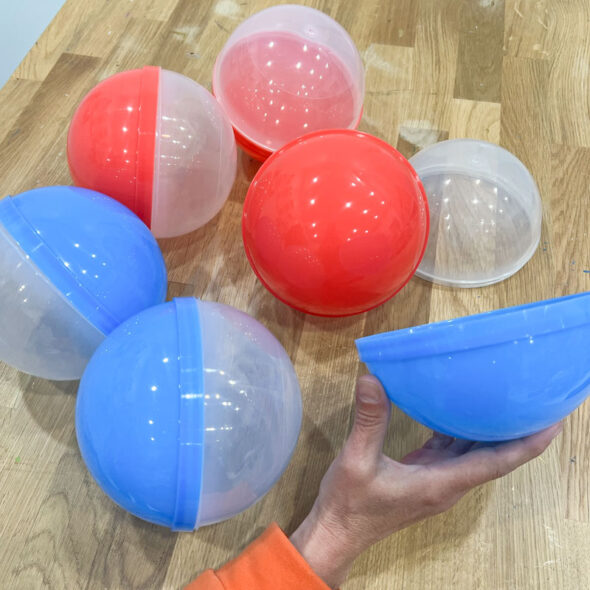
To create the large Shiny Brite ornaments to put in our giant box, we started with these 6" plastic favor balls, which we separated into halves.
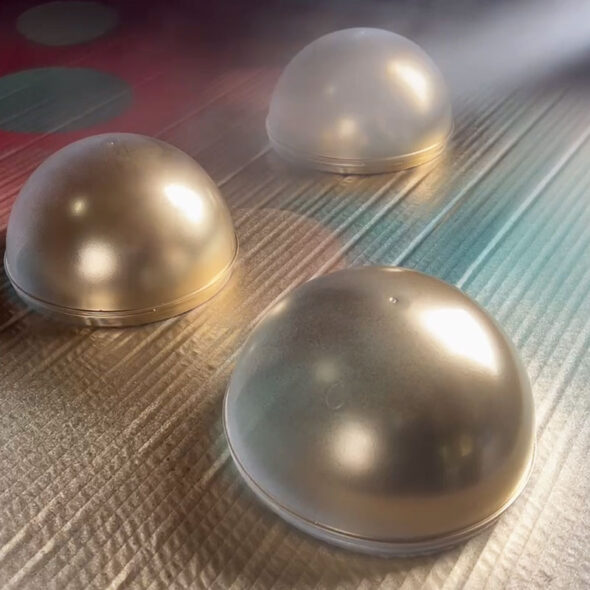
Then we spray painted them with metallic paint in red, green, blue, and gold.
Adding the ornaments and plastic
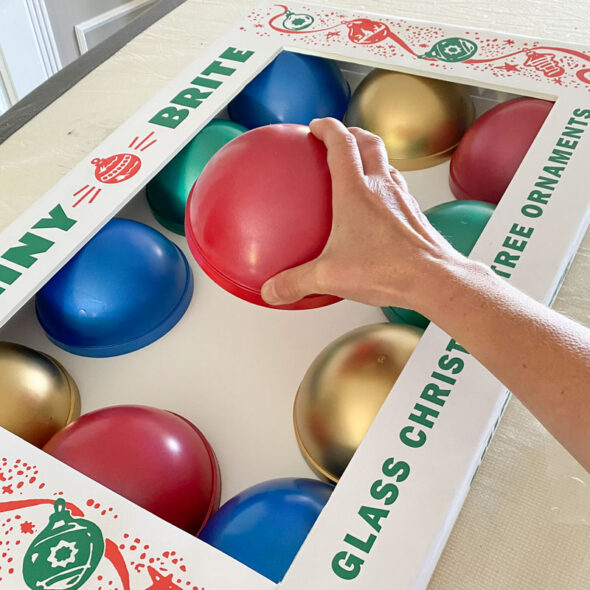
When the paint was dry, we tucked our ornaments inside the box and secured them with a dab of hot glue.
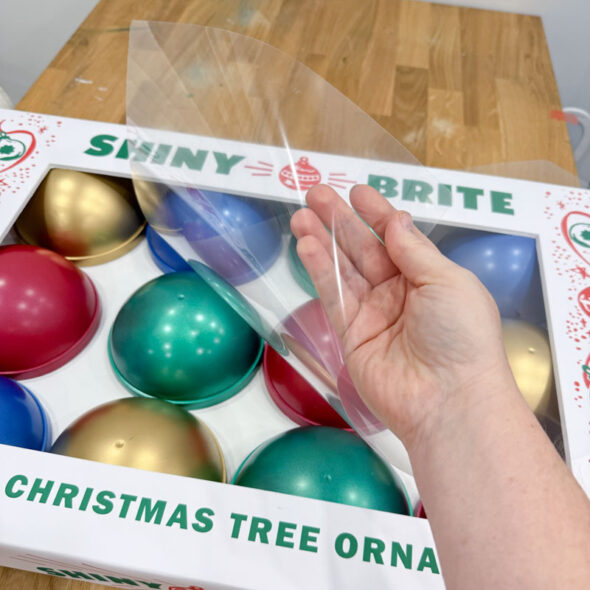
As a final step, we cut a piece of acetate to size and tucked it inside the box, to create that classic plastic cover over the ornaments.
The finished oversized Shiny Brite box
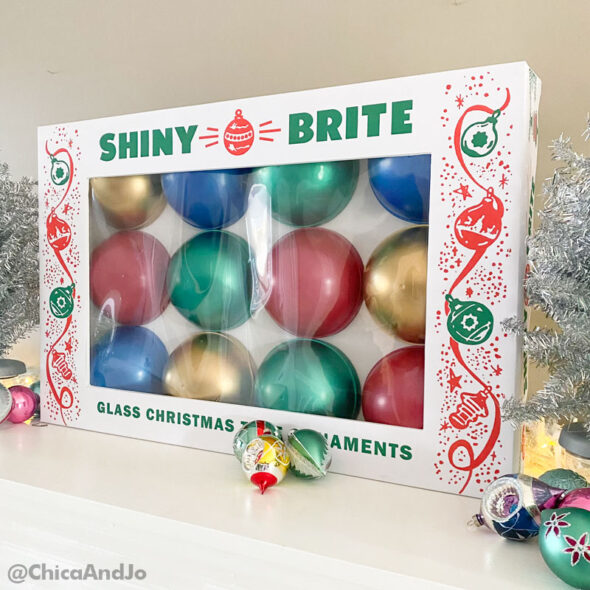
We could not be more pleased with our giant Shiny Brite box! The ornaments we created are so colorful and the design on the box is right in line with the vintage style of the original boxes.
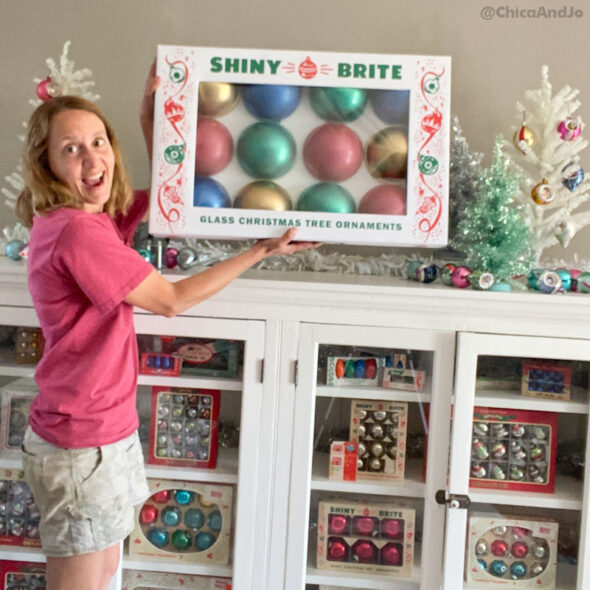
I especially love the contrast of having some normal-size Shiny Brite ornaments and mini trees near the giant box, to really emphasize its extra large size.
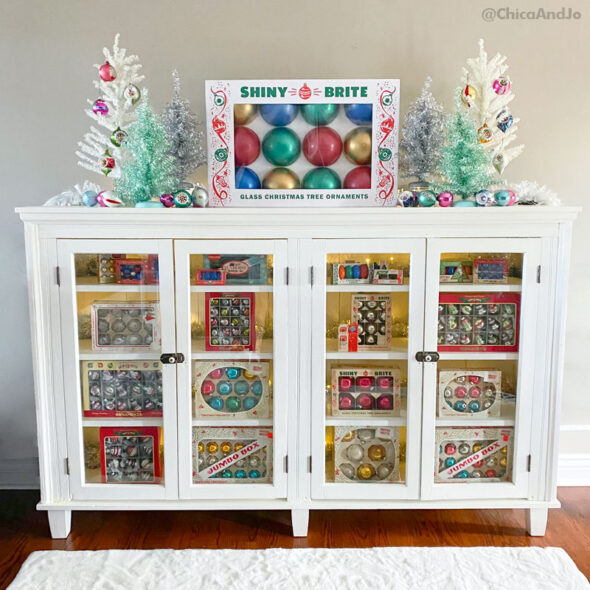
So what did I do with this giant Shiny Brite box? Well, of course I added it to my Shiny Brite ornament display that I set out every year for Christmas.
This hutch is full of vintage Shiny Brites, and what could be better as a focal point than my new oversized ornament box?


