Fourth of July Marbled Vases Made with Nail Polish
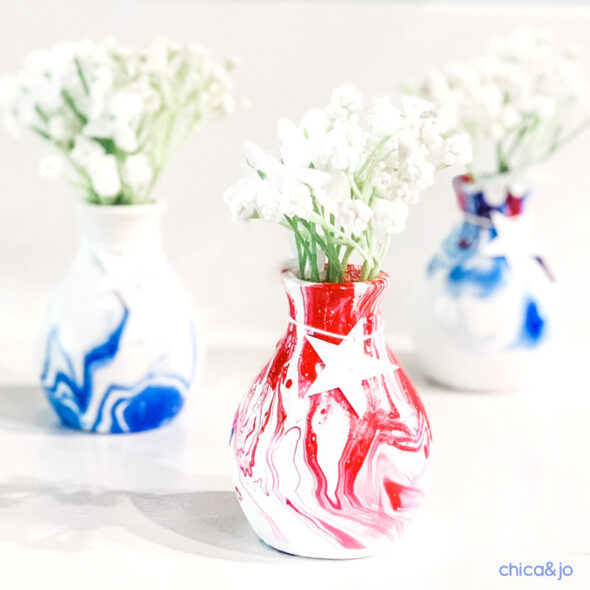
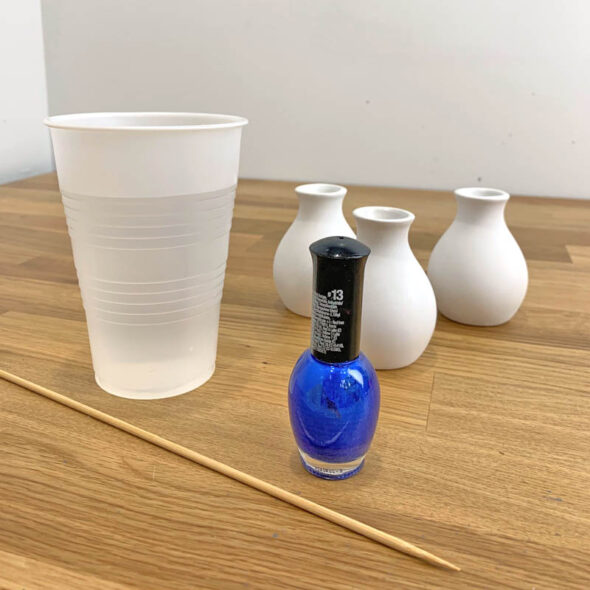
I was looking for inexpensive Fourth of July table decor that could also double as a party favor for my guests, and I hit the jackpot when I found some sweet mini vases at Target. I knew I could use our nail polish marbling technique to quick transform them into something special for Independence Day.
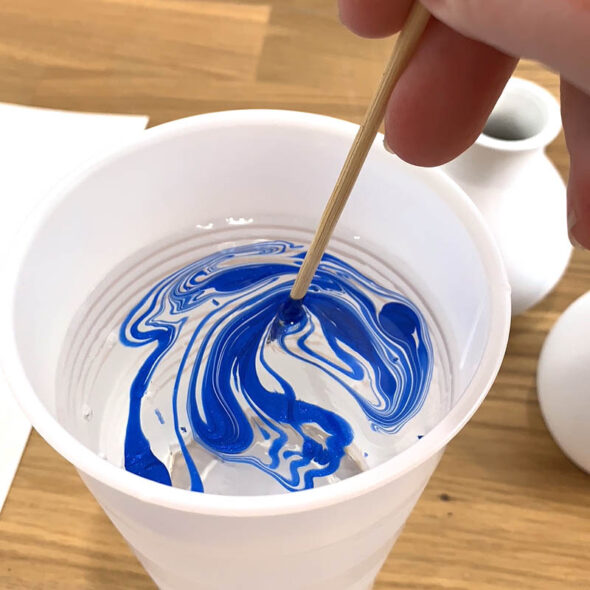
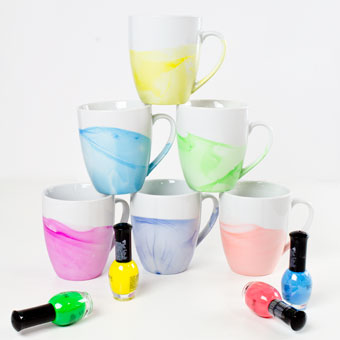
Typical nail polish marbling is easy — you just drizzle polish on water and dip your item, which leads to wispy, dreamy clouds of color. I wanted sharp, crisp lines, though, so I first treated the water using our exclusive trick (learn how in our book!) that keeps the polish from spreading out too much. Then, I added the blue polish and swirled it into a tight design with a skewer.
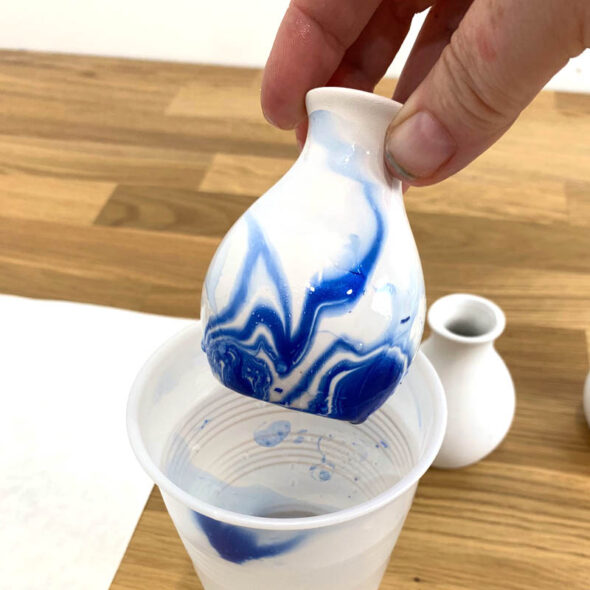
A quick dip of the mini vase into the cup captured all those glorious swirls!
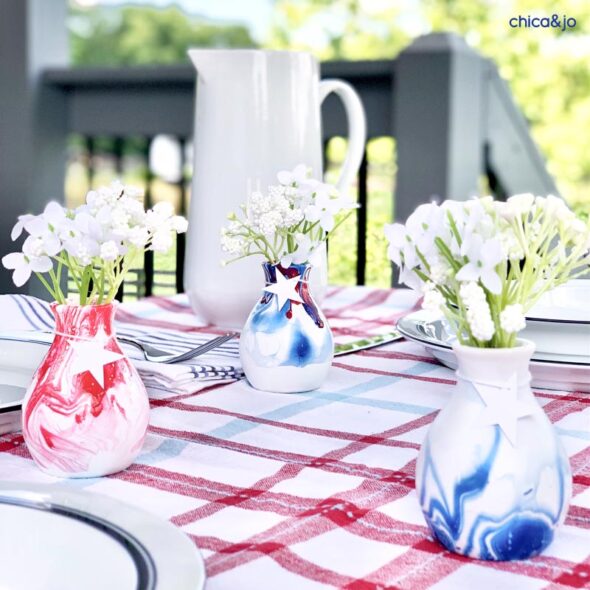
To keep with the Fourth of July color scheme, I dipped one vase in blue, one in red, and one in both colors. When you dip, be sure to start with the part of the vase where you want the design to be placed — sometimes that means dipping top first or sideways.
I finished the vases off with a paper star tied around the neck. These tags work great as name cards for guests if you write on them, but they're also pretty just left as a simple embellishment.
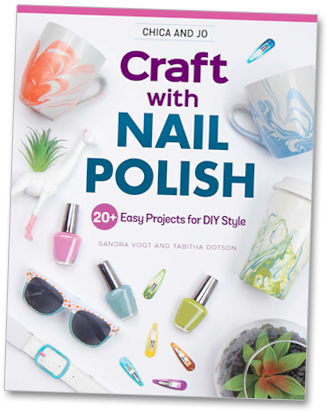
Chica and Jo Craft With Nail Polish
Want more nail polish crafting ideas? Check out our NEW BOOK available on Amazon for 20+ step-by-step projects that use nail polish to create customized items with unique flair.
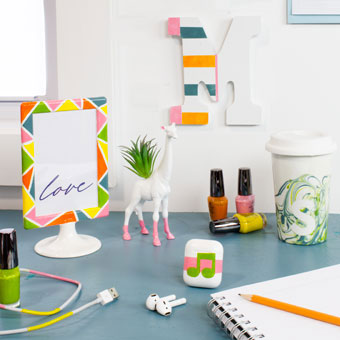
Our instructions and photos will walk you through easy DIY projects for using nail polish to add colorful flair to glasses, mugs, jewelry, decor, planters, and more. Learn techniques like marbling, paint pouring, masking and stenciling. Order your copy today!


