Faberge Inspired Pumpkin Treat Box
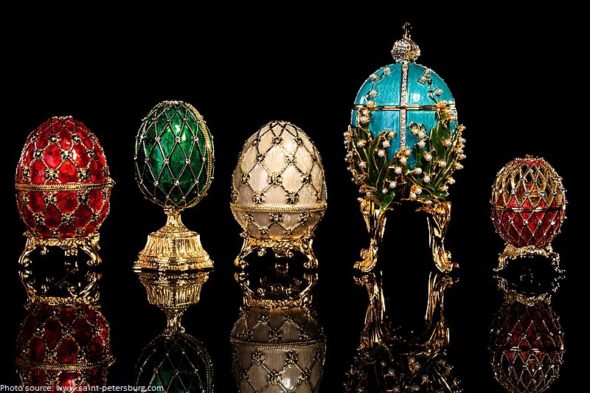
This past summer, Chica and I were fortunate to go on a cruise to northern Europe with our families. One of our most inspiring spots was St. Petersburg. The architecture and history were, frankly, a bit overwhelming! While there, we visited the Faberge Museum and I fell in love with the intricate eggs designed for the Imperial Court. As time passed, the Faberge eggs got more and more intricate, and they all had a tiny surprise inside.
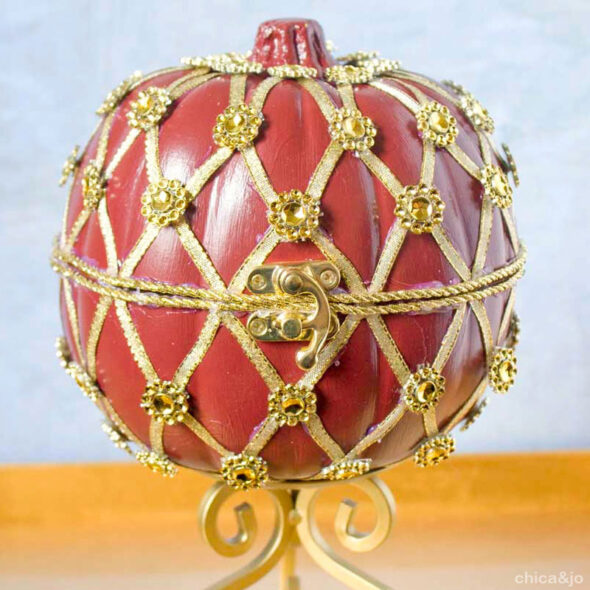
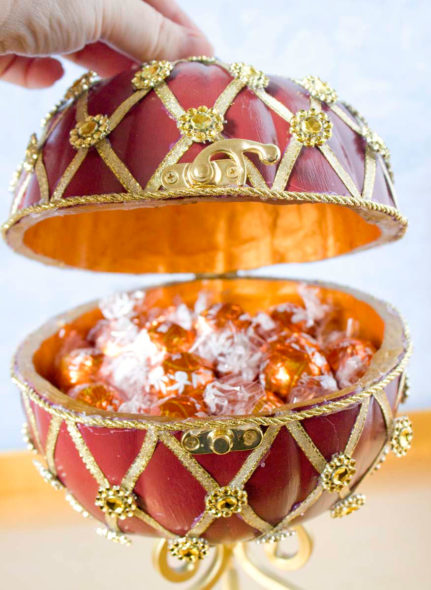
I decided to use this inspiration to create a fall-themed, Faberge-style, pumpkin treat box. I wanted my pumpkin version to hold candy and I knew I had to copy a simpler design.
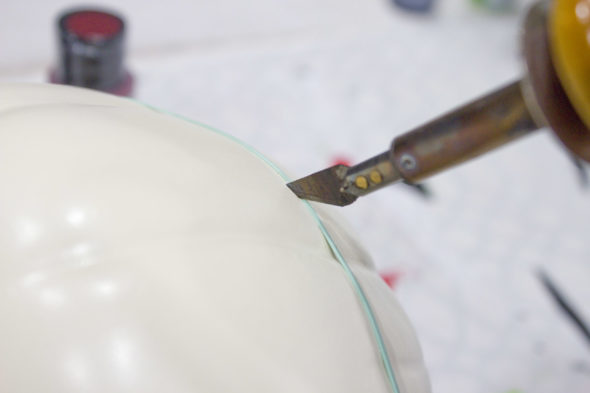
I started with a small, plain white faux pumpkin and used my Walnut Hollow Versa-Tool to cut it in half. I put a rubber band around the pumpkin to act as my guide so my line would be decently straight.
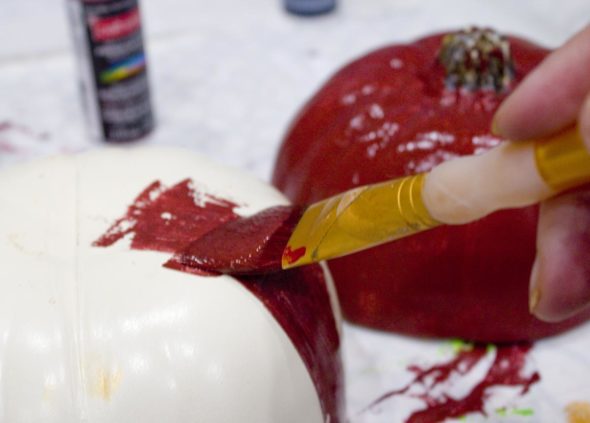
Next, I painted it a rich, deep red.
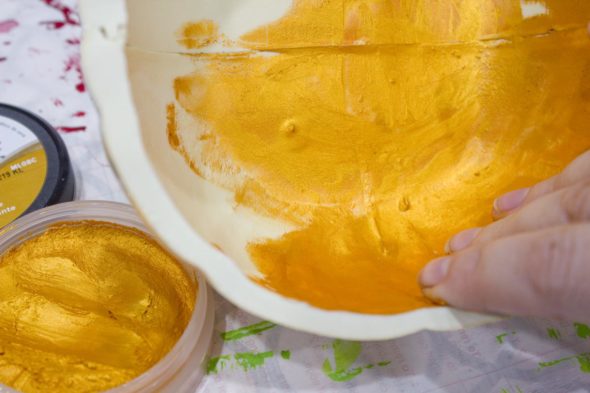
I used orange Metallic Lustre to coat the inside. I love how rich it made it look!
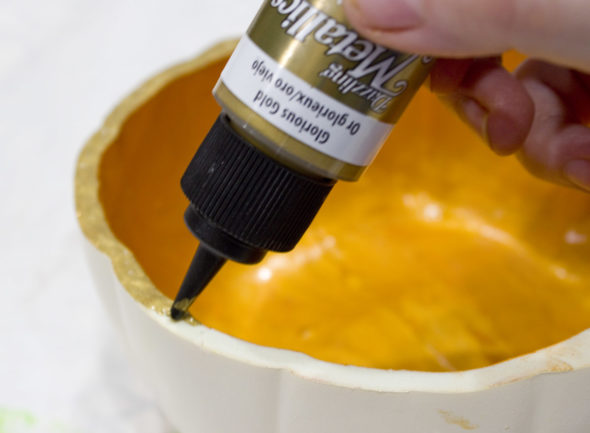
To give the edges a finished look, I used a writer tip to carefully apply gold metallic paint.
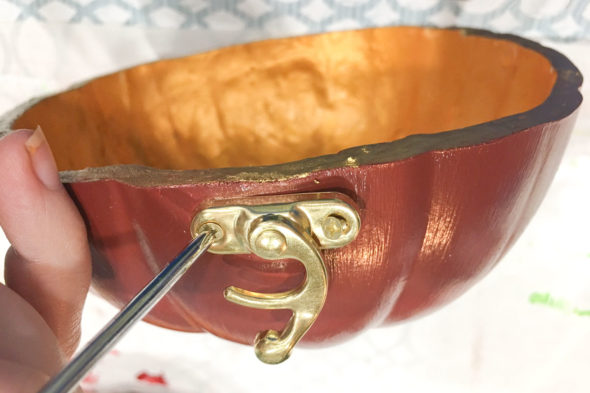
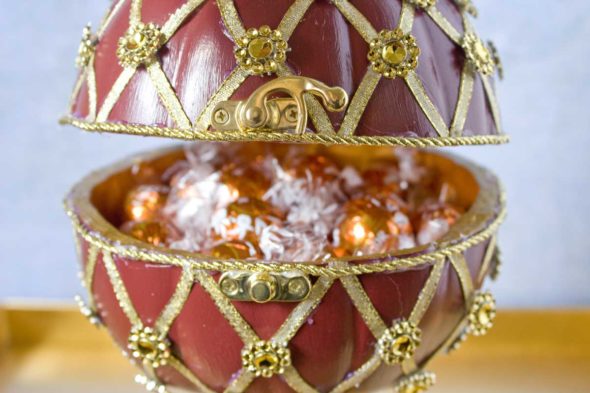
I found perfect little brass closure handles and hinges at Hobby Lobby. The screws are just short enough not to poke through to the inside of the pumpkin.
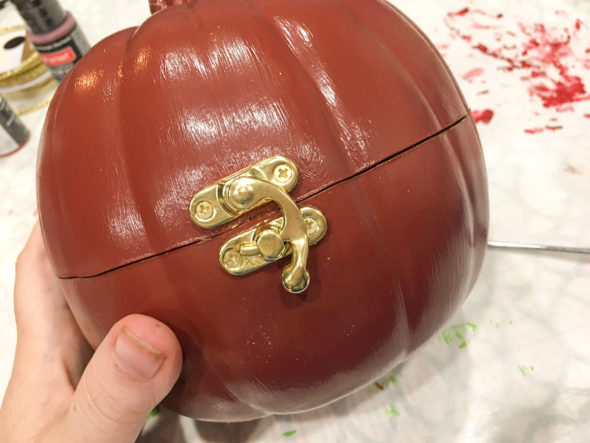
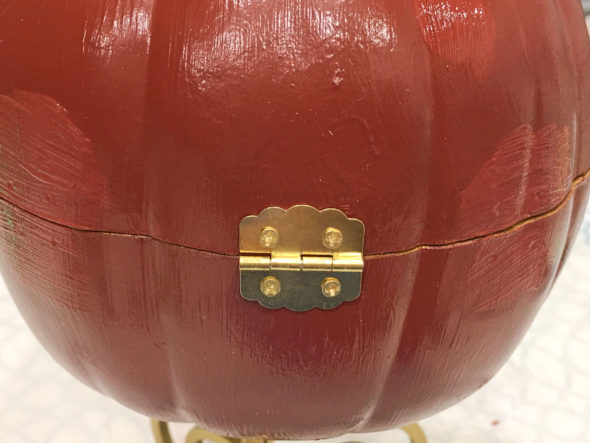
I made sure to line up the clasp, then turned the pumpkin around and added the hinge to the back using more tiny screws.
Since the pumpkin shape is rounded, I only needed to use one hinge. If you try to use two, it won't open all the way. (You can see in this picture that I made this silly mistake — the fresh touch-up paint is still drying!)
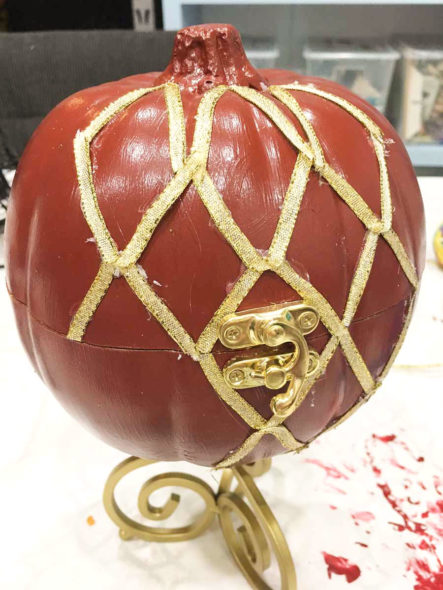
The hardest part was figuring out how to make the gold lines to embellish the pumpkin. I could have used paint but that wouldn't given me the opulent look I was going for, and I couldn't think of anything better than ribbon. I made open triangles and hot glued them onto the pumpkin, starting in the middle, around the upper part of your clasp, then building my way out. I will admit, I almost threw this away a couple of times. It just wasn't looking the way I wanted but Chica encouraged me to keep going and I am glad she did!
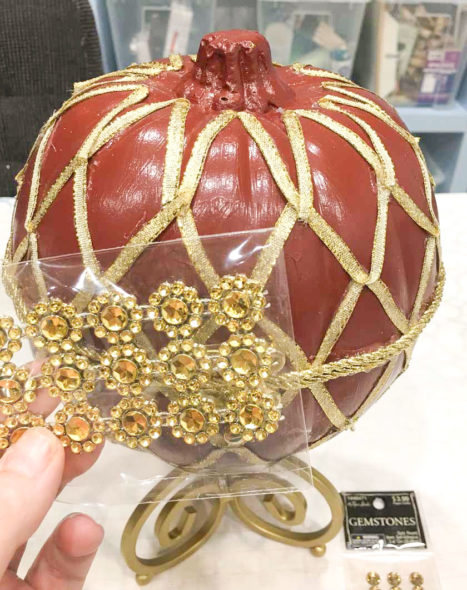
To hide the points of the ribbon diamonds, and also to add another layer of bling, I used these adhesive-backed gems that I found at Hobby Lobby. At first, I just used the adhesive to put them on and it worked fine, for about a day. When I went into the dining room to get a piece of candy the next afternoon, about half of them had fallen off. It was easily fixed by hot gluing them down but I would start out doing that if I were you! I also glued a bit of gold cording around the outside edges to finish them off.
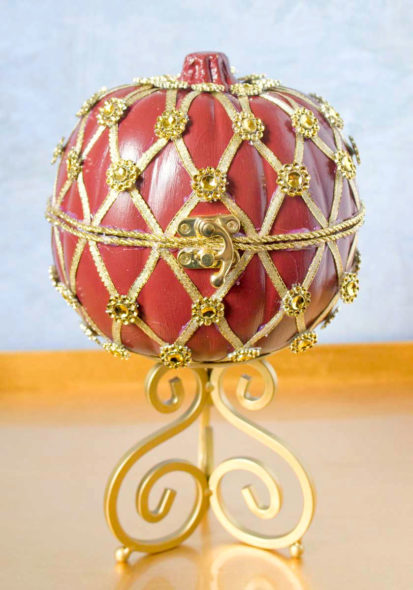
The original Faberge eggs always have beautiful stands, so my pumpkin egg needed one too! I simply spray painted a scrolled pillar candle holder gold and set my Faberge pumpkin egg on top.
I filled the inside with fall-colored Lindt truffles for a very special treat!




One comment so far:
Beautiful!!
I am going to give a try!
Thank you