Epoxy Resin Comparison - Which Resin Is Best for Deep Pours?
We love working with epoxy resin and have created lots of fun projects, such as the ever-popular ocean pours and embedded-item tabletops. As we've learned to work with resin, we've started to venture into deep pours, and along the way we discovered that the type of resin you should use is critically dependent on the depth you plan to pour it for your project.
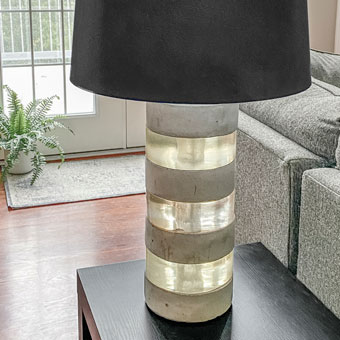
When I was making the resin disks for my concrete and resin lamp base, I learned the hard way just how important it is to choose the right product.
And along the way, each resin experiment ended up answering a different question for me. You'll see in my tests below my answers to these common resin questions:
- What happens if you pour coating resin too thick?
- What do layers of epoxy look like from the side?
- What happens if you pour casting resin too thick?
- Can you cool resin to keep it from overheating?
- What should you use for really deep pours?
Comparing epoxy resins for deep pours
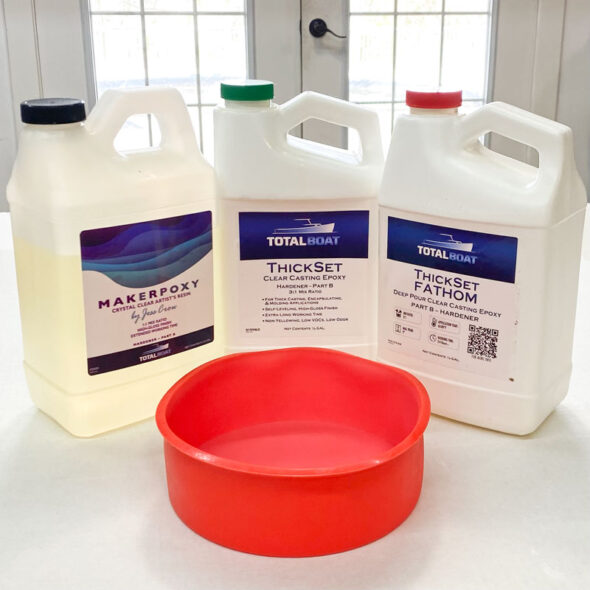
To help you with choosing the right resin for your deep pours, I've done a comparison of several products, and I'm going to share the results with you to help you make the right product decision for your project. All the products I used are from TotalBoat, and I used some of them more than once, with different techniques.
For all of my epoxy resin comparisons below, I used a 2" x 6" round silicone cake pan as my mold. The 2" thickness definitely qualifies as a "deep pour", and that's a depth where things start to get tricky with resin formulations.
Coating resin vs. Casting resin
Before I got into the details of my resin experiments, I want to take some time to explain the difference between "coating" and "casting" resins. Coating resins should be used in thin applications, such as a sealer coat or a thin molded item. They tend to produce a lot of heat, and therefore cure faster and can only be poured in thin depths. Coating resins are great for ocean pours or coasters. TotalBoat's MakerPoxy is a great coating resin, and you'll see it in my tests below.
Casting resins are typically poured into a mold to create a finished piece, typically with substantial thickness. They tend to produce very little heat, and therefore cure slower and can be poured to thicker depths. Casting resins are great for jewelry, river tables, or paperweights. TotalBoat's ThickSet and ThickSet Fathom are great casting resins, and I'll be testing with both.
You can use coating resins for casting projects, but you must do so in thin layers (not more than 1/4" at a time) so that it cures properly. You'll see in my tests below just how that works out!
Test 1 - TotalBoat MakerPoxy
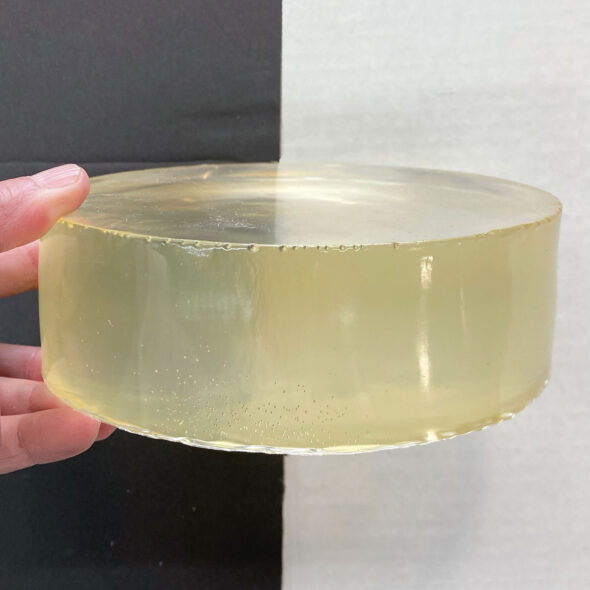
My very first deep resin pour was with regular TotalBoat MakerPoxy. The maximum pour depth for this product is 1/4", but I didn't know it at the time. I just went for it and poured the entire 2" thickness and let it sit to cure.
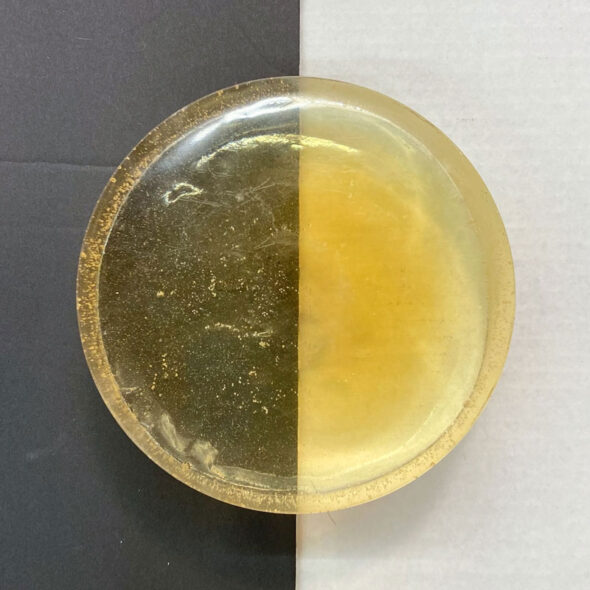
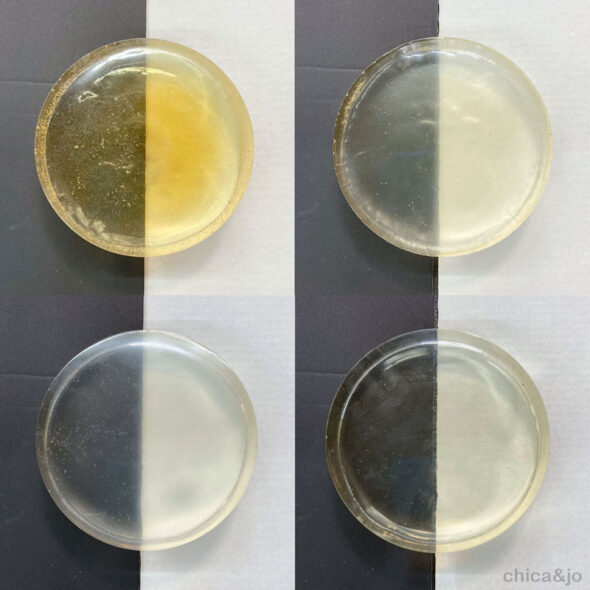
As you can see, the results were terrible! The resin got so hot from the extreme exothermic reaction that it actually burned the resin to the point where it turned a yellow-orange color.
This is definitely NOT an acceptable result, so the lesson learned here is to never try to pour MakerPoxy this thick.
Test 2 - TotalBoat MakerPoxy in layers
For my next test, I decided to try pouring MakerPoxy in individual layers so that it wouldn't be able to overheat. I knew it would take me longer to let each layer cure, but I went for it anyway. I still stretched the limit a little and went for 1/2" layers, four of them, to fill my mold.
At first I thought it might have worked. The tell-tale yellow signs of burning weren't there, and the overall color looked good. And the layers were completely invisible when viewed from the top down.
I wasn't happy with the clarity, though. But maybe I stirred the resin too much, resulting in those bubbles? Maybe I could get better results if I were more careful or used the torch more to pop the bubbles as they formed.
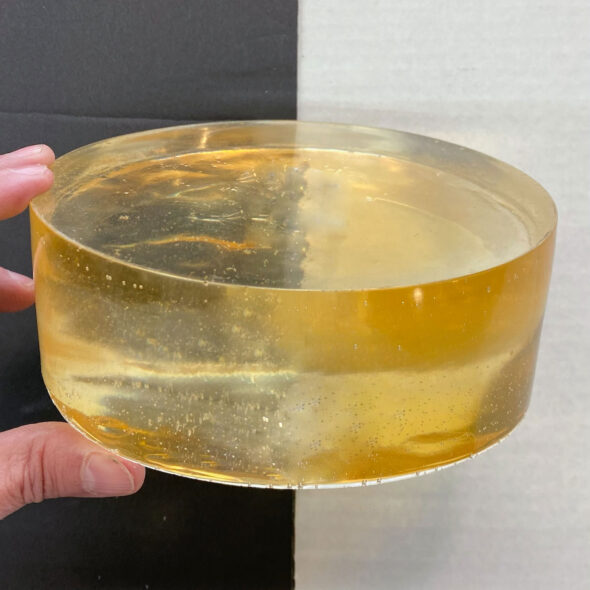
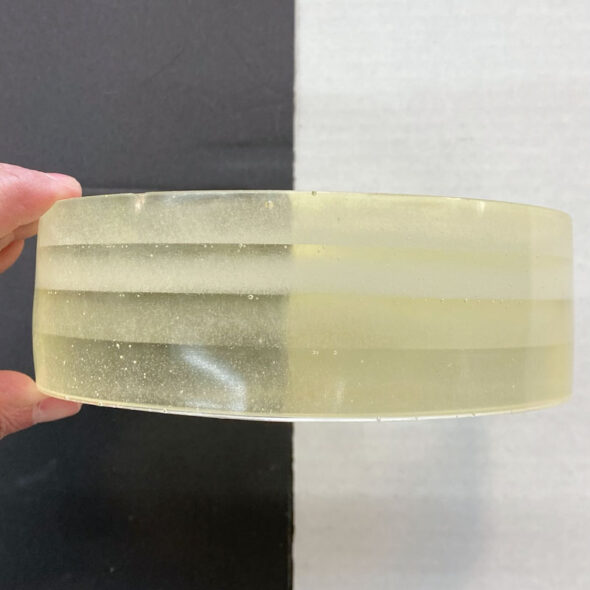
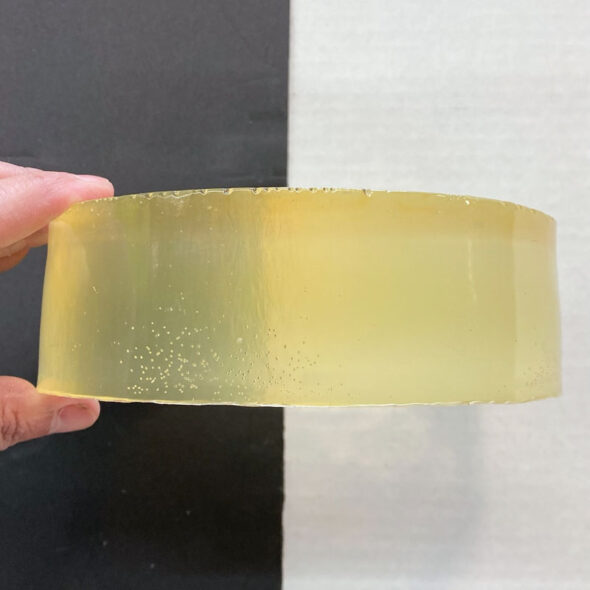
But the real problem came in when I tilted the piece and looked at the side. Oh no! The layers were distinctly visible when viewed from the side! Since this piece was intended for use in my concrete lamp, it had to be clear and seamless when viewed from the side.
My experiment showed that step layering resin leads to visible striations on the side, and that just wasn't going to work for me. Convinced that a coating resin wasn't going to work for me, I switched gears and tried casting resins.
Test 3 - TotalBoat ThickSet
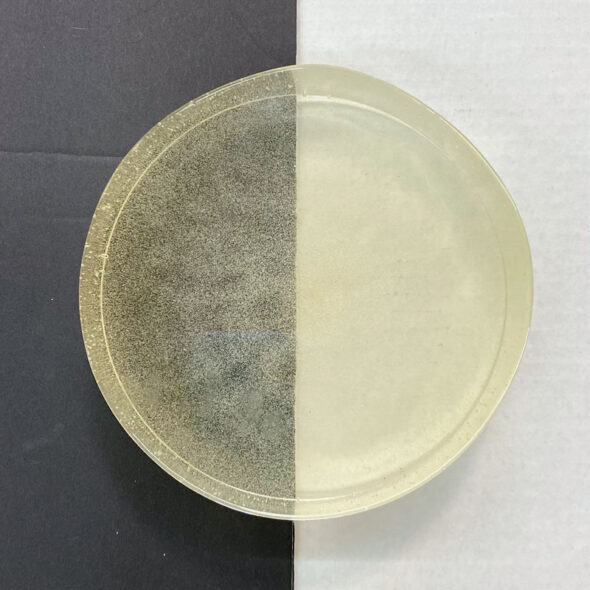
My next test was with TotalBoat's ThickSet, a casting resin that has a maximum pour depth of 1". Since my 2" depth wasn't much more than that, and my disk only 6" across, I decided to give it a shot. I filled the mold completely with ThickSet in a single layer and let it cure.
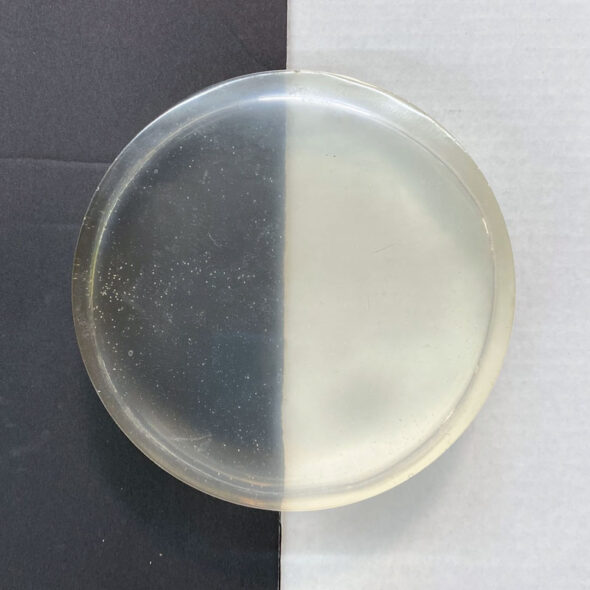
The results looked promising at first. Far less yellowing than with the MakerPoxy, but there was still a little tint from the overheating.
The clarity wasn't very good either, and it looked a bit hazy.
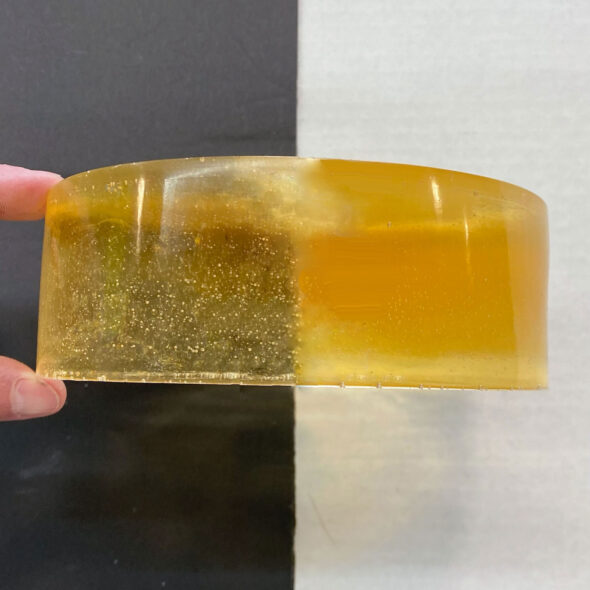
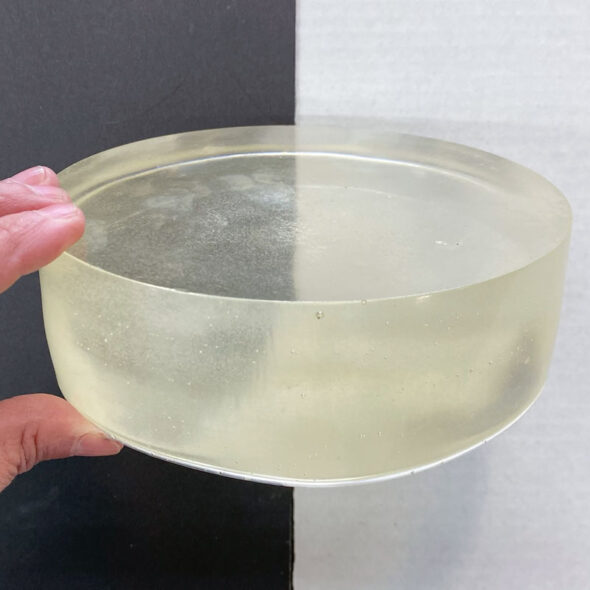
When I turned it to look at the side view, I knew this was another failed attempt. The yellow that seemed faint when viewed from above was very concentrated when viewed from the side, through the 6" diameter. And it was so hazy you couldn't see through it at all.
Test 4 - TotalBoat ThickSet with a fan
ThickSet was producing too much heat, but I had plenty left, so I decided to try again, this time controlling the heat with a fan. I poured another 2" thick layer of ThickSet, and pointed a fan at it to keep the temperature down. I left the fan on for the entire cure time.
I was thrilled to see that there was no yellowing at all in the cured piece. I had managed to keep the temps down and avoid overheating.
Unfortunately, it became clear very quickly that the finished piece wasn't actually clear at all. The haziness made it look like dirty water, not the glass-like finish I was looking for.
From the side it was even worse, and suddenly that yellow was showing again. While the fan might have kept the temps at bay, the slowed-down curing obviously interfered with the chemical reaction, giving results that just weren't going to work for me.
Test 5 - TotalBoat ThickSet Fathom
Finally I tried with a product that actually fit within the constraints of my project. I used ThickSet Fathom, which works for depths up to 3". This should be great in my 2" deep mold.
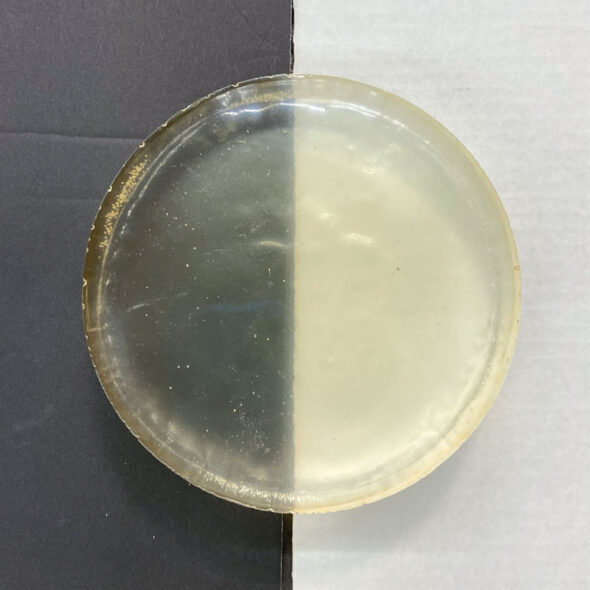
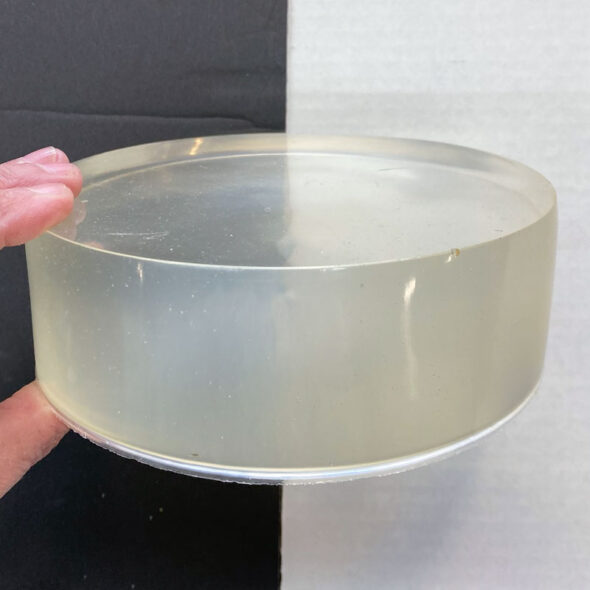
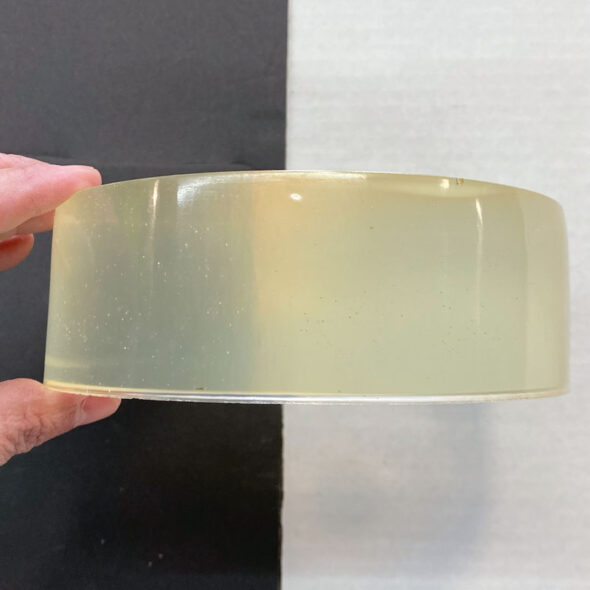
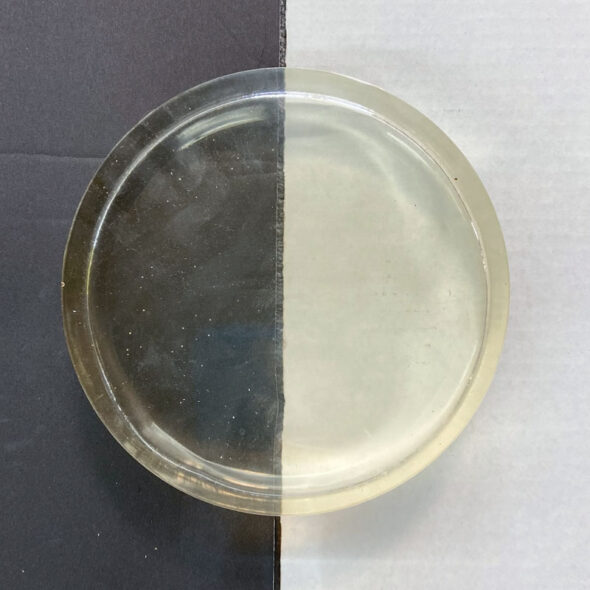
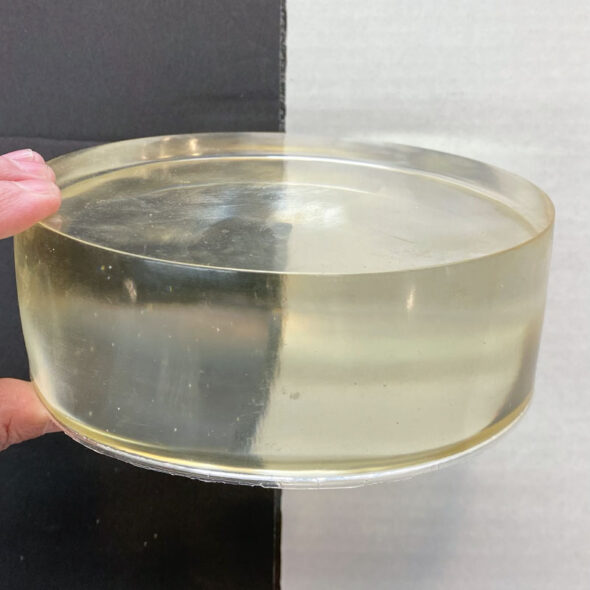
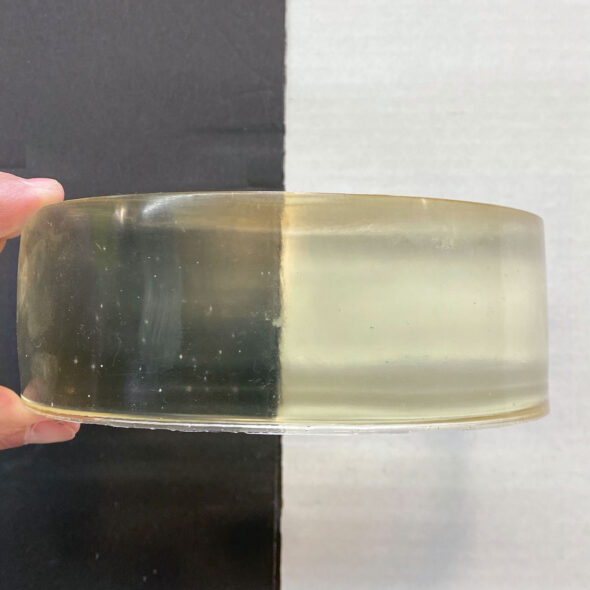
I poured a single thick layer, and left it to cure. Curing for Thickset Fathom takes an incredibly long time when compared to the others (5-10 days) but it was worth it. Just look at that clarity!
The color was great. The clarity was great. No yellowing, no bubbles.
ThickSet Fathom was definitely worth the wait, and I got the exact results I was looking for for my lamp base disks.
Conclusions
I learned so much from these resin comparisons, and got the answers to my common resin questions that I had when I started working with it.
Q: What happens if you pour coating resin too thick?
A: If you pour epoxy resin thicker than recommended, it will likely overheat and effectively burn, leaving you with orange/yellow coloring instead of the clear look you were hoping for.
Q: What do layers of epoxy look like from the side?
A: Step layers of epoxy resin will not be visible when viewed straight down, but from the side, they will be visible. At a minimum, you will see distortions in perfectly clear resin results. Worst case, if there are bubbles in your layers, that variation will amplify the layered look from the side.
Q: What happens if you pour casting resin too thick?
A: Because casting resin cures more slowly than coating resin, the overheating risk will be less, but it will still occur. If you go beyond the recommended depths, you'll likely get discoloration and an overall cloudiness.
Q: Can you cool resin to keep it from overheating?
A: You can control the resin's heat by cooling it, and it will keep the discoloration at bay, but the alteration to the intended cure time will affect the formulation and the end results of the cure will be hazy, and not as clear as you expected.
Q: What should you use for really deep pours?
A: For a deep pour, use a casting resin that specifically states it will work for the depths needed for your project. Don't cut corners, use the right product!


