Easy-sew Pumpkin Treat Covers for Caramel Apples
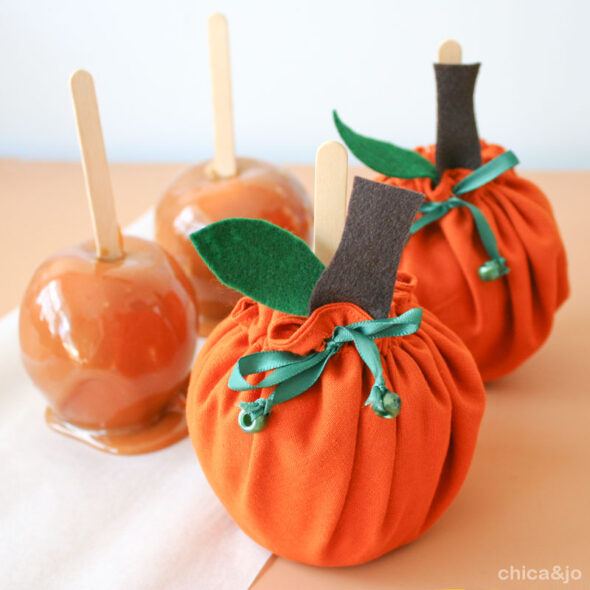
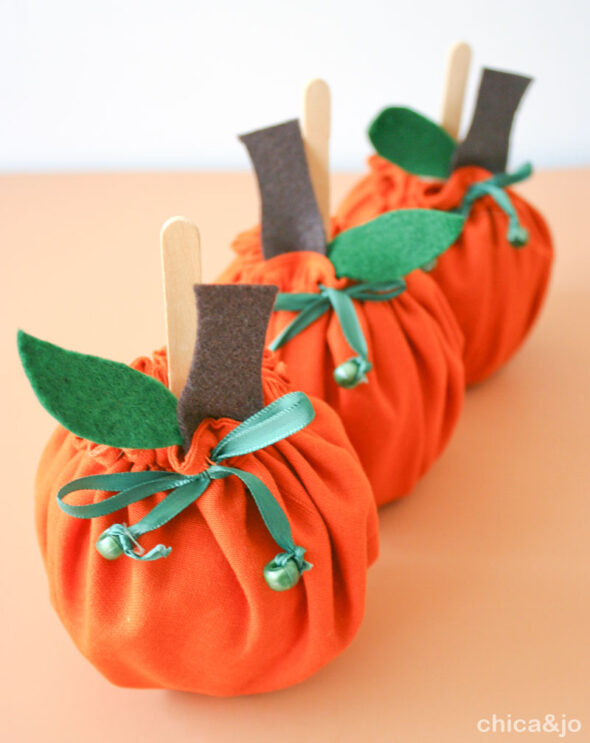
Jo and I were looking for a unique way to wrap caramel apples that we were taking to a friend. We thought we could transform them into pumpkins with some simple fabric slipcovers. With a little bit of fabric and a few notions, we quickly had cute, reusable covers that worked great for wrapping caramel or candy apples. These work great as a hostess gift for a Halloween party or as place settings for Thanksgiving dinner.
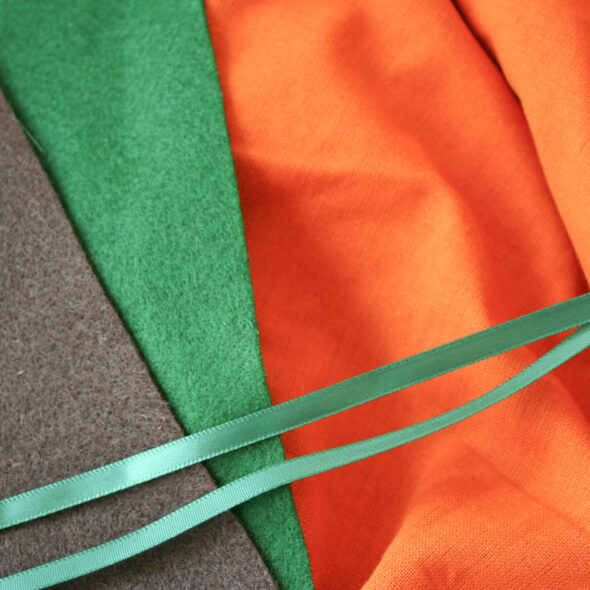
You'll need some thin, pumpkin-y orange fabric to make the covers, as well as a little green and brown felt and some green ribbon.
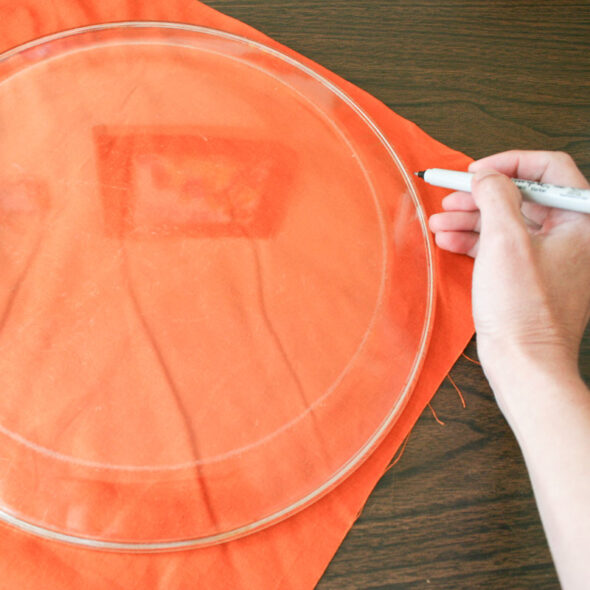
Lay the orange fabric out on the table and cut two 12" circles out of it. If you're lucky, you'll have a platter in your kitchen that is the right size, and can trace that to make your circle.
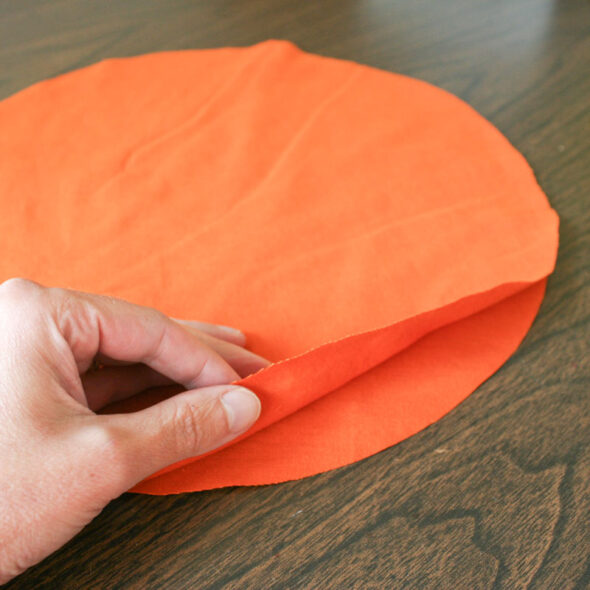
You'll need to cut out two 12" circles of fabric for each apple. Stack them on top of each other, right sides together.
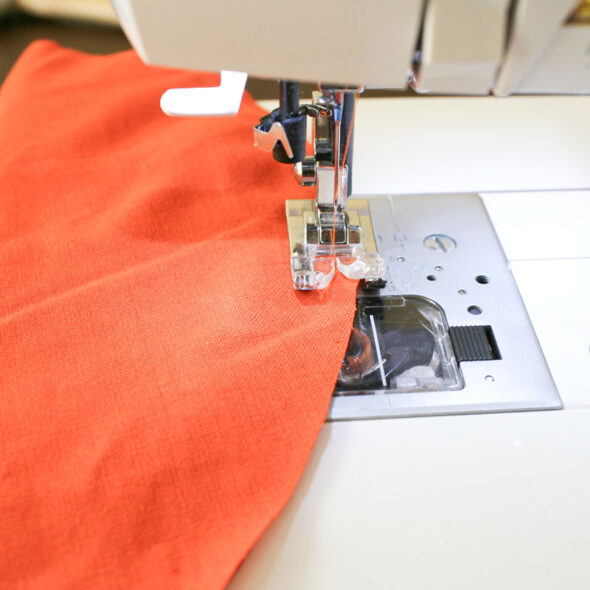
Use the sewing machine to sew the two layers together almost all the way around...
...but be sure to leave a 2-3" gap open.
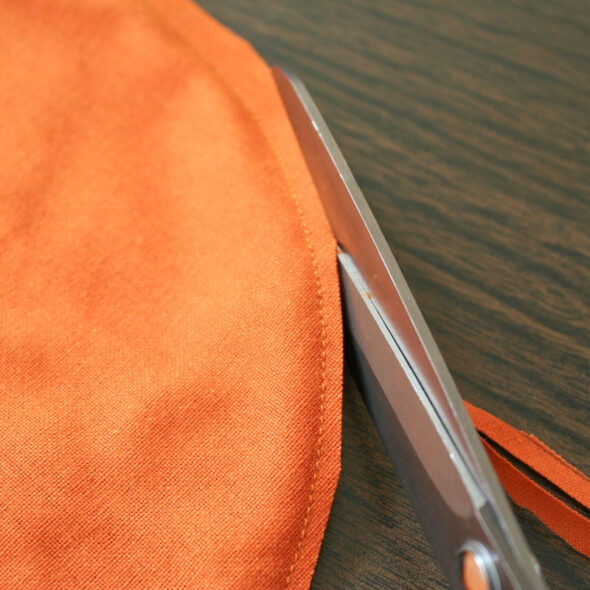
Trim the excess from your seam to remove the bulk.
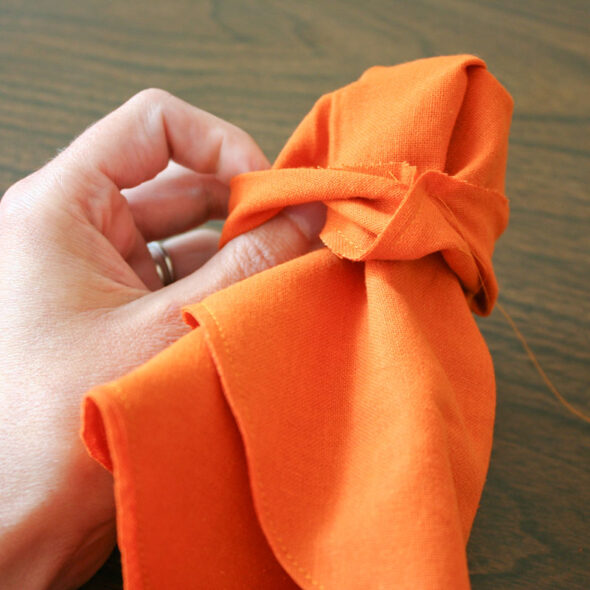
Then turn the pouch inside out.
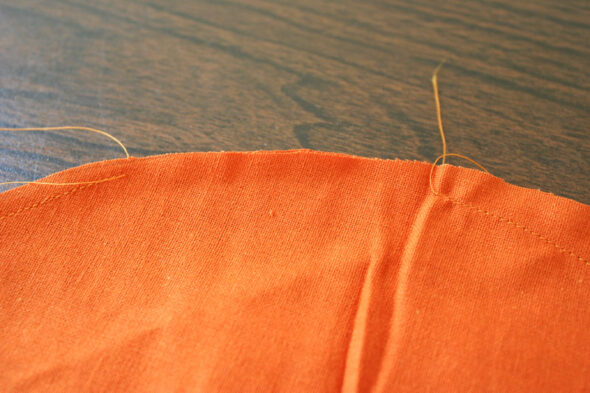
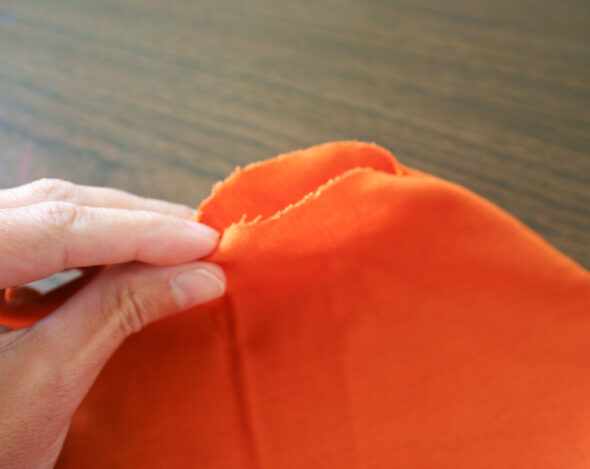
Find the gap you left, and tuck the fabric in, folding it so that it mimics the rest of the sewn edge.
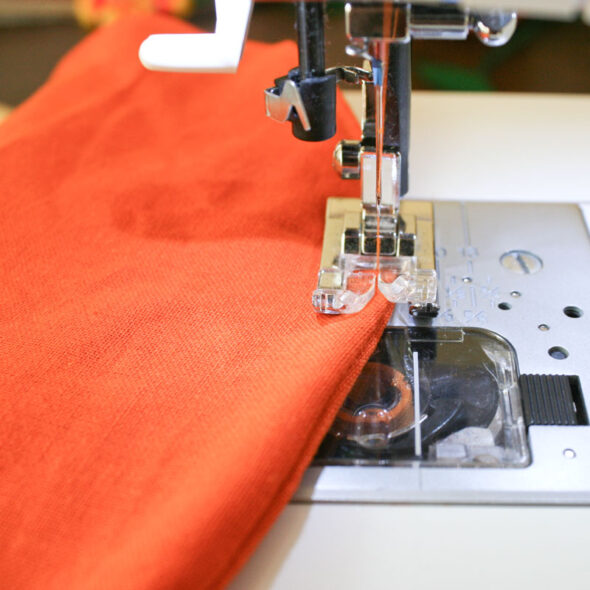
Top-stitch the gap closed with the sewing machine.
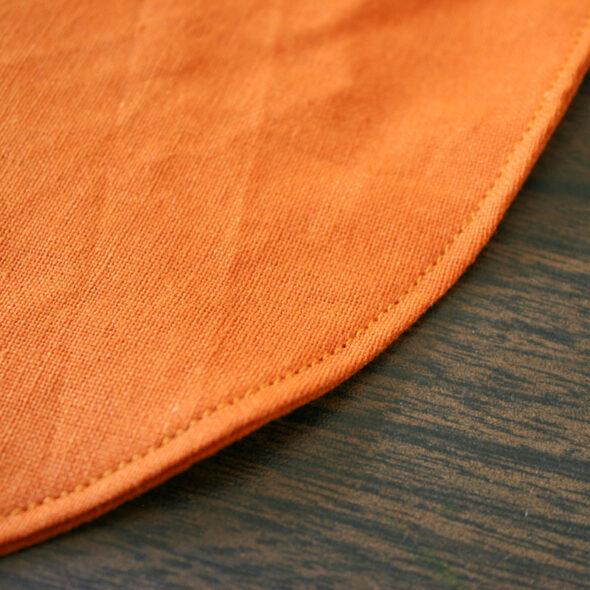
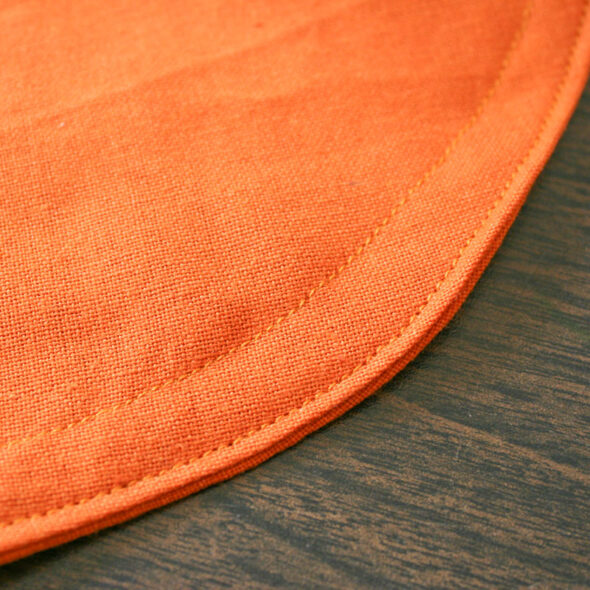
Continue the row of stitches all the way around the circle, as close to the edge as you can get it.
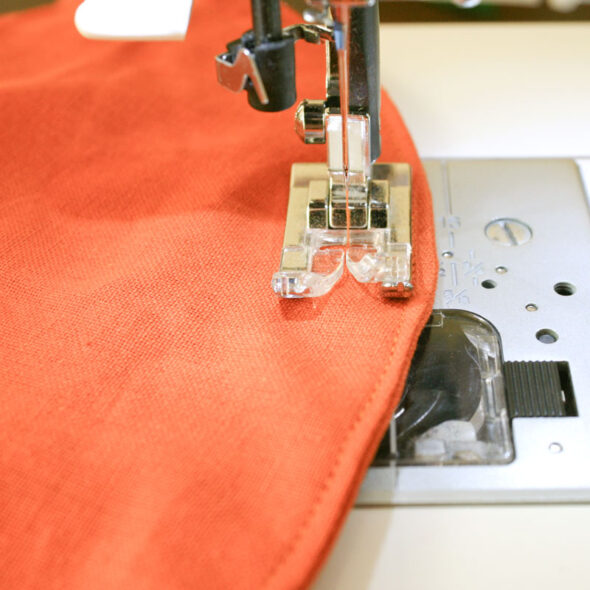
Now sew a second row of stitches about 1/2" inside the first, making sure to go all the way around the circle again.
This will create the channel that your drawstring ribbon will go through later.
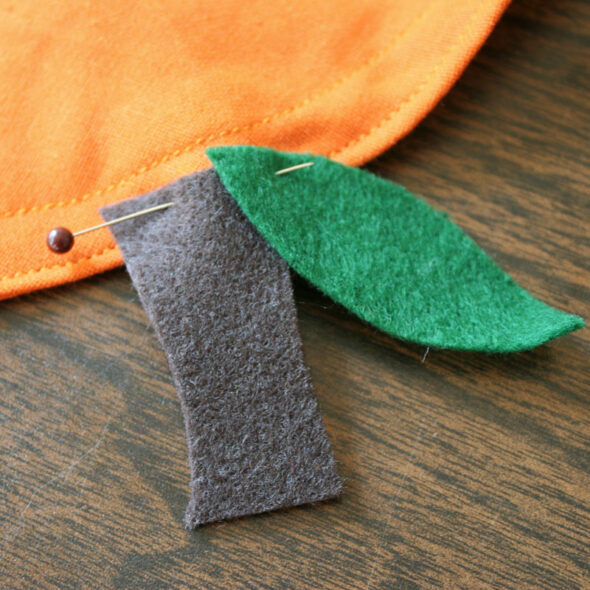
Cut a stem out of a piece of brown felt and a leaf out of some green felt. Line them up on the edge of the circle, making sure they overlap the outer row of stitches. Use a pin to hold the pieces in place.
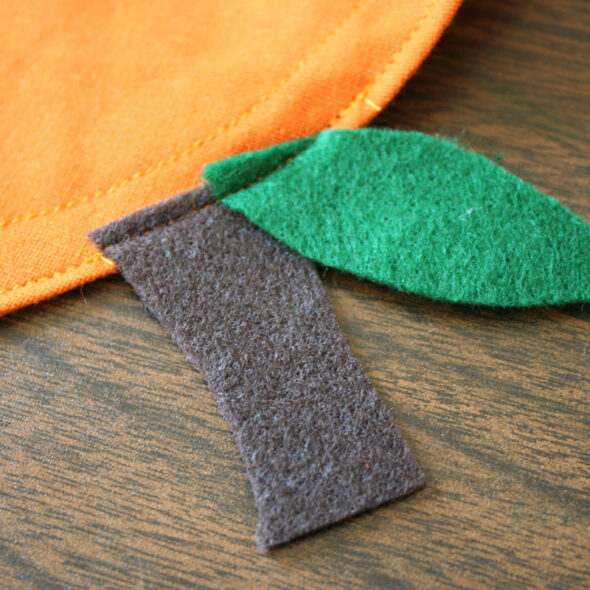
Then secure with a row of stitches, lining the stitches up with the original ones so that it looks clean.
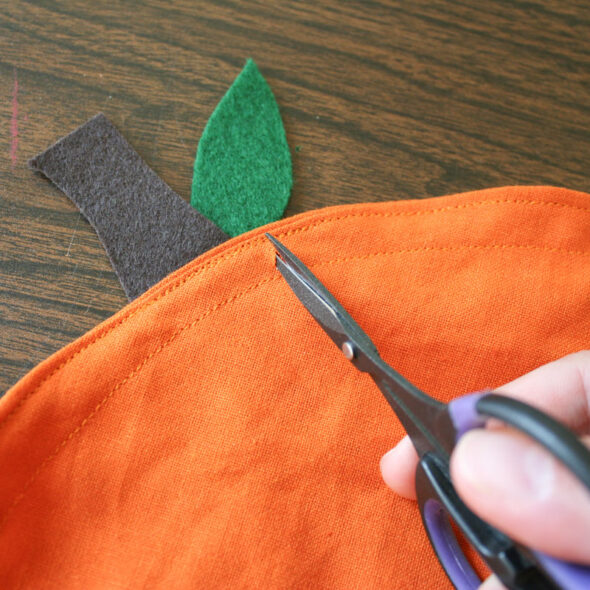
Flip the piece over and use a pair of pointed scissors to cut a tiny notch in the drawstring channel, making sure to only go through one layer of the fabric. The notch only needs to be big enough to get a safety pin through it.
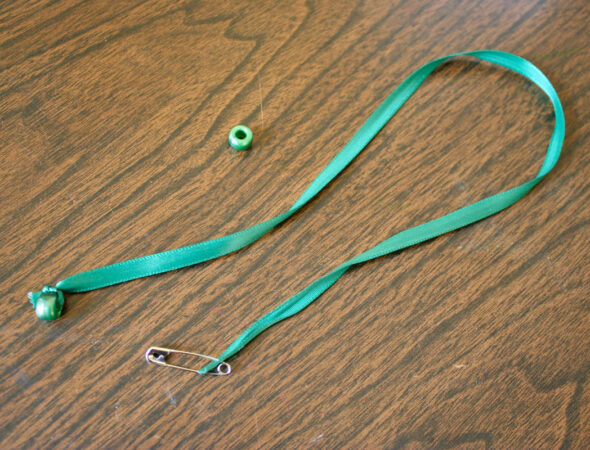
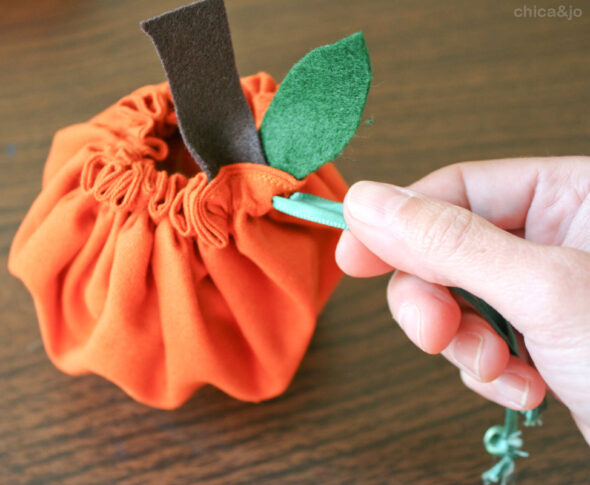
Cut a piece of green ribbon about 16" long and tie a green bead on one end. The bead needs to be bigger than the hole you cut earlier, so that the ribbon won't get pulled through later. Put a safety pin on the other end of the ribbon.
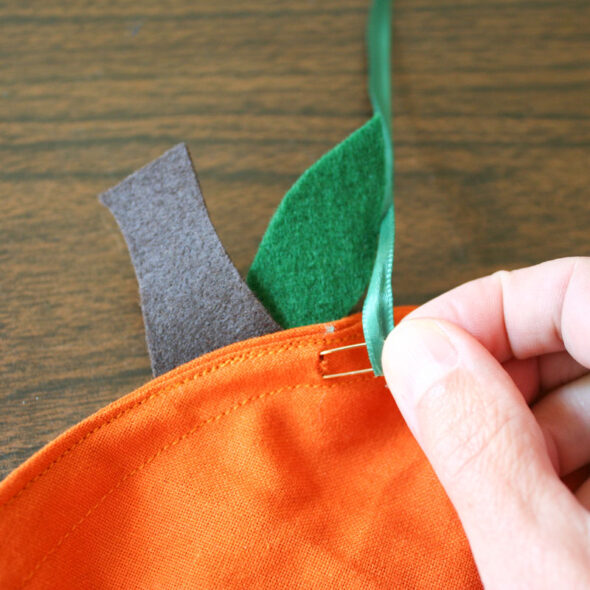
Use our safety pin technique to feed the ribbon through the channel.
When the safety pin comes out the other end, remove it from the ribbon and tie on another bead.
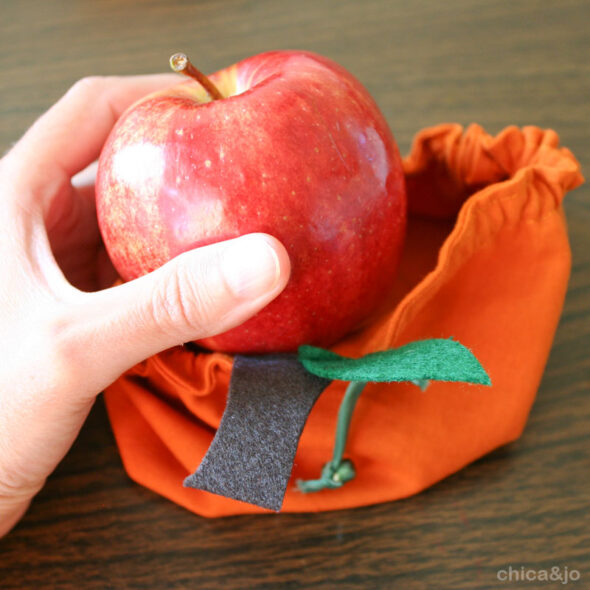
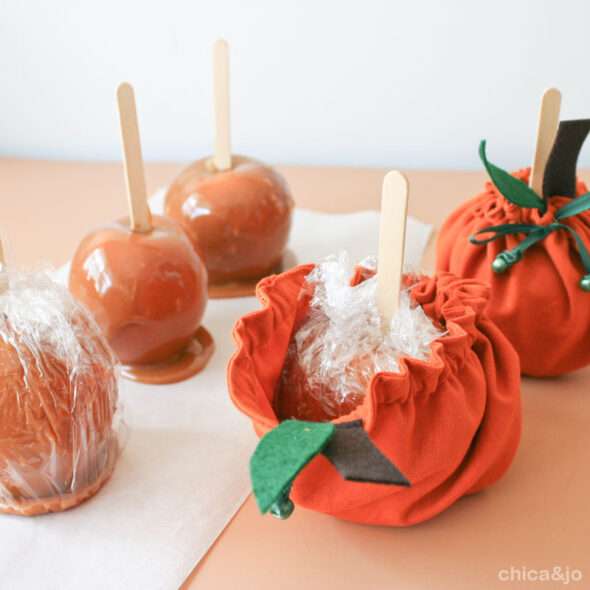
Then just plop your apple, caramel apple, candy apple, or any other round treat inside.
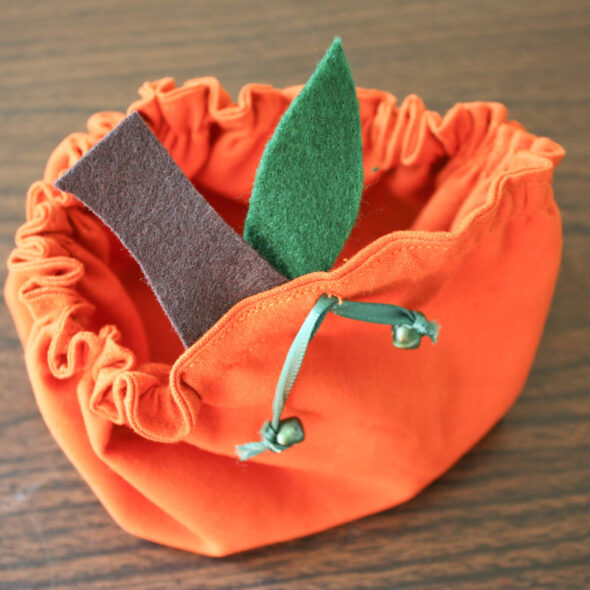
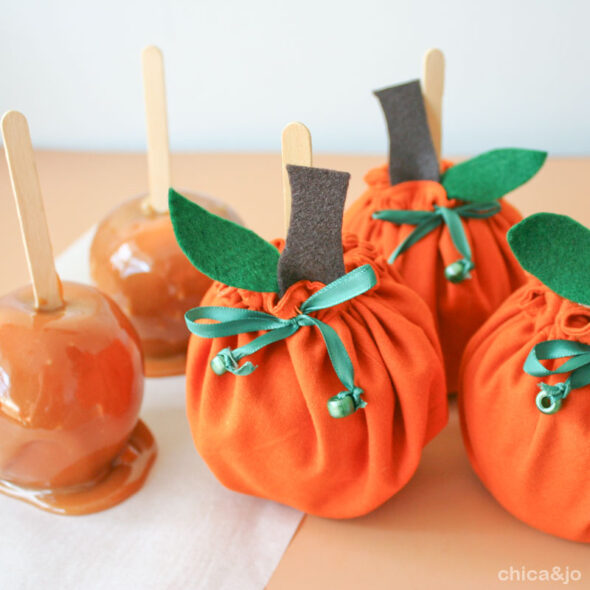
Pull the ribbon to enclose the apple and form the pumpkin shape, then tie it in a bow.
Aren't they adorable? I think they look extra cute with the popsicle sticks from the caramel apples sticking out the top.
Obviously you'll want to wrap caramel or candied apples with plastic wrap before putting them in these cute little covers so they don't stick! The good news is that since the covers are made of fabric, they can be washed and reused repeatedly.
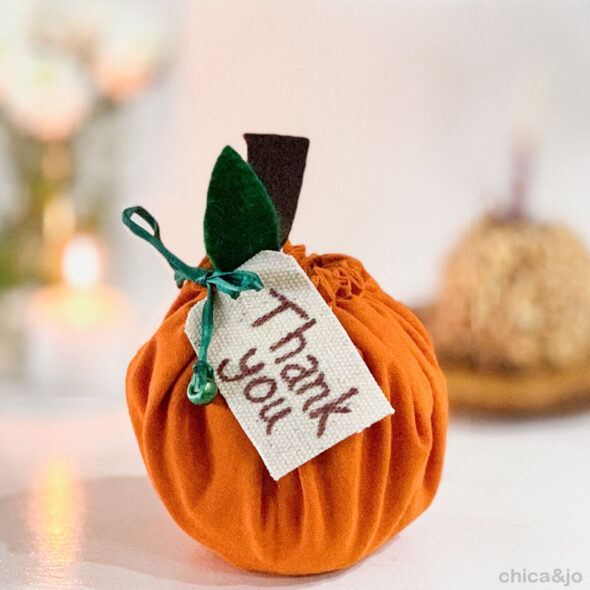
These caramel apple pumpkin wraps would also make excellent fall-themed wedding favors. Just tie on a little "Thank You" tag made of a coordinating canvas and put one at each guest's placesetting.




7 comments so far:
I LOVE IT!!!!!! Thanks for sharing......
This is so adorable, I have to try it for my son's kindergarten Halloween party!
Thanks for the tute! SO cute and clever!!
I love these! Will definitely be making them for a party coming up!
Great project. Try using parchment paper instead of plastic wrap, parchment paper is not sticky.
This is such a fantastic idea! Definitely tucking this one away!
hugs! Kim
Love these! Great idea for teacher gifts!!!