Easy Kid's Reindeer Christmas Wreath
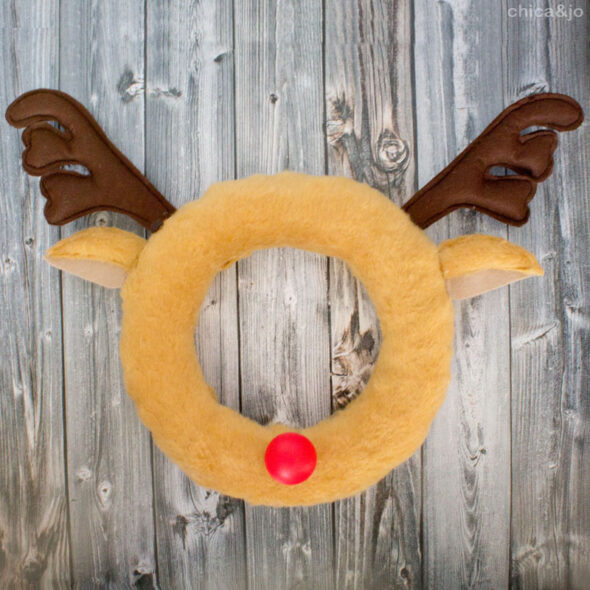
I was looking for a fun, new idea for decorating a Christmas wreath to hang on my front door this year. I started thinking about some of my favorite Christmas characters, and remembered the lovable Rudolph the Red-Nosed Reindeer from the classic children's television show. Inspiration had struck!
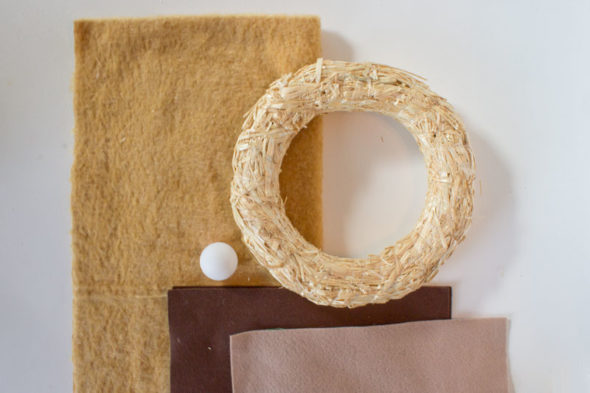
To create a Rudolph wreath, I started with a basic straw wreath. Foam would have worked fine too, but since I was planning to cover it completely, I went with the cheapest option. I also picked up some golden brown fur, a ping-pong ball, and felt in light and dark brown.
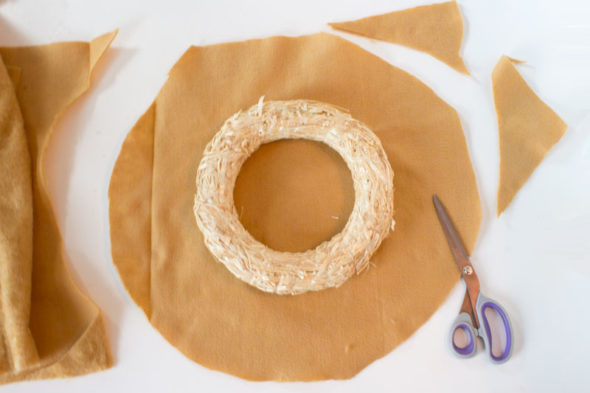
The first step was to cover the wreath with the fur. I placed the wreath on the fur and cut it into a big circle, making sure to leave enough fabric to wrap around the edges.
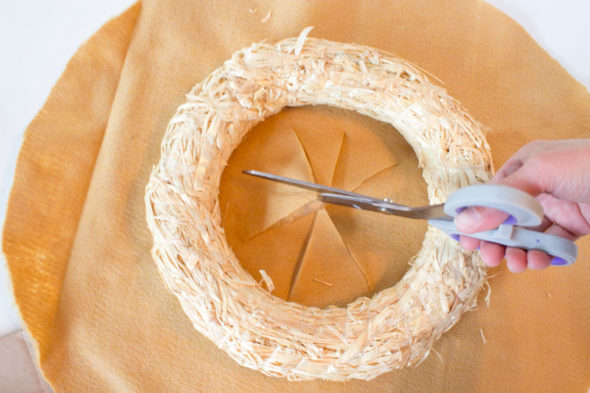
Then I cut slits in the middle of the fabric, breaking it up into triangular sections that could easily be wrapped around the wreath.
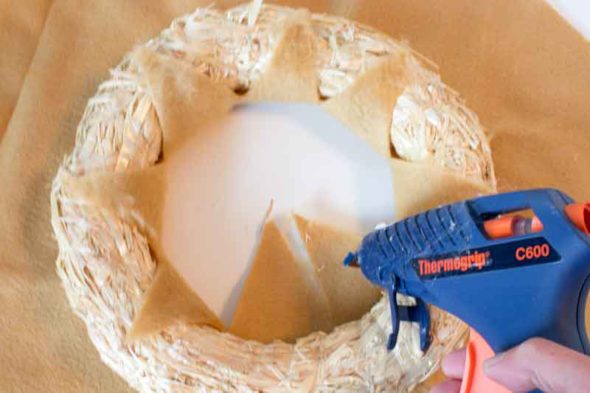
I pulled up each of the triangles and secured it to the wreath with hot glue.
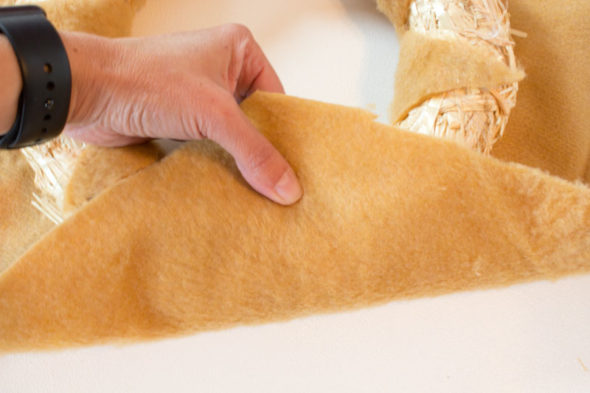
To start the outer edges, I pulled the fabric up to see how far it needed to go...
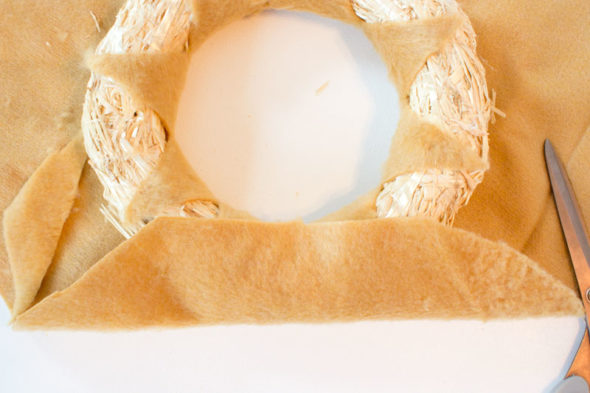
...then I trimmed it so that it was just long enough to cover the exposed wreath.
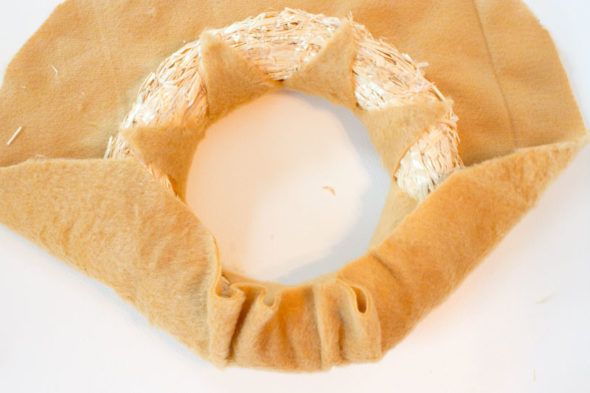
I glued it in place, working my way around the circle, making sure the fur was pulled tight and smooth on the other side of the wreath.
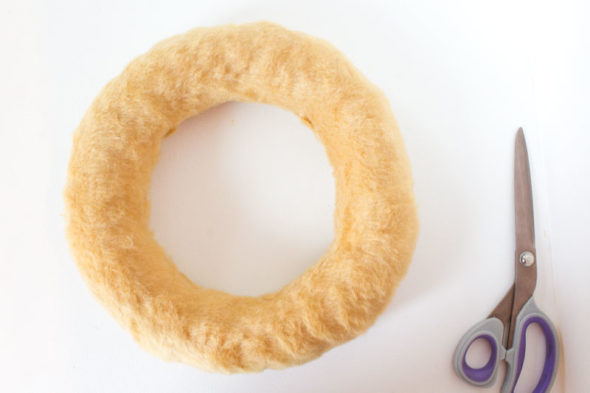
After trimming off any excess, I flipped it over and there was my cute, furry wreath base.
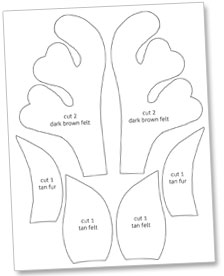
Now it was time to create the ears and antlers. To do this, I first made a pattern, which I'm happy to share with you all. Just download and print our reindeer ear and antler pattern pieces and cut them out.
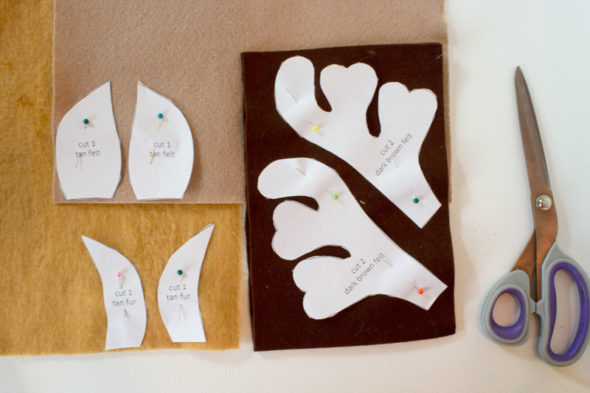
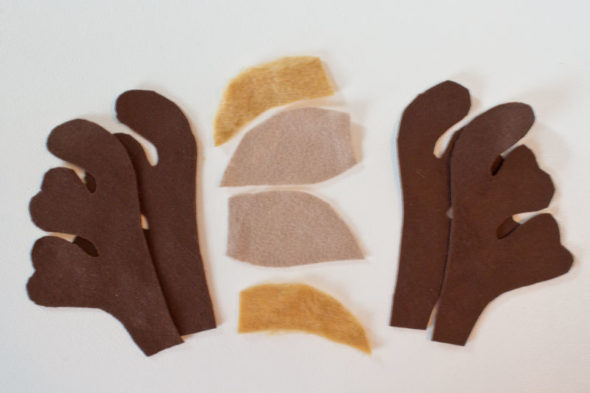
I used the pattern to cut out pieces from the felt and fur. (The pattern pieces will indicate how many of each piece to cut.)
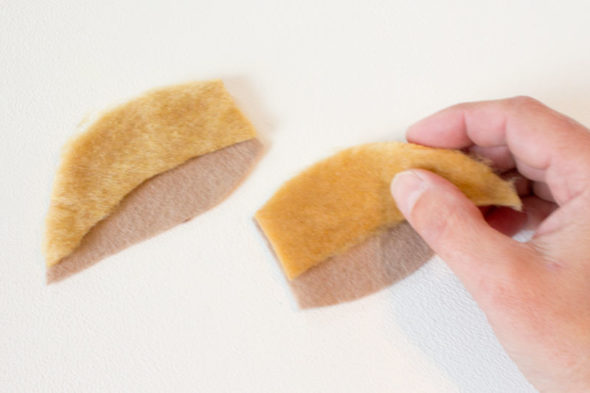
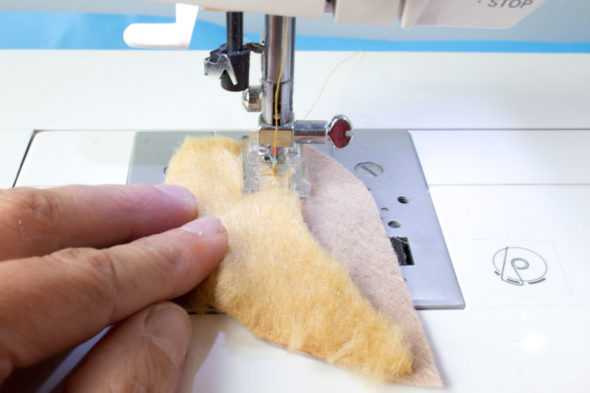
I started with the ears. I overlaid the furry piece on the tan piece, creating a nice 3D effect with the inner and outer ear.
Then I used the sewing machine to sew a row of stitches along the top and bottom edges of the fur piece, making sure not to close in the side.
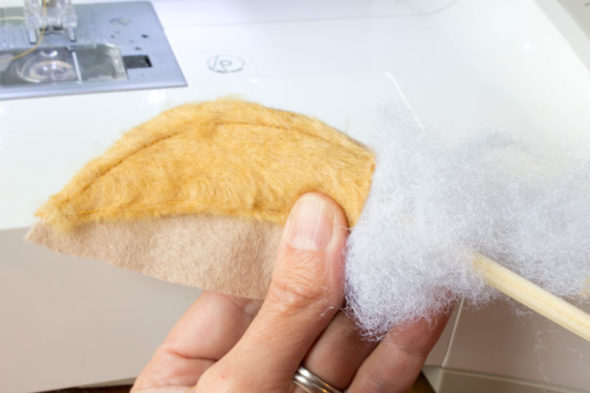
I shoved a little bit of polyester stuffing into the channel between the rows of stitches to give the ears some definition.
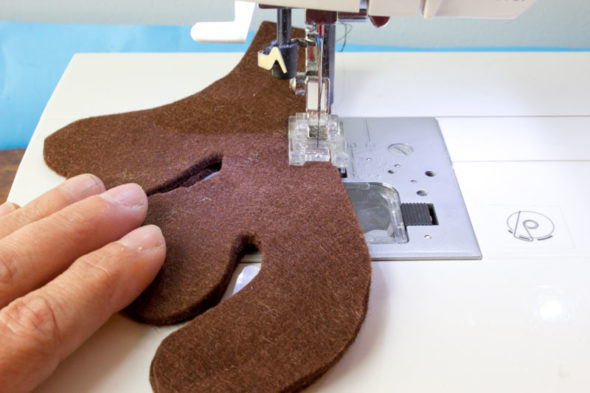
For the antlers, I sewed two pieces of felt together in a similar fashion as the ears, going all around the edges but making sure to leave the side next to the head open.
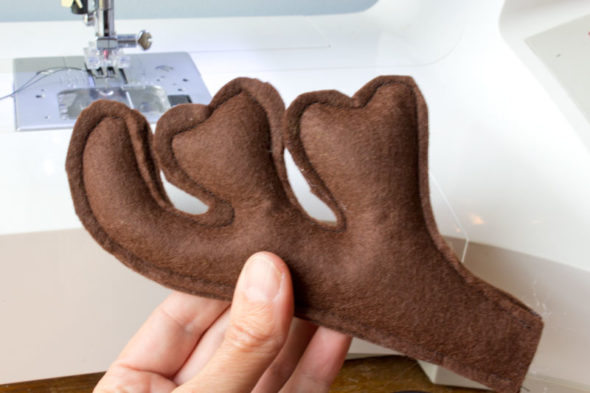
Once I'd filled the antler with more polyester stuffing, it had such a cute shape!
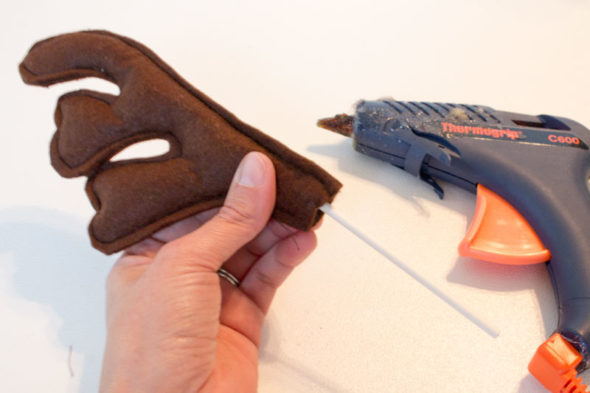
To keep the antlers from drooping, I stuffed a long lollipop stick in the end, and glued it in place. A wooden skewer would have worked just fine, too.
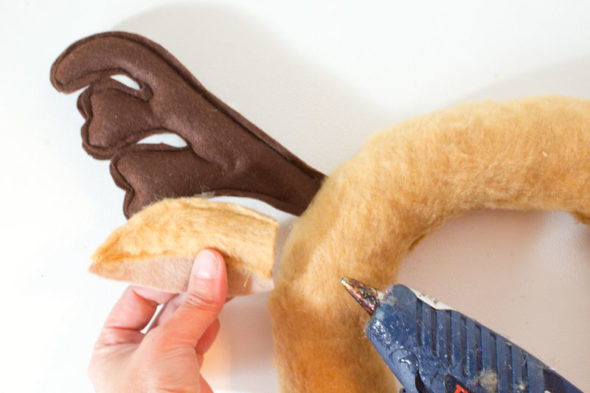
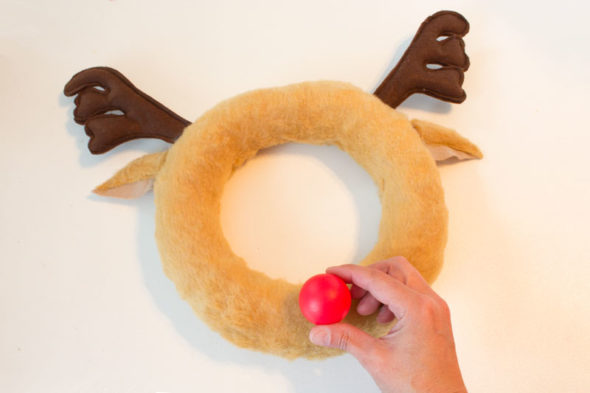
Then I stuck the other end of the stick into the wreath, securing with a little more glue. I used more glue to attach the ear right below the antler.
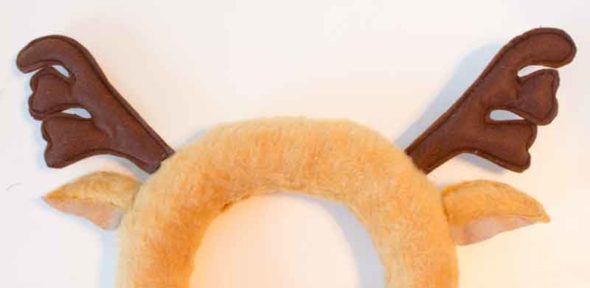
I did the same for the other side, attaching the antler and ear with hot glue. So cute!
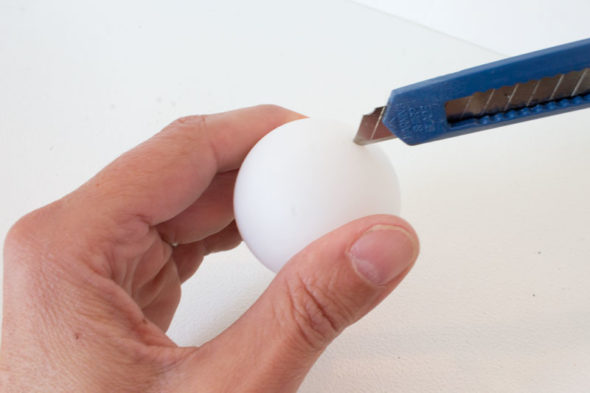
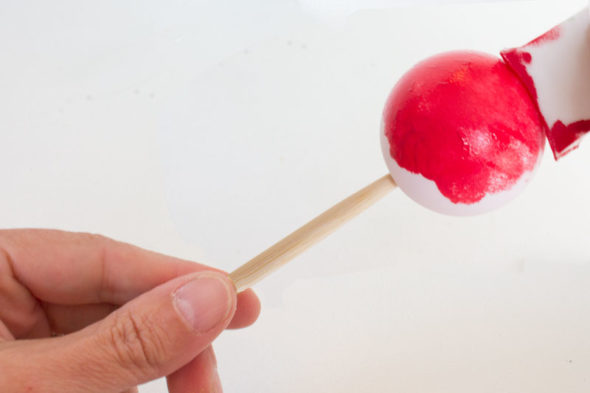
All that was left was the nose, which I made out of an ordinary ping-pong ball. I needed to paint it, though, and finding a way to hold it while the paint dried was tricky. So, I cut a little slash in it with a razor blade.
Then I stuck a skewer into it, creating the perfect handle! This made it so much easier to paint (with a few coats of red multi-surface paint) and dry (I just stood it up in a cup).
When the paint was dry, I attached the nose with a dab of hot glue. I stuck a hook on the back and it was ready to hang.
I'm so pleased with how this came out. Everyone who sees it loves this modern, somewhat abstract, nod to Rudolph.


