DIY Rhinestone Christmas Trees
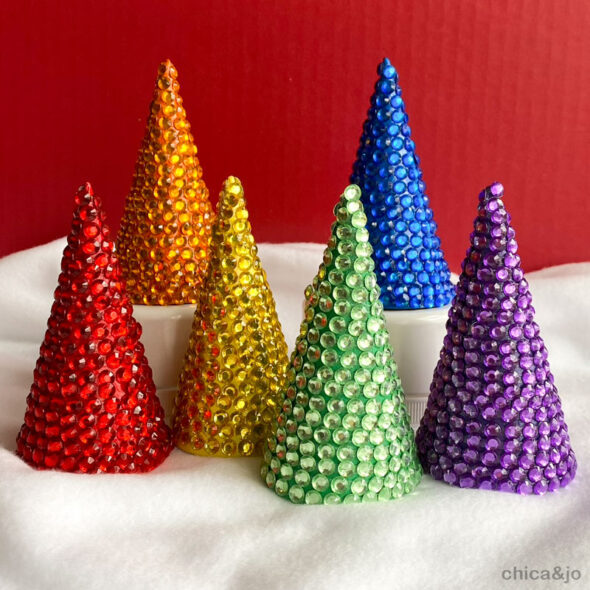
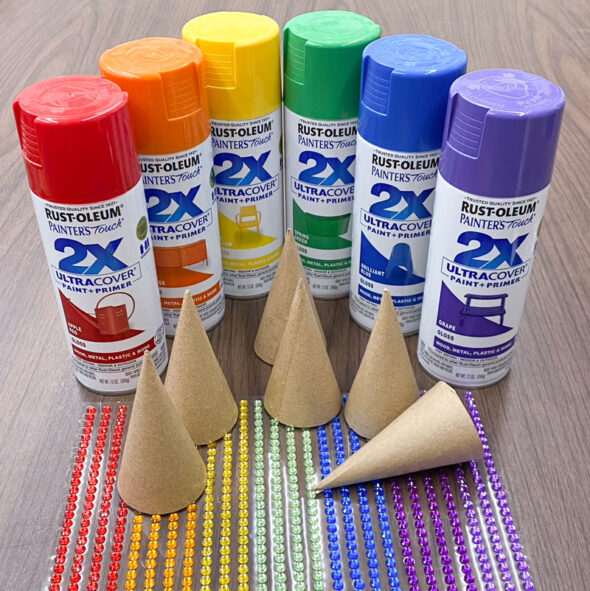
When I saw sheets of self-adhesive gem rhinestones in the craft store, I was obsessed. I knew right away I wanted to create something sparkly for my Christmas decor this year.
One aisle over, I spotted some papier mache cones and it was a done deal. I would cover them to make a rainbow of rhinestone Christmas trees.
When I got home, I hit up my stash of spray paint and chose six colors of Rust-Oleum 2X Ultra Cover that matched perfectly with the rhinestone gems: Apple Red, Real Orange, Sun Yellow, Spring Green, Brilliant Blue, and Grape.
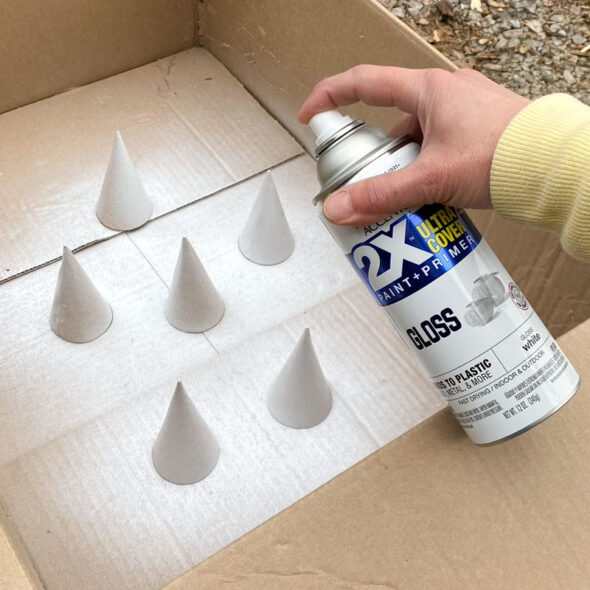
Before I painted the cones, I gave them a quick basecoat of white spray paint. This step helps so much with getting bright colors on painted cardboard with just one coat.
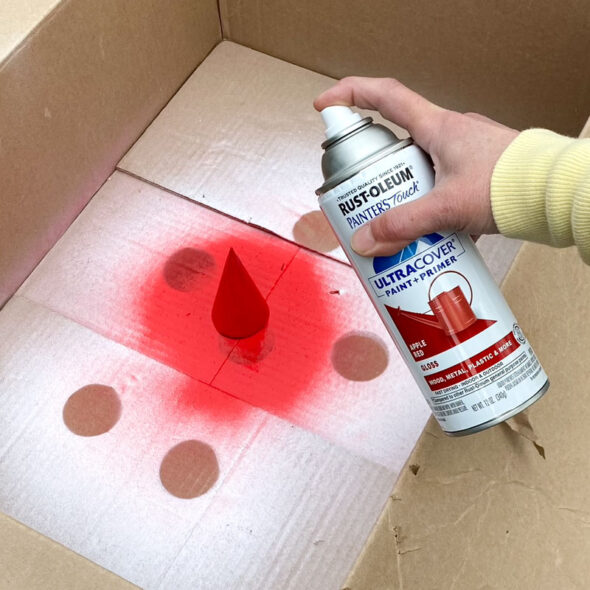
Then I sprayed each cone a different color. The white base coat really helps the colors pop!
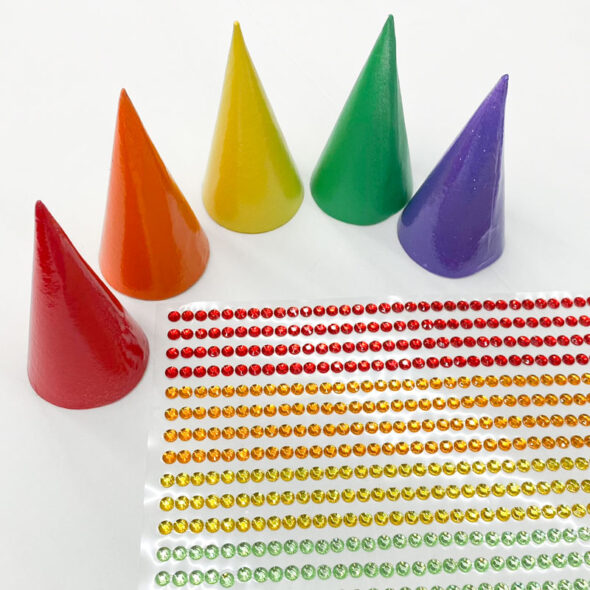
When the paint was dry, I grabbed my self-adhesive gem rhinestones and got to work.
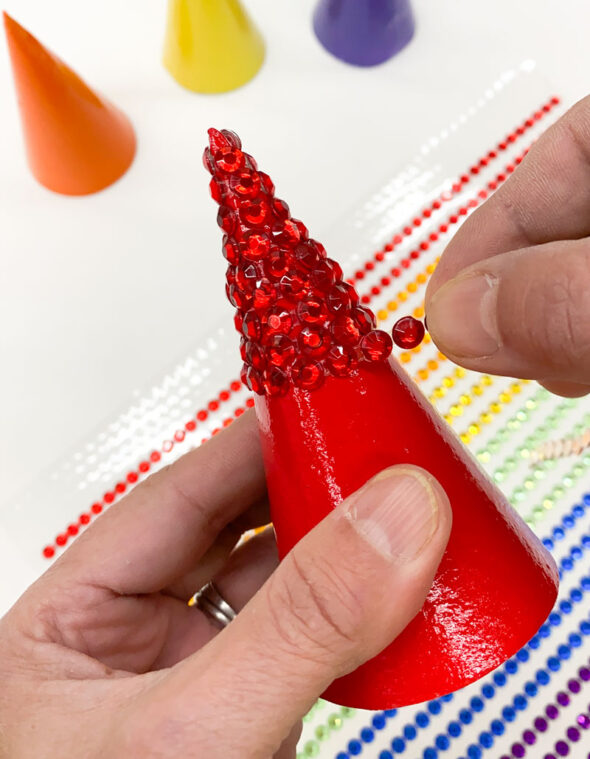
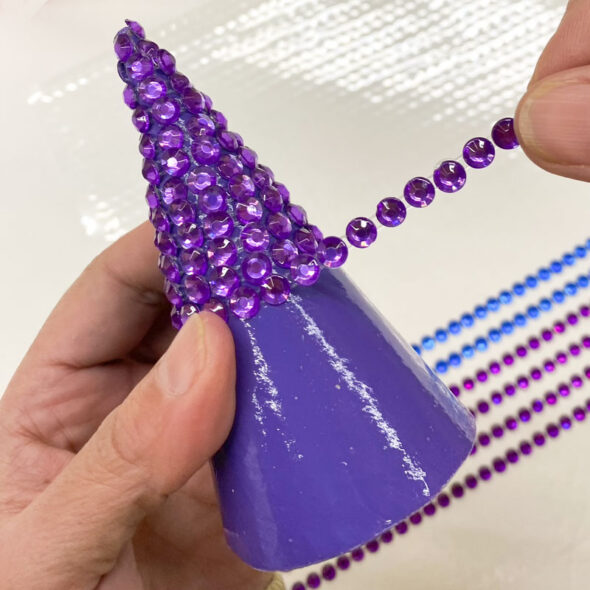
Starting at the top point, I wrapped the strip of gems around as tightly as I could, covering as much of the surface as possible with few gaps.
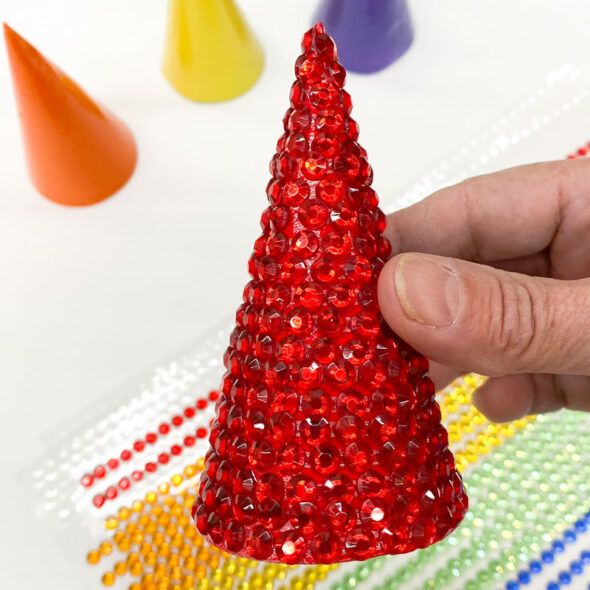
In just a couple minutes, I had a gem-covered tree. So cute! By the way, one 4" cone took about six 12" strips of gems to cover.
As I continued with the other colors, it was super clear how valuable it was to paint the cones first, because that base color made the gaps between the gems blend right in.
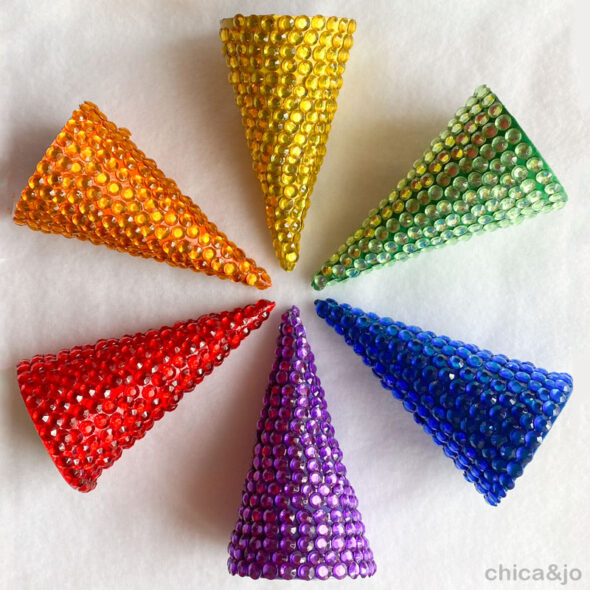
I created a rainbow of trees but this would look so pretty in just one color, or even in sparkly silver or gold.
These sweet little trees are the perfect DIY accent for my Christmas decor, whether on the mantle or shelf. I think they would look charming in the middle of place setting at the dinner table.


