DIY Plinko Board - How to Make a Plinko Board Game
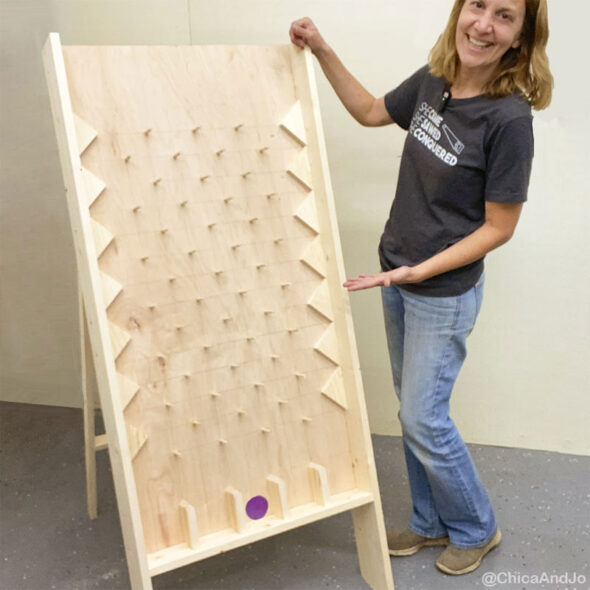
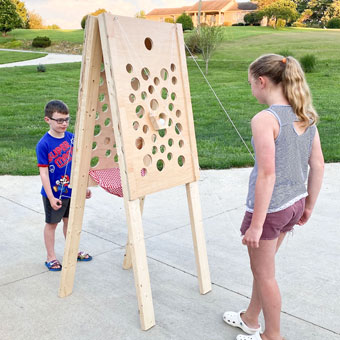
Plinko is my favorite game from The Price is Right (although Cliff Hangers is a close second), and I've always wanted to have my own Plinko board. Jo and I finally decided to make one!
If you want to build your own Plinko board, you're at the right place. I'm going to share the overall process of building a Plinko game, as well as a video showing you how we put it all together.
And when you're to make your own custom Plinko, we've even got detailed build plans available to walk you through it step by step.
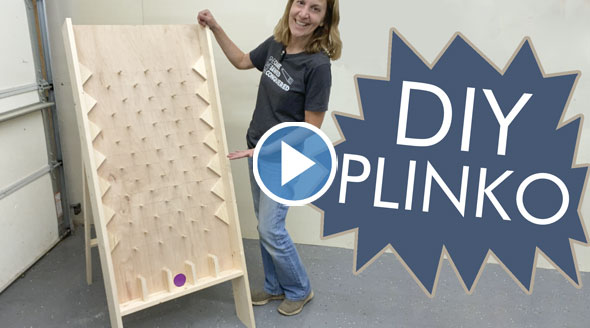
VIDEO: How to Make a Plinko Board
Here's a video showing how we built our own Plinko.
If you can't see the video, try viewing it directly on YouTube.
How to make a Plinko board
The video above is the best way to see how to build your own Plinko board, but if you'd like to start with an overview, here are the basic steps we followed for this project.
For full written details, including measurements and a template, check out our Plinko Board Build Plans, available below.
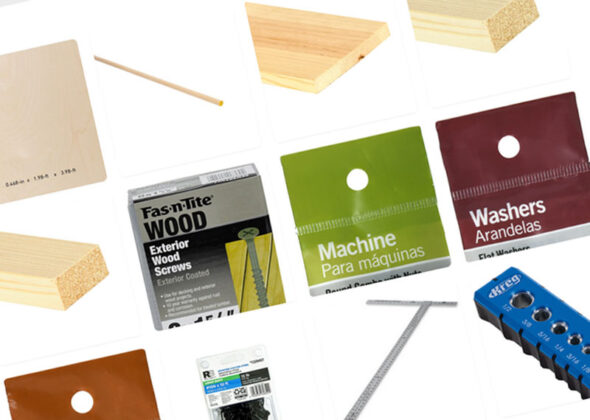
Supplies needed
We tried to keep this project basic enough for a beginner woodworker to be able to accomplish with minimal tools, but there are definitely some tools, materials, and other supplies you'll need.
To make your shopping easier, you'll find all the materials you'll need here in our Plinko Materials Collection at Lowe's.
In addition to the materials above, you'll also need a set of 2.5" air hockey pucks that are just the right size to fit on our board design.
Step 1: Draw the grid
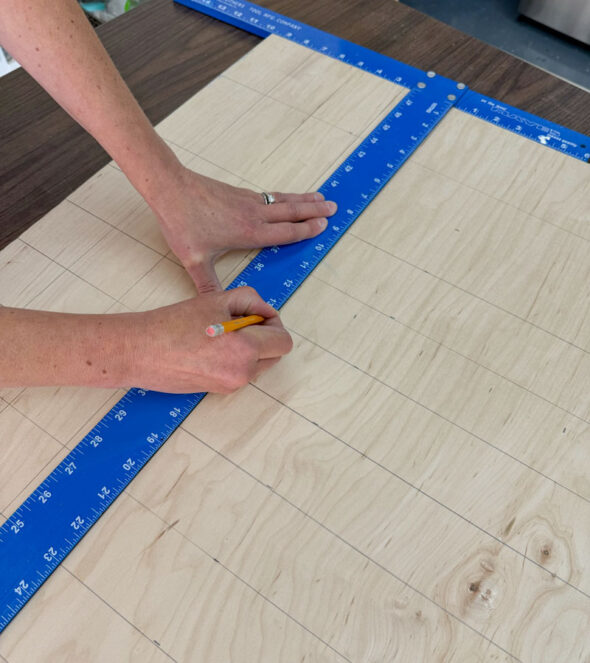
Starting on a 2' x 4' piece of smooth plywood, we drew a grid using a pencil and a T-square.
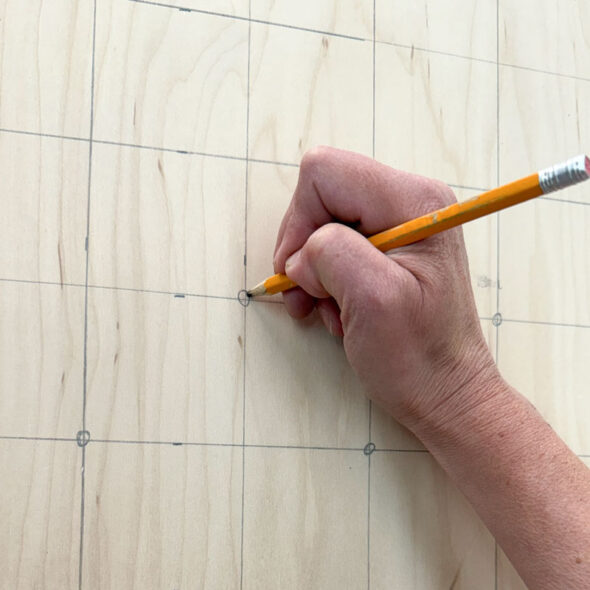
Then we marked every other intersection on the grid, to indicate where our pegs would go.
Step 3: Drill the peg holes
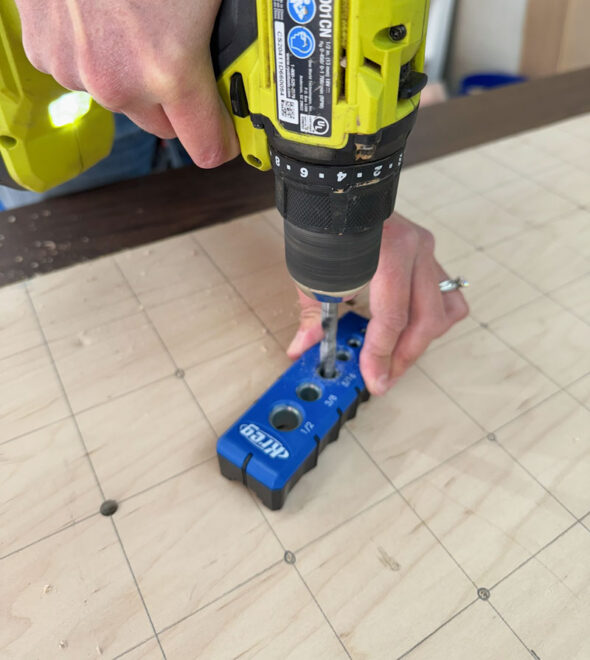
We drilled out all our peg holes to fit the 5/16" dowels we would be using for pegs. Keeping those holes perfectly perpendicular was a breeze with the help of a handy drill guide that kept the drill bit straight up and down as we worked.
Step 4: Add the pegs
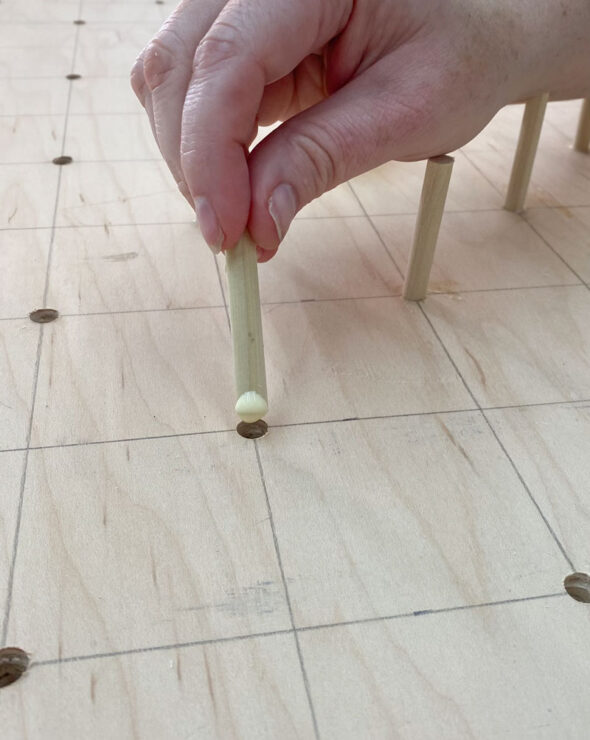
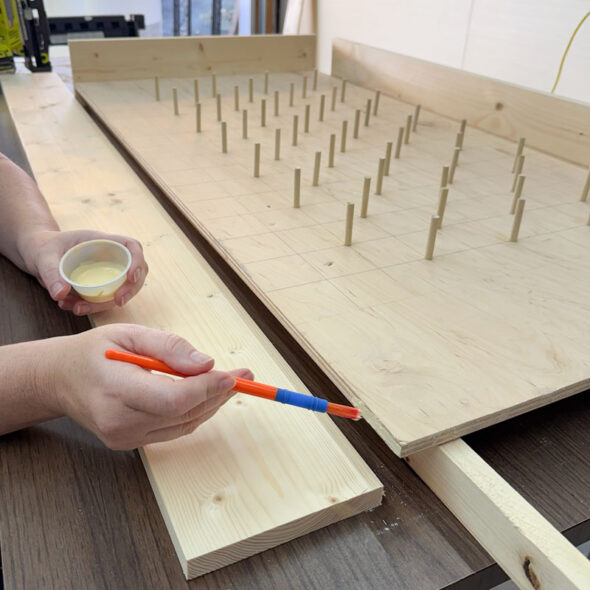
We cut some 5/16" dowels to length and added them to the holes with some wood glue.
Step 5: Attach the sides
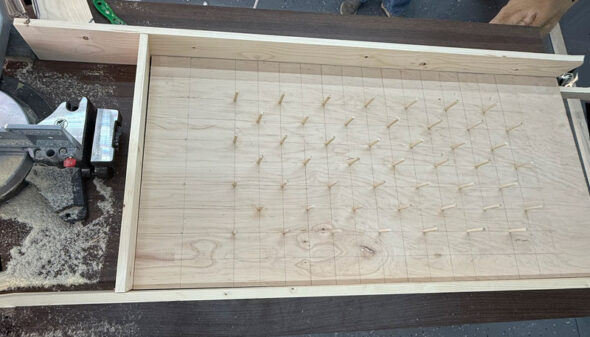
Next we cut sides from some 1" x 6" boards and attached them to the main board with glue and screws.
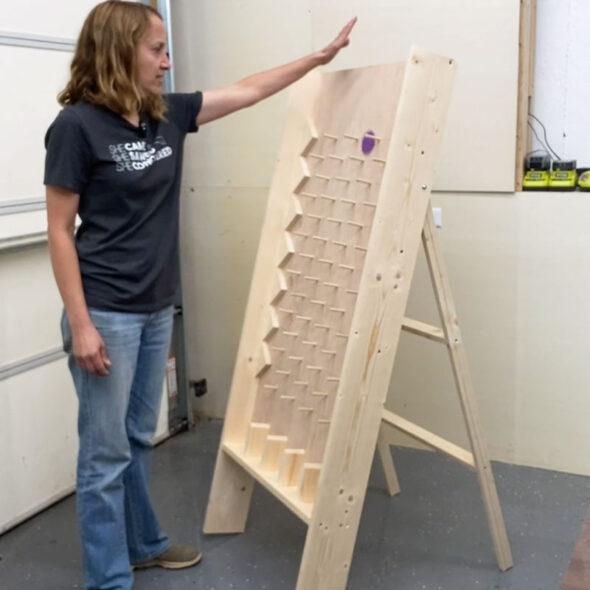
We made the sides long enough to extend past the bottom of the board, to create legs.
Step 6: Add the triangular gutters
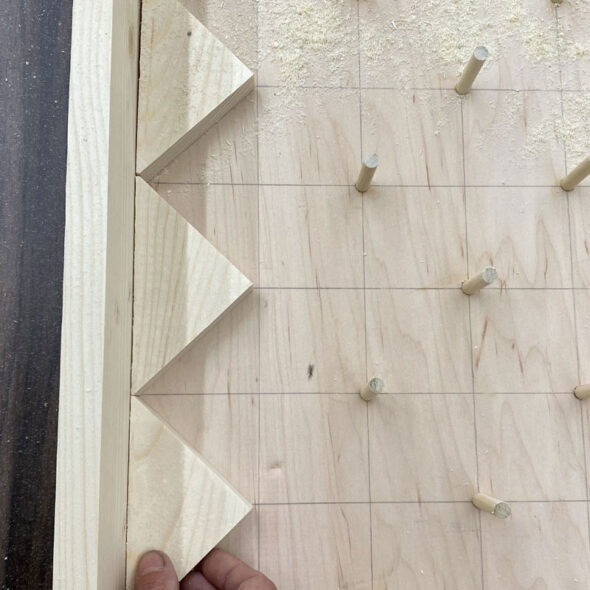
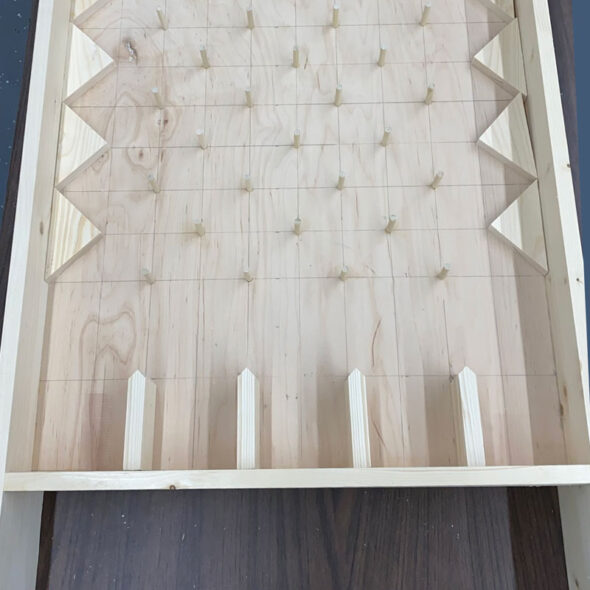
To keep the puck working properly on the sides of the board without getting stuck, we cut triangular cutters and added them to each side (just like on the real Plinko game!)
Step 7: Add separators at the bottom
So that the puck can fall into different compartments (for different prizes, games, etc), we cut four separator boards, beveled their ends to a point, and added them along the bottom of the board.
Step 8: Build the stand
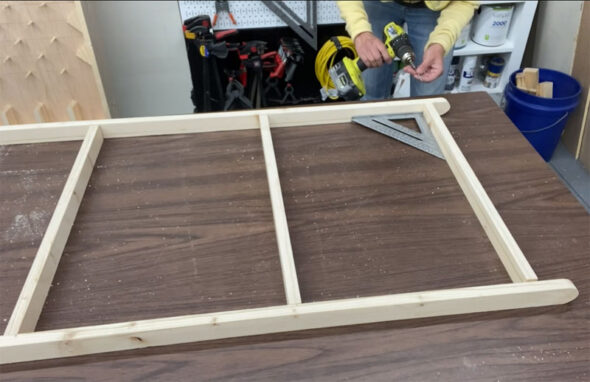
We used 1" x 2" boards to build a ladder-style stand to attach to the back of the game board, so that it could be propped up for game play.
Step 9: Attach the stand
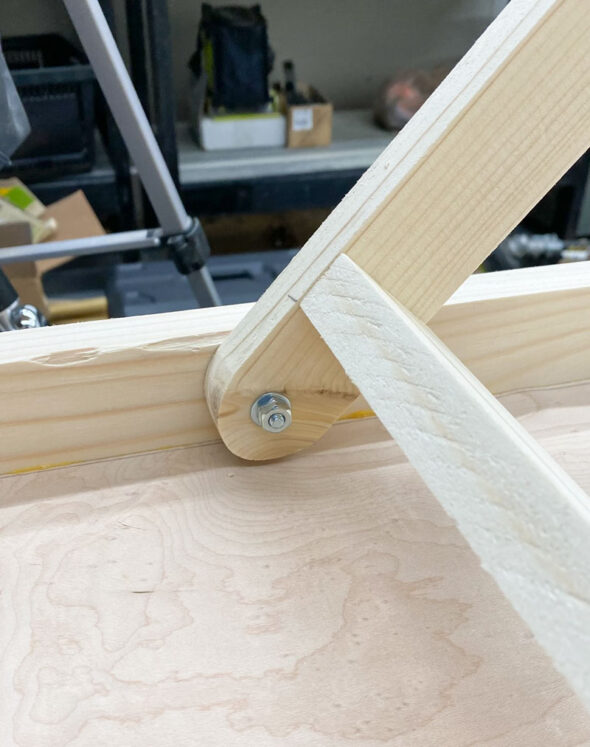
The stand nests inside of the back of the game board, and is secured at the rounded ends with nuts and bolts to serve as a pivot point.
Step 10: Test the board and determine play angle
With the stand attached, we were able to set the game up and test playing it. We adjusted the angle of the stand until we got just the right slope for our puck to slide easily down the game board and bounce on the pegs.
Step 11: Level off the legs
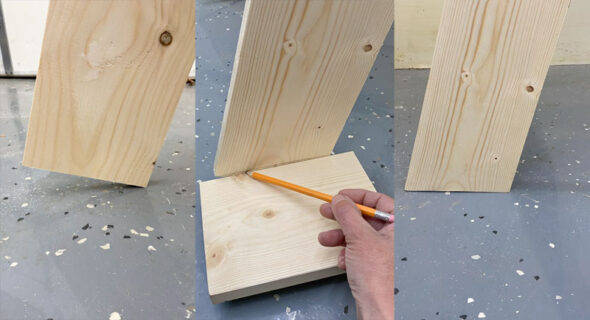
With the angle determined, the next step was to level off those 90-degree legs so they would sit flat on the floor during game play. We just lined up a board on the floor, drew a parallel line, and cut it with a jigsaw, resulting in perfectly level and flat feet.
Step 12: Add the safety chain
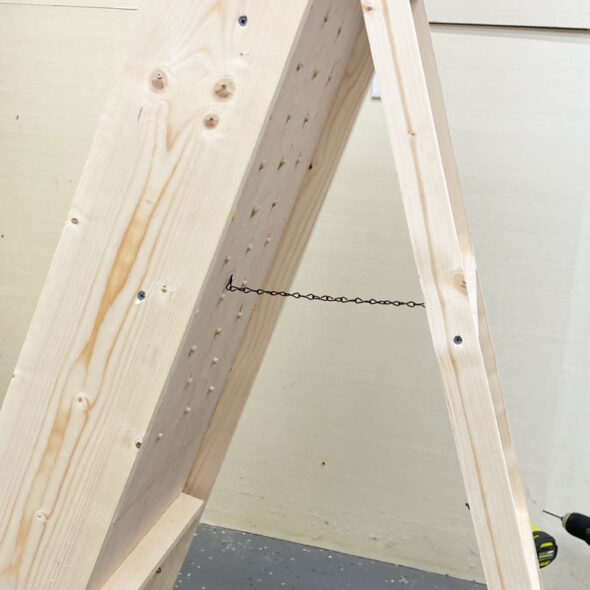
To prevent the board from over-extending itself and collapsing or falling flat during game play, we added a safety chain to the stand. One end is screwed into the back of the main board and the other end to the stand. This prevents the stand from opening any further than we want it to.
Step 13: Play!
With that, our game was done. We've had so much fun playing Plinko with our handmade board.
Plinko Board Build Plans
If you're ready to build your own Plinko, all you need now is our detailed Plinko build plans! They include all the details you need, including measurements, cut list, supplies list, and materials list. There are 24 pages of detailed instructions with color photos.
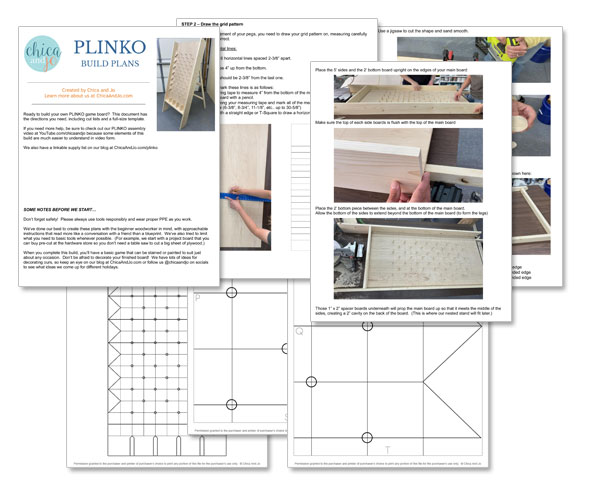
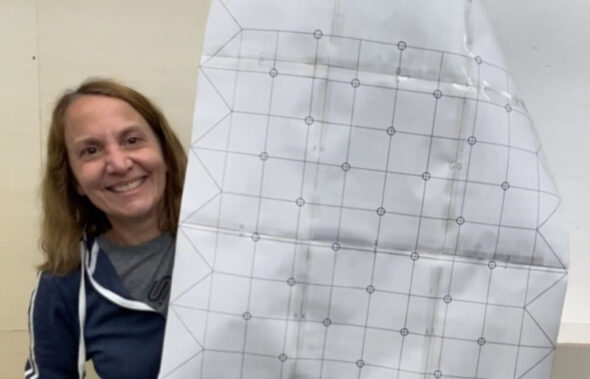
BONUS: The plans also include a 15-page printable template that you can tape together to create an actual size (2'x4') pattern with the grid and peg placement on it. This can be a great time saver for marking your peg locations if you're not into all that measuring and math.
INSTANT DOWNLOAD -
PURCHASE NOW!
Plinko Board Build Plans – $14.99

from here immediately after your purchase is complete*.
Have questions? Email us at chicaandjo@chicaandjo.com
* Files may be downloaded a maximum of 5 times.
Decorating your Plinko
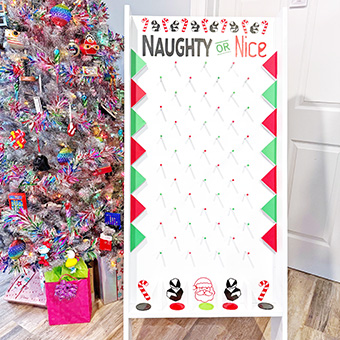
You don't have to stop there, though... you can decorate your Plinko game any number of ways to customize it for your style and taste.
You can stain it or paint it. You can add stickers, vinyl, or colorful embellishments. Just be sure you keep the main board area smooth so that the puck glides easily as it falls down the slope.
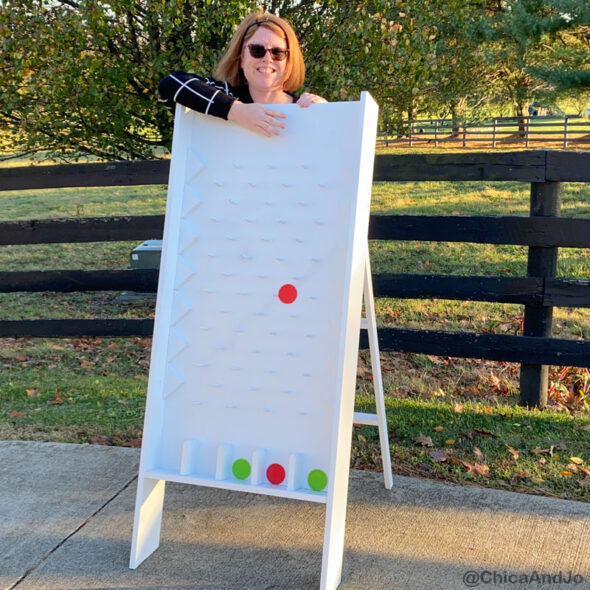
We painted ours white to serve as a good starting point for decoration.
We have lots of fun decorative ideas in mind for our Plinko, and we’ll be sharing them here soon. Stay tuned!




2 comments so far:
How do I order a set for plans for the plinko game???? How much $$$?
Ray, you can purchase our digital plans up in this blog post. Look for the big yellow box :)