DIY Movie Theater Lighted Marquee Sign
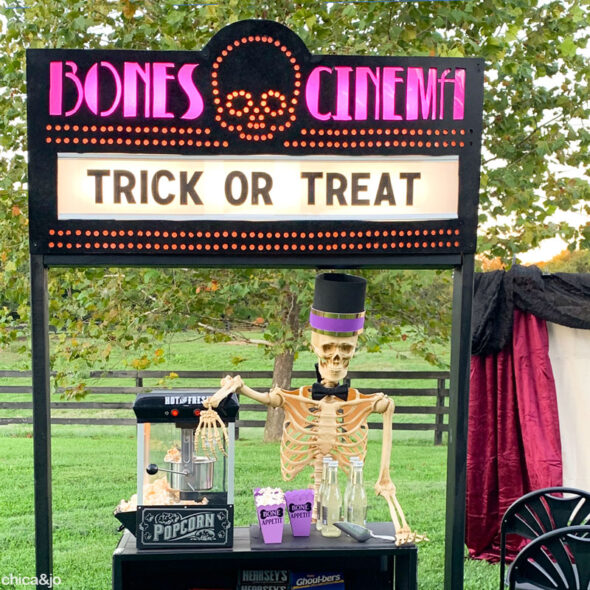
When we created our skeleton-themed outdoor movie theater for Halloween this year, I knew right away that it had to have a lighted marquee sign to go with it. Nothing symbolizes the moves like those giant lights and sign telling you what's playing! Neon was out of our budget, but I managed to make a custom DIY marquee that fit the bill perfectly.
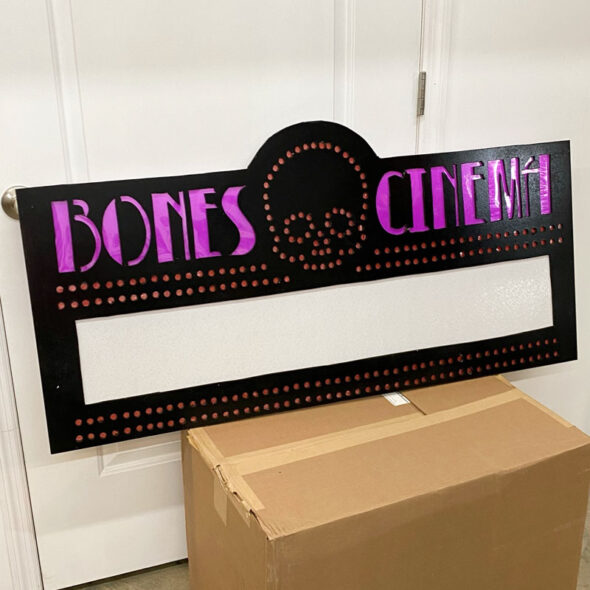
It all started, of course, with a design. In keeping with our skeleton theme, we decided to name our theater "Bones Cinema". I created a design that had a skull logo, lots of lights, and plenty of room to put a customizable message. If you'd like to recreate this sign, just download our Bones Cinema marquee template to get started.
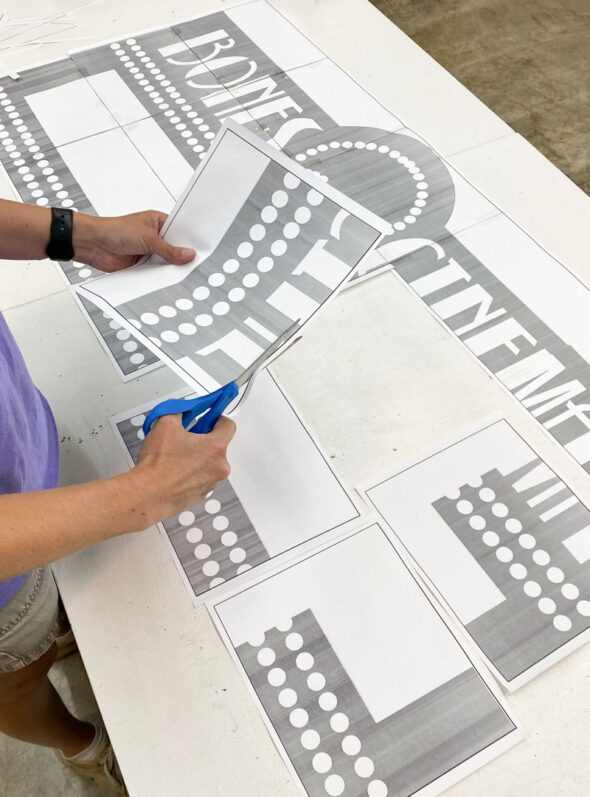
After printing the pages, I cut them out and taped them together to create a large template. The design is sized to fit perfectly on a 2'x4' piece of wood, which is a common size of pre-cut "project panel" that you can find in most home improvement stores.
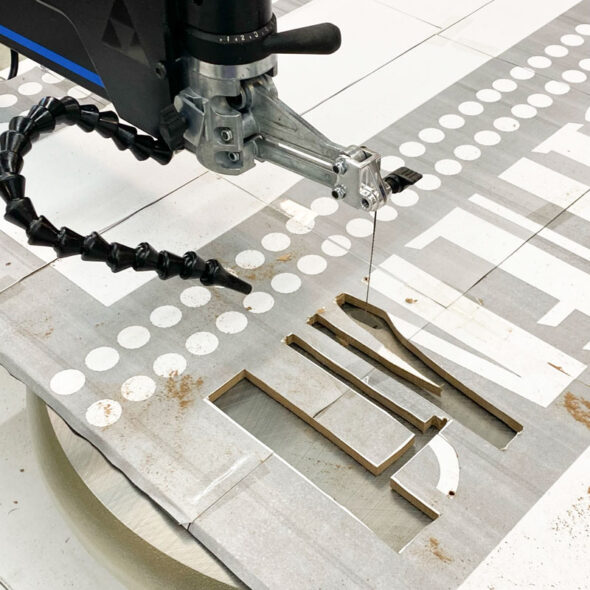
I used a light coat of repositionable adhesive spray to attach the template to a piece of 1/4" MDF, then used my scroll saw to cut out the letters.
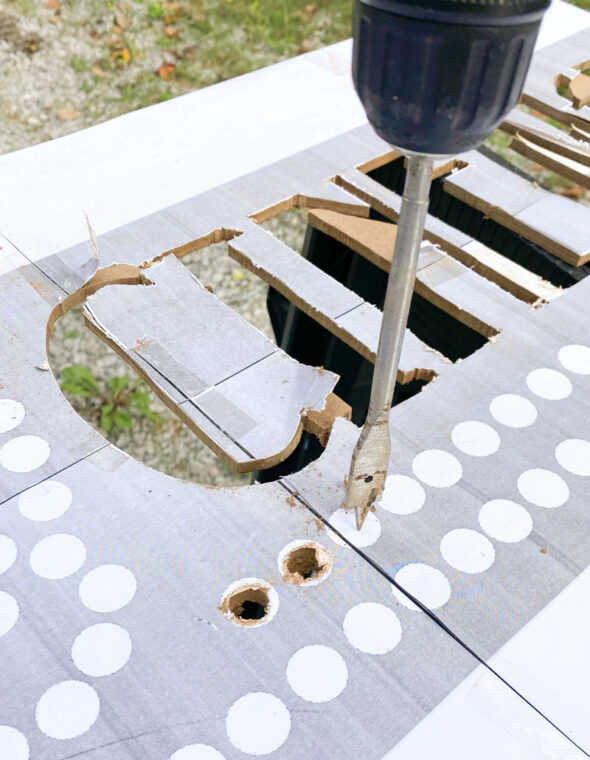
Then I used a 1/2" drill bit to drill circles for all the individual light "bulbs" throughout the design.
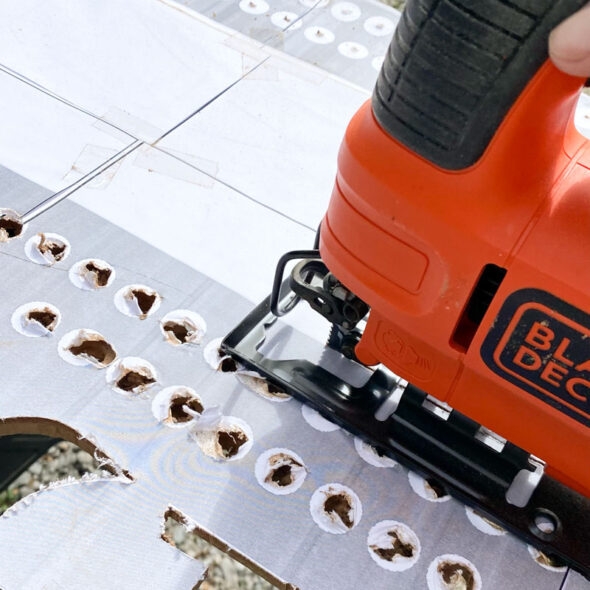
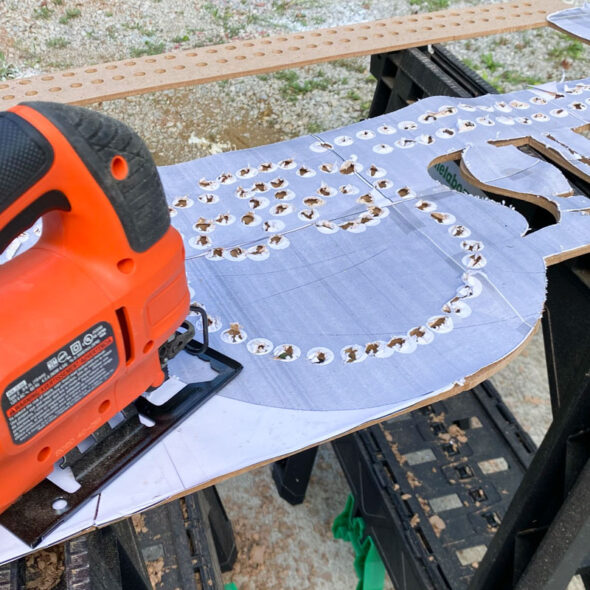
I used my jigsaw to cut out the large white rectangle on the sign.
Finally, I used my jigsaw again to cut the top of the sign, forming the curved area around the skull.
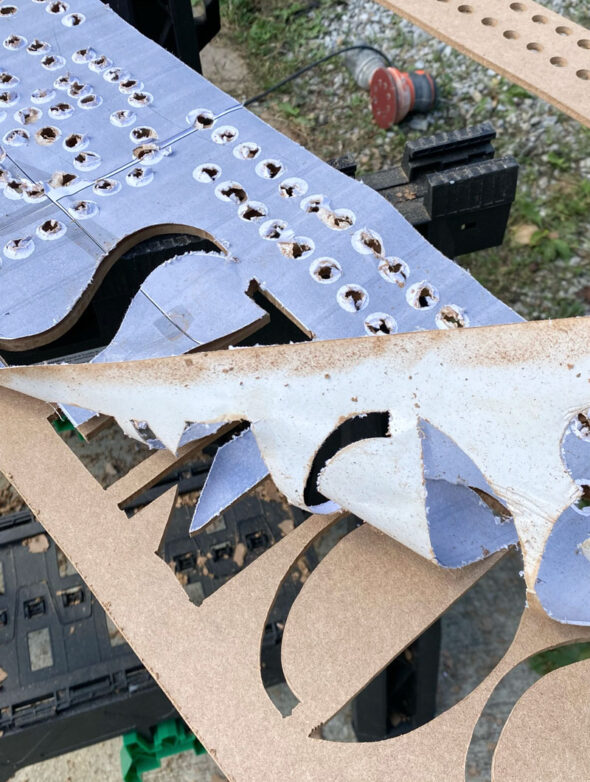
With all the cutting done, it was time to pull back the template and reveal the cut board!
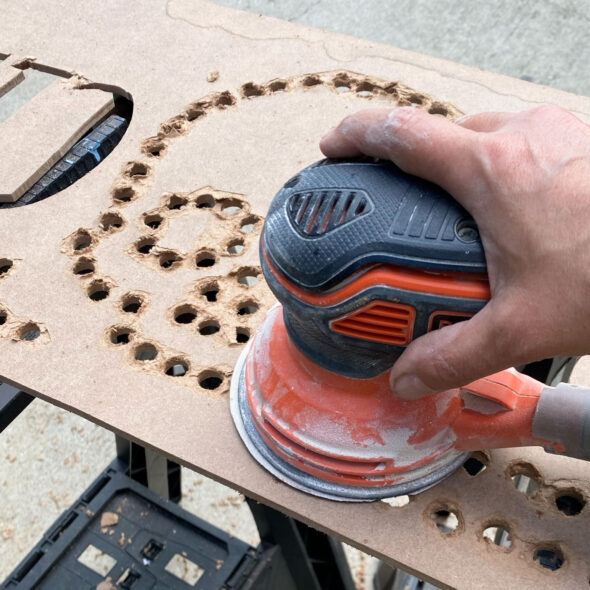
The MDF chipped a bit on the back wherever I used the drill bit, so I used a palm sander on the back of the sign to smooth the edges.
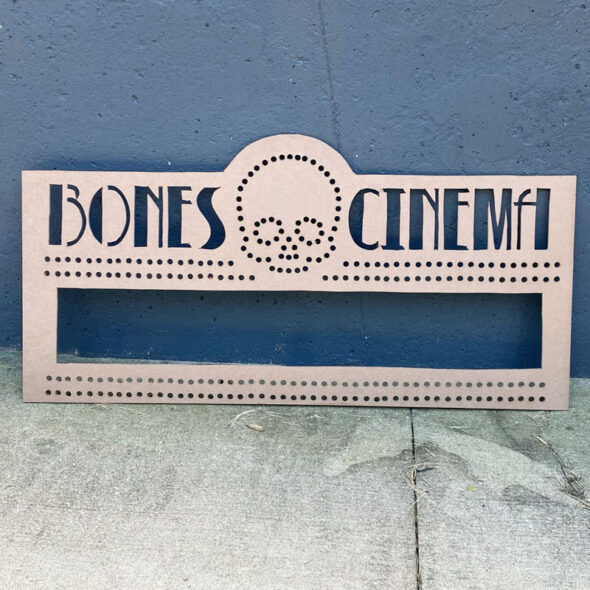
Even without paint or lights, I was already so thrilled with the results!
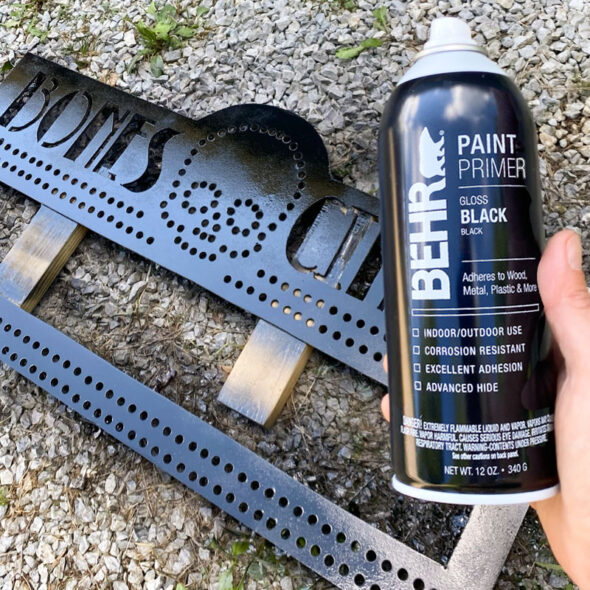
It definitely needed paint, though, so I reached for a can of Behr Spray Paint and Primer in One in gloss black.
Once the paint had dried, I moved back inside to work on the finishing touches. My plan was to make the sign backlit, with the light shining through all the openings I had cut. I had to diffuse that light, though, and I wanted some of it to be in color.
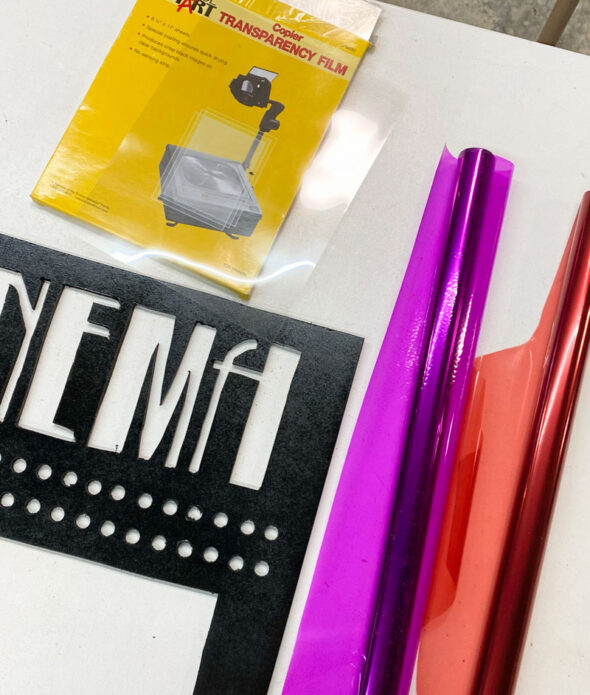
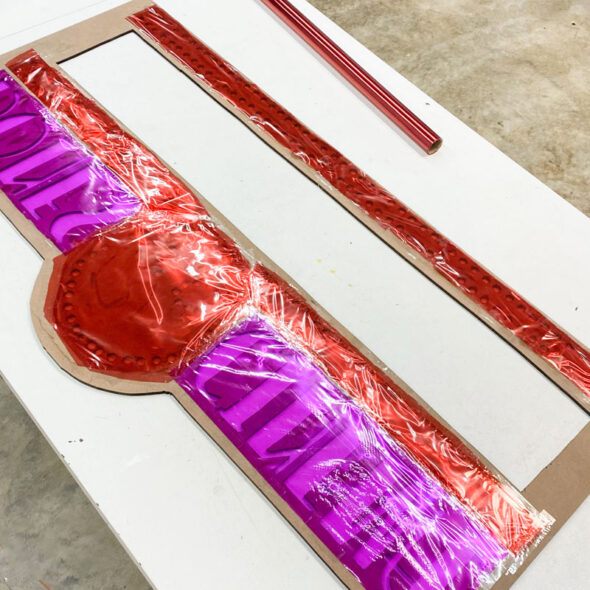
Purple and red cellophane would be the perfect way to add color, but I also grabbed a pack of printable transparency film sheets to help contain the cellophane.
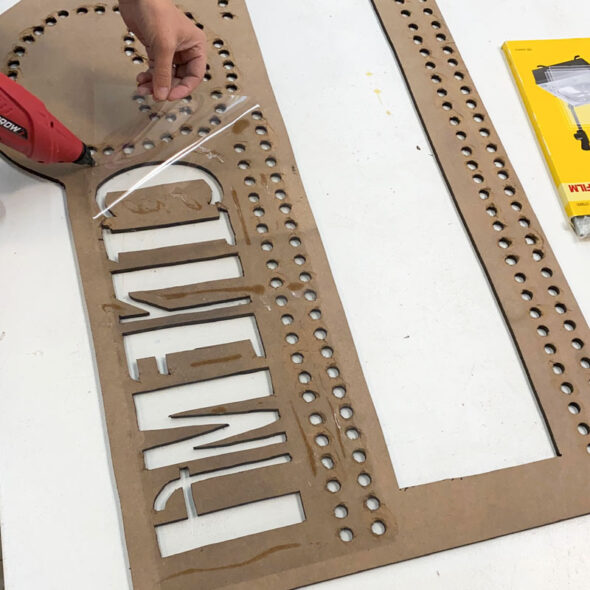
See, I was worried that the super-thin cellophane might tear with use, so I started with a layer of clear transparency film first. I put the sign face down and used hot glue to attach the transparencies over all the letters and circles (but NOT the big rectangle).
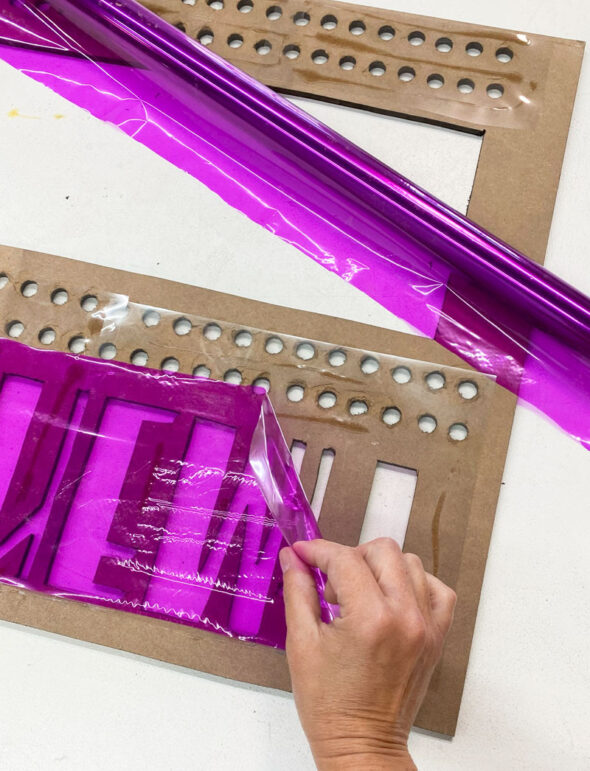
Then I taped the cellophane over top of the transparency film.
I ended up adding one layer of purple and two layers of red to get the color intensity I wanted.
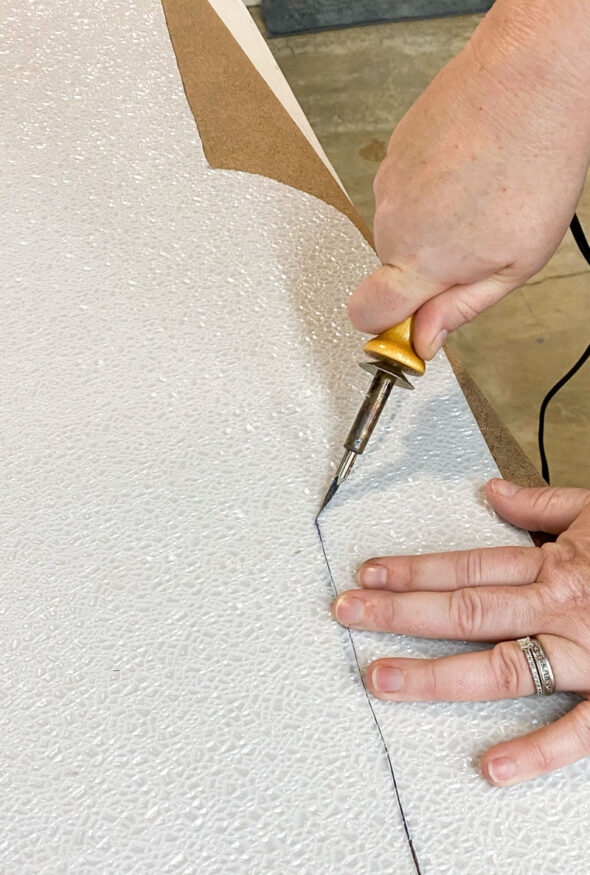
To diffuse the light AND fill in the white rectangle, I picked up a plastic ceiling lighting lens, which also comes in 2'x4' size. We just had to trim the top to match the curve of the sign, and Jo handled that easily by carefully running a hot knife along the traced line.
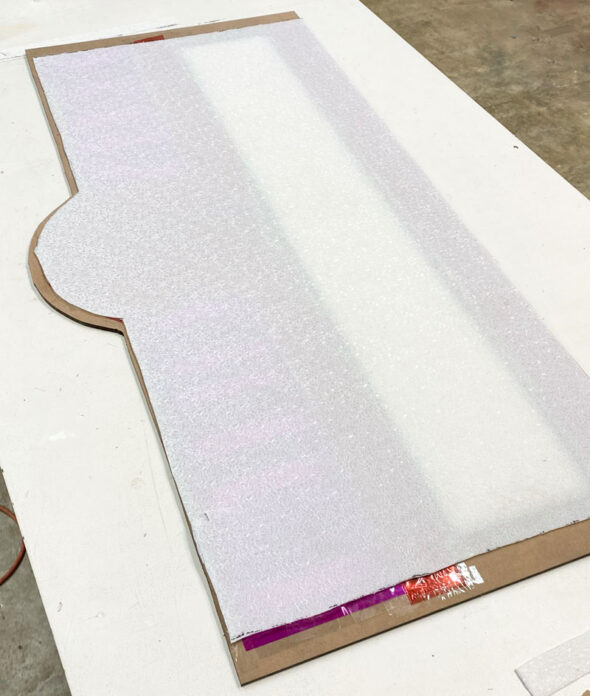
We also cut about 2" off each side of the piece to accommodate the wood frame I would be adding later, then I hot glued the plastic in place.
Oh my, this sign was really coming together! The white plastic did the perfect job of diffusing the light and color.
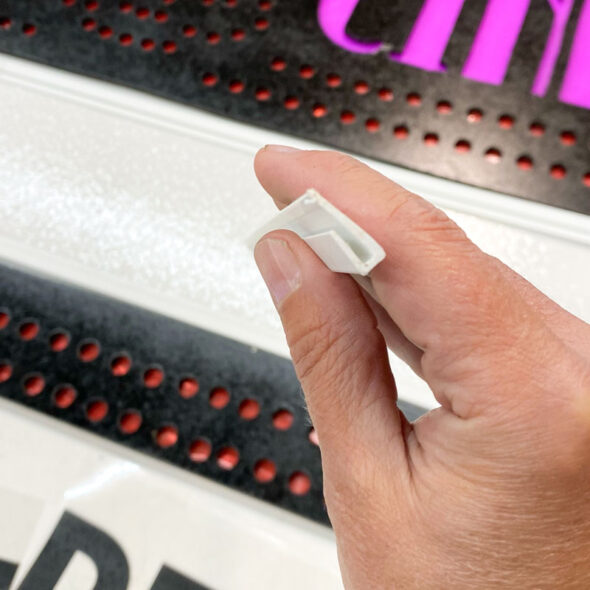
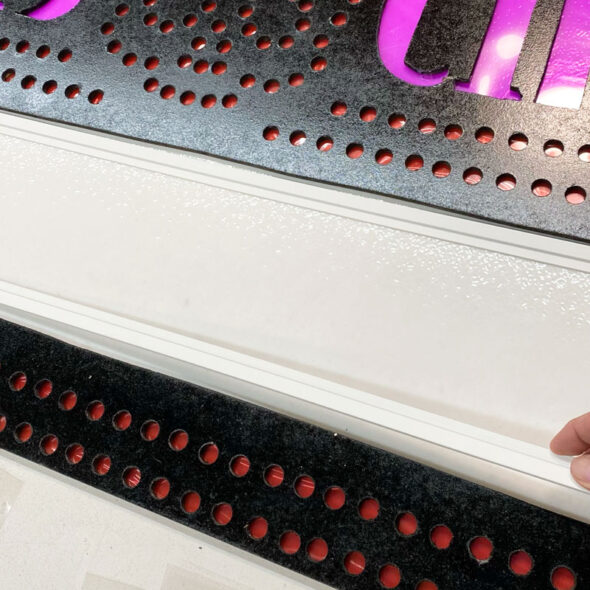
The last step for the front of the sign was to add a way to put a custom message to welcome people or indicate what movie was playing. I took care of this with some inexpensive FRP cap moulding, which has the perfect little channel in it.
I used hot glue to attach a strip of molding across the top and bottom of the white rectangle.
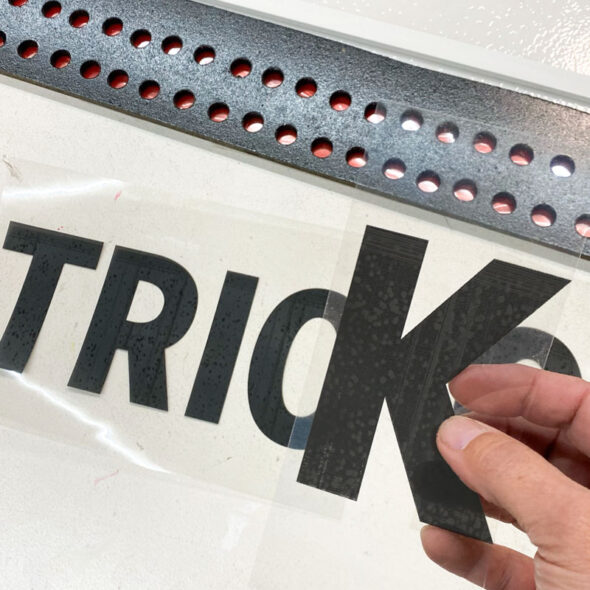
Then I used more transparency film to print some letters in large, bold font, and cut them to the right height so they would slip into the top and bottom channels. You could easily print whatever letters you need to mix and match your message each time.
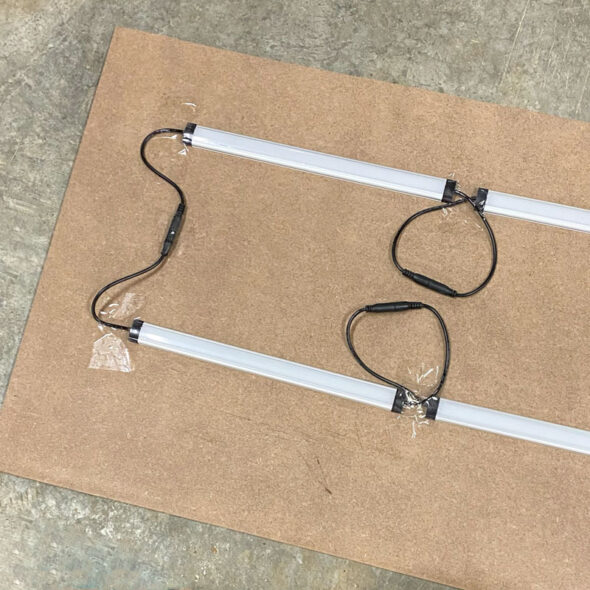
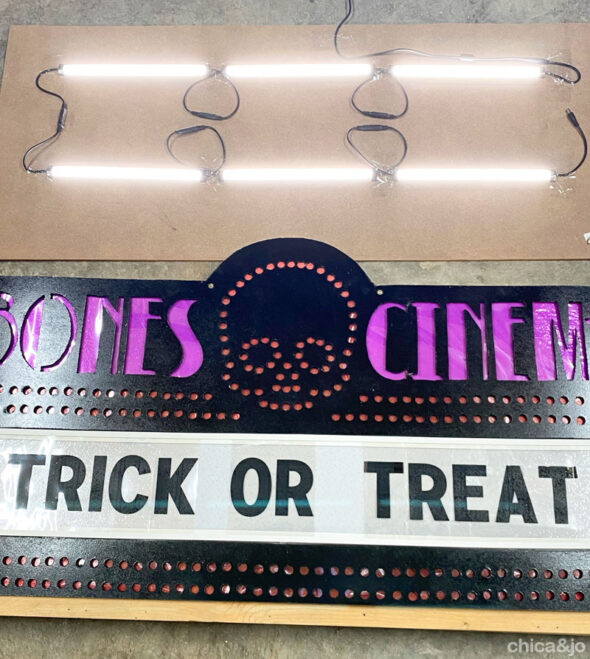
To create the back for the sign, I used anotehr MDF project panel and attached some LED lighting strips. Since LEDs don't get hot, they would be perfect for inside this light box.
I spaced the lights so that they would be right behind the main purple letters and the white rectangle.
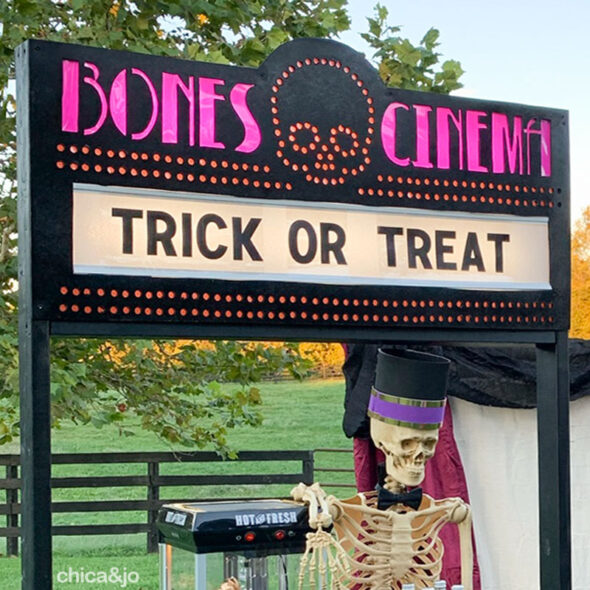
To form the final marquee, I screwed an 8' long 2"x4" on either side of the sign and a 4' piece along the bottom. Then I added the light panel to the back, and added some feet to the bottom to support it. I painted the new lumber black and voila — the perfect marquee!
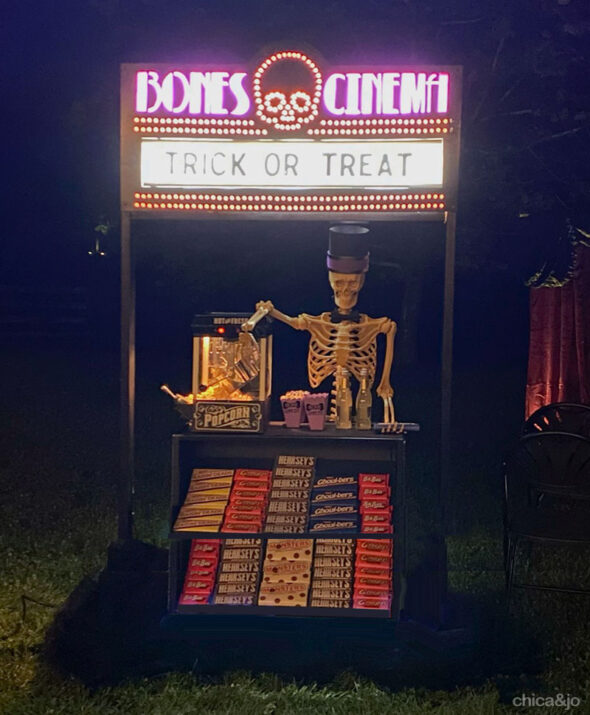
And when it got dark and we turned the lights on, we couldn't believe how amazing the sign looked. It was the perfect welcome to our spooky Halloween theater.


