DIY Lamp Base from Concrete and Epoxy Resin
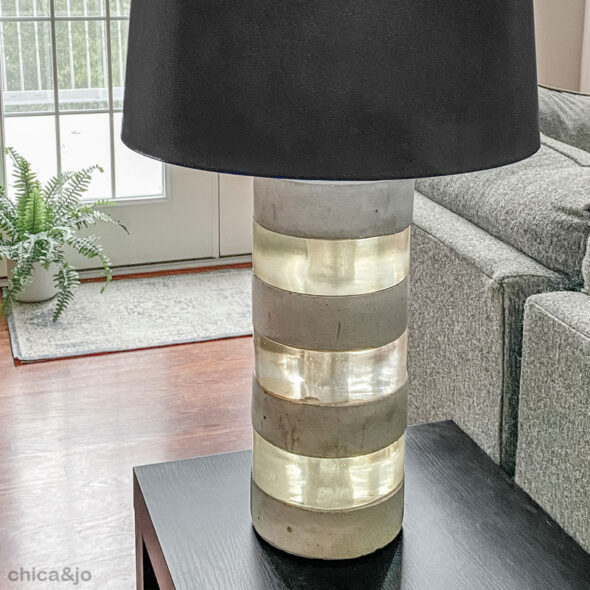
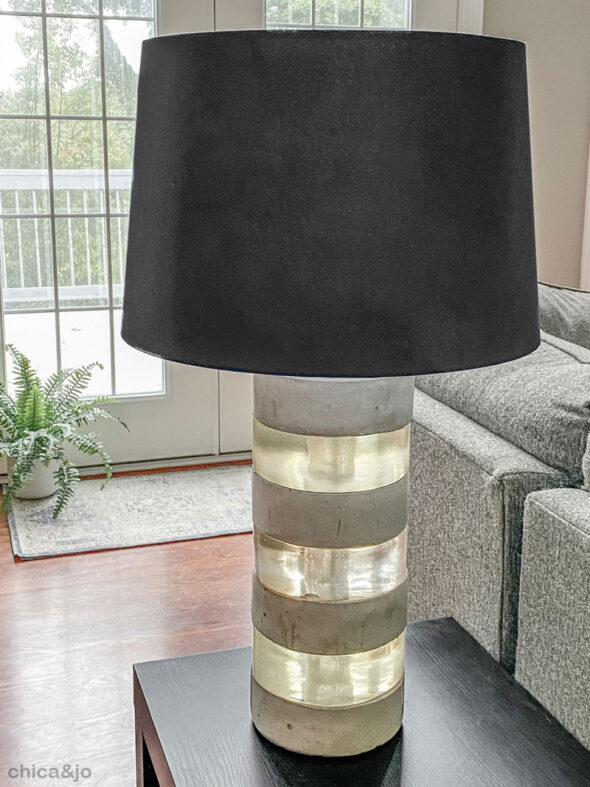
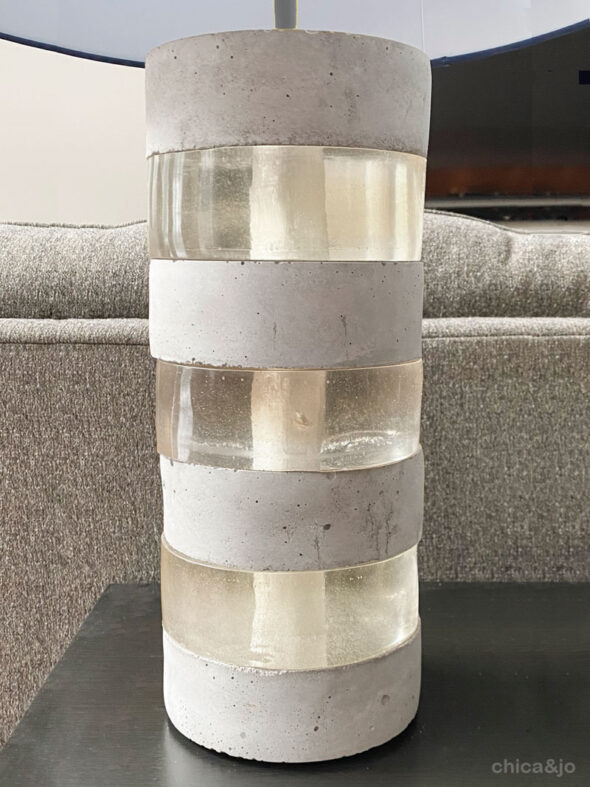
I wanted to create a really unique lamp base for my living room, and loved the idea of mixing contrasting materials. The rough, rugged look of concrete layered with the crisp, clear gloss of epoxy resin would be perfect. I came up with a simple design consisting of alternating discs of concrete and resin and got to work on my DIY modern lamp.
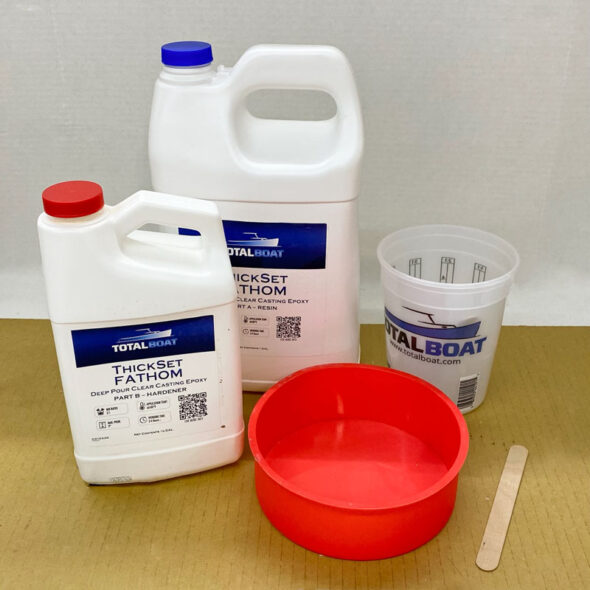
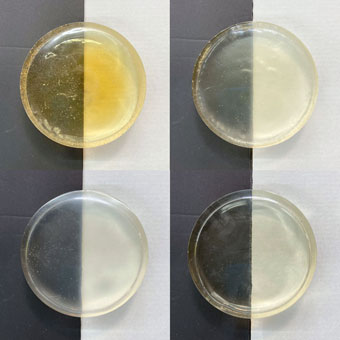
I started with the resin discs, and for molds, I used some inexpensive 6"x2" round silicone cake pans. These would be an great way to get just the right width and depth I wanted for the layered look. Since these molds were 2" deep, I did lots of deep pour experiments with different resins before finally settling on TotalBoat ThickSet Fathom, a deep-pour casting resin that would be perfect for these thick molds.
With most epoxy resins, you can only pour up to 1/4" or 1/2" thick layers and have them cure properly, but the Fathom is formulated to cure really slowly, so it works great for deep pours.
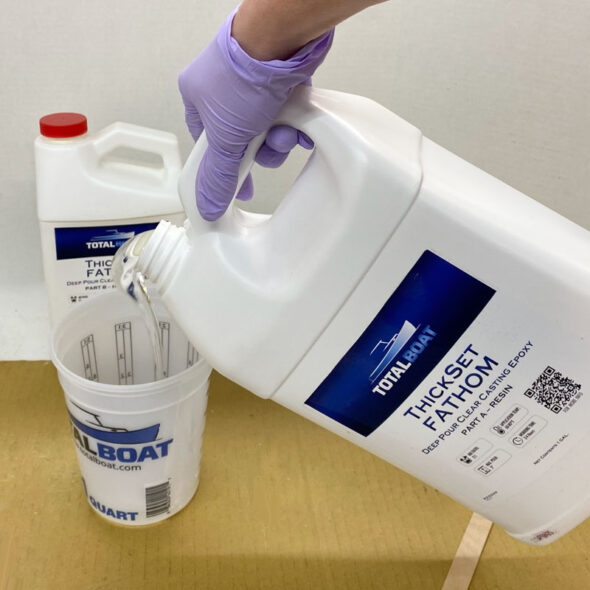
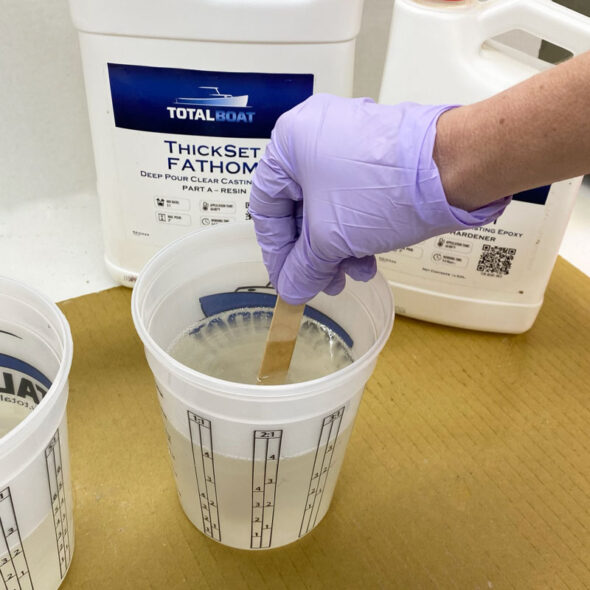
I used TotalBoat's Epoxy Calculator to determine how much I would need and mixed it according to the directions.
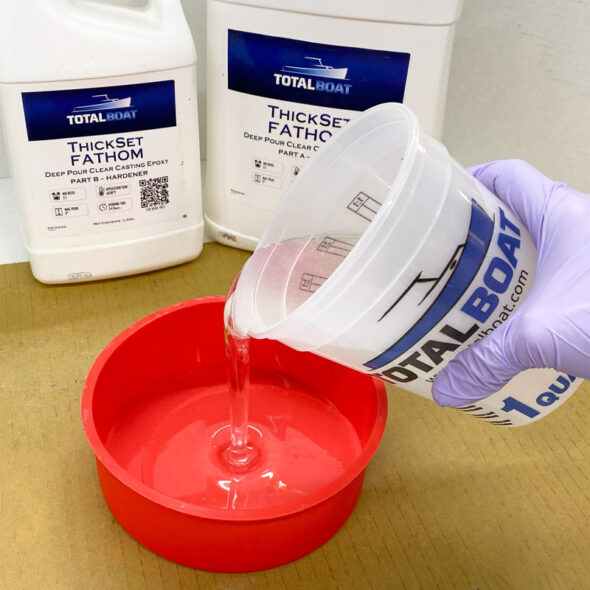
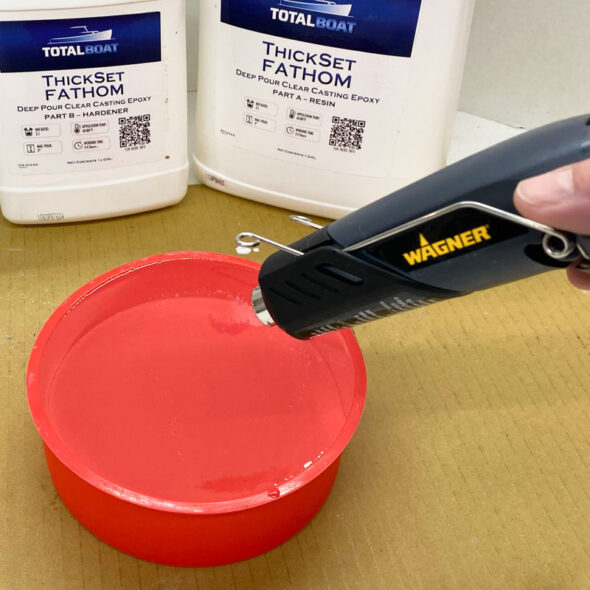
After mixing it thoroughly and completely, I poured it into my clean mold, filling it all the way up to the tippy top.
Then I used my Wagner HT400 heat gun to gently heat the surface of the resin, popping any air bubbles that appeared. Then I left it to cure.
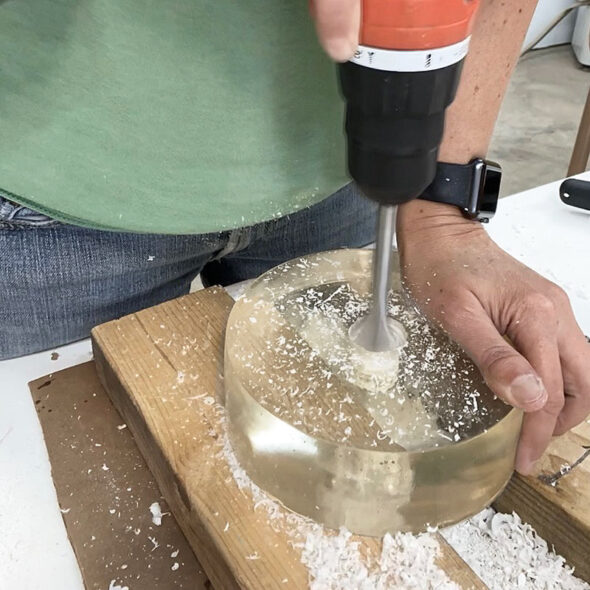
After a full cure (Fathom can take 5-10 days), I used a paddle bit to drill a hole in the middle of each disc, to accommodate the lamp wiring that will come later.
Once I knew I had success with the first disc, I created two more, for a total of three resin discs for my lamp. Then I moved on to making four concrete discs to match.
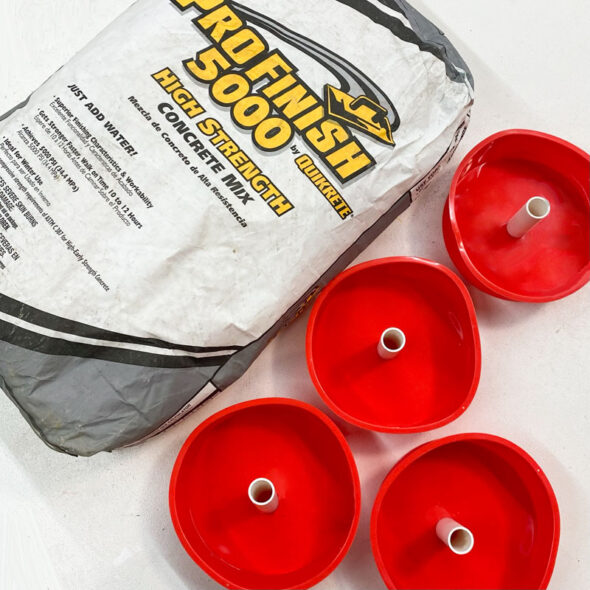
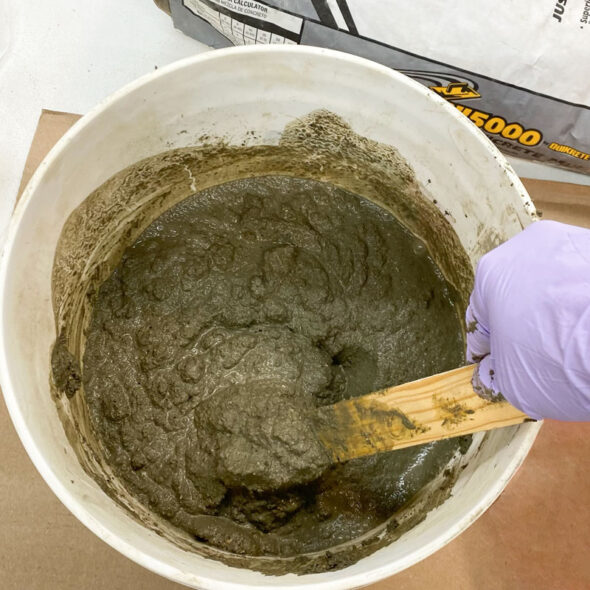
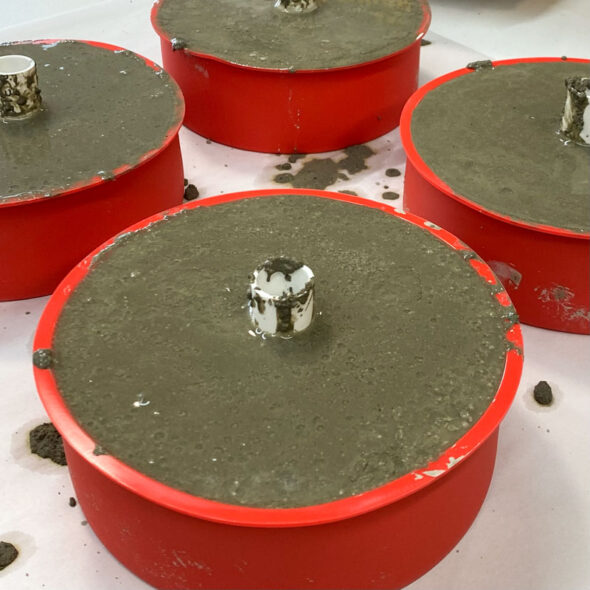
For the concrete discs, I used the same molds as before, and filled them with Quikrete 5000 high-strength, a concrete that provides fine, dense results. I cut some pieces of PVC pipe and stood them up in the middle of the molds, to create the hole I would need for the wire later.
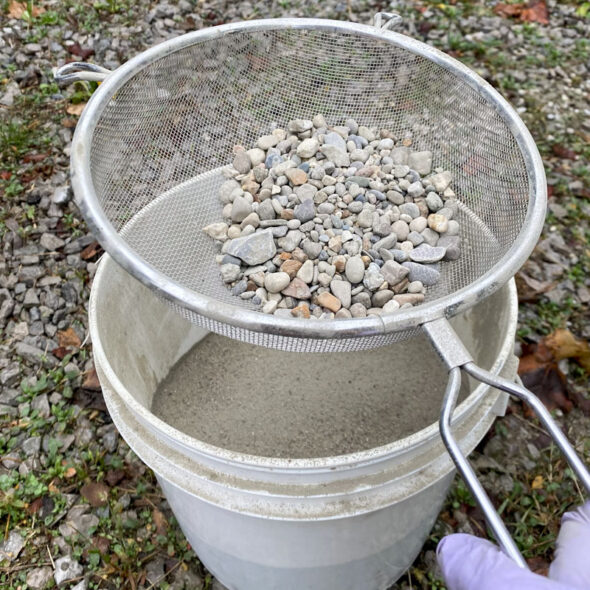
To get an even finer texture to the finished concrete, I first sifted out the pebbles from the mix, leaving behind just the fine cement dust for me to work with.
I mixed in just enough water to get a thick slurry.
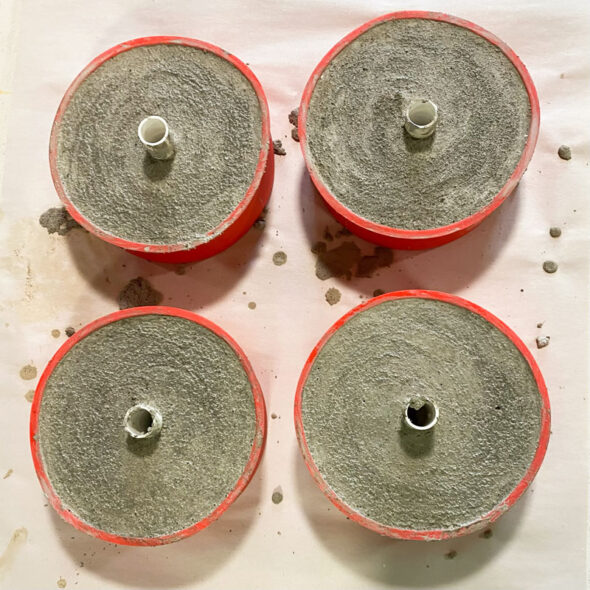
Then I filled the molds with concrete, right up to the top. I was careful to tap the sides a lot to remove any air pockets that might be inside, and did my best to leave the top nice and smooth.
The concrete dried much faster than the resin, and the discs were ready to go the next day.
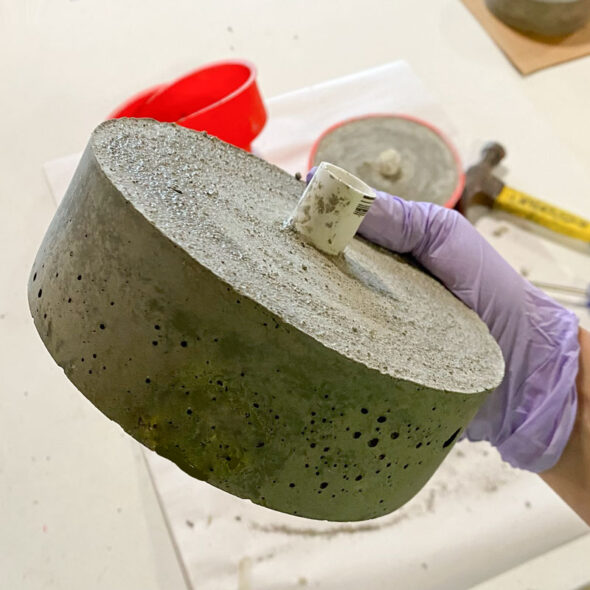
They came out of the molds with no problem, and I love the smooth sides with just a hint of texture.
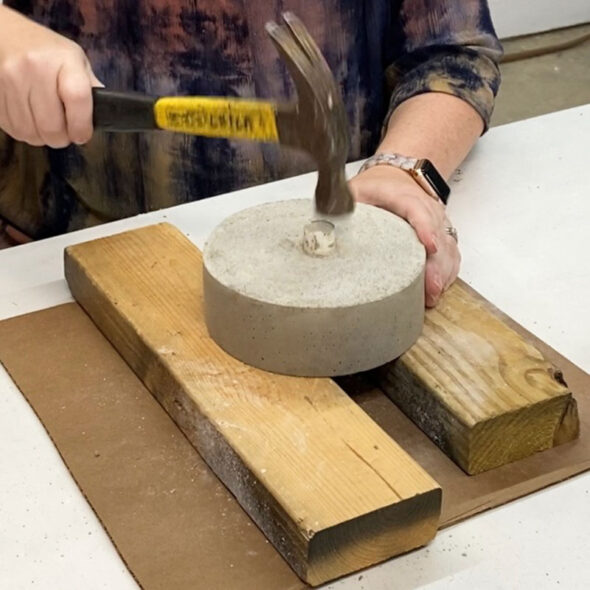
Jo helped me remove the PVC pieces by first suspending the disc on two boards, then tapping the pipe with a hammer until it came out the bottom.
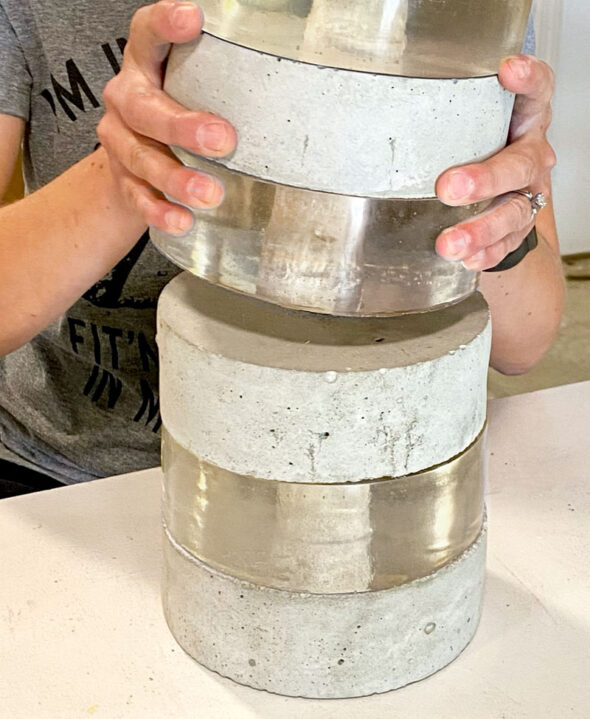
With the discs done, it was finally time for assembly! I stacked the discs, alternating between concrete and resin.
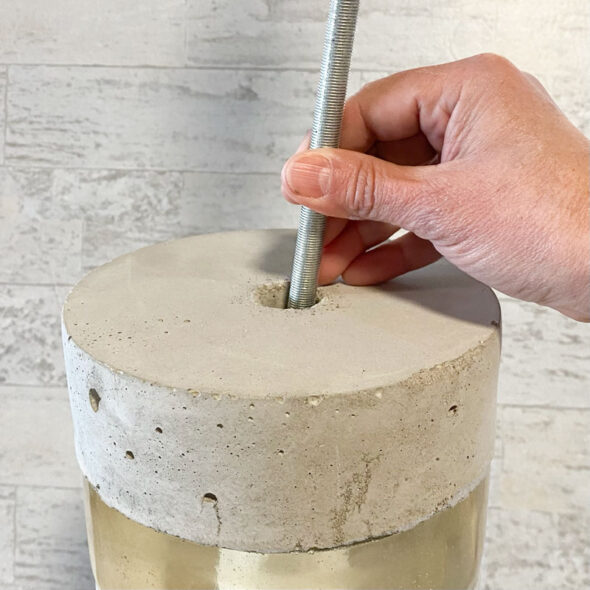
I got an inexpensive lamp wiring kit and fed the threaded rod through the holes in the middle of the discs. I added some little bumper feet to the bottom concrete disc, so that it would be off the table enough for the cord to come out the bottom.
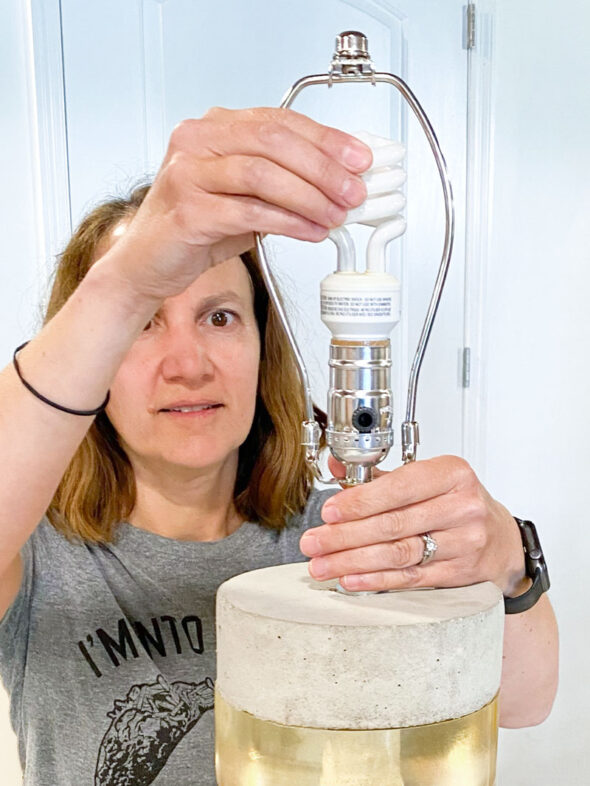
Then Jo and I wired the rest of the lamp together according to the kit instructions, and it was suddenly a lamp!
A bold barrel-shaped lampshade finished it off perfectly.
I absolutely love the contrast of clear resin with industrial concrete. I am entranced every time I walk by it in my living room.


