DIY Ice Cream Cart from Popcorn Cart
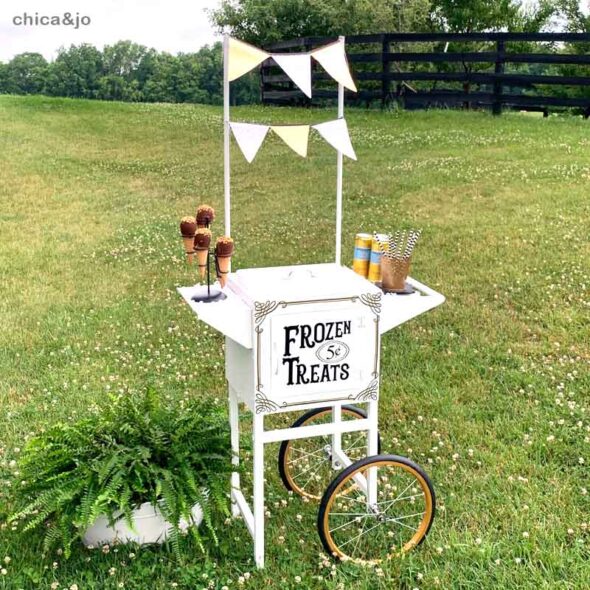
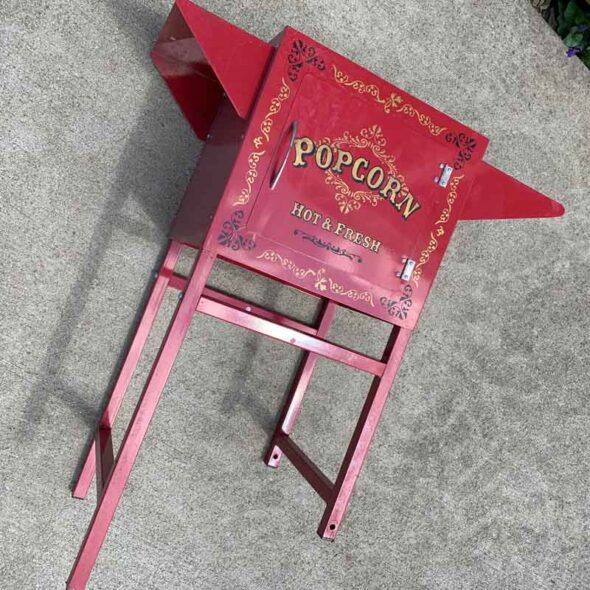
My cousin's wedding is going to have a cheerful, outdoor vibe with light fun refreshments at the reception. She wants to serve ice cream at the reception for a touch of nostalgia, and Chica and I brainstormed about how to make a cute ice cream bar. Then she remembered she had a popcorn machine base cluttering up her storage area, and we knew it would be the perfect start to making an inexpensive DIY ice cream cart for the wedding reception.
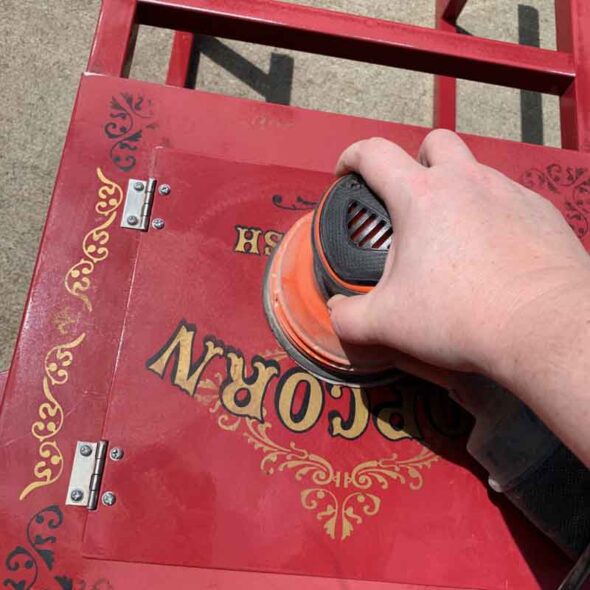
There was a lot of grime on the base, so I first pressure-washed it with soap, then went at it with a sander to smooth it out.
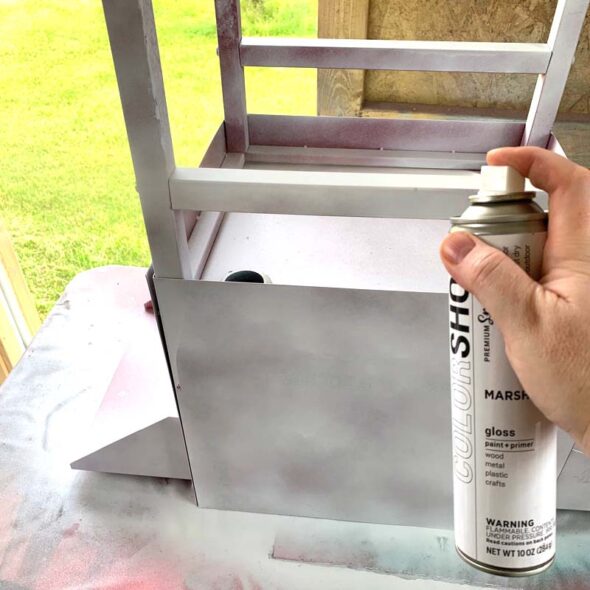
After it was all sanded, I painted the whole thing with ColorShot spray paint in Marshmallow white, which you can pick up at Home Depot.
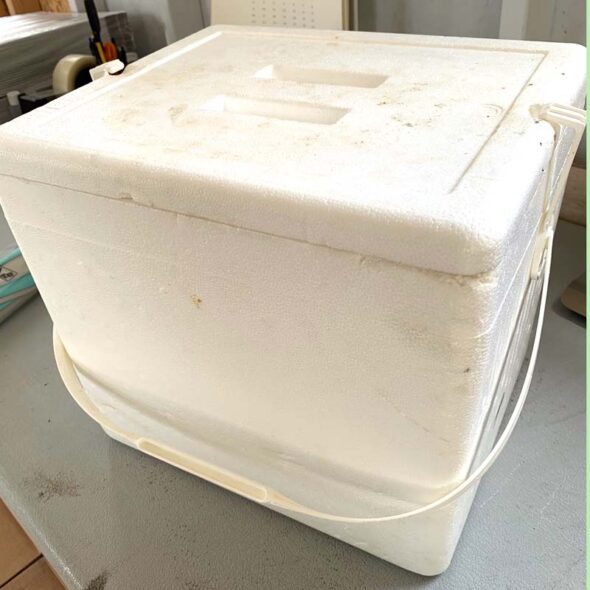
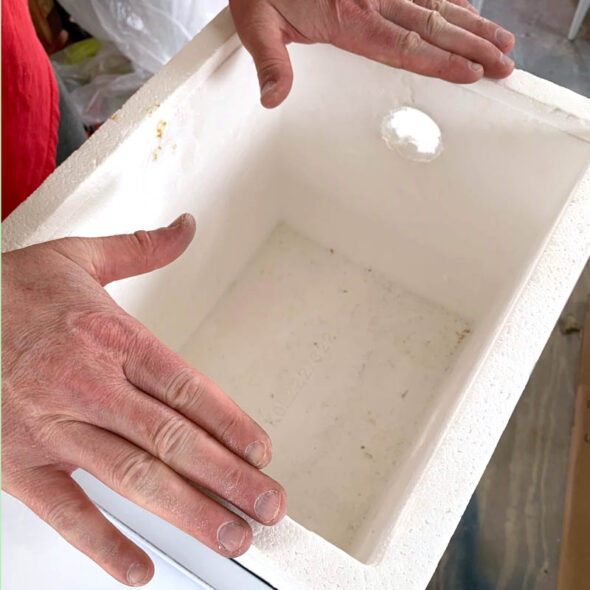
I wanted to insulate the storage compartment to keep the ice cream cold, and Chica just so happened to have a foam cooler that fit perfectly into the space. If you don't have one on hand, simply measure your opening and purchase an inexpensive cooler to fit.
After removing the cooler's lid and plastic handle, McGeeky helped me shove it into the cart. It was a tight fit, but that is exactly what I wanted.
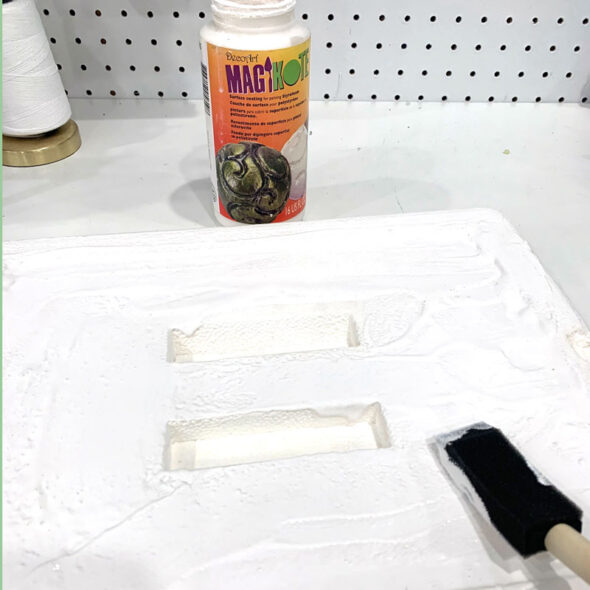
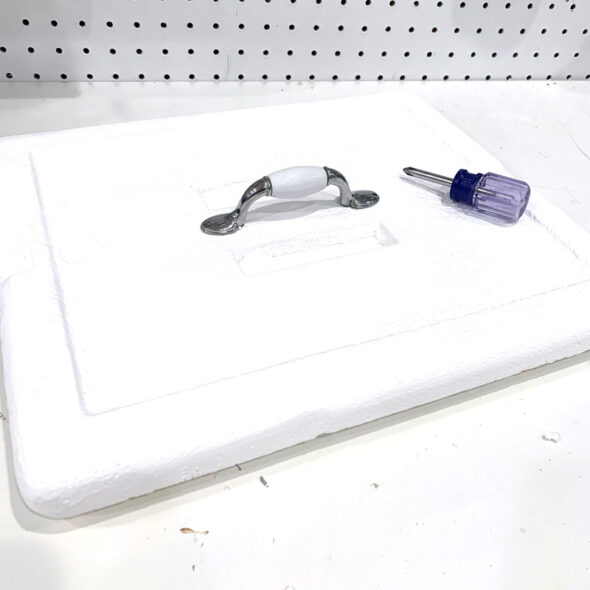
I planned to still use the cooler's lid, but I wanted to make it look a bit nicer. I applied a thick coat of DecoArt's MagiKote all over it. This product fills in some of the crevices, making it smoother and easier to paint.
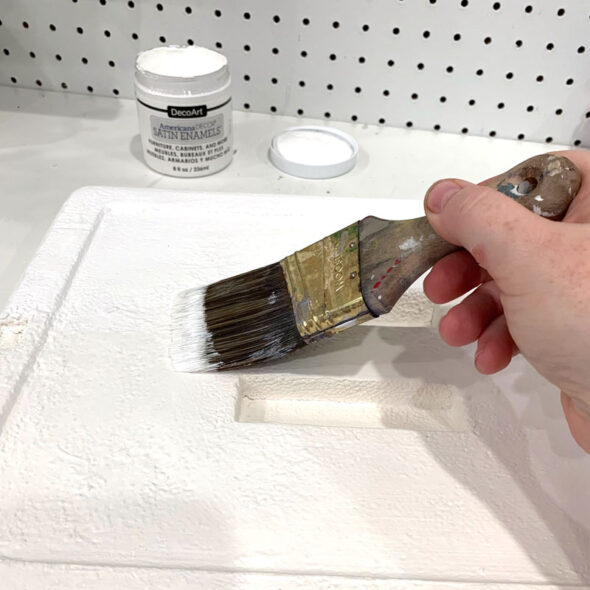
For a bright white finish, I painted on a couple of coats of Americana Decor Satin Enamels.
Finally, I added a cute handle I had left over from a bathroom renovation. I secured it with screws as well as glue, since the foam isn't very sturdy.
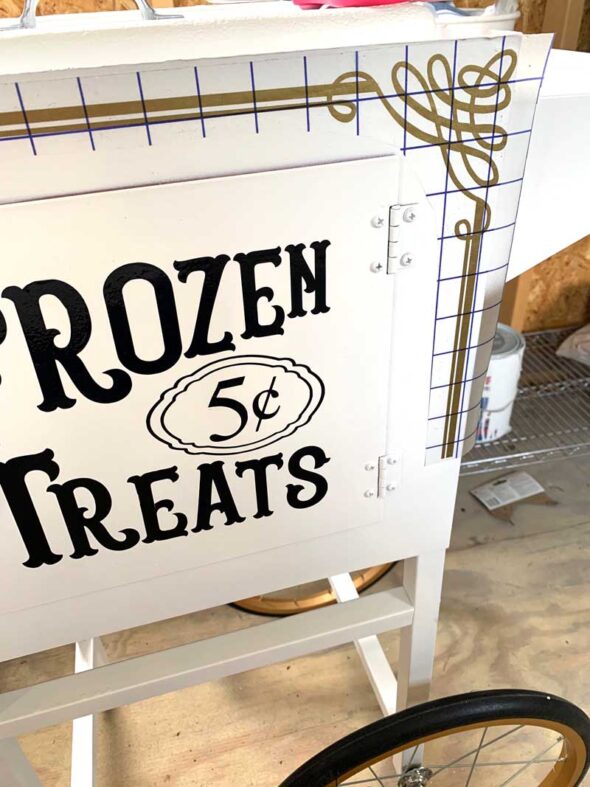
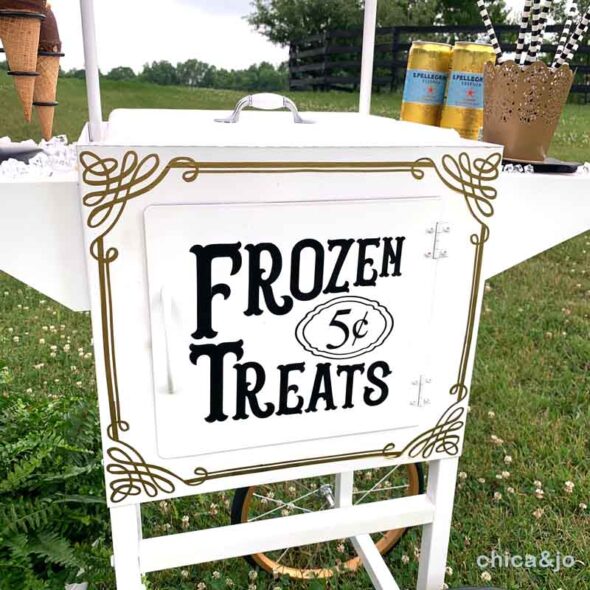
With the main structure done, it was now time to amp up the cuteness factor! We created a vintage looking sign to let everyone know what goodies were inside the card. If you want to make your own ice cream cart, just download our Frozen Treats Silhouette cut file and size it to fit the door on your ice cream cart or sign.
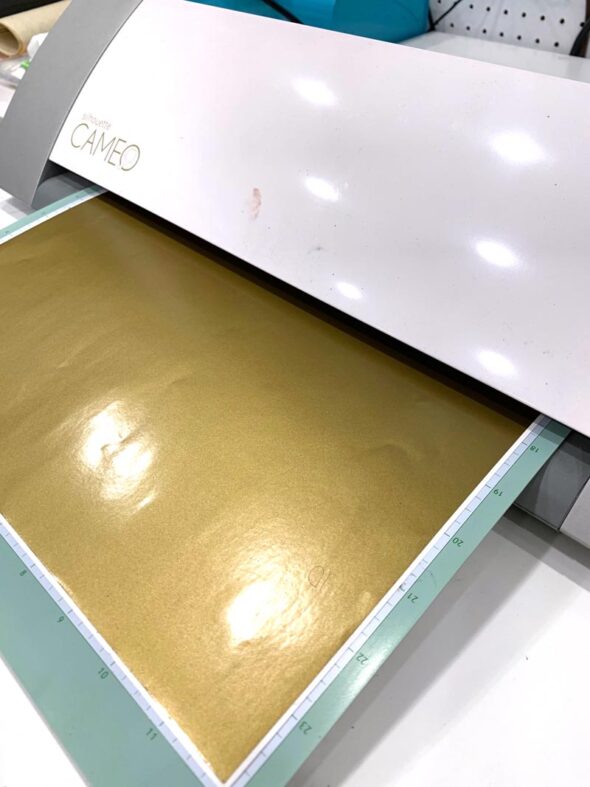
I used gold vinyl in my Silhouette Cameo for the decorative scrolls around the edge and black vinyl for the words.
This is a pretty intricate design, so transfer tape was essential to applying the delicate pieces and keeping them straight.
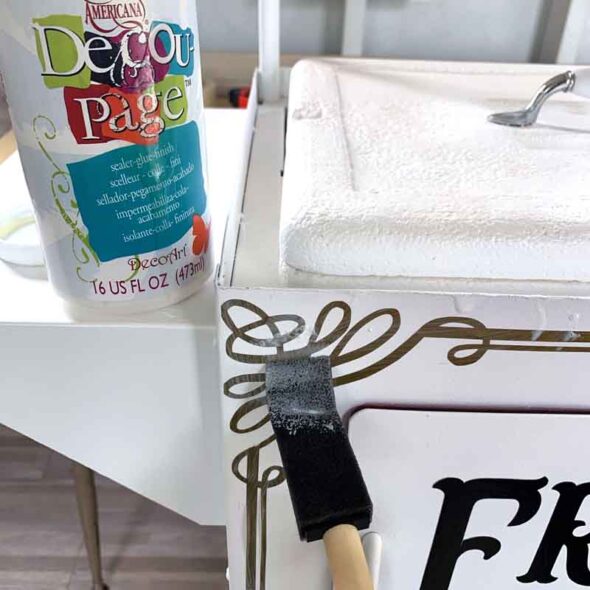
Since the cart would be used outdoors a lot and would be subject to the elements, I applied a coat of Decou-Page on top of the vinyl for added durability.
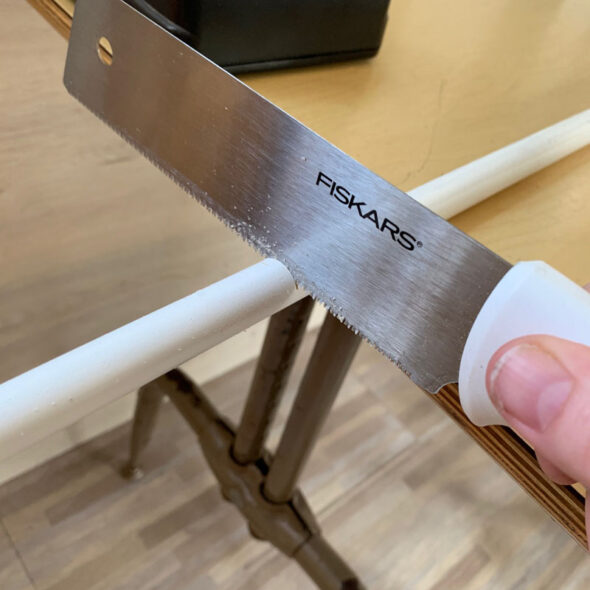
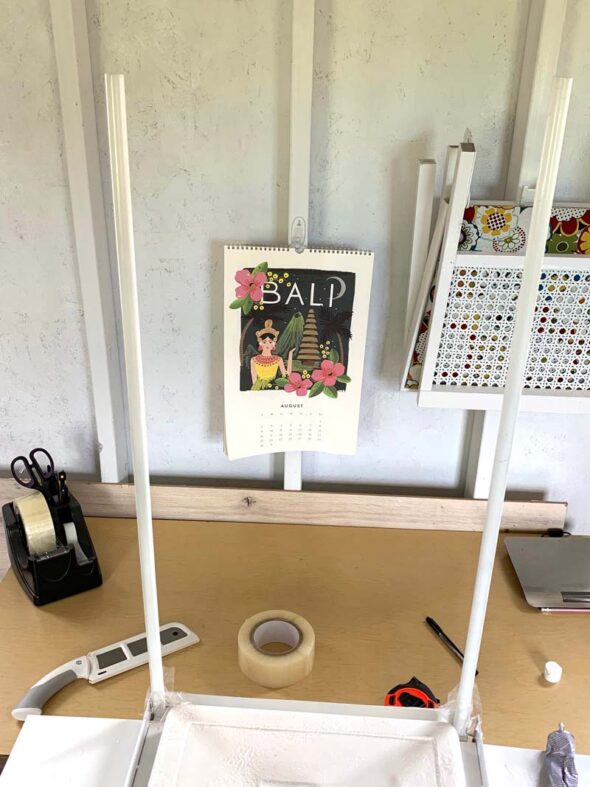
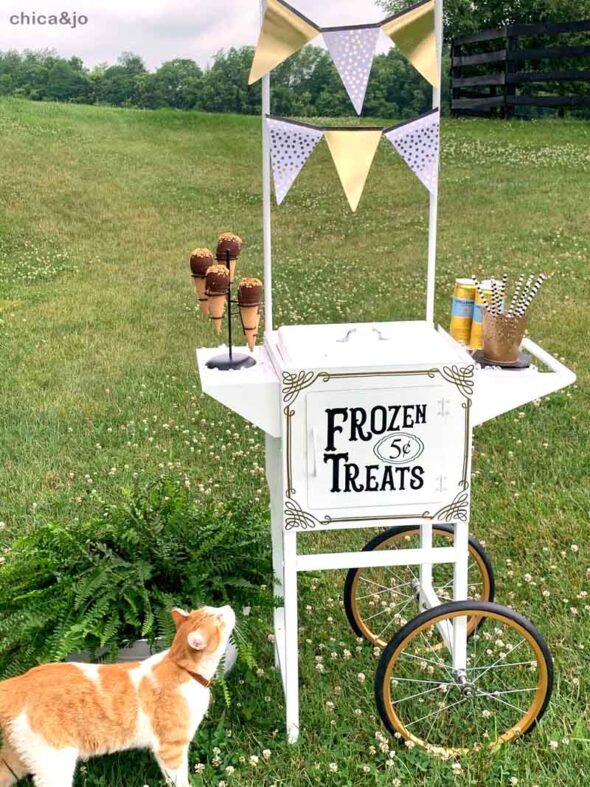
I wanted to add some cute bunting to the cart, so I needed to create poles to hold it up. I cut some 1" PVC pipe to length...
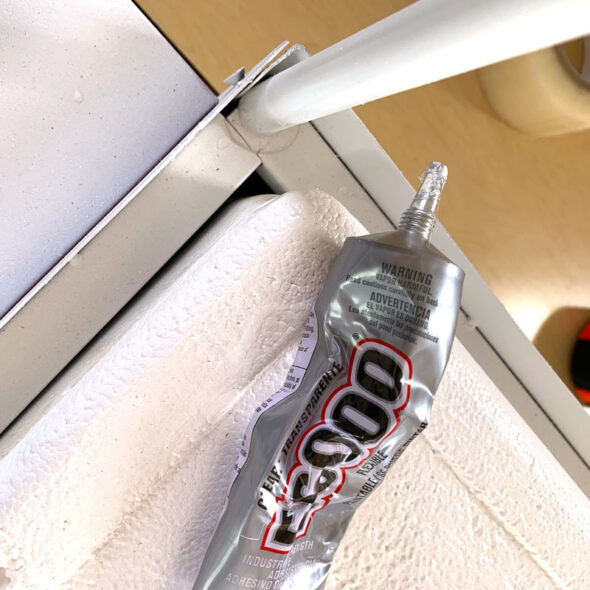
...and used E-6000 glue to adhere the pipes to each corner.
I allowed the pipes to dry overnight to make sure they were sturdy before adding the bunting.
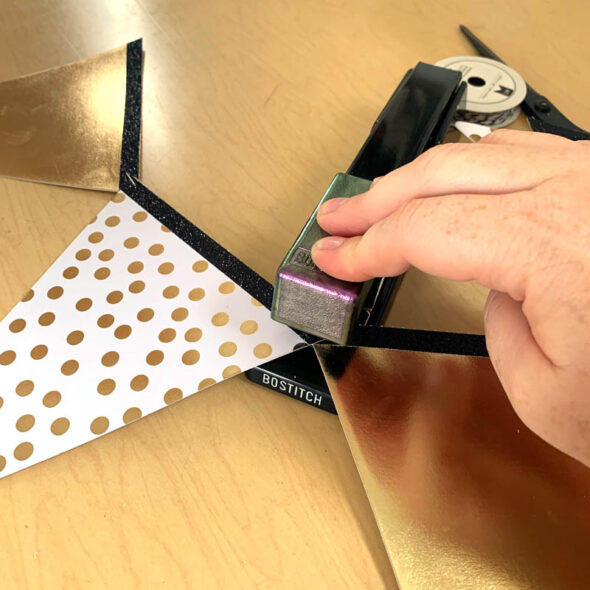
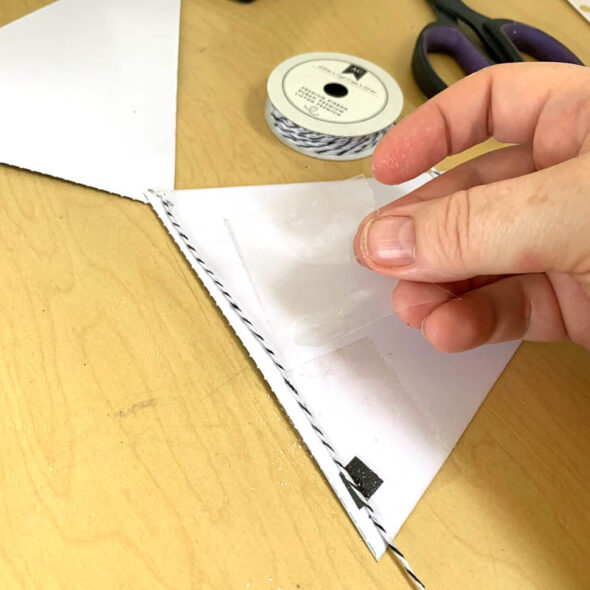
The bunting was pretty simple to put together. I cut some card stock into triangles and edged them with glitter washi tape. Then I attached them quickly with a staple in the corner.
I taped some string to the backs in order to hang it.
With the addition of ice cream cones and other frozen novelties, this was a fun dessert station ready for any wedding or party. Guests won't be able to resist — even our cat was enticed to come over and try to get some ice cream!





3 comments so far:
Great job
That looks great but my question is how do you keep the ice cream frozen?
Tracy, this is not meant for long-term storage, but the cooler will keep them cold for a while. If you put ice packs in the cooler, that should help even more.