DIY Giant Heart-shaped Candy Box Valentine's Day Decoration
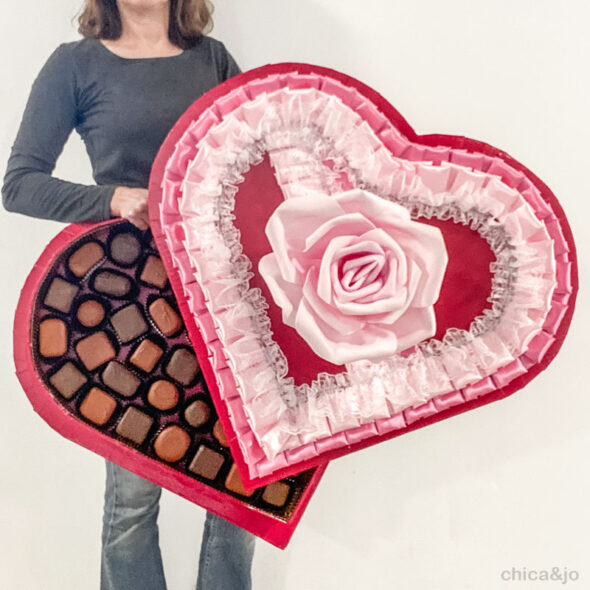
This year I decided to make the ultimate, oversized decoration for Valentine's Day, and took inspiration from the classic heart-shaped box of candy. How fun would it be to create a giant heart-shaped box filled with faux candy that could be used for a bold Valentine's Day decoration? It would be the perfect statement piece for romantic decor and I was so excited to get started.
Creating a giant heart-shaped box of candy took some significant effort but pretty basic craft supplies, such as cardboard, duct tape, fabric, floral foam, and paint. Don't worry, I'll walk you through the process!
VIDEO: Make a Giant Heart-Shaped Box of Candy
Assembly of this giant heart-shaped box of candy is pretty straightforward, but far easier to explain in video than photos, so here's a video showing the whole process.
How to make a giant Valentine's Day candy box
For those who prefer step-by-step photos, let me break down the main parts of this project with pictures. I'm keeping it pretty broad, so if you want more detail, be sure to watch the video tutorial above.
Creating a giant heart-shaped cardboard box
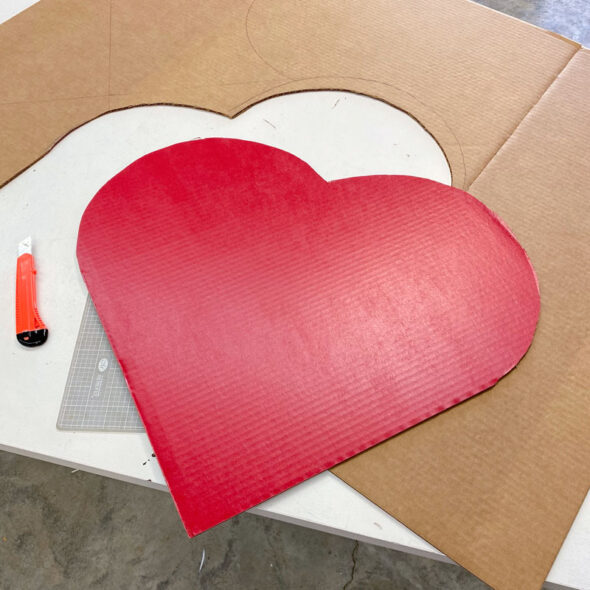
The first thing I did was to cut out a giant heart shape, as big as I wanted the inside of the box to be (about 26" across). I found some bright red presentation boards at the craft store with worked perfectly for me, but you can also use regular cardboard and paint it red later. This heart will be the bottom of the box's base.
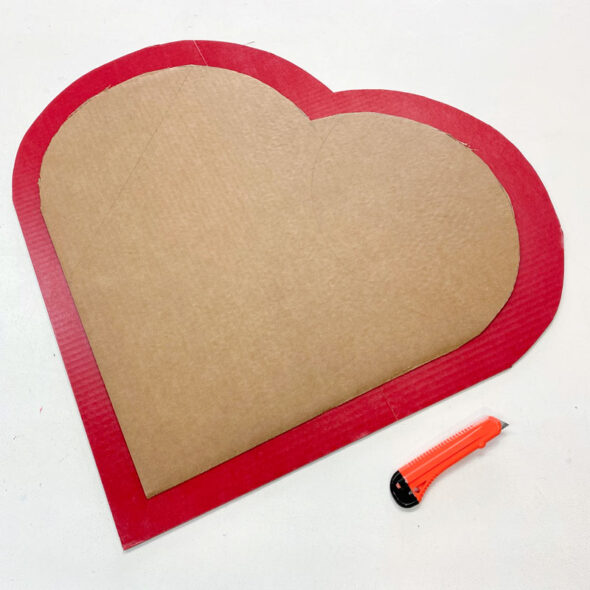
Then I used that heart as a template (I flipped it over so it's easier to see) to create two more heart shapes that are a little bit larger (about 2" on all sides, or 30" across). These two pieces will be the lid and bottom, but I set them aside because I didn't need them quite yet.
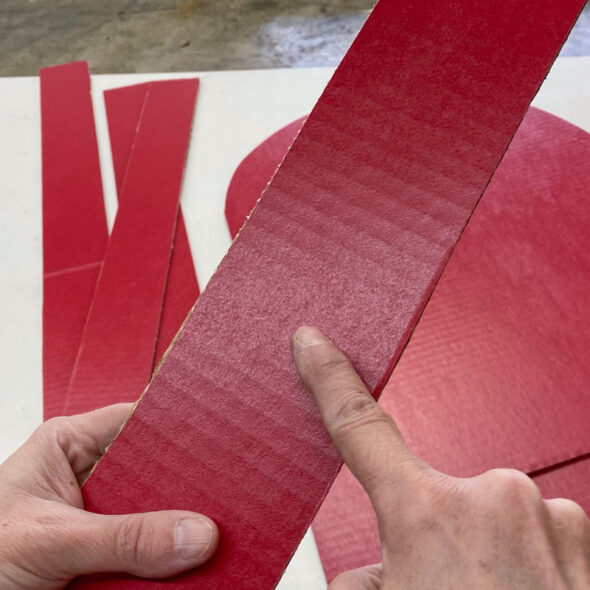
Next I cut some strips of cardboard for the sides of the box, making sure that the channels of the cardboard went side to side, not lengthwise, on the strips. This makes it much easier to bend the cardboard around the curves of the heart shape.
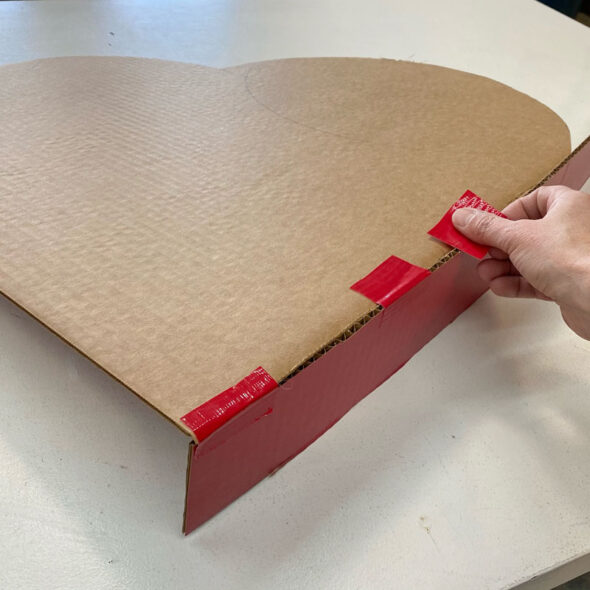
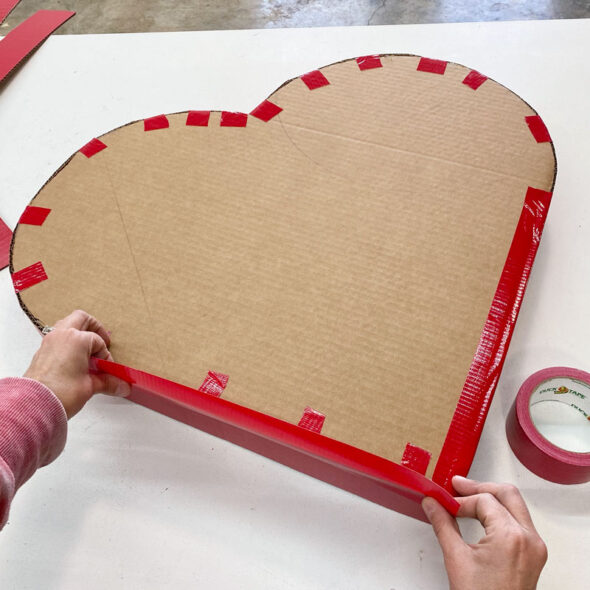
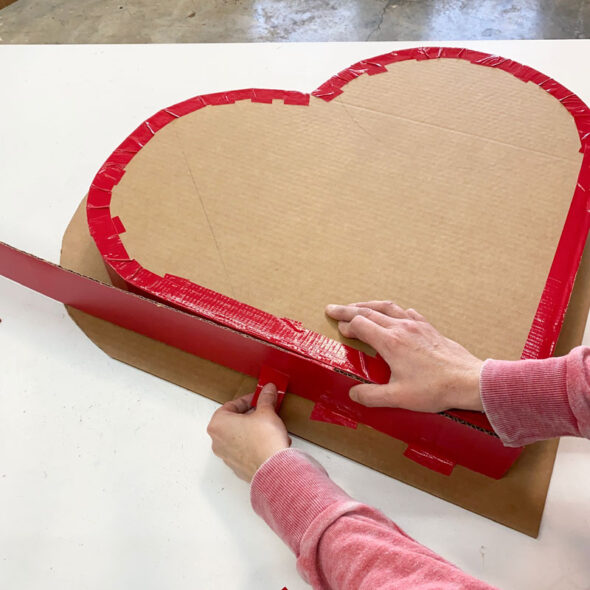
I lined the side strips up with the base heart (the smallest one) and used small pieces of red duct tape to attach it, gently bending the strips as needed to go around the shape.
When I had completed the sides, I added some full strips of duct tape over the seam to better secure it and cover up the rough edges. I also ran a bead of hot glue on the inside of the box, where the sides and base meet, to further secure it.
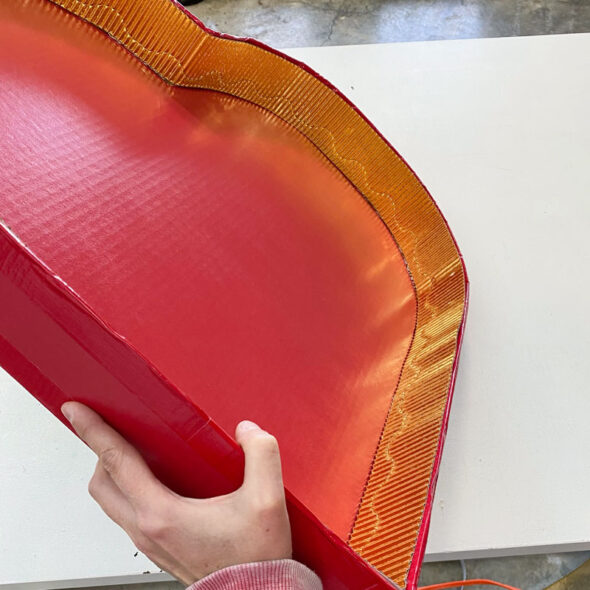
For a decorative touch on the inside of the box, I cut some metallic gold bulletin board border to size and hot glued it in place.
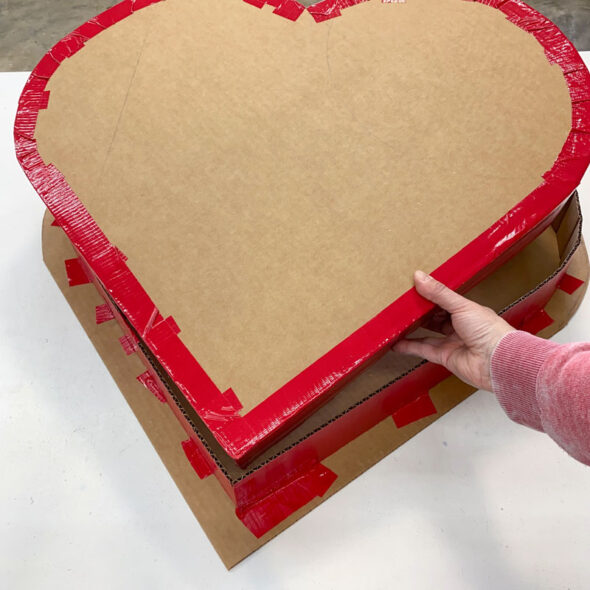
To create the lid for the box, I started by placing one of the larger hearts face down on the table, then placed the box bottom on top, face down and centered. I created a collar for the lid that fits the base exactly by wrapping more cardboard strips around the base, taping them to the lid (NOT to the base).
When the collar was attached to the lid all the way around, I was able to lift the base up and out. Then I used full tape strips and hot glue to further secure the collar to the lid, just as I did with the base before.
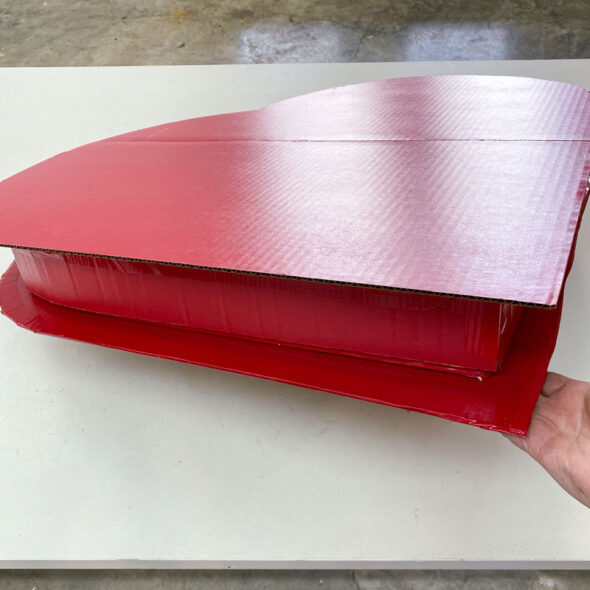
To finish it off, I glued the other large heart to the bottom of the base, mimicking the overlap on the lid I just created, resulting in a typical candy heart box with extended top and bottom edges.
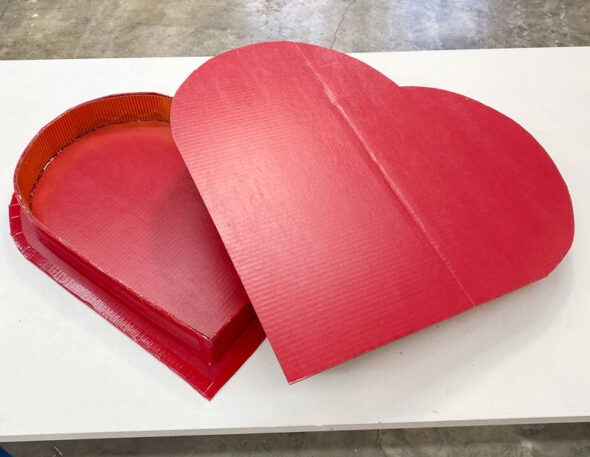
With that, I had a giant heart-shaped box with lid that's ready to decorate!
Decorating the box to look like a vintage Valentine
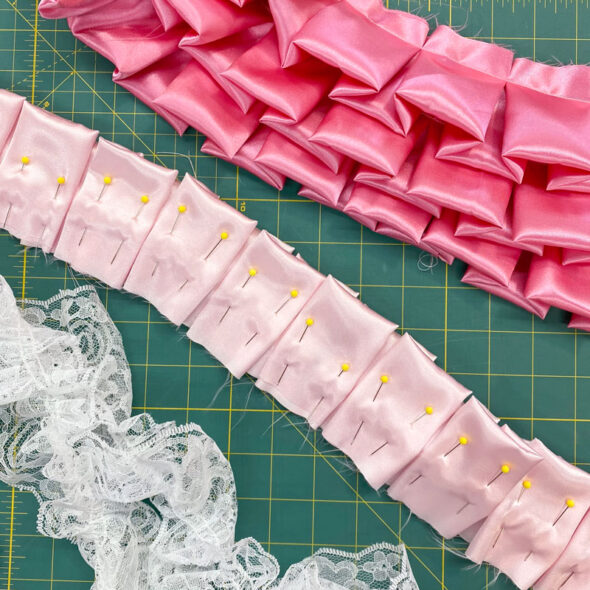
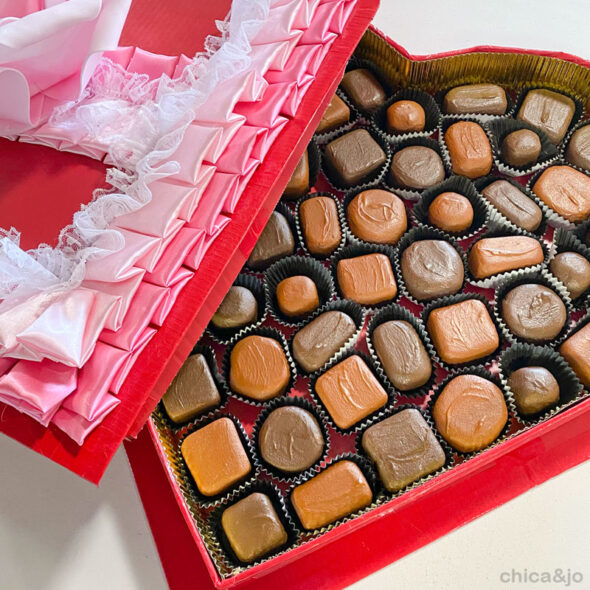
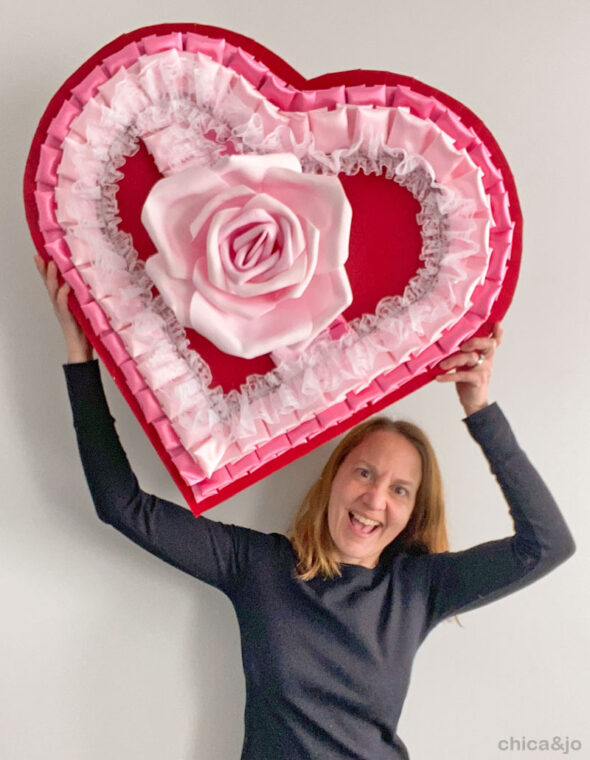
To make this heart-shaped box look like a vintage Valentine's Day candy box, I decided to go all out with pink ruffles and lace. I bought some inexpensive satin fabric in two shades of pink and sewed it into several yards of box pleated ruffles. I also found some ruffled white lace trim that matched perfectly.
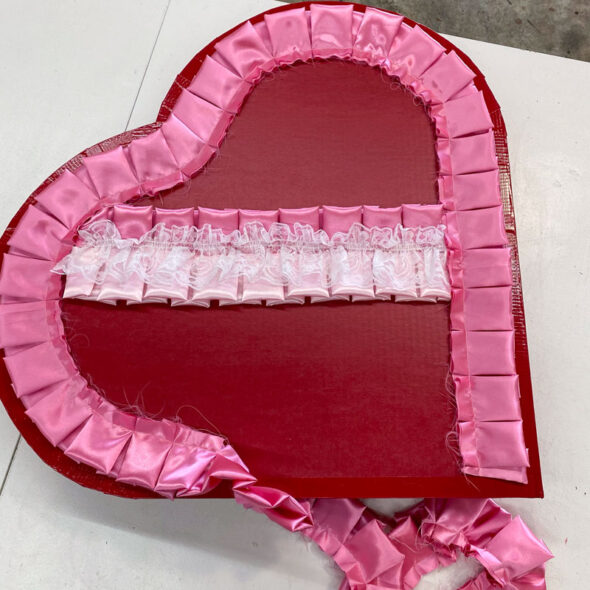
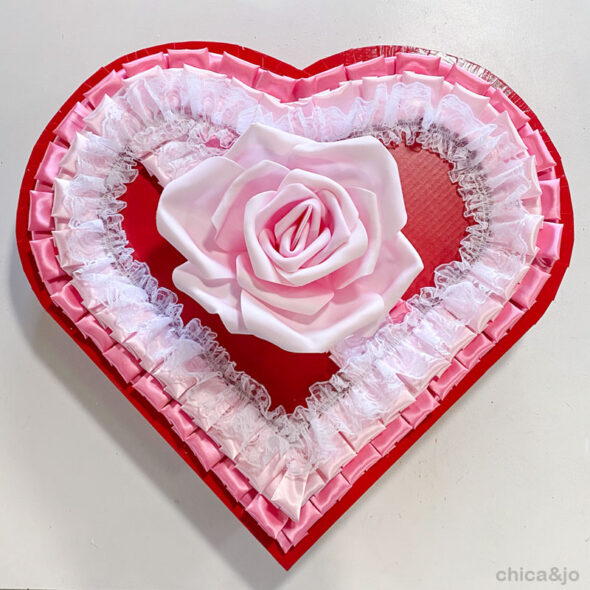
I hot glued a band of ruffles and lace diagonally across the heart for an accent. Then I glued the satin ruffles and lace around the edge of the box, following the heart shape.
I finished it off with a giant foam rose (found at Michaels) that I glued in the center.
Making faux chocolates to fill the box
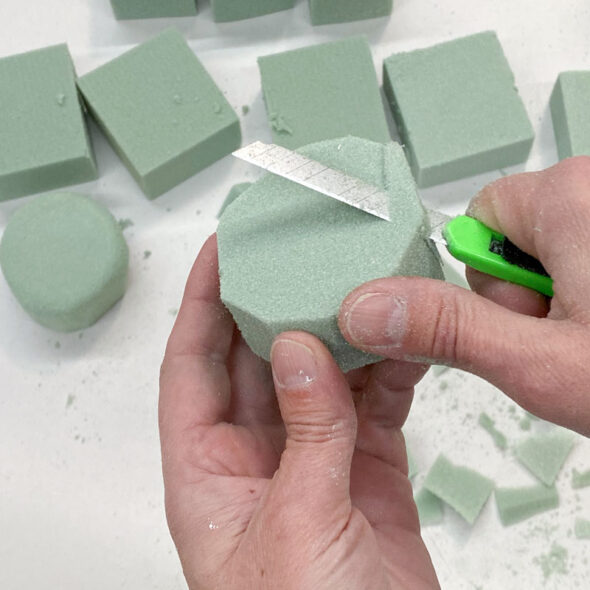
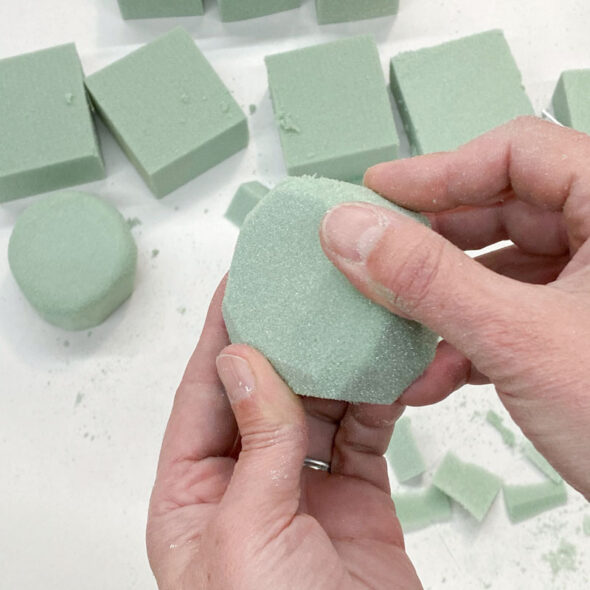
To make the faux chocolates to fill the box, I started with blocks of green floral foam. This foam is really easy to work with because it's lightweight, inexpensive, and easy to carve and sand. I used a box cutter as a makeshift paring knife and loosely carved oversized candy shapes.
To smooth the cuts, I just rubbed the edges with my finger, effectively sanding it. The floral foam is so easy to shape this way, way better than Styrofoam!
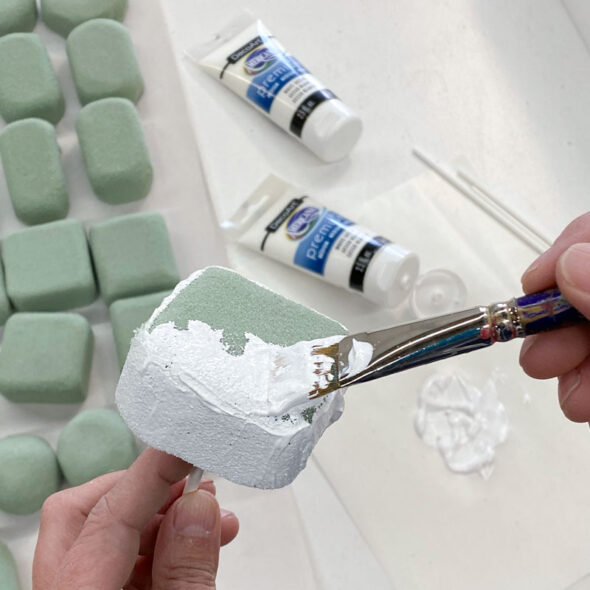
To seal the pores of the foam and create a smooth surface, I put the shapes onto craft sticks for easy handles then brushed them with white gesso. I didn't try to make it too smooth, and even left some ridges and waves on purpose, to look like real melted chocolate would look.
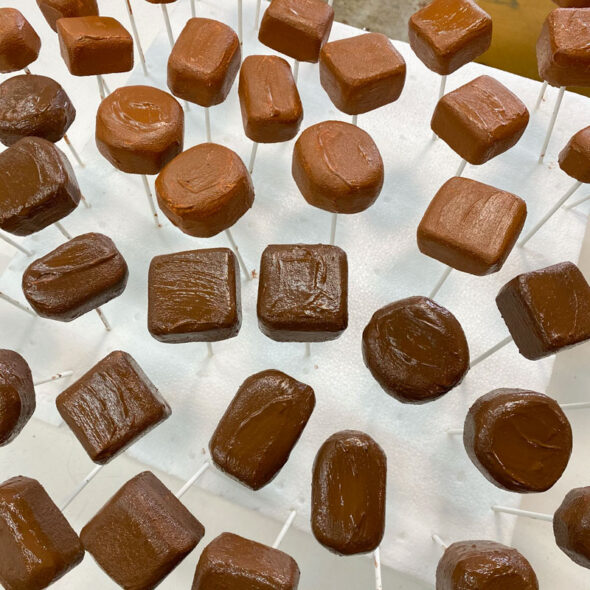
After the gesso dried, I painted my faux chocolates in two shades of brown, to look like dark chocolate and milk chocolate.
Assembling the giant heart-shaped box of candy
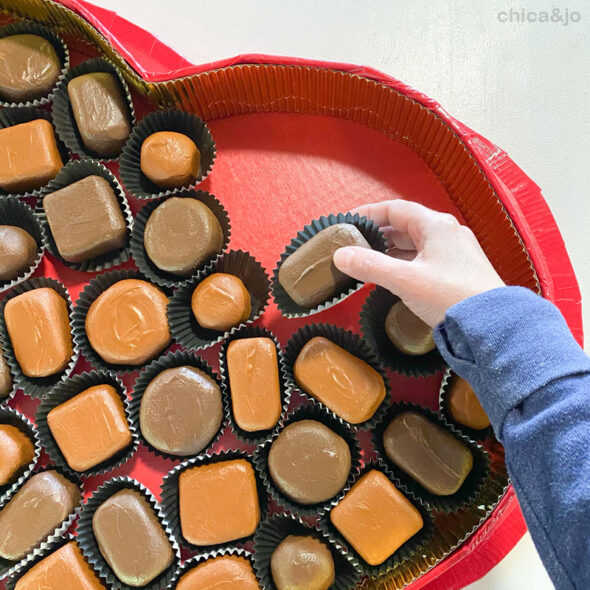
To assemble the box, I hot glued the faux chocolates into black cupcake liners, then used more hot glue to attach the liner to the base of the box.
The result was a box of faux chocolates that looks almost good enough to eat!
I'm so pleased with how this project came out, and I can't wait to use this giant heart-shaped box of chocolates as a decoration for Valentine's Day year after year.




3 comments so far:
Can you please tell me the dimensions of the hearts? I would really appreciate it. Thanks
Christine, my smaller heart is about 26" across and the larger is 30" across.
Thank you.