DIY Faux Fireplace Made from an Upcycled Hutch
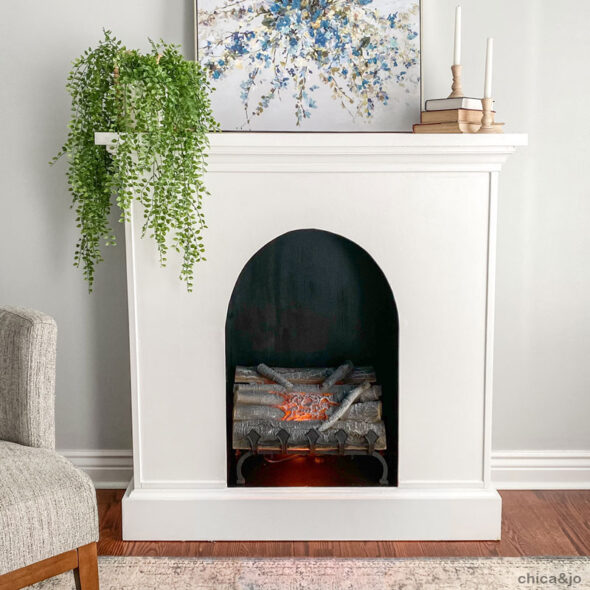
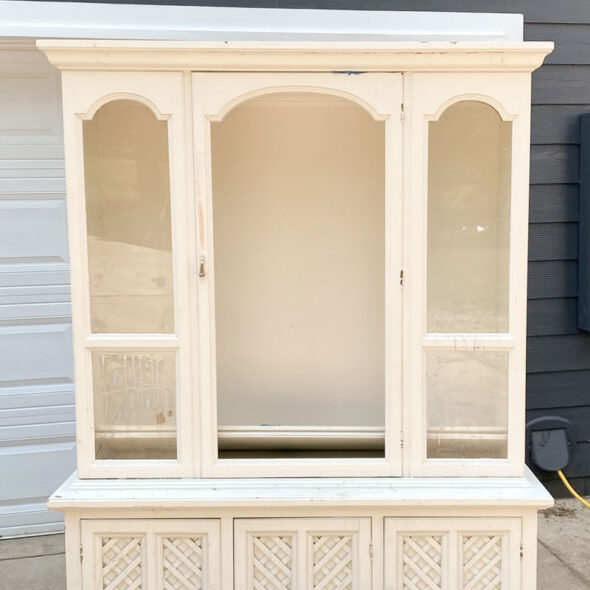
When I spotted a free hutch on the side of the road earlier this summer, I snagged it in a heartbeat. Sure, it was dated and needed a little love, but it had such good bones that I couldn't pass it up. Surely I could upcycle this into something new!
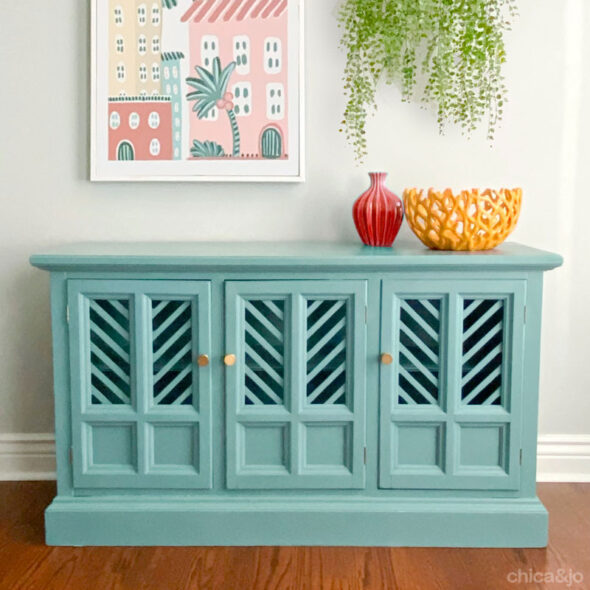
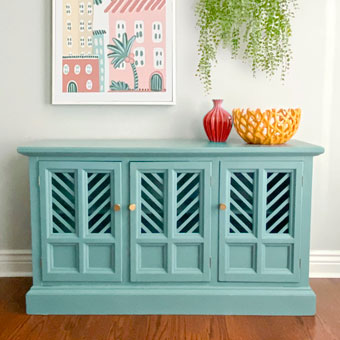
Dealing with the bottom half was easy. You can read all about how I turned it into a console table, which was an amazing furniture flip.
VIDEO: Overview of turning a dining room hutch into a faux fireplace
Here's an video showing an overview of how we transformed this hutch into a faux fireplace.
VIDEO: Turn an old hutch into two new pieces
If you want a more detailed look at how we transformed this dining room hutch into TWO pieces — this fireplace AND a console table, check out our full video on YouTube.
If you prefer step-by-step instructions, keep reading to see exactly how we created this faux fireplace from a curbside find!
How to turn a hutch top into a faux fireplace
Turning the bottom of the hutch into a console table was an easy project to come up with. The top half was a little more of a challenge for me, though. It sat in my garage a few weeks while I wondered how I could I transform the top of a hutch into something new. Jo and I finally came up with the perfect solution — we could turn it into a faux fireplace!
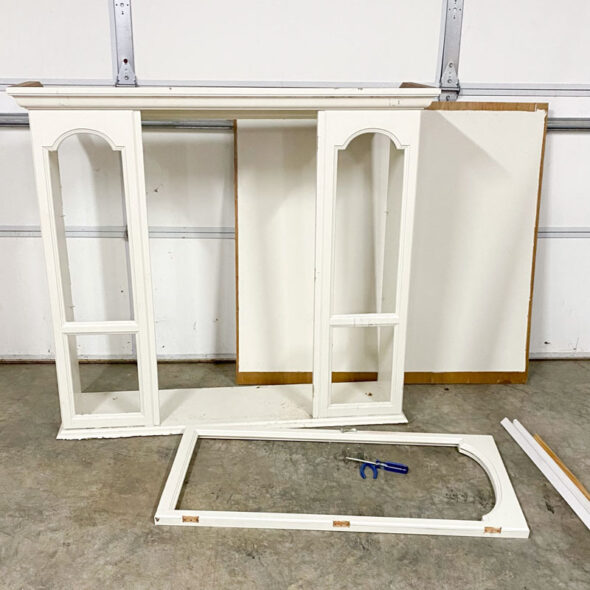
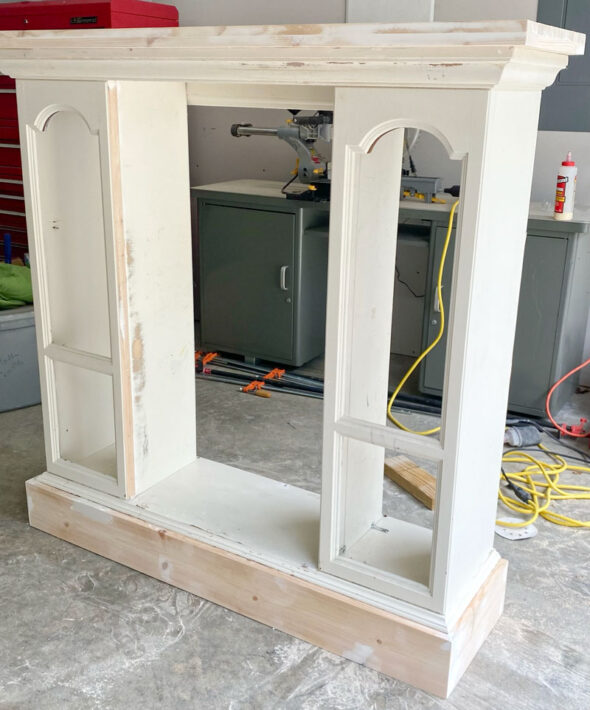
I started by stripping it down and taking off unnecessary parts like the doors and glass. I also removed the back panel and shelves, to make it easier to work with.
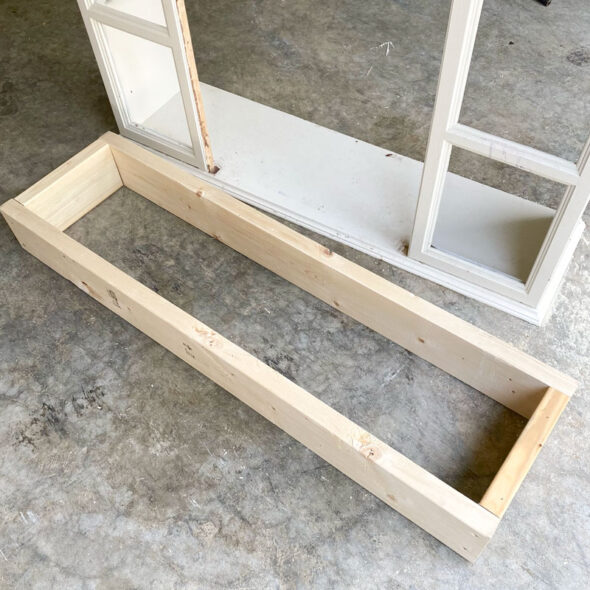
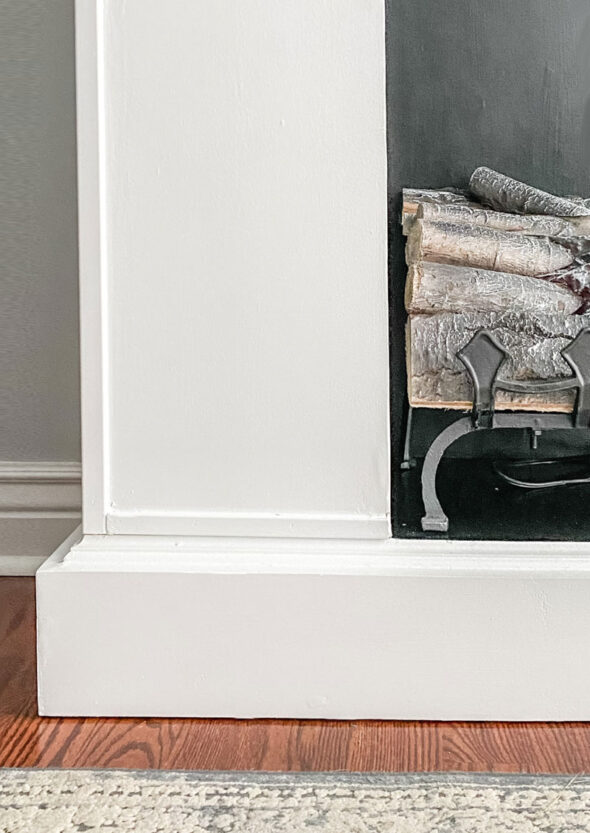
I knew this cabinet would need some structural work before we could get to the design part, and I started with the base. Even a faux fireplace wouldn't look right without some sort of hearth, so I decided to build up the bottom. I created a frame with 2"x6" lumber, sizing it about 1/2" smaller overall than the base of the cabinet, so that the bottom molding would hang off a bit, forming a lip.
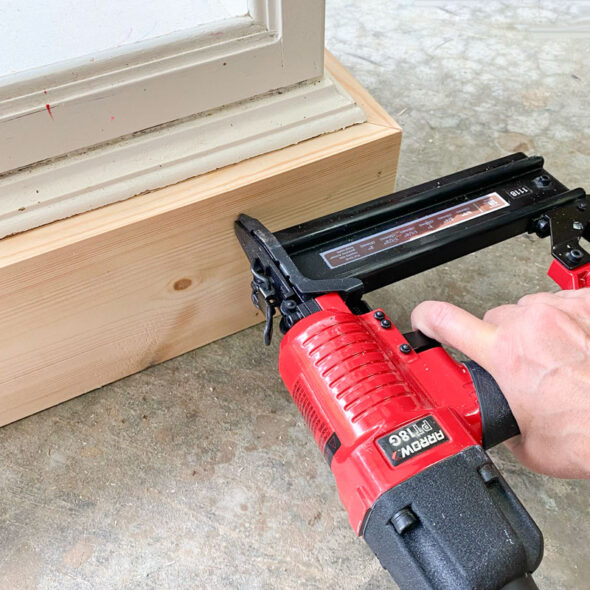
Then I used some wood glue and my Arrow pneumatic brad nailer to quickly attach some 1"x6" trim all around the rough base, to finish it off. The new trim fit right underneath the lip created by the molding, which resulted in a nice fit with no gaps.
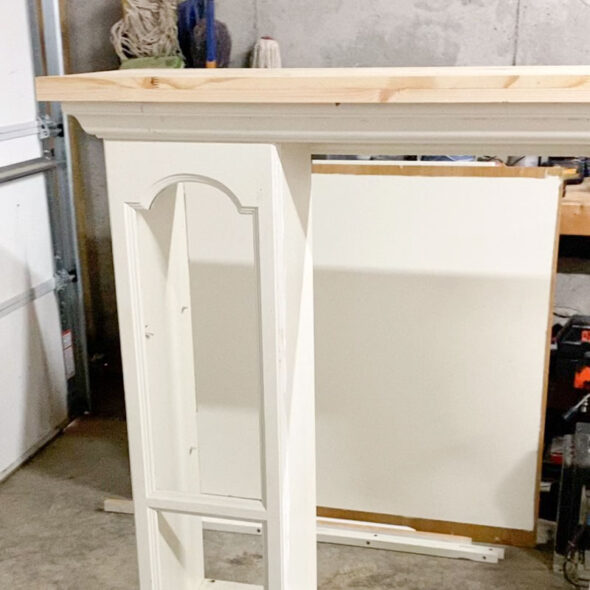
The cabinet needed a new top as well, so I added a wide, 2" thick board, extending it about 1.5" past the current crown molding.
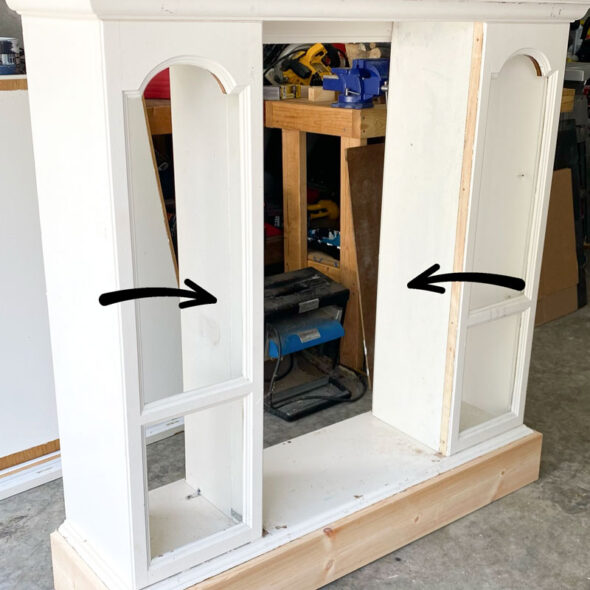
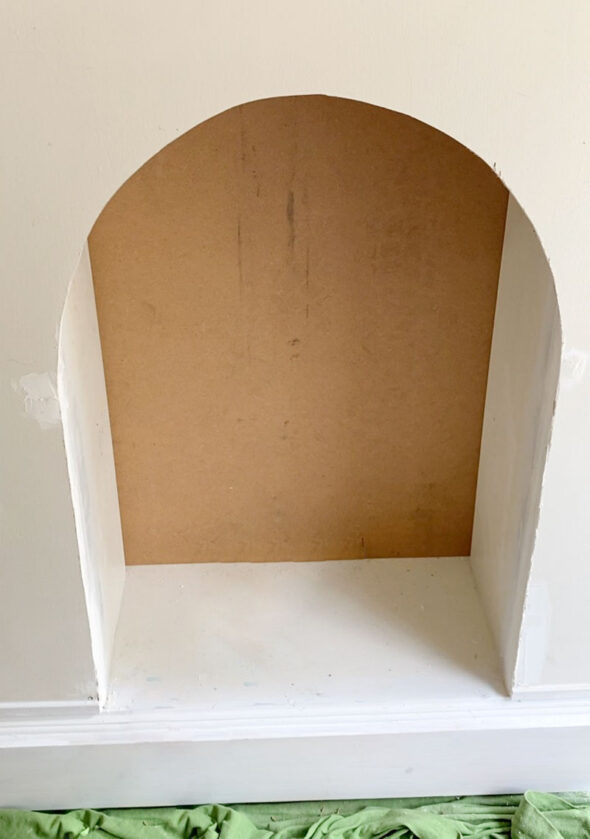
To create the fire box in the middle, I needed to add some sides. This is where I used the shelves from the original piece! I cut them down to size and attached them with angle brackets.
With all the new pieces in place, I took some time to fill holes and gaps with wood filler, sanded everything smooth, and caulked the seams between the new wood and existing trim. It looks so much better with the addition of the hearth and top.
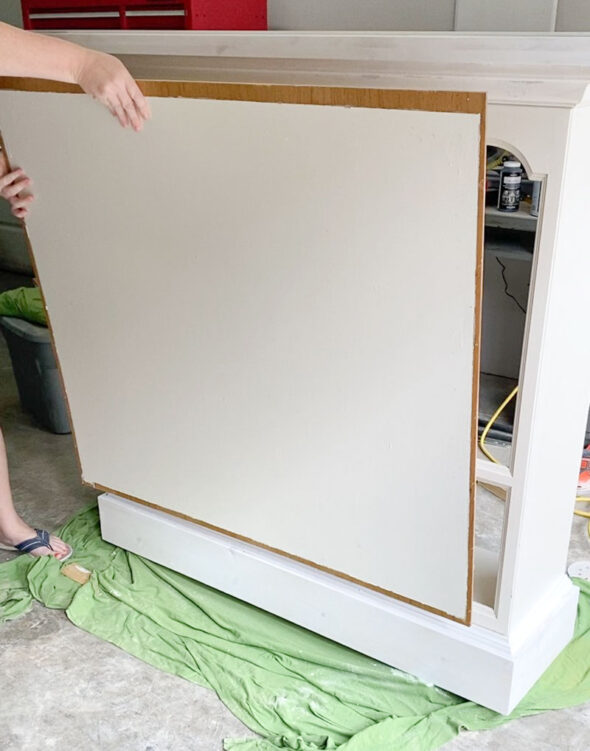
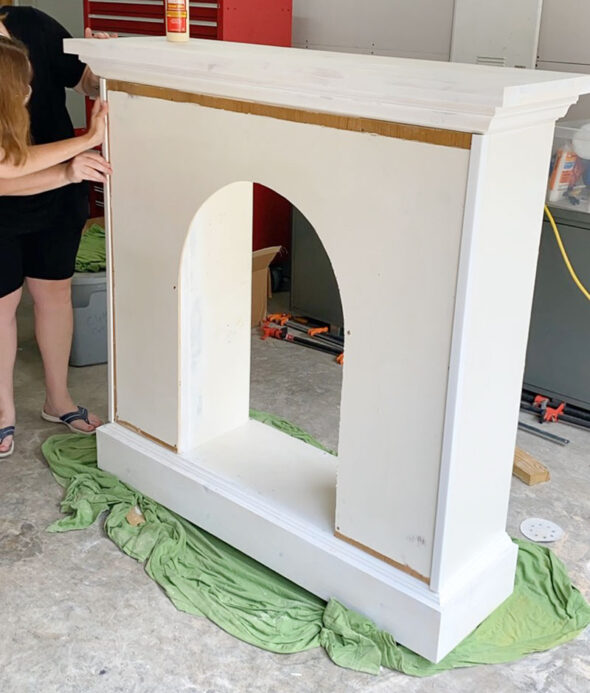
After giving all the raw wood a quick coat of primer, Jo and I moved on to the design aspects. To create a new front for the fireplace, we reached for the old back panel, trimmed it a little to fit the front, and sanded it smooth.
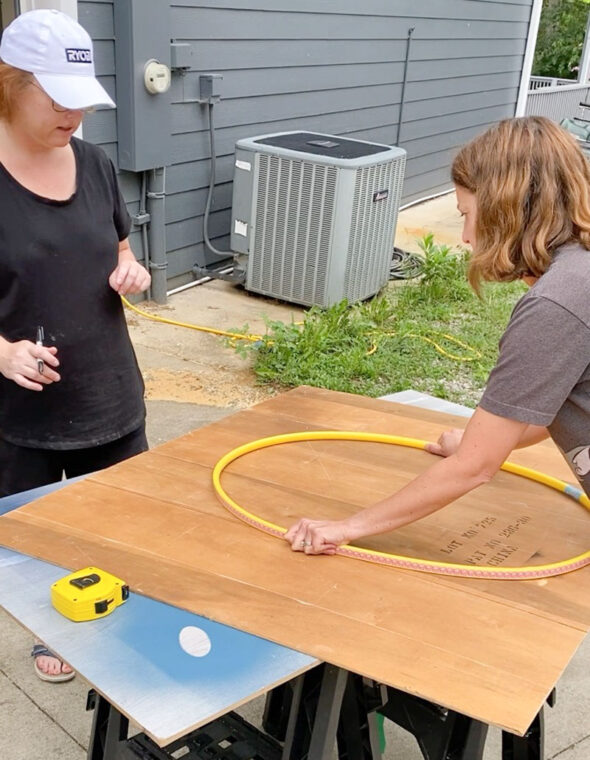
The next step was to cut a hole out of the middle, to create the opening for the fire areas. Jo and I measured carefully where the hole should be, and cut straight sides and a curved top, forming an arched opening. We used a hula hoop (squeezing it a little to fit the width we needed) to help us trace a perfect curve.
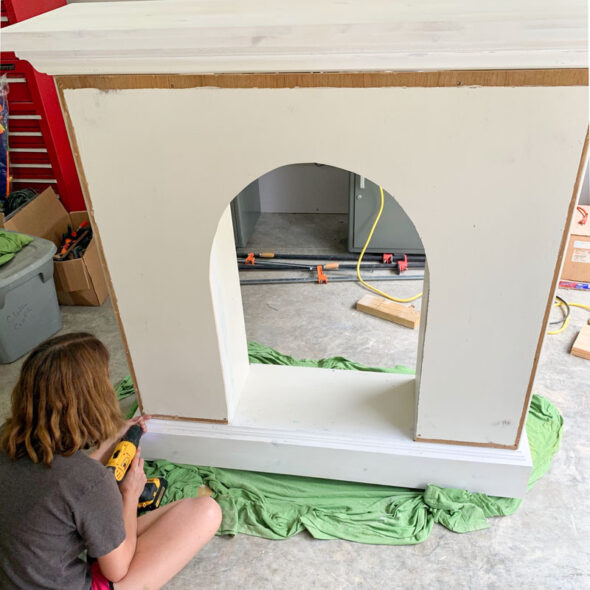
After cutting the hole out with a jigsaw, we attached it to the front of the fireplace with screws. We could not believe how quickly this front panel transformed the whole piece!
To cover up all our rough edges, we added some trim on the corners and across the top, attaching it with glue and our brad nailer.
To finish off the firebox, we added a piece of scrap wood to the back of the cabinet, covering the hole completely.
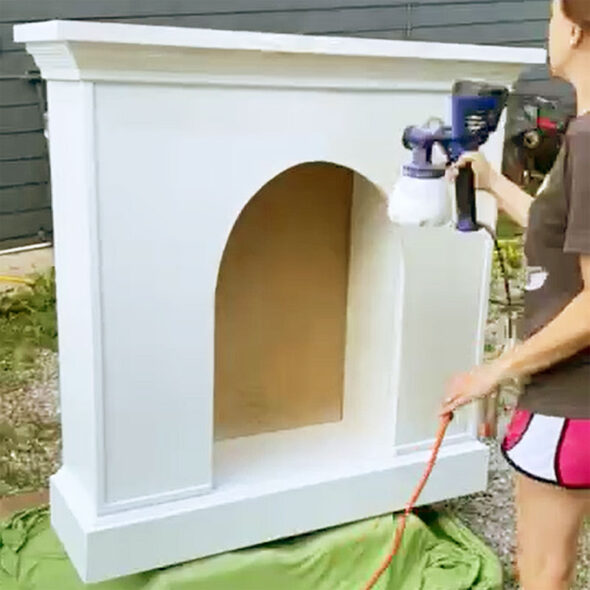
After a little more filling, sanding, and caulking, it was ready for paint. This was a super quick job with our HomeRight Super Finish Max paint sprayer.
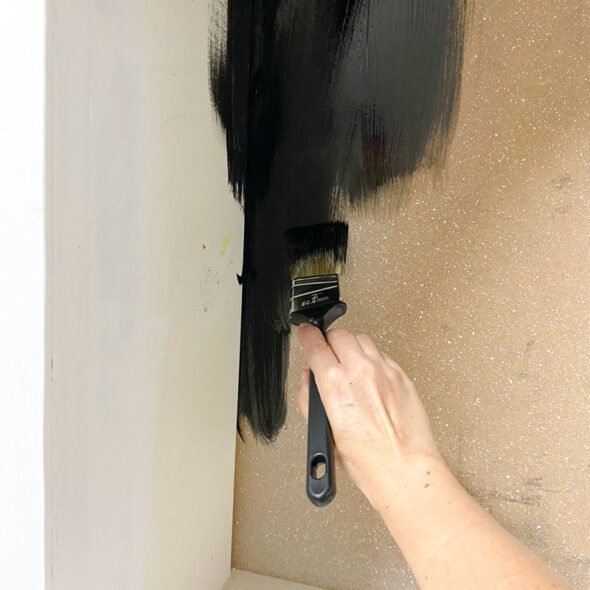
I painted the entire inside of the fire box with black paint, including the back, sides, and ceiling.
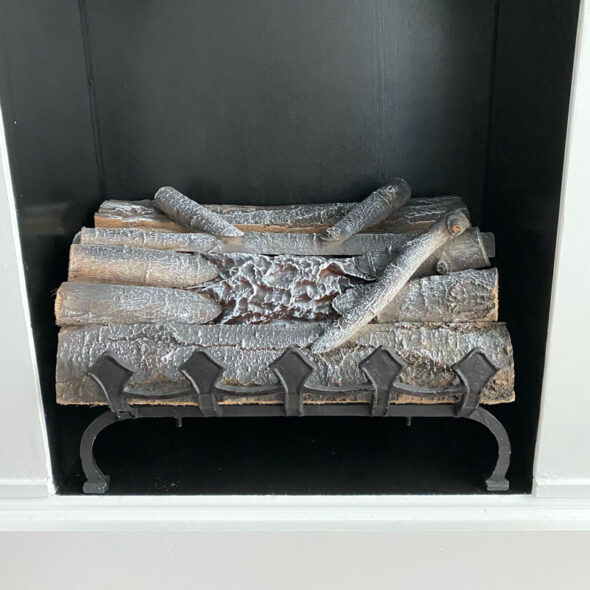
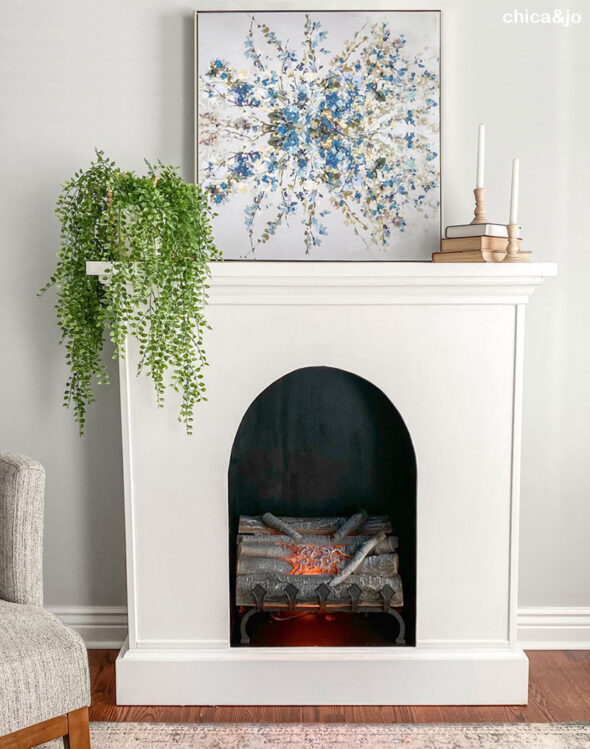
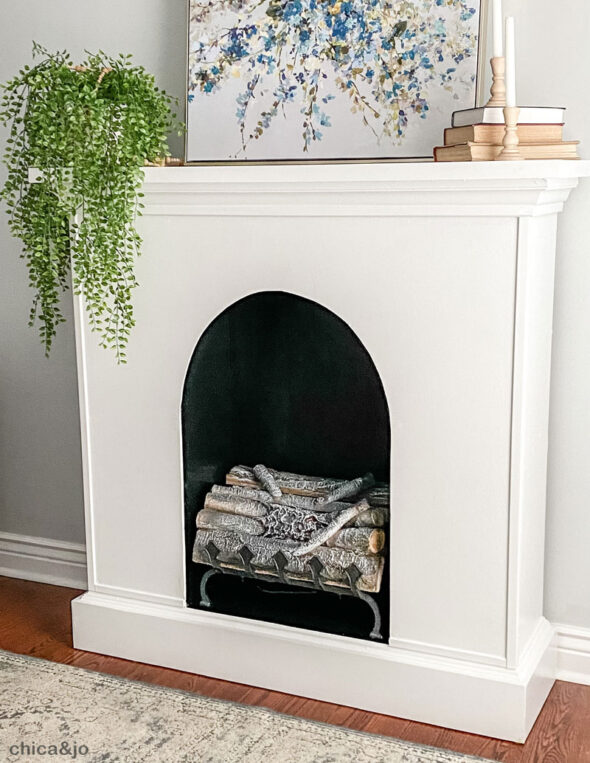
Finally, we added an LED electric log set for the finishing touch. This set is so realistic, with a cast iron grate, real wood logs, flickering light, and even a crackling sound. And because it's LED light, it doesn't get hot and is safe to use in our wooden faux fireplace.
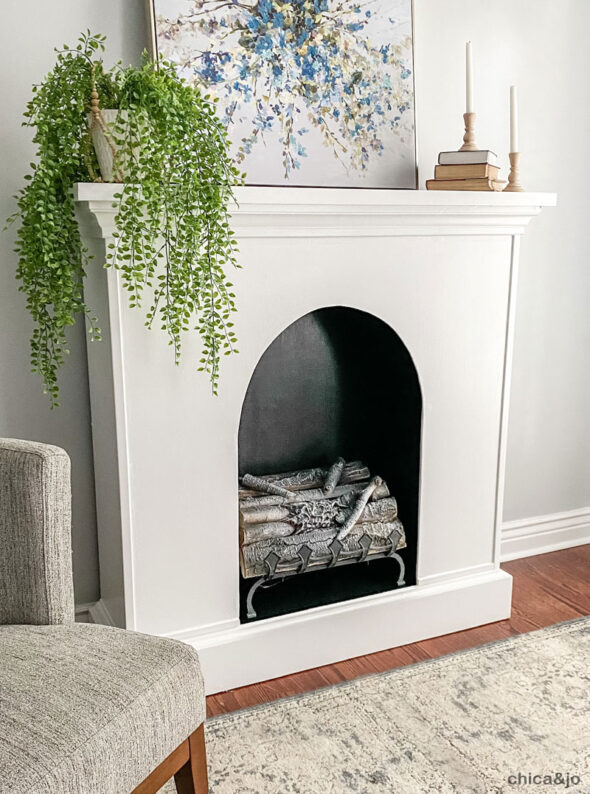
I'm so pleased with how great this faux fireplace turned out.
Can you even believe this used to be the top of a dated dining room hutch?
Between this and the console table that I made from the bottom half, I definitely got a lot of bang for my buck with this free hutch. The only piece I have left is the door frame from the top cabinet. I definitely need to come up with a project for that, too!




4 comments so far:
One of the best flips I have seen in a really long time.
Crystal, thank you so much!
Oh my golly that is awesome. I am just learning to use the tools and this is awesome.
Tracey, thanks so much! Have fun finding lots of projects to use your new tool skills on :)