DIY Emerald City Backdrop for Wizard of Oz Party
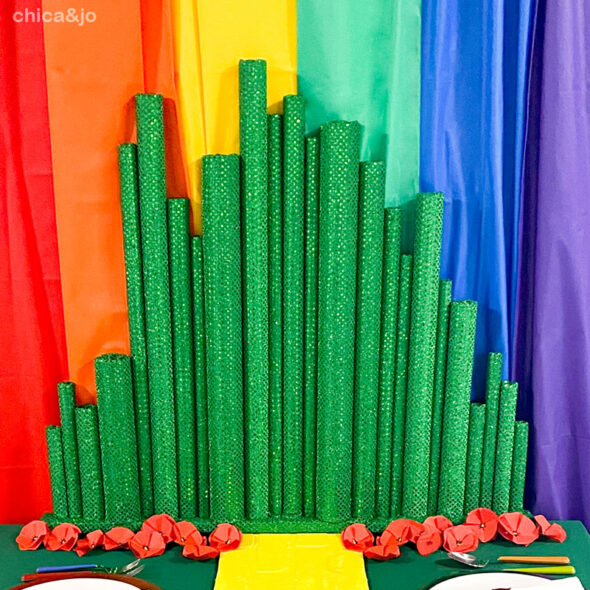
When planning our Wizard of Oz themed party recently, we knew we wanted a bold and striking backdrop for the party table. Making our own Emerald City was an easy choice, but deciding exactly how to build it was a bit more of a challenge. We met the challenge, though, and just love how it came out.
Here's a video showing a quick rundown of the DIY Emerald City backdrop:
If you want more party details, check out the full Wizard of Oz party video in our Wizard of Oz party post.
If you prefer step-by-step instructions, keep reading to see exactly how we created this giant Emerald City to add a real punch to our Wizard of Oz party decor.
How to create a 3D Emerald City decoration
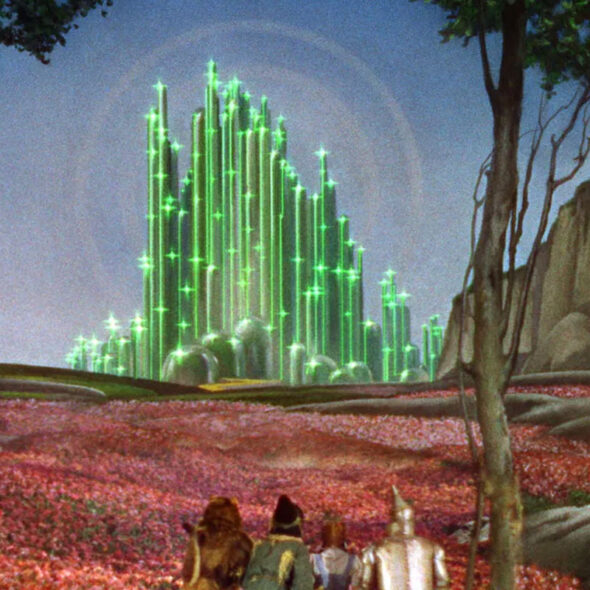
After carefully studying a screenshot from the original Wizard of Oz movie, we realized it was little more than a series of tall columns, sparkling with green.
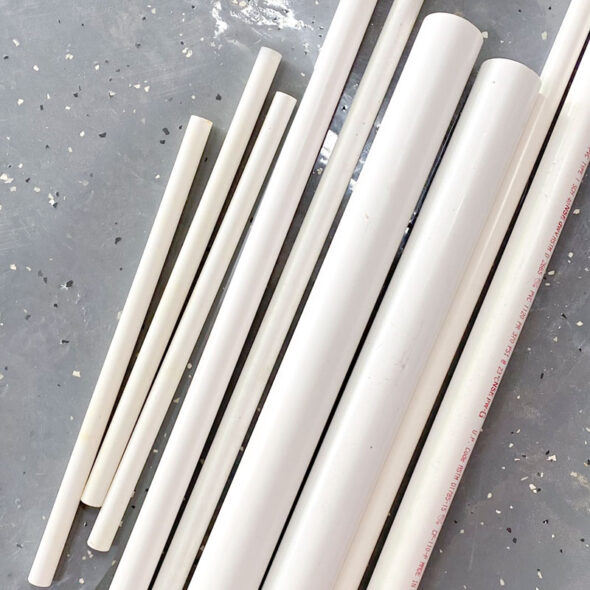
We knew right away that PVC pipe would be the perfect material to build those columns, so we hit the workshop and cleared out our scraps. I collected pieces of all lengths and diameters (and hit up Jo's stash as well) and bought a few more pieces from The Home Depot to be sure I had plenty.
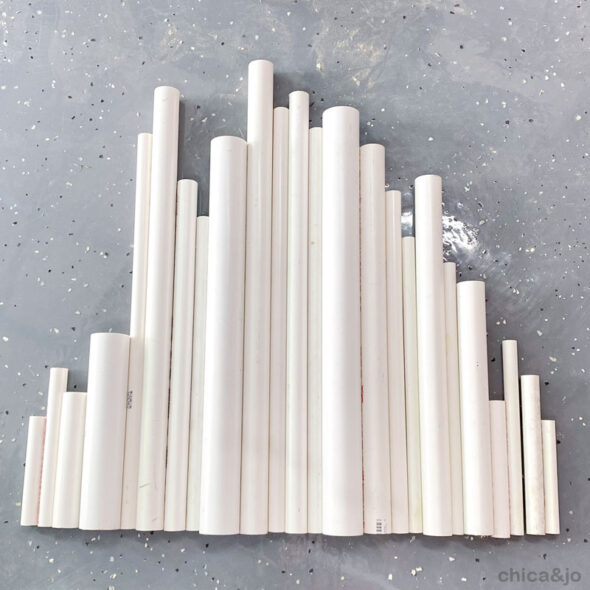
I used the miter saw to cut the pipes down into 24 pieces, to replicate as closely as I could the original Emerald City's profile.
Here are the measurements of the pipes we used, left to right, for reference. You can adjust as needed, but this is a great starting point if you're making your own Emerald City backdrop.
- 3/4" pipe cut to 6-1/2" long
- 3/4" pipe cut to 9-1/2" long
- 1-1/4" pipe cut to 8" long
- 2" pipe cut to 11-1/2" long
- 3/4" pipe cut to 25" long
- 1-1/4" pipe cut to 28" long
- 1" pipe cut to 22" long
- 3/4" pipe cut to 19-1/2" long
- 2" pipe cut to 24-1/2" long
- 1-1/4" pipe cut to 30" long
- 3/4" pipe cut to 27" long
- 1" pipe cut to 28" long
- 3/4" pipe cut to 25-1/2" long
- 2" pipe cut to 26" long
- 1-1/4" pipe cut to 24" long
- 3/4" pipe cut to 21" long
- 3/4" pipe cut to 18" long
- 1-1/2" pipe cut to 22" long
- 3/4" pipe cut to 16-1/2" long
- 1-1/4" pipe cut to 15" long
- 3/4" pipe cut to 8" long
- 3/4" pipe cut to 11-1/2" long
- 3/4" pipe cut to 9" long
- 3/4" pipe cut to 6-1/2" long
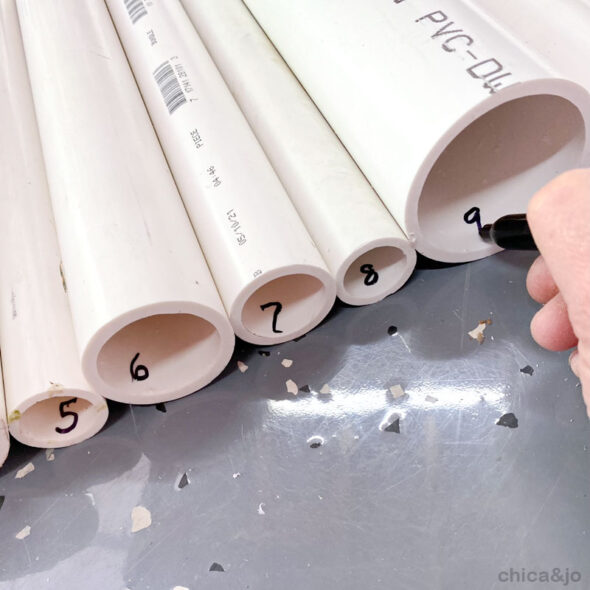
Once I got the PVC arranged how I liked it, I worried about mixing them up as I build the city. So to make it easier to keep them straight, I used a marker to number the pipes on the inside, 1 through 24.
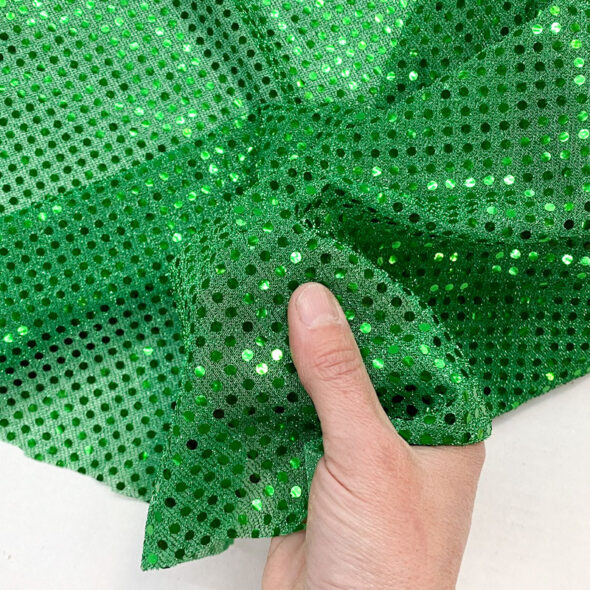
Next it was time to make those columns green! I considered just painting them, but I wanted them to really sparkle. I found some awesome green sequin fabric and decided to wrap the columns with it.
I tested wrapping the fabric around the PVC and realized that the fabric was a little on the thin side, and the white showed through too much with just one layer. However, with two layers of fabric, it was totally solid green with rich color and plenty of sparkle.
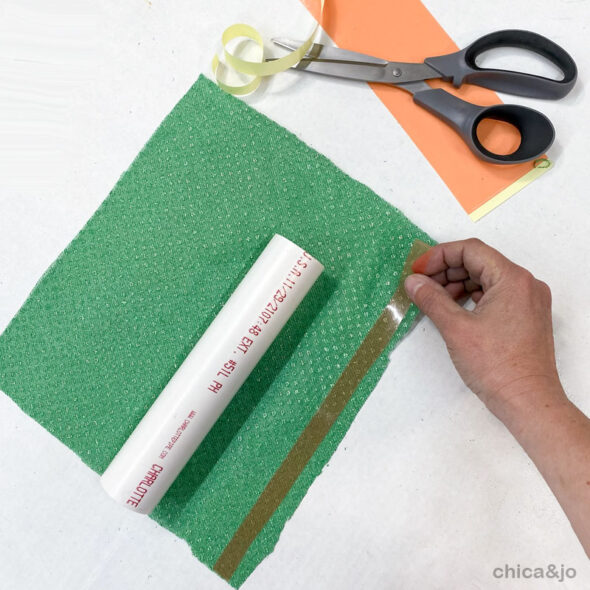
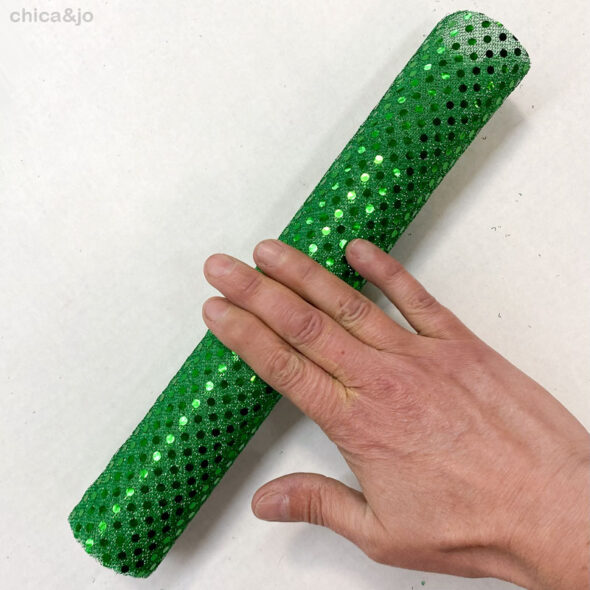
So for each column, I cut a piece of fabric 2" longer than the PVC and wide enough to wrap around it twice. I cut strips of our super sticky double-sided tape sheets to attach it.
I considered using hot glue, but I was afraid it would seep through the fabric and show. And I didn't want to burn my fingers! The tape worked great.
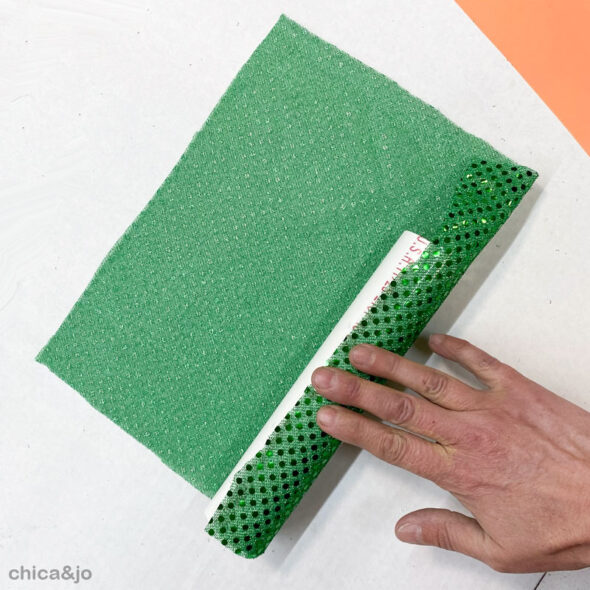
After rolling it up, I added more tape to the other end of the fabric to secure it in place.
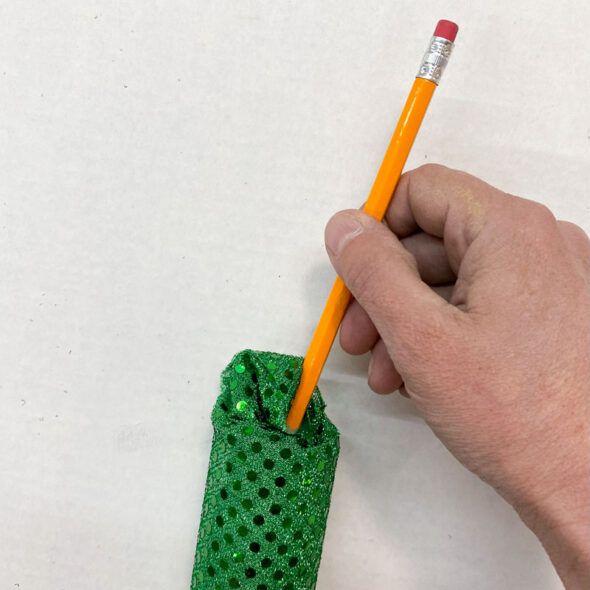
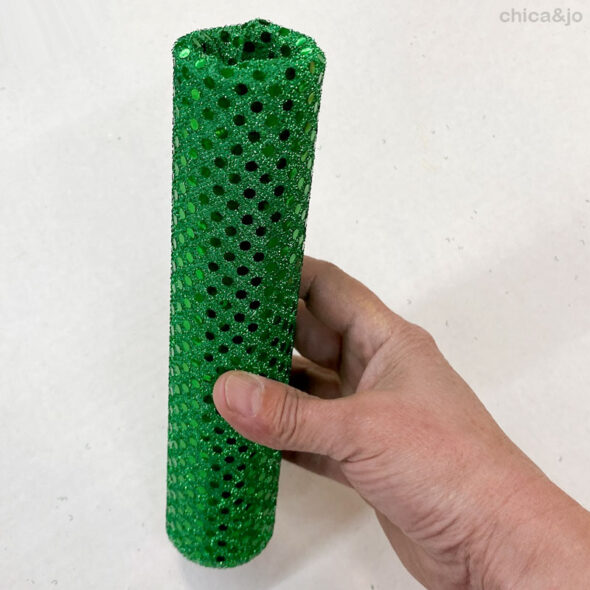
Then I tucked the excess fabric inside the pipe, creating a nice finished edge. On the skinnier pipes, I used a pencil to help me poke the fabric down.
One down, 23 more to go!
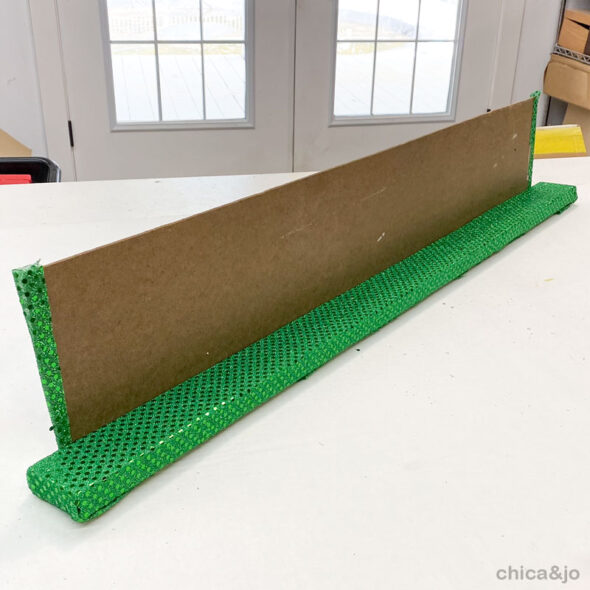
To assemble the Emerald City, I needed something to attach all those PVC pips to. I made a base from a scrap of 1x2 wood that was a couple inches longer than the width of my city, and covered it with more green fabric. Then I cut a thin piece of wood about an inch shorter than my shortest PVC pipe and screwed it to the back for support
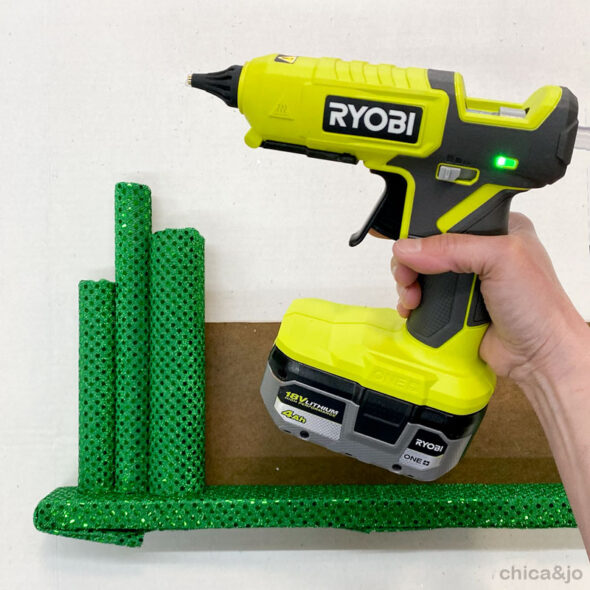
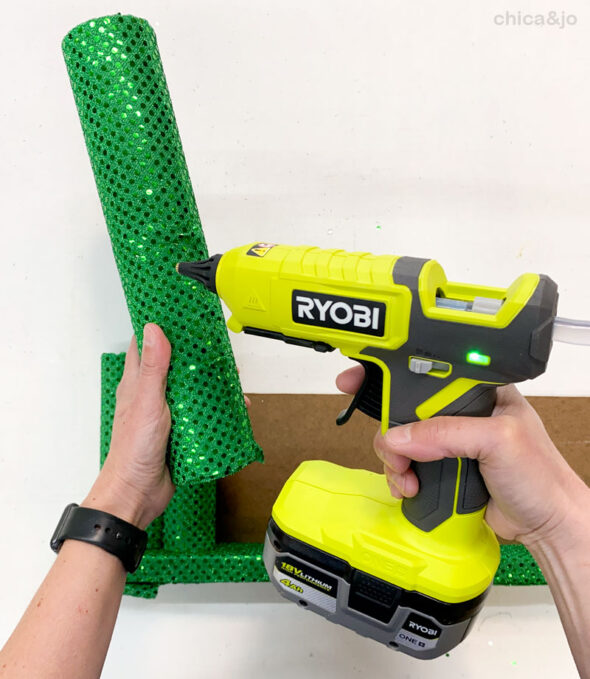
To attach the columns, I reached for my handy Ryobi One+ cordless glue gun.
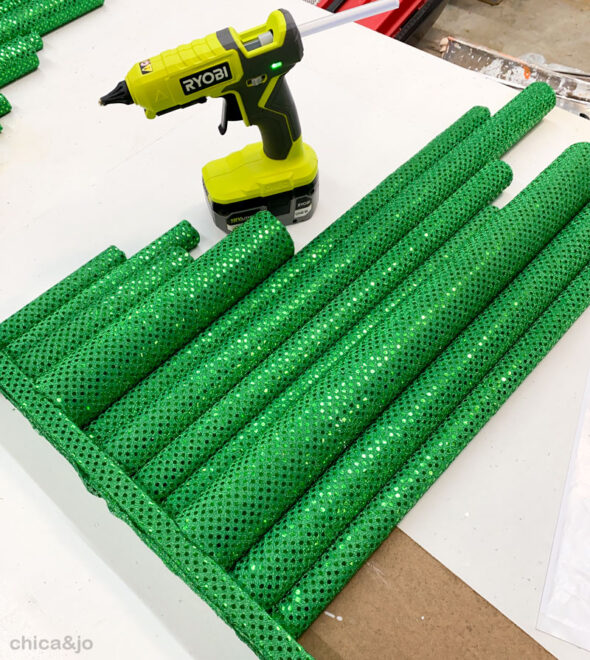
I added a large glob of glue to the bottom of the back of each column, and stuck it onto that back support board, nestling it right up against the column next to it. I also made sure that the seam of the fabric was in the back so it didn't show on the finished city.
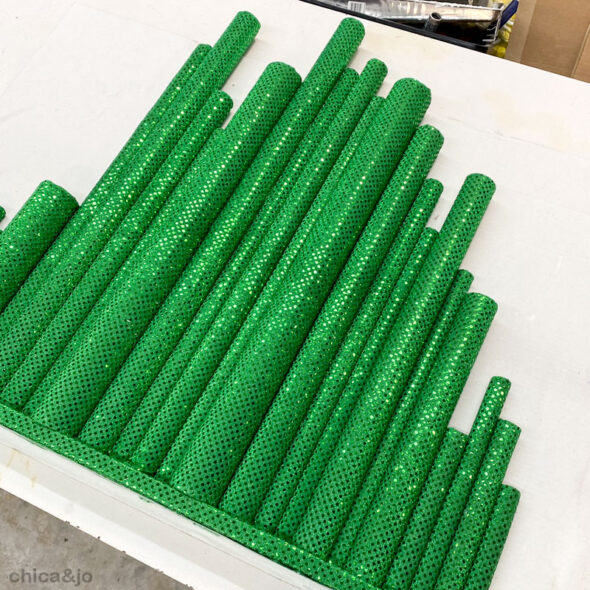
Having written the numbers on the inside of the pipes really helped me to keep everything in the right order as I worked from left to right to build my Emerald City.
I couldn't believe how pretty it looked when it was all done.
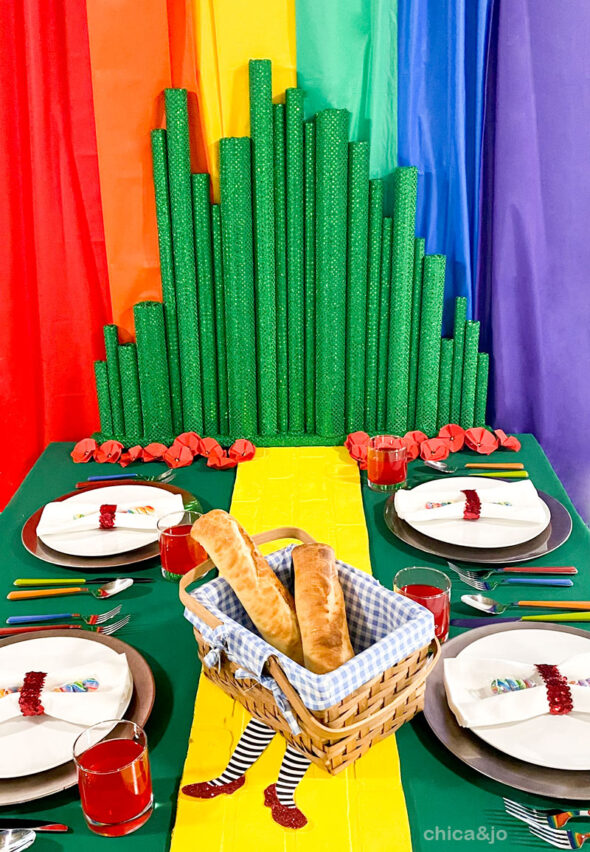
When we set our Emerald City backdrop onto the table for our Wizard of Oz themed party, it was absolute perfection. Bold and colorful and fun, and exactly what the Wizard would have wanted!
We placed plenty of our handmade paper poppies along the front, as a nod to that epic scene in the movie when the characters walk through the poppy field. Our giant 3D Emerald City made such a huge impact on the party decor.





2 comments so far:
Hi, how much of the green fabric did you end up needing for this project?
Stephanie, I'm so sorry but I don't have an answer for you. This project was done a couple years ago and I can't remember how much fabric I used.