DIY Bourbon Barrel Ring Serving Tray
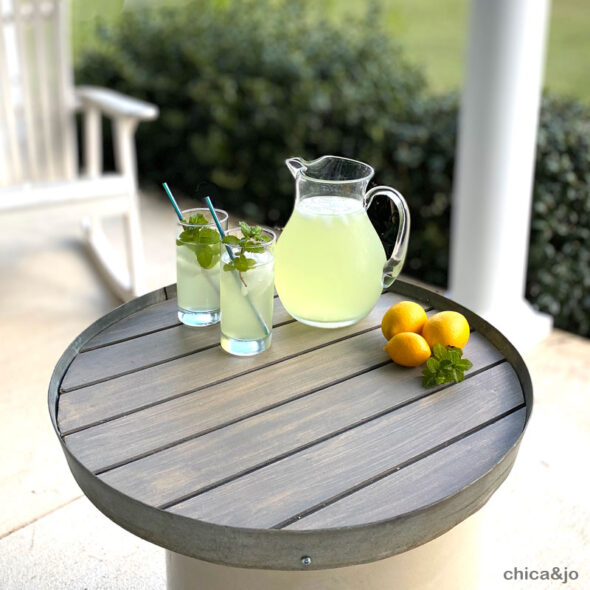
We live in Kentucky, deep in the heart of bourbon country, so bourbon barrel rings are easy to find and a popular rustic decor element. My friend Casey recently gave me a couple of bourbon barrel rings and I decided to transform one of them into a serving tray.
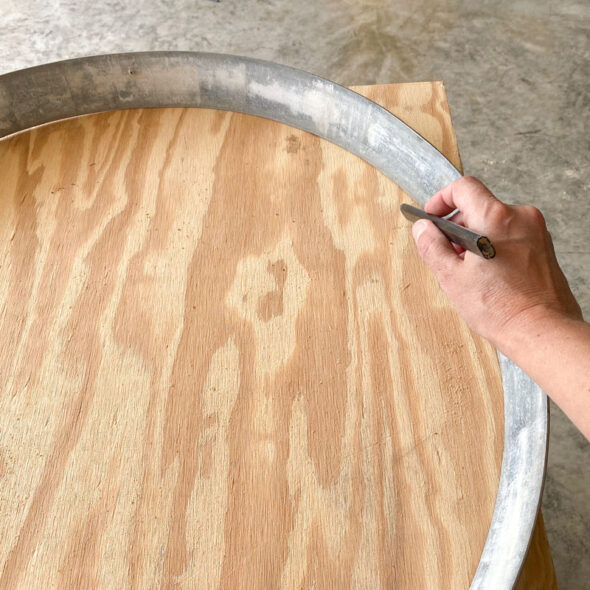
To make your own barrel ring serving tray, start by tracing the inside of the narrow side of the ring onto a piece of 1/2" thick plywood.
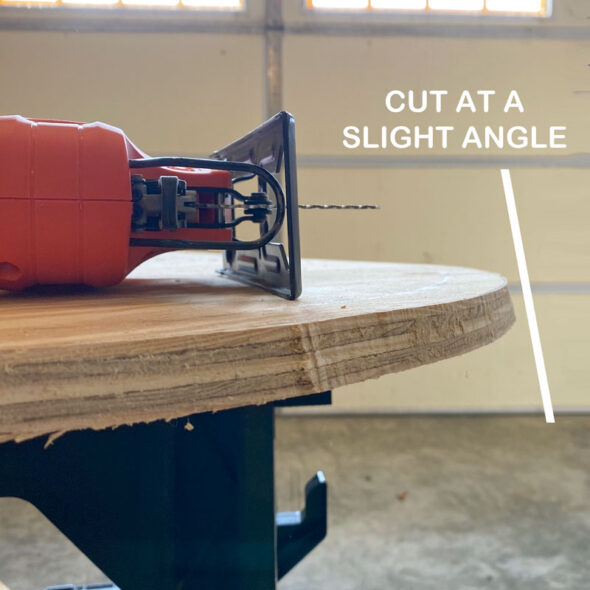
Then use a jigsaw to cut out the circle, but angle the blade so that the sides of the plywood are angled to match the angle of the ring. When you do this, angle the blade away from the pencil line, so that the cut follows the pencil line, but the bottom of the board extends out further. This will ensure the board fits into the angled ring.
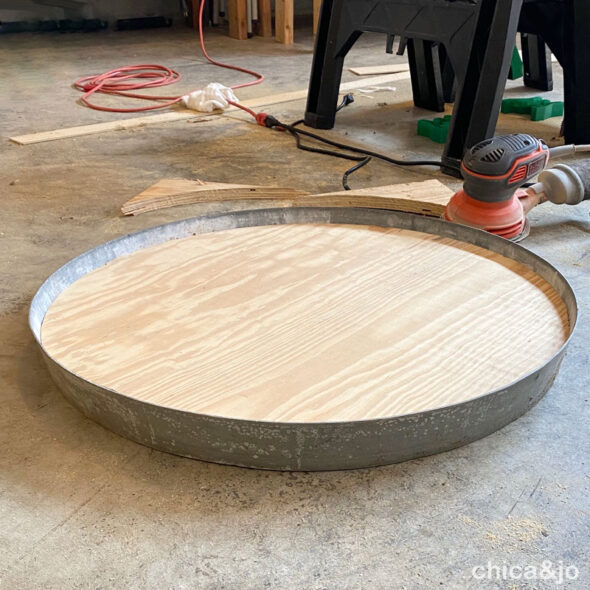
Put the board into the ring and test the fit. If it's too big, use an orbital sander to sand the edges down until it fits snugly.
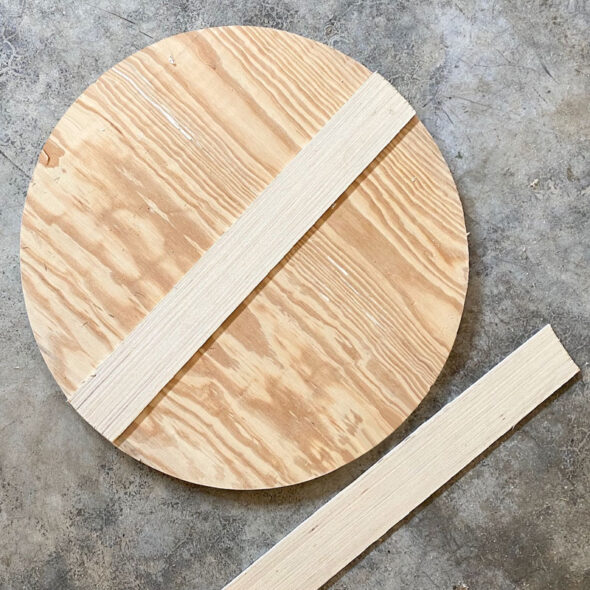
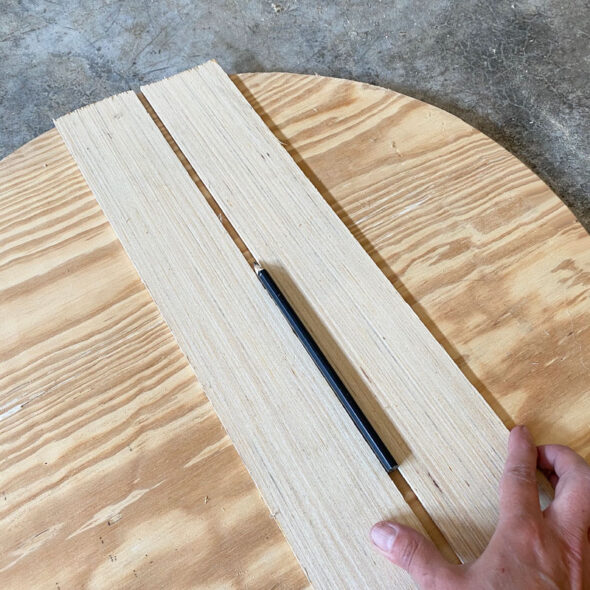
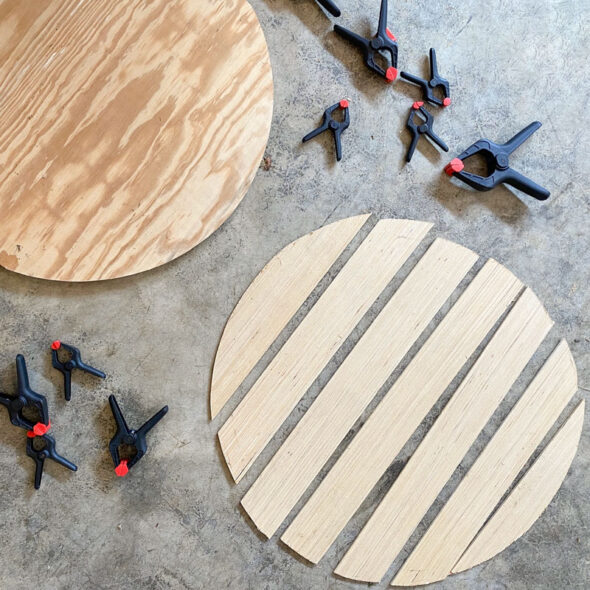
When you've got the fit right, remove the board so you can start working on the decorative slats that will go on top. Cut lauan or other thin wood down to 3" wide strips, and start by cutting one of these strips to fit the middle of the circle.
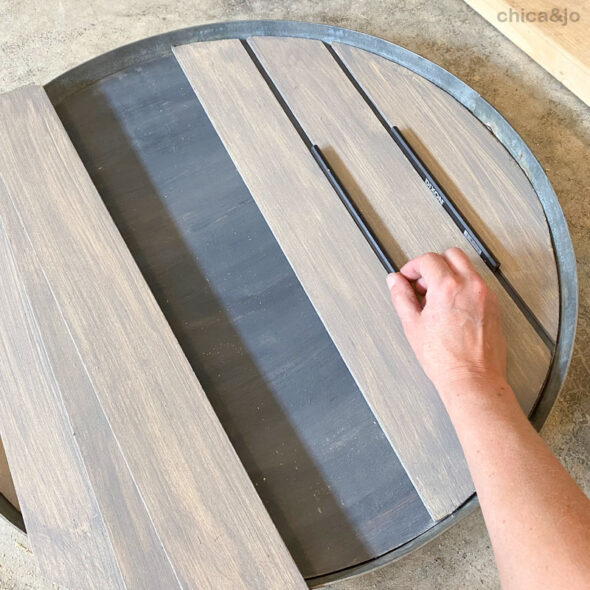
Use a carpenter's pencil to create a perfectly spaced gap between your first plank and the second.
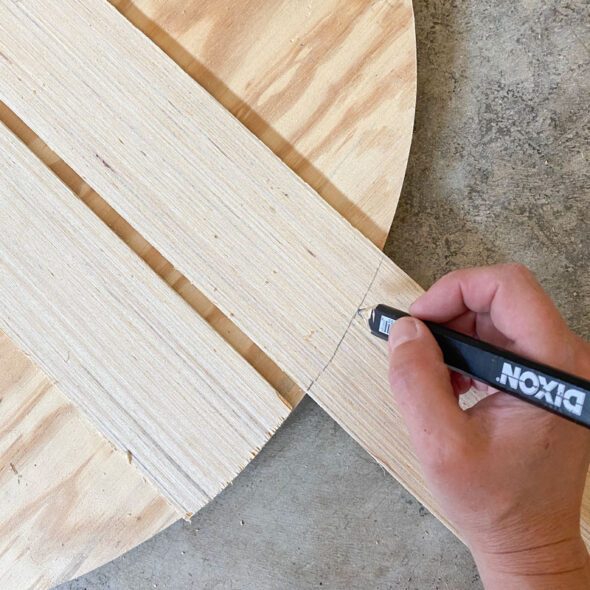
Mark the second plank where it meets the big circle board, then use the jigsaw to cut the curve.
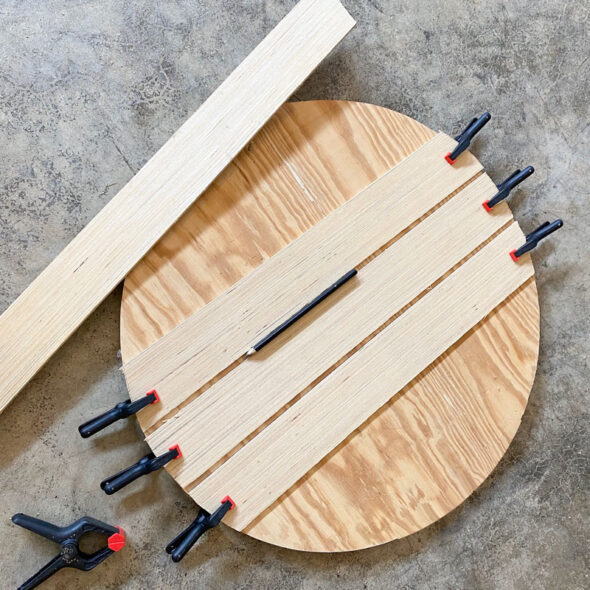
Clamp the two boards in place and add a third plank to the other side, spacing again with a carpenter's pencil.
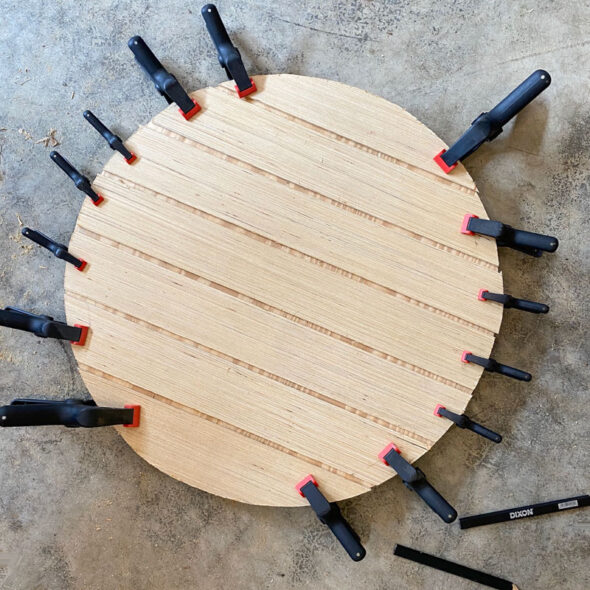
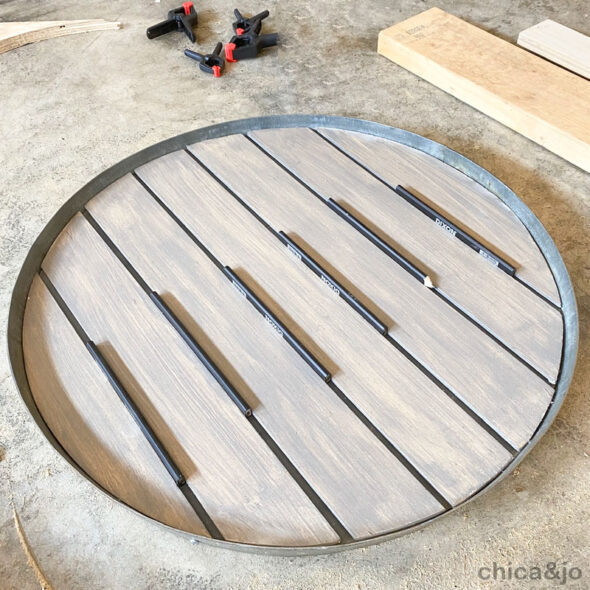
Continue cutting more planks to cover the circle, spacing them evenly with pencils and clamping them in place to keep them from moving as you work.
When all the planks are cut, remove the clamps and set the planks to the side, keeping them face up and in order.
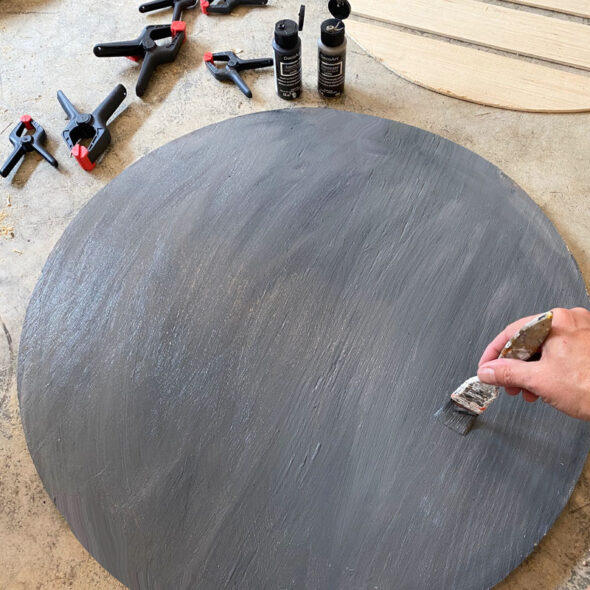
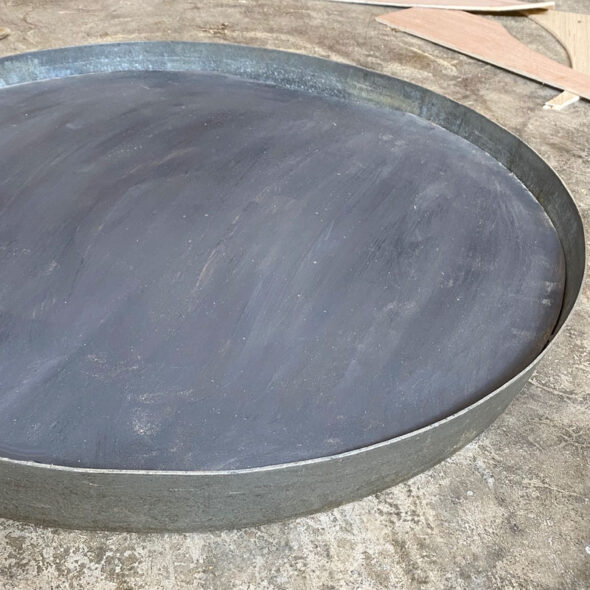
Paint the round base with a dark grey acrylic paint. I mixed two shades of grey to give it an aged, worn effect.
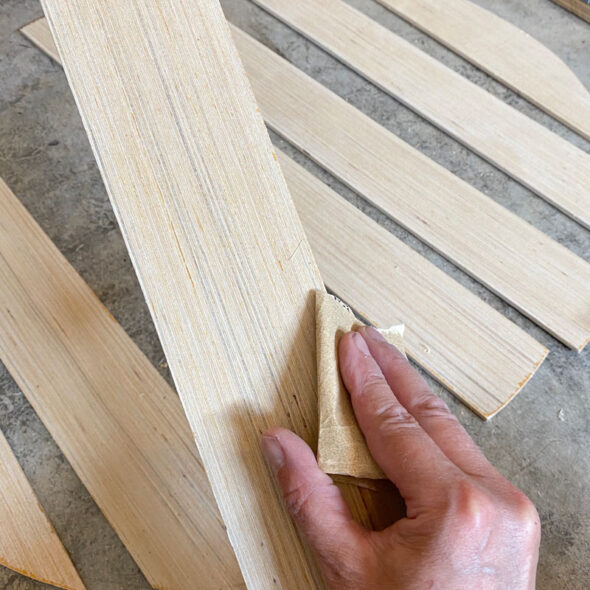
Give the plants a quick sanding to remove any splinters or rough edges.
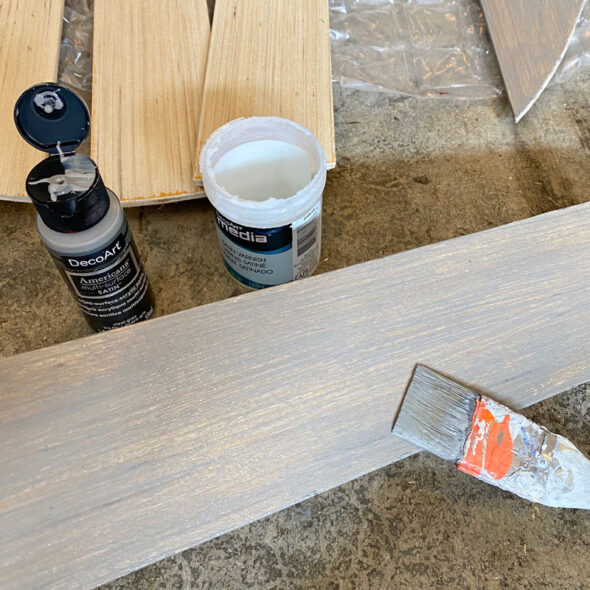
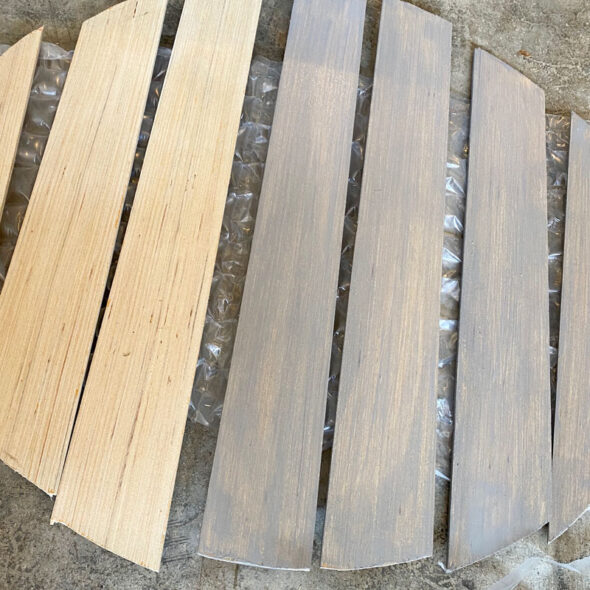
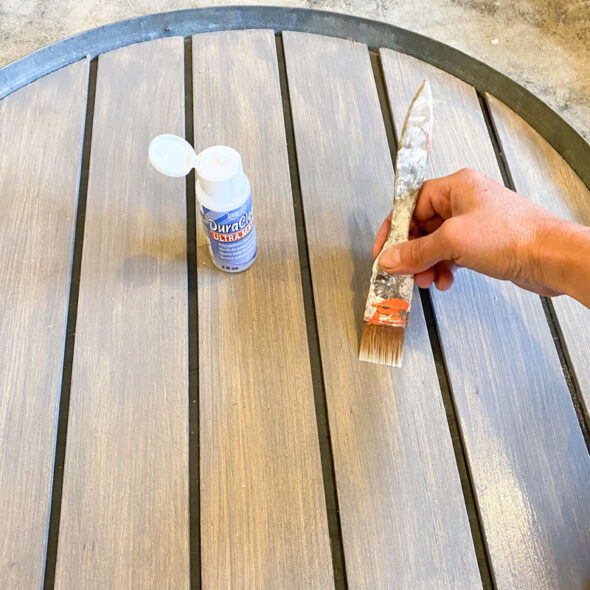
To give the planks a weathered stain finish, start by brushing them with some acrylic varnish, which will soak into the wood. Then apply a little grey acrylic paint over the wet varnish. The paint won't soak in, but will float on the varnish, creating a semi-transparent, washed effect. Wipe away any excess to achieve the desired coverage.
Continue until all the planks are covered, making sure to completely cover the sides/edges.
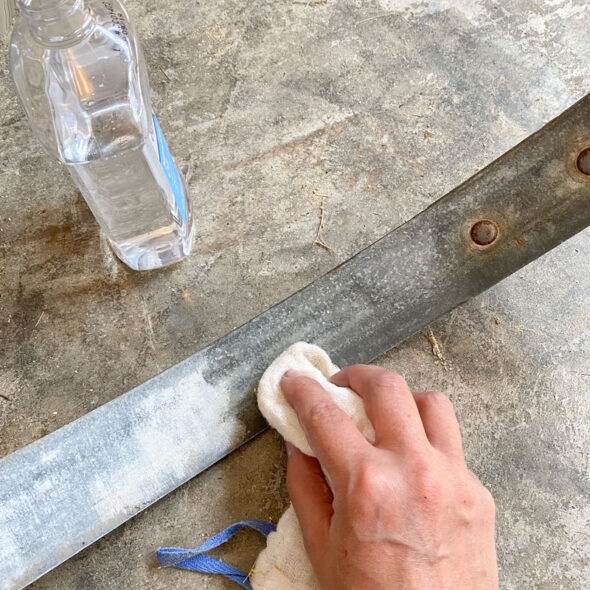
While the paint dries, wipe the barrel ring down with a touch of mineral oil to give it a deeper color and shine.
Fit the painted base circle into the ring and press it firmly in place.
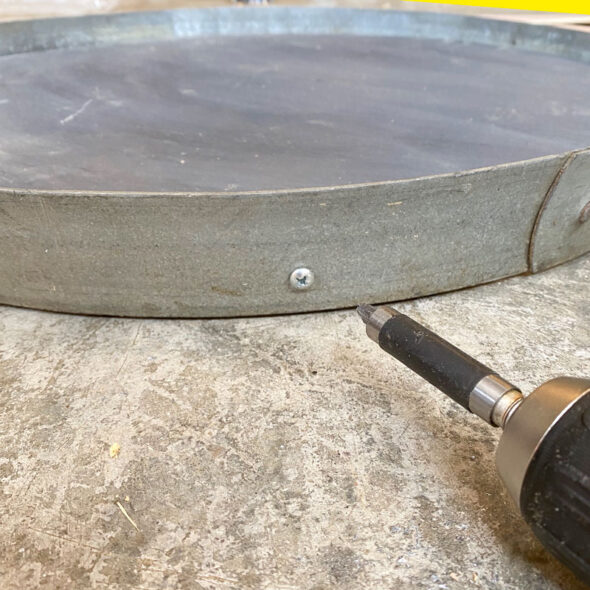
Pre-drill holes in the side and attach the ring to the wood with several screws, evenly spaced around the ring.
Put the planks back on the circle, spacing them out with pencils again.
Be sure all the planks and spacers fit inside the tray, and sand the ends of any planks that might be too long.
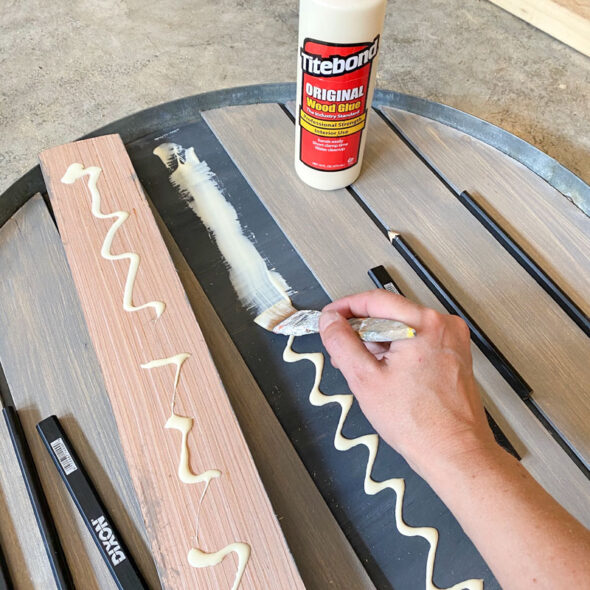
One at a time, remove the planks and apply plenty of good quality wood glue to the back of the plank and the base underneath. Spread the glue with a brush then put the plank back in place.
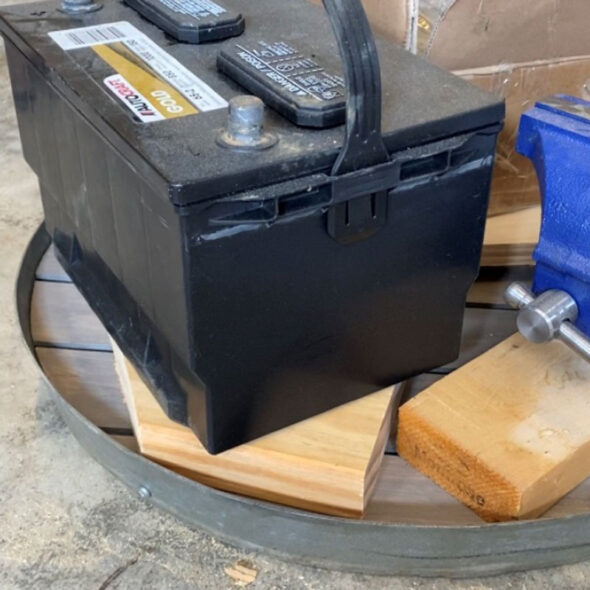
After you've applied glue to all the planks, go ahead and remove the pencils. Then you'll need to hold them in place until the glue dries. Clamps won't work very well with this configuration, so stack some heavy objects to the top to weigh the wood down until the glue dries.
When the glue has dried, apply a couple coats of varnish or other sealer to the tray to protect teh surface.
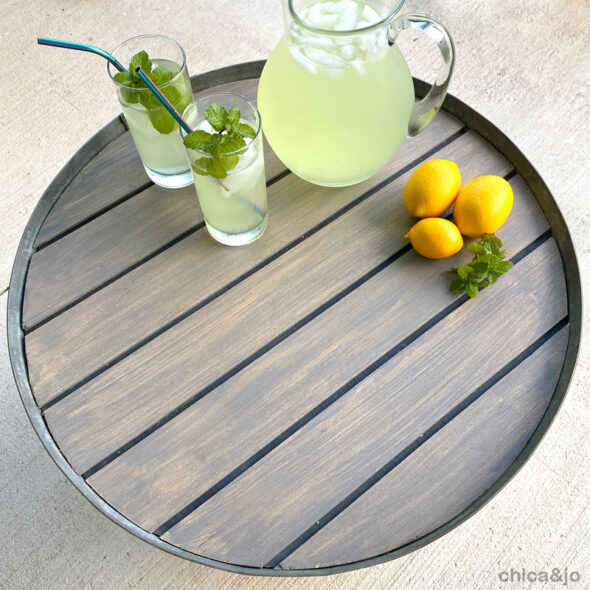
And with that, your serving tray is ready to carry some refreshing beverages or snacks.


