DIY Bourbon Advent Calendar
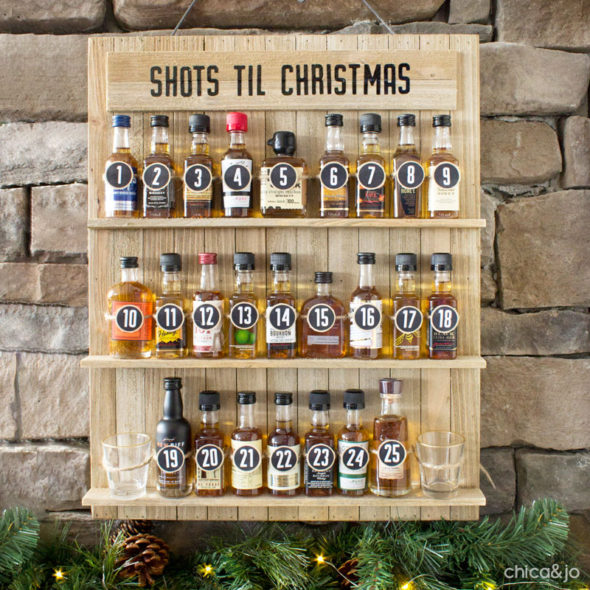
A good friend of ours is a huge bourbon fan, and we really wanted to get him something extra special for Christmas that had a bourbon theme. Of course he has his favorite bourbon brands, like any bourbon connoisseur does, but he also likes to try new ones when he can. We decided that a bourbon Christmas countdown calendar would be the perfect gift because it would allow him to sample 25 different bourbon whiskeys, and it would be a fun and unique gift for a bourbon lover. We couldn't find any such Advent calendar that we quite liked, so I set about to make him one.
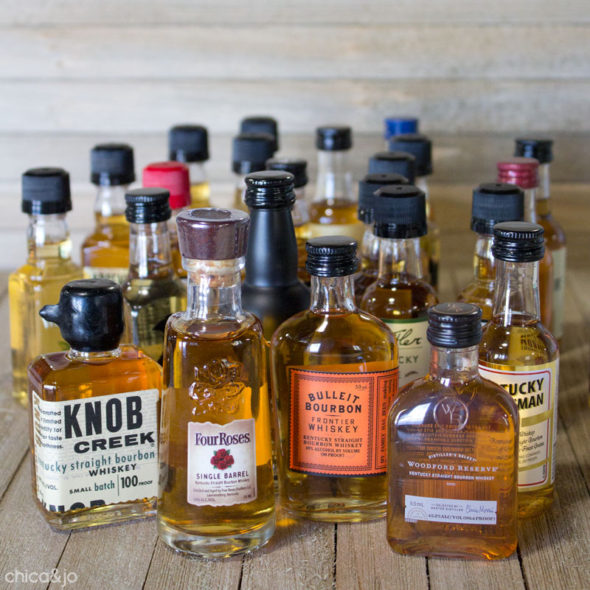
The first step was finding 25 tiny bottles of bourbon. Here in Kentucky, that is a pretty easy task, as there are so many bourbon distilleries around us, and we're really known for our bourbon! I had no trouble finding 25 different brands (although some of them are just whiskey, not bourbon) at a local liquor store.
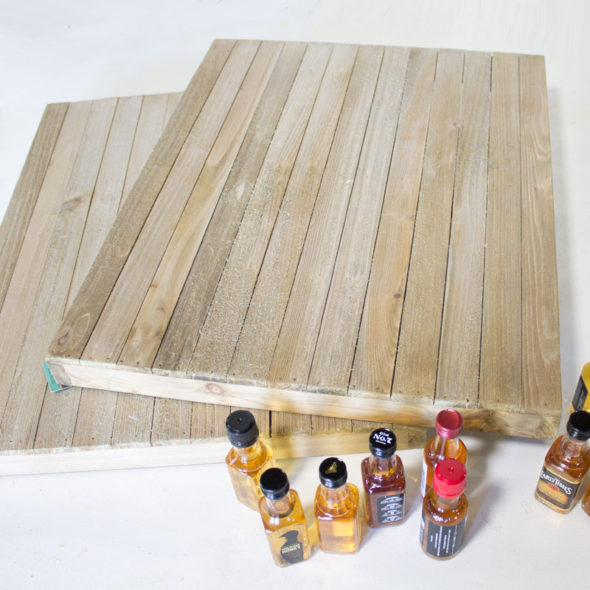
To build the base of the bourbon Advent calendar, I started with two rustic, 16"x20", wooden, pallet-style sign boards that I found at Hobby Lobby. One will be the main part of the display, and the other will be deconstructed to provide additional wooden pieces for building up the first one.
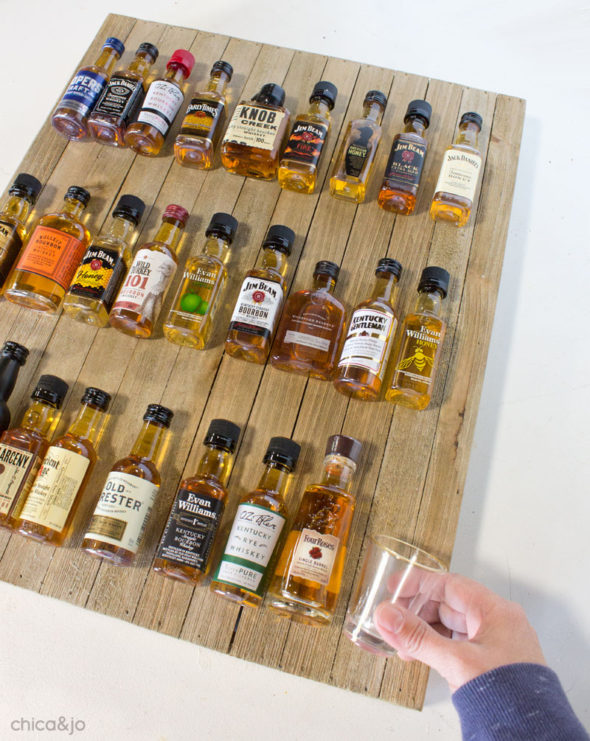
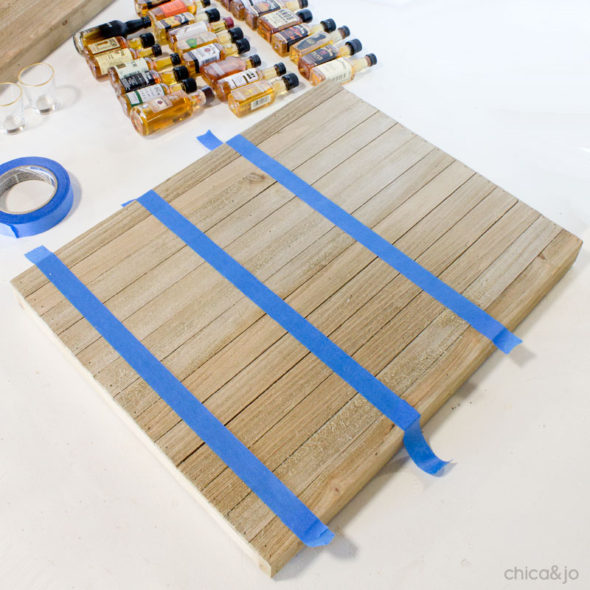
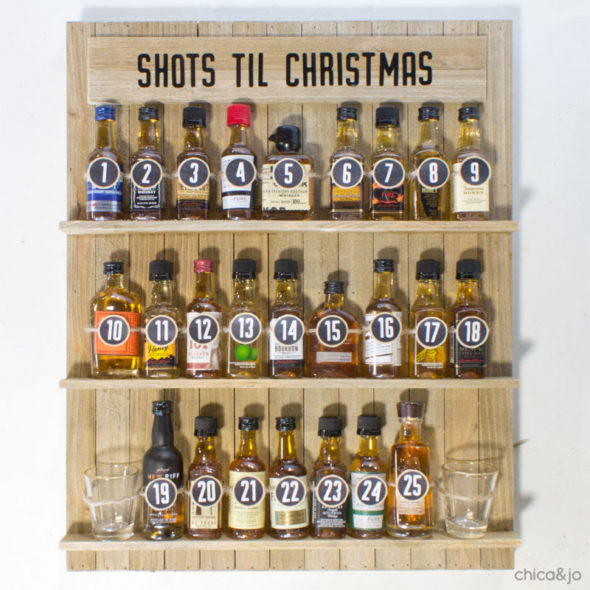
Leaving room at the top for a sign, I laid the bottles out on the board in three rows to determine their spacing. I arranged them carefully, making sure the various bottle sizes, brands, and flavors were distributed evenly. I also tried to save some of the nicer bourbons for closer to the end, as something to anticipate. On the bottom row, I left room on either side for a shot glass.
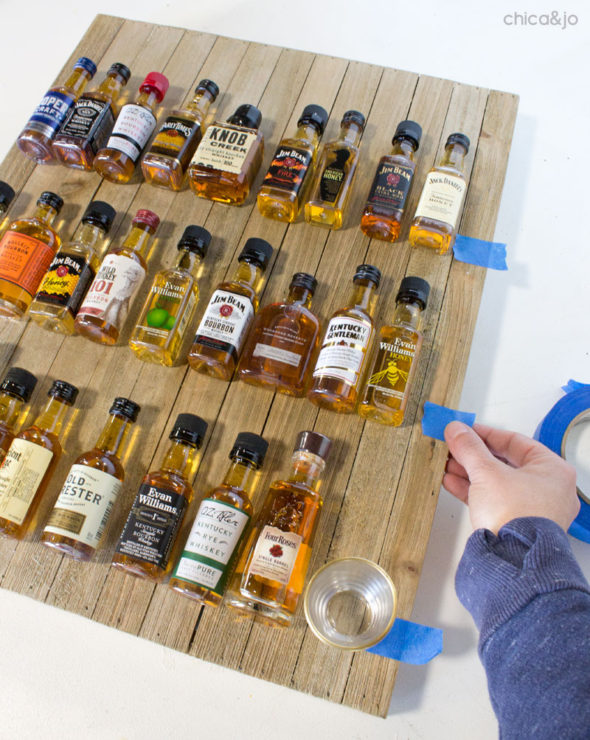
When I had my spacing set, I marked each row with a piece of masking tape.
Then I removed the bottles — making sure to keep them in order — and used longer pieces of tape to mark where my three shelves would go.
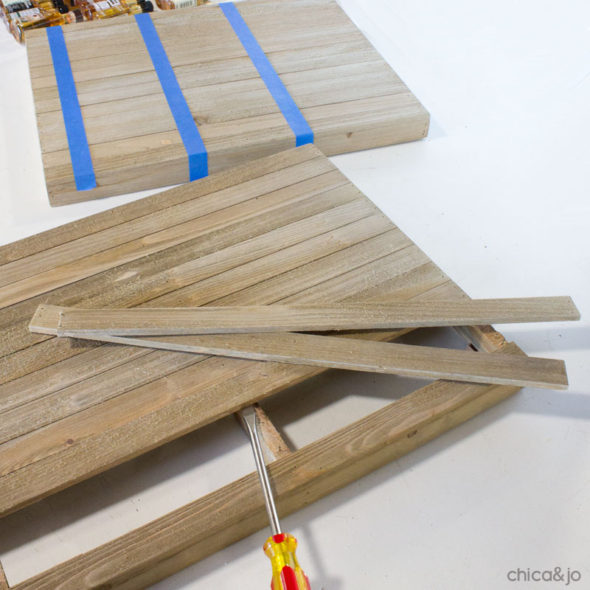
To build those shelves, I needed some extra wood. This is where that second sign board came in! I used a screwdriver to pry off a few boards to work with.
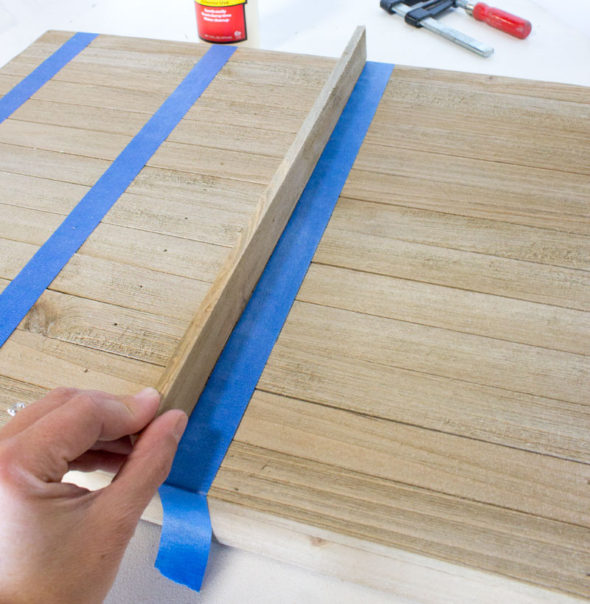
I cut one of the boards to the right length, and lined it up with the edge of the masking tape.
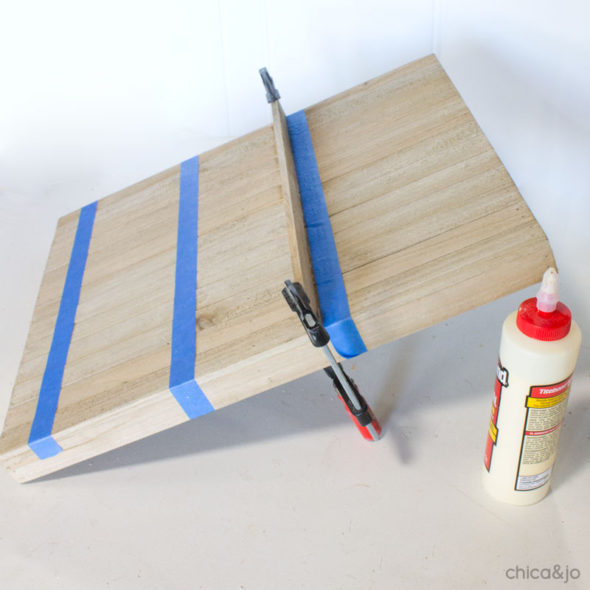
I added some wood glue and used clamps to hold it until it dried.
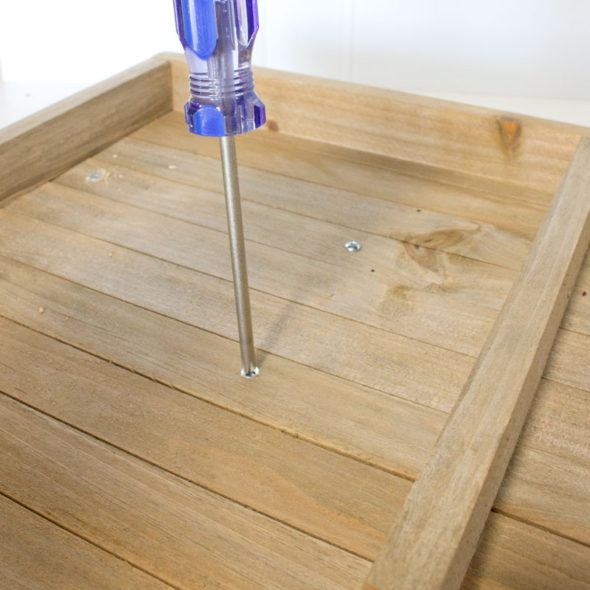
For extra security, I added some tiny screws from behind, making sure to pre-drill and aim VERY carefully so I got the middle of that narrow little board.
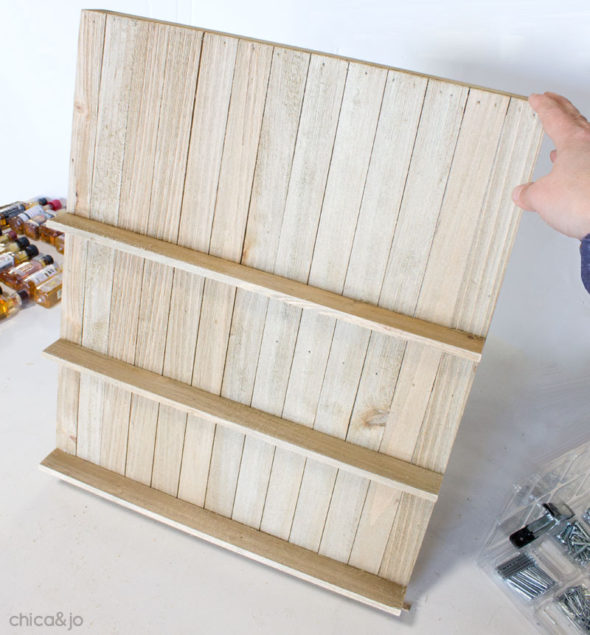
After adding all three boards, the display was really taking shape!
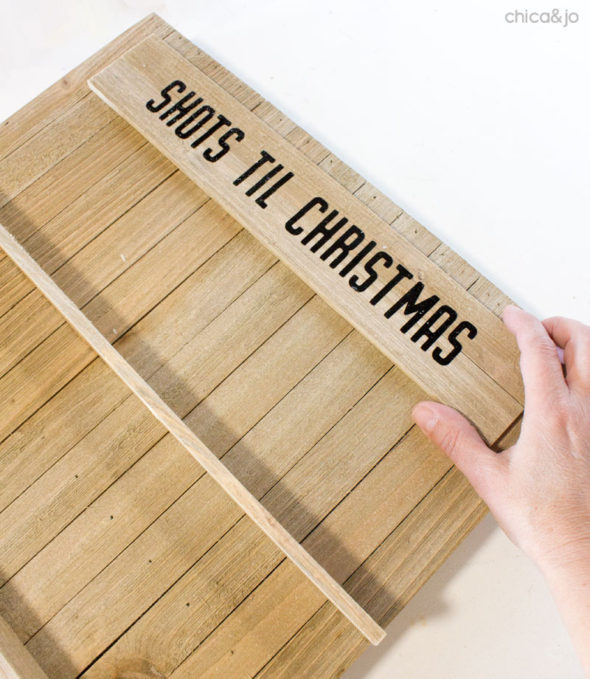
To make it clear this is an Advent calendar that's counting down to Christmas, I wanted to add a sign to the top. I used my Silhouette machine to cut out "SHOTS TIL CHRISTMAS" in black vinyl (feel free to use my .studio3 file if you'd like). I applied the vinyl to two more scrap boards, and centered it at the top of the sign.
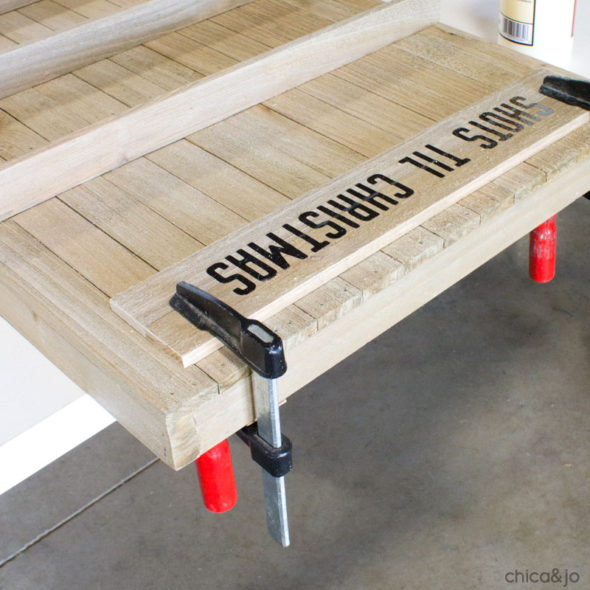
Then I used more wood glue and clamps to keep the sign in place.
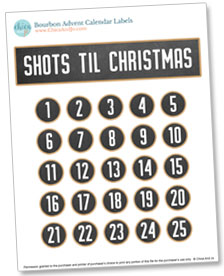
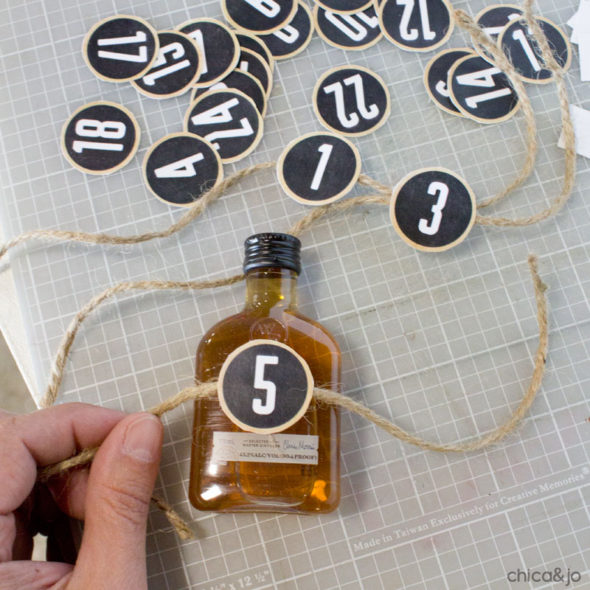
While the glue dried, I worked on the 1-25 numbers to add to the 25 bottles of bourbon. I made a handy printable to share, and I even included a "SHOTS TIL CHRISTMAS" sign for you to use if you don't have a Silhouette electronic cutter.
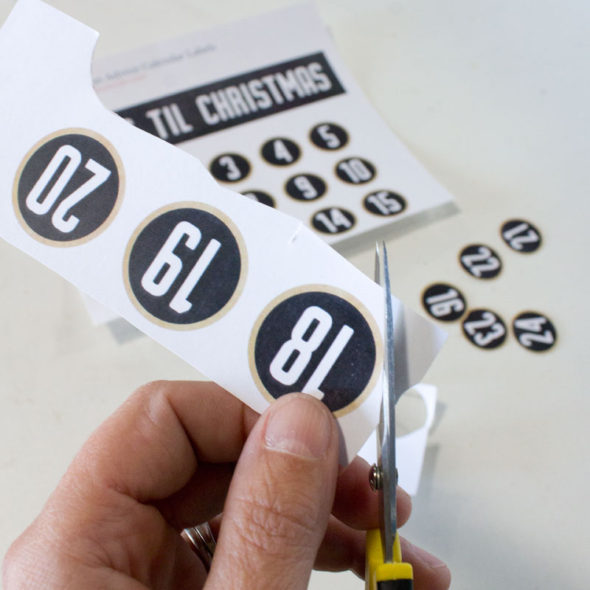
After printing the numbers on cardstock, I cut out each one.
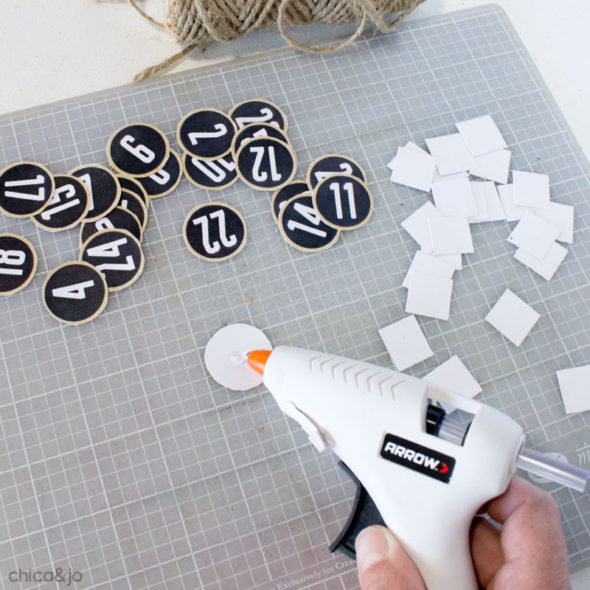
Then I added a blob of hot glue to the back of one of the numbers...
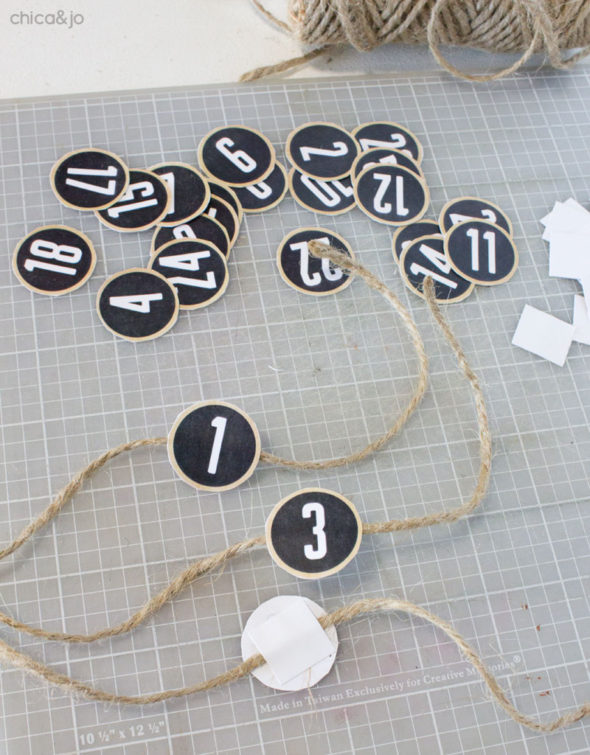
...and added a 12" length of thin, rustic rope to the middle. To hold it all in place and cover the unsightly glue, I added a little square of leftover cardstock, and pressed it in place til the glue dried.
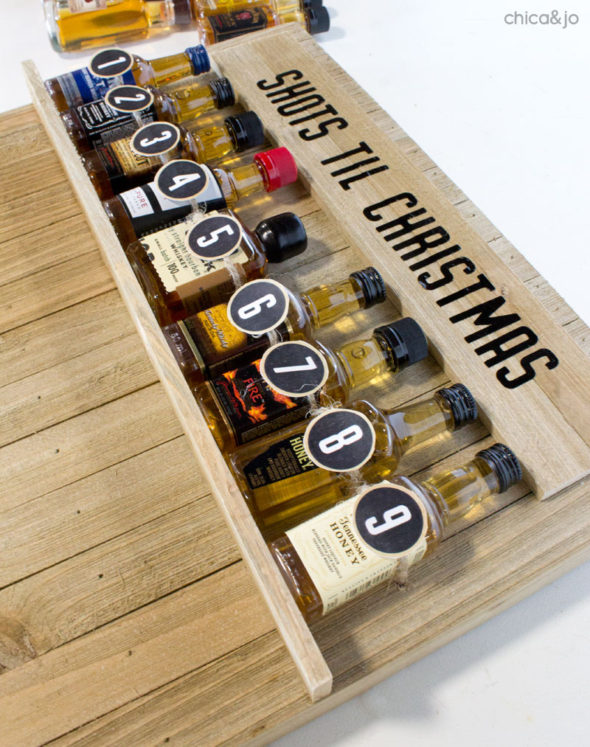
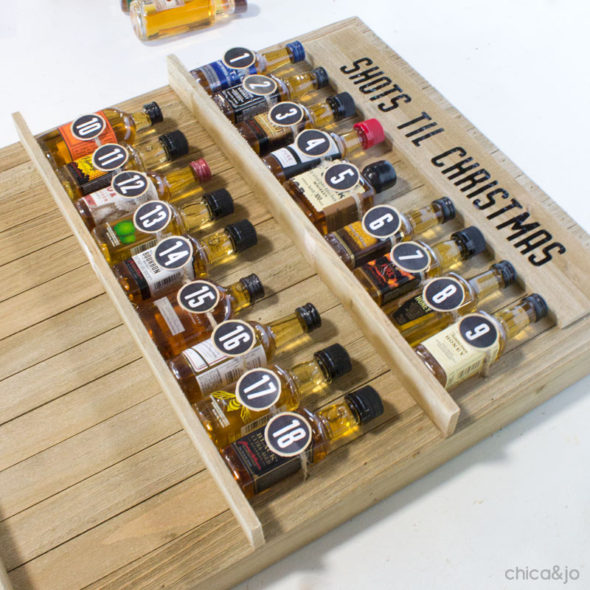
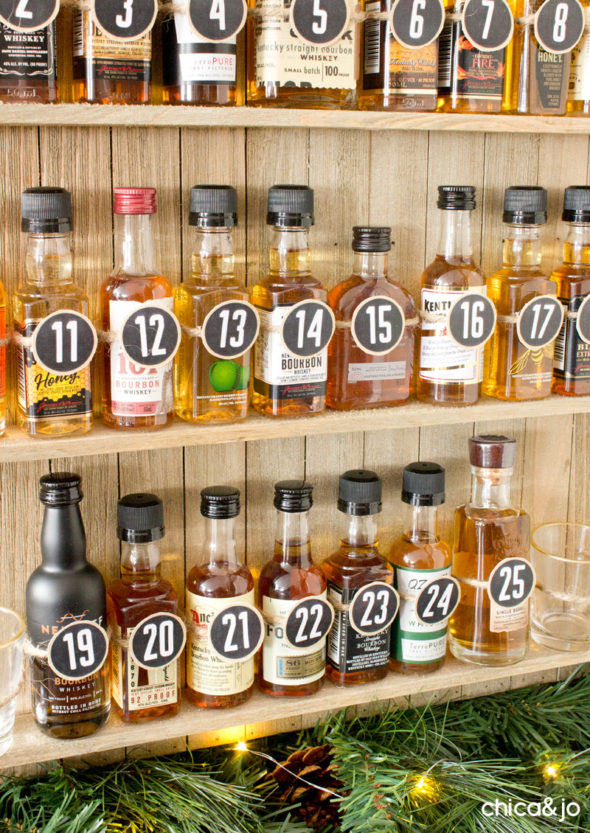
Look how cute the numbers look on the front of the tiny bottles!
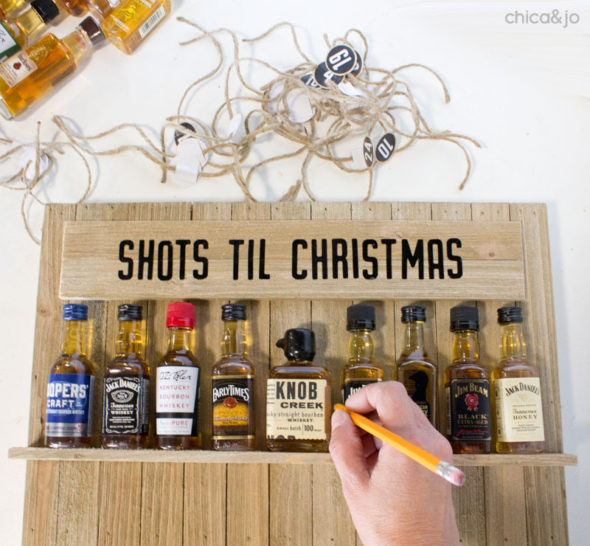
The rope will not only hold the numbers on the bottles, but will also keep those bottles from falling off the tiny shelves. For that to happen, I needed to make some holes in the base. To figure out where to put them, I moved the first row of bottles back to the shelf, spaced them perfectly, and used a pencil to mark a dot in between each one.
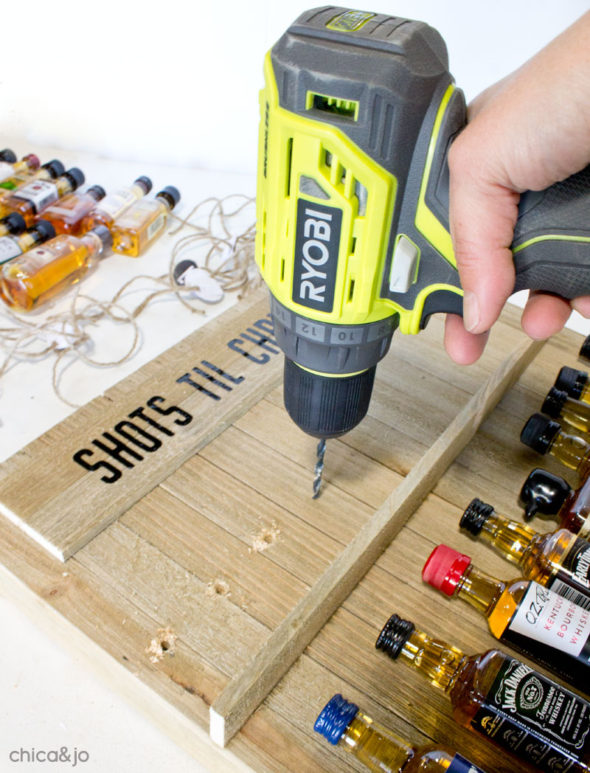
Then I moved the bottles out of the way and drilled a tiny hole at each mark.
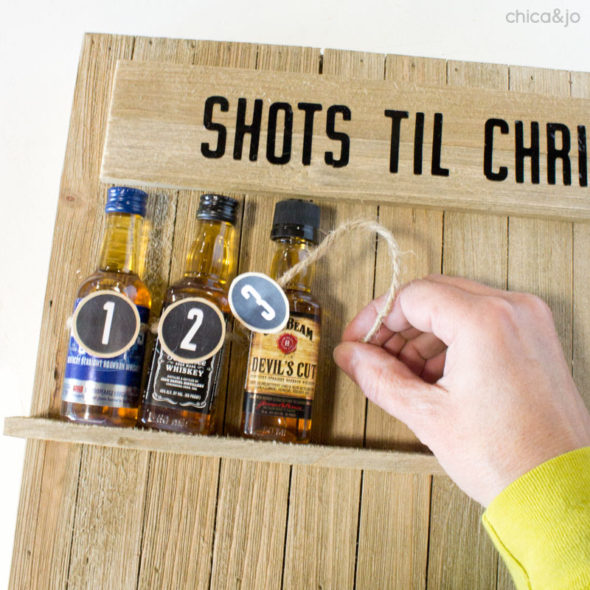
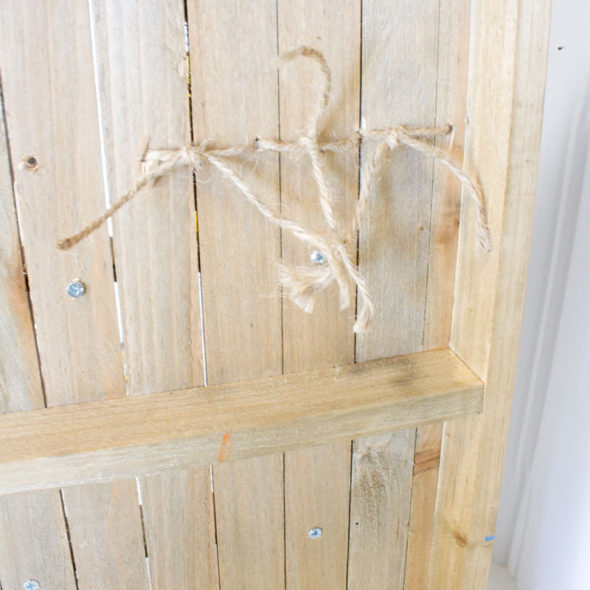
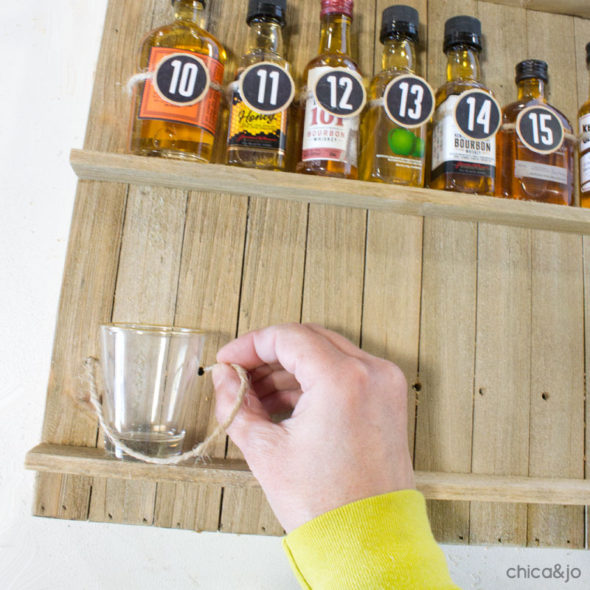
I put the bottles back, one at a time, using a numbered rope to secure each one in place. I poked the ends of the rope through the holes on either side of the bottle ...
... then tied it tightly on the back.
The rope looks so perfect and really works to hold the bottles in place until it's time to slip them out to drink.
I did the second row the same way as the first, and secured bottles 10 through 18 with rope.
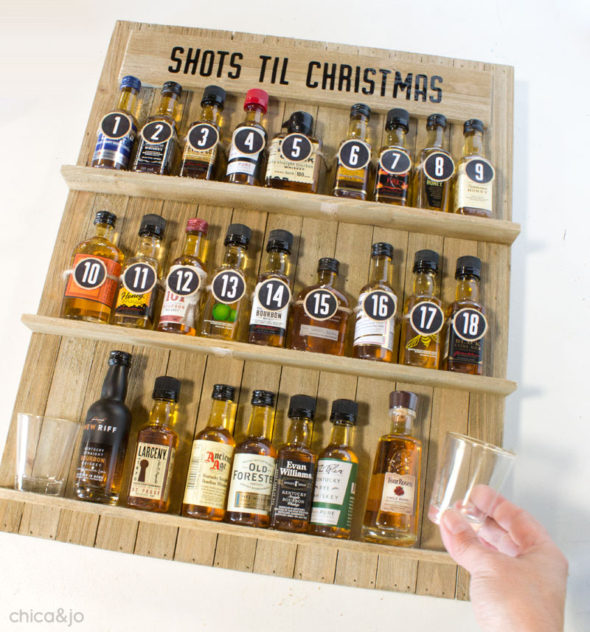
The third row was a little trickier... remember those shot glasses? I lined them up with the bottles, spacing them evenly.
Then I just used the same technique as before, and tied the glasses on with rope that had no number on it. Perfect!
And with that, my bourbon Advent calendar was done.
Our friend is really going to enjoy trying a bourbon a day as he counts down to Christmas!


