DIY Bar Cart from a Vintage Sewing Machine Cabinet
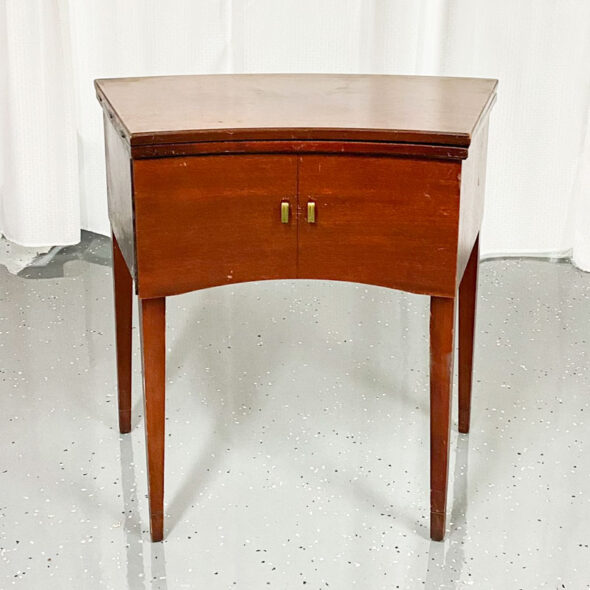
We enjoyed the first bar cart we made from a vintage sewing machine cabinet so much that when I spotted this beauty at a yard sale recently (and for only $10!), I just had to grab it so I could make another one.
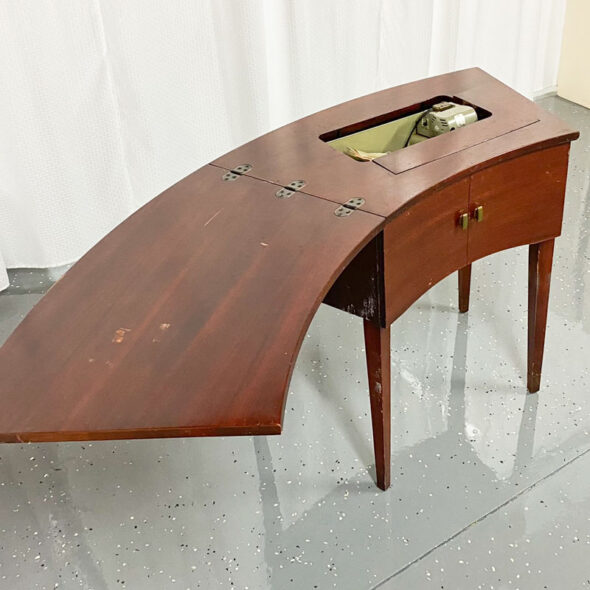
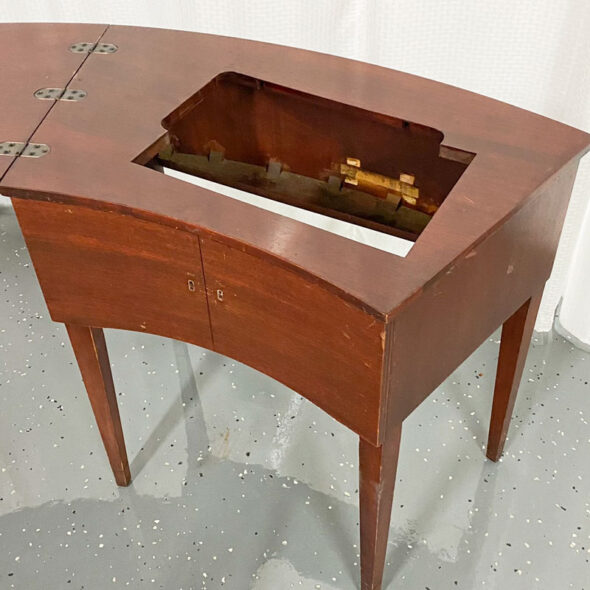
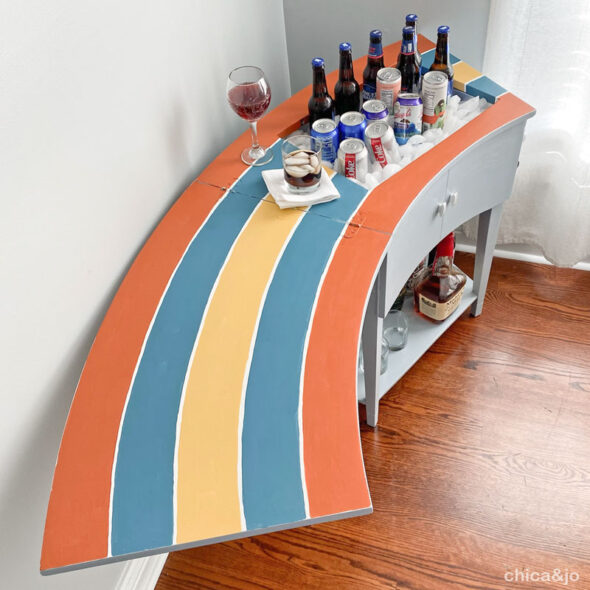
What totally sold me on this cabinet in particular is that it had a curved top. The curve is subtle when the tabletop is folded up, but when you open the top, the curve really stands out. I knew this rounded sewing machine cabinet was the perfect candidate for another makeover into a bar cart.
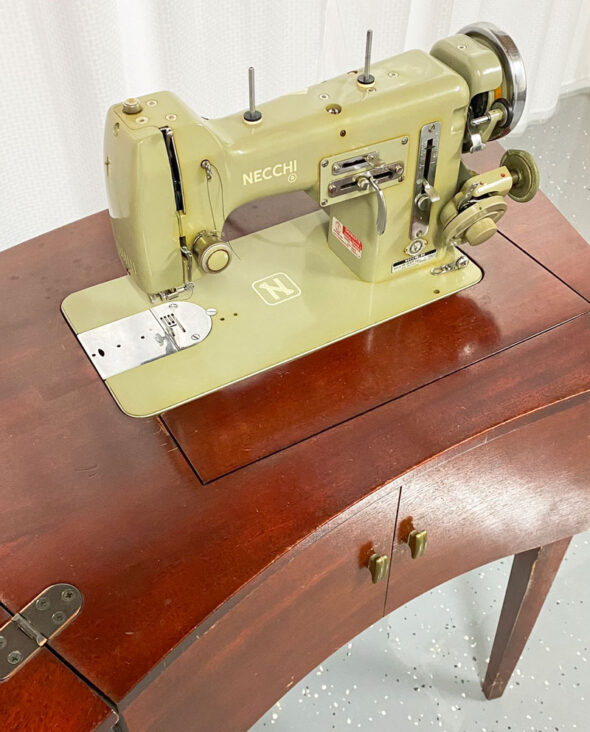
If you've never seen a sewing machine cabinet before, they are pretty clever pieces of furniture. They look perfectly ordinary and fit into your decor as a cute table, but then inside they store your sewing machine, which is mounted to hinges so you can pop it up whenever you are ready to sew!
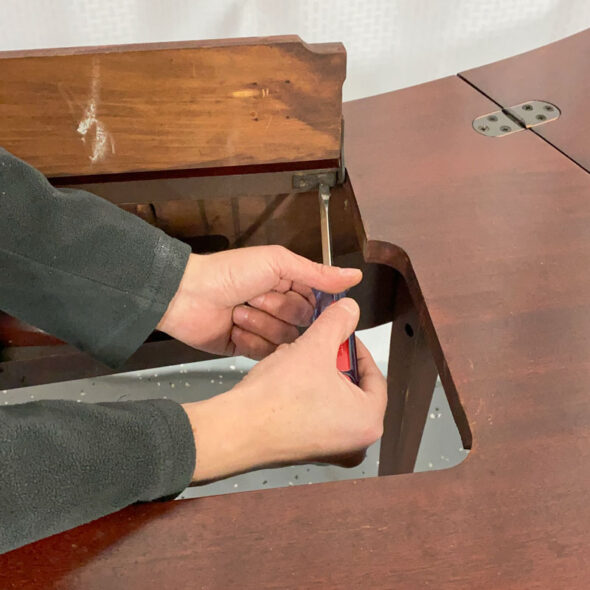
The first step for this makeover was to remove the sewing machine and all the zillions of metal pieces that were inside the cavity. It took some work, but I eventually got everything out. By the way, I haven't tested the sewing machine yet... wouldn't it be amazing if it still works?
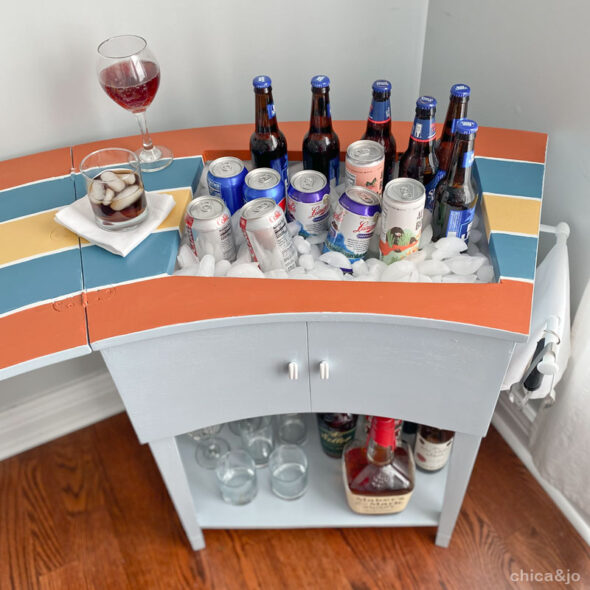
With everything out, I was left with a pretty oddly-shaped hole in the top. Rather than try to fill it with wood, I decided to embrace it, and create a recessed tray underneath. Wouldn't it be great to be able to fill it with ice and drinks for serving?
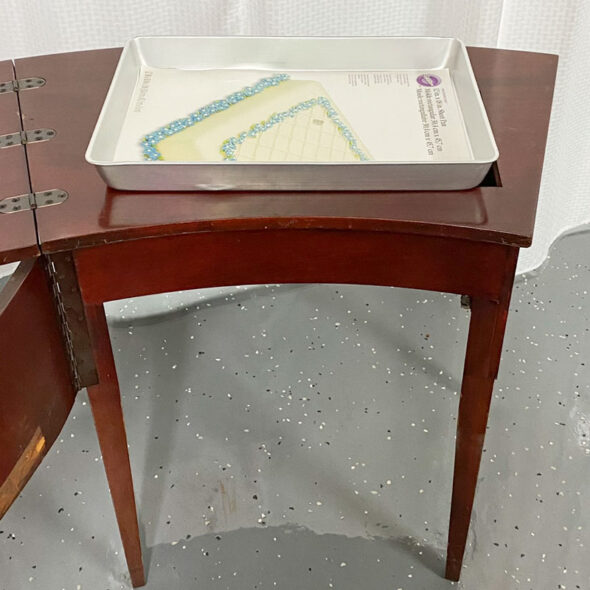
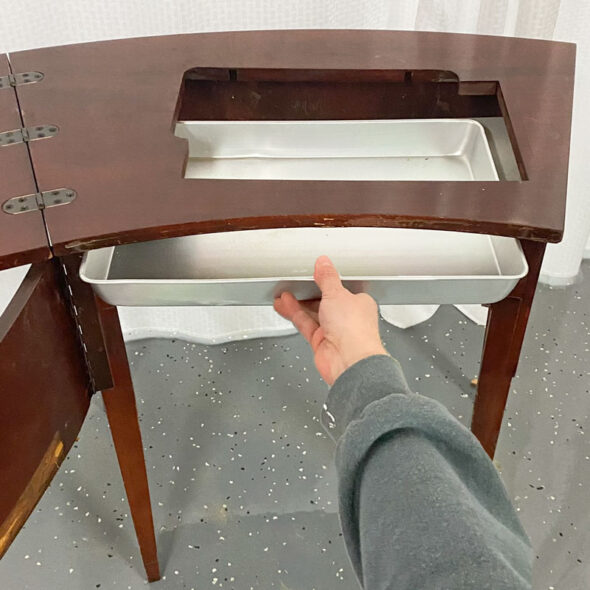
For the tray, I purchased a 12"x18" cake pan that was just the right size for my cabinet. Bigger than the hole, but small enough to fit inside the cabinet. This particular cabinet has a swinging door on the front, which made it really easy for me to create an access area to put the pan inside.
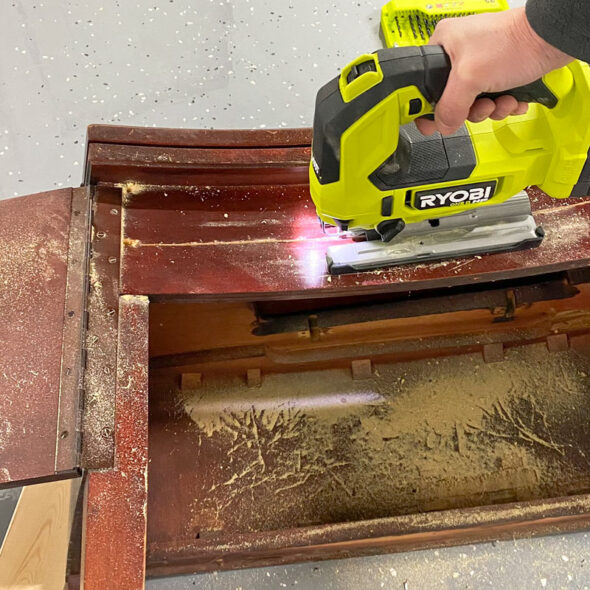
I measured carefully and used my Ryobi One+ jigsaw to cut a slot in the front of the cabinet, as high as I could get it, just barely big enough to slide the pan through.
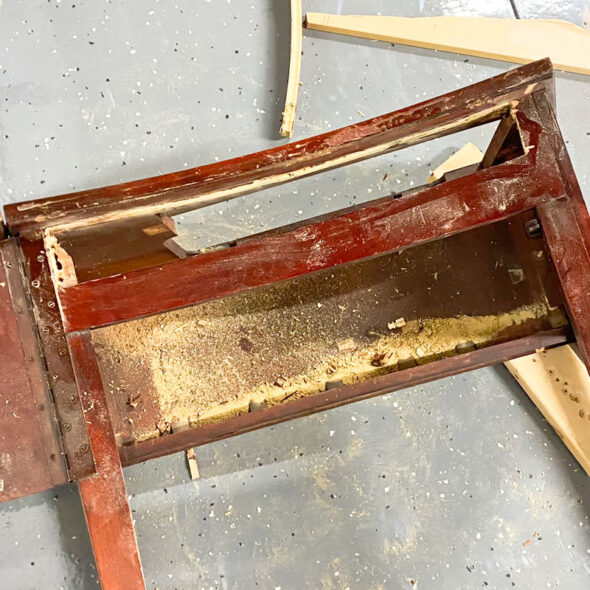
Then I added a shelf inside to support the weight of the pan, and voila — a waterproof pan that easily slides in and out for cleaning. And the front door of the cabinet covers the hole!
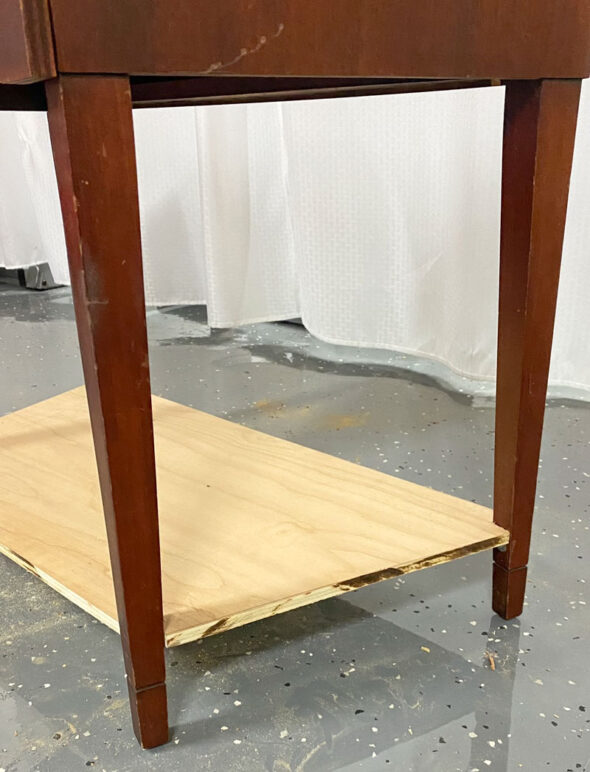
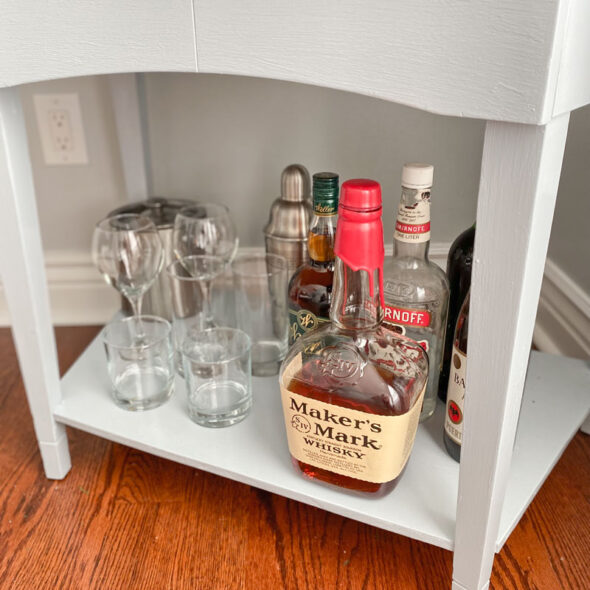
I also added a shelf to the very bottom, a few inches up from the floor. I notched the corners to fit between the legs, and attached it with some L-brackets. This will work perfectly for holding liquor bottles and glasses.
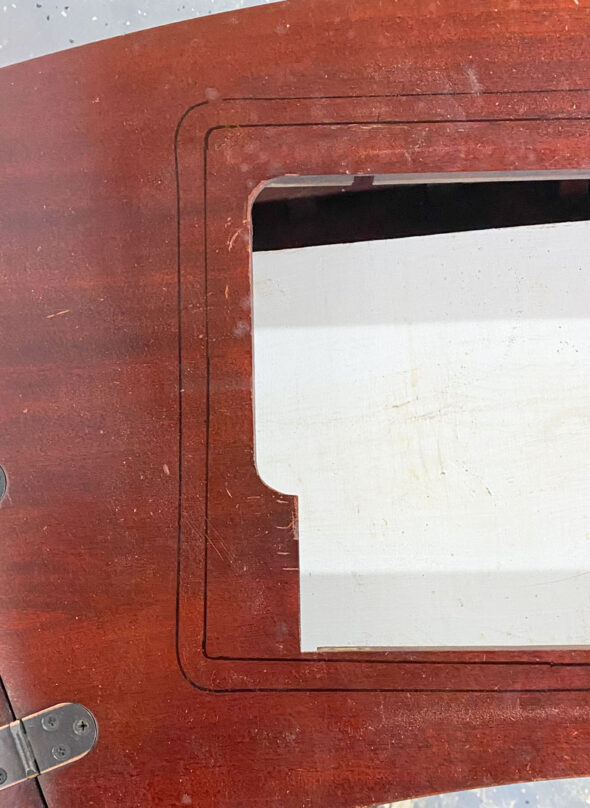
There was one last bit of construction left before putting the tools away, and that was to square up the hole in the top of the table. I wanted it nice and rectangular to match the pan, so I put the pan upside down on the table and traced around it with a marker. Then I drew a second line about 1/2" in from that, which would be my actual cut line. That way there would be a little bit of overhang so the edges of the pan wouldn't show.
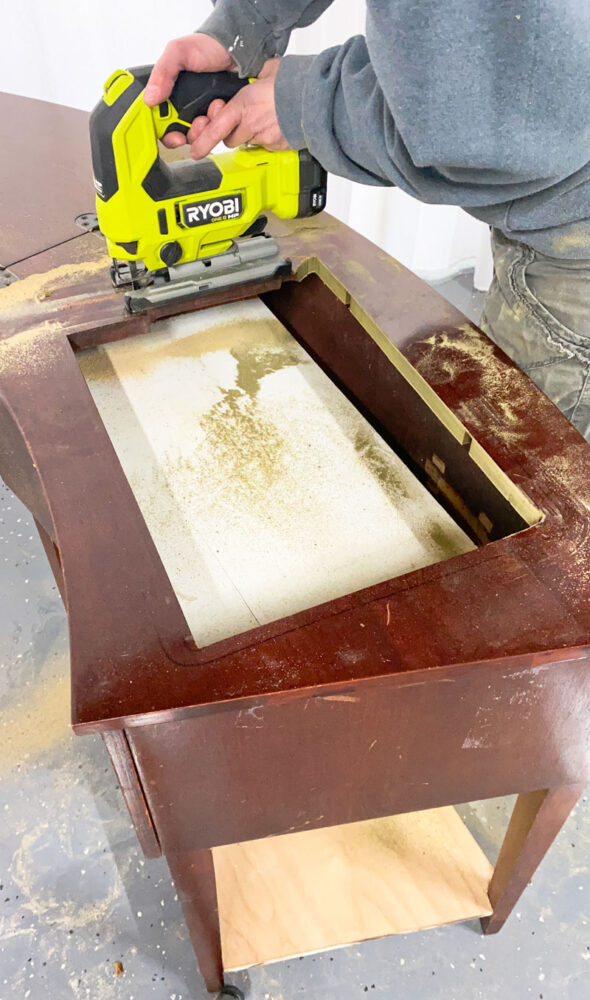
Once again, I reached for my Ryobi battery-operated jigsaw to quickly and easily cut along the inner line.
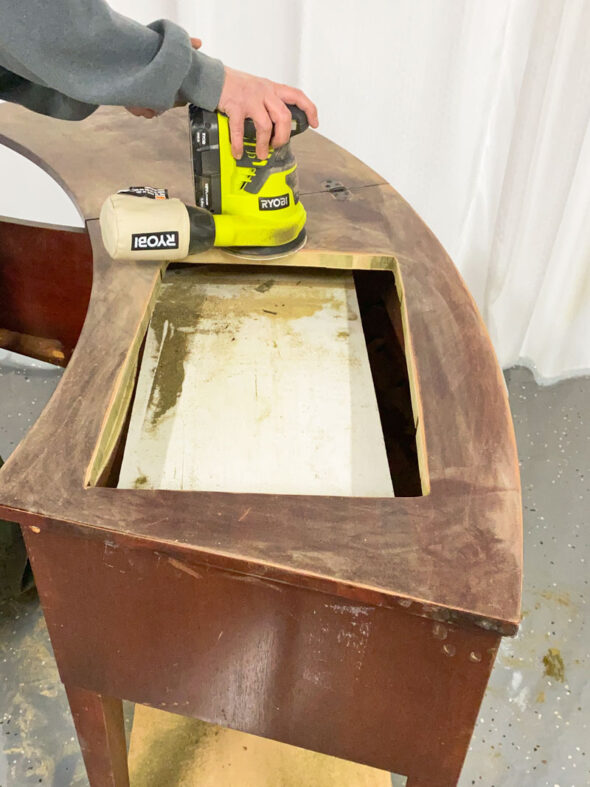
Then I popped the One+ battery into my Ryobi Orbit Sander and gave everything a quick sanding, smoothing out the nicks and scratches that were all over this vintage piece.
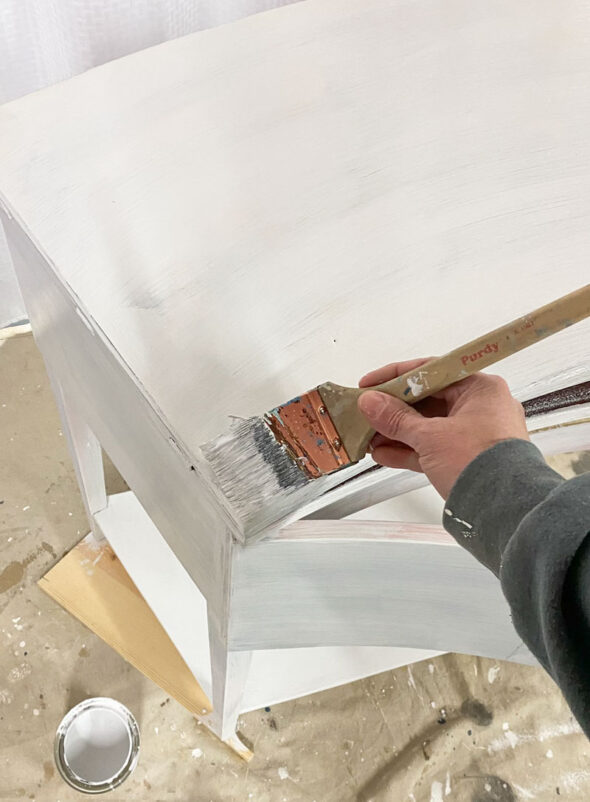
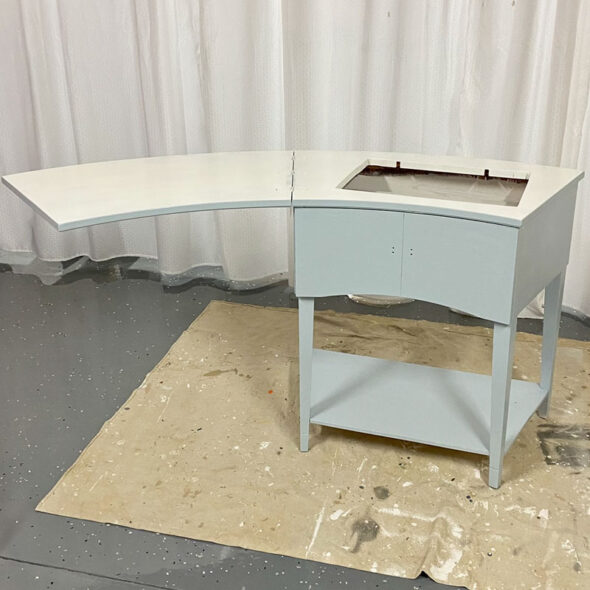
Finally the woodworking was done and it was time for finishing. I started with a basecoat of primer to seal it all up and give a nice bright white base for my colors to go over.
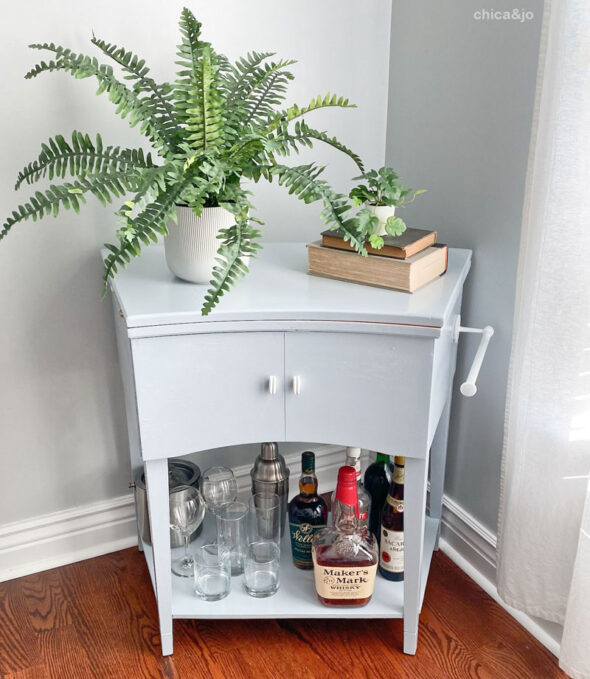
I left the tabletop white, but I painted the entire base of the cabinet in a soft, sky blue color.
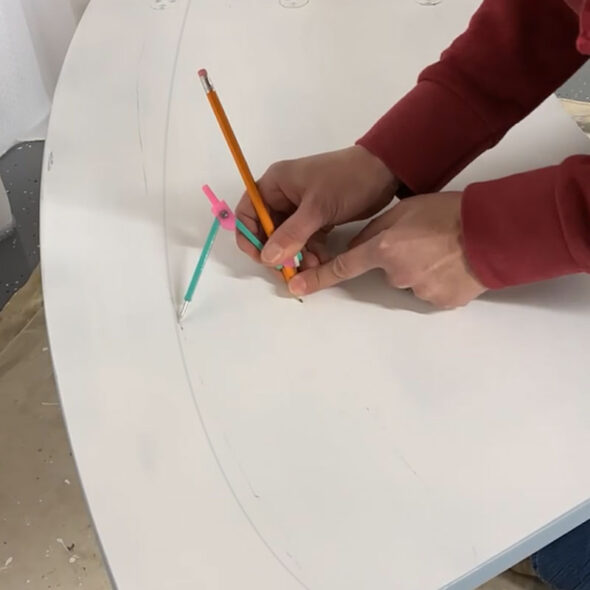
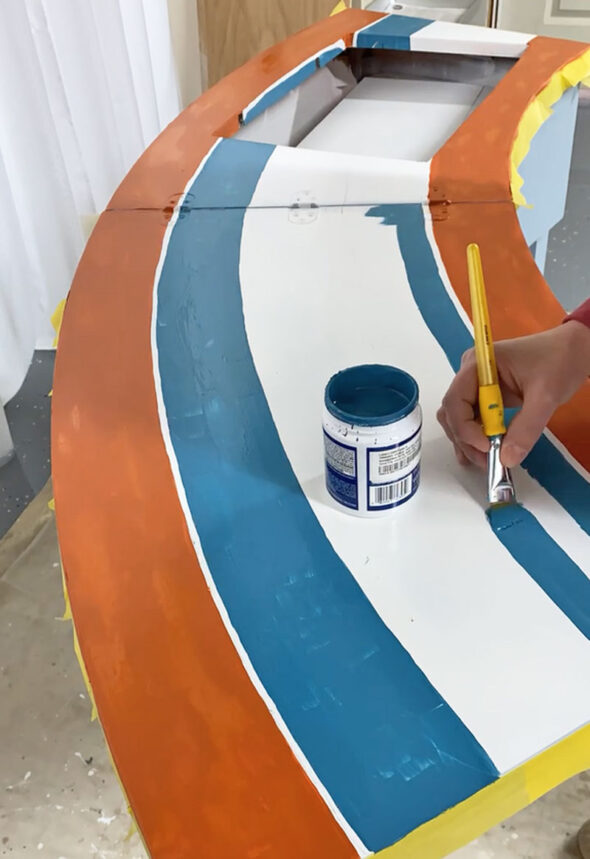
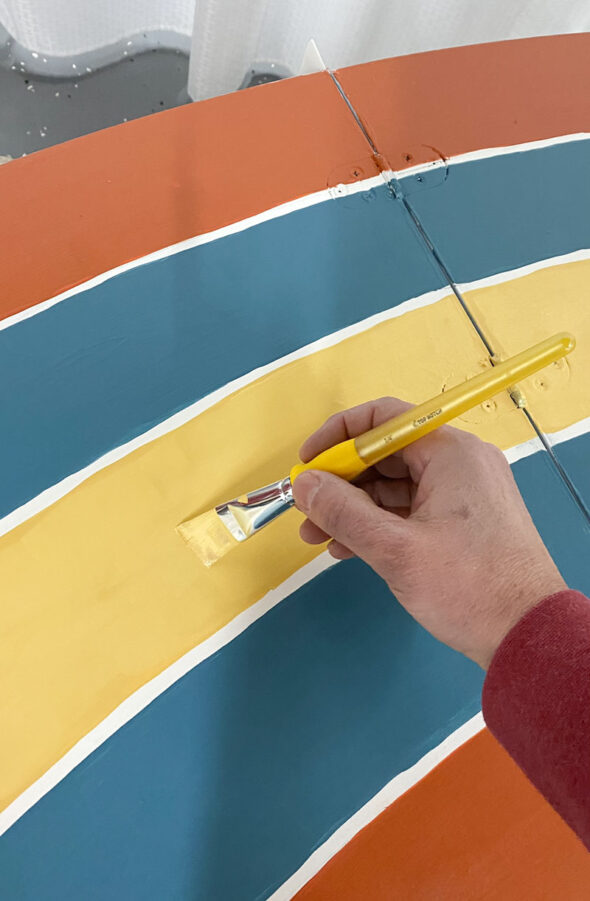
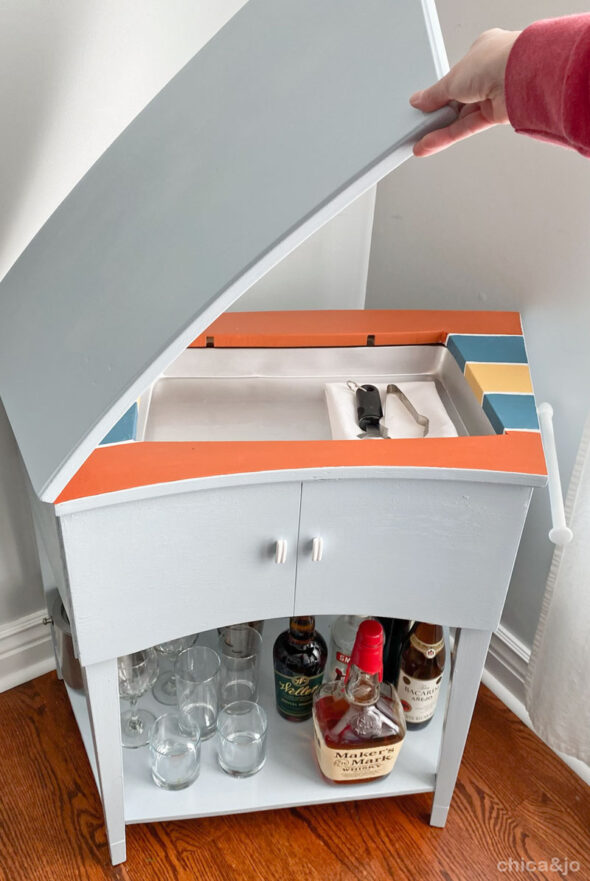
To add some real zing to the tabletop, I used my compass to help me draw lines that matched the curve of the tabletop.
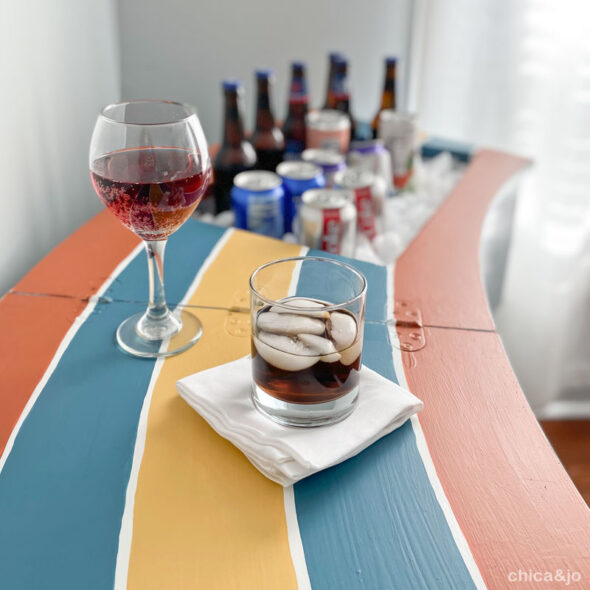
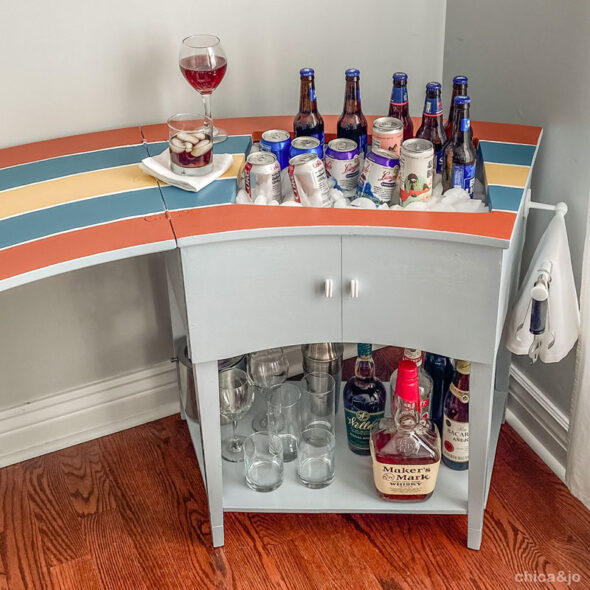
Then I filled in those stripes with some bold shades of rust, blue, and yellow which I happened to have leftover from the retro rainbow headboard we recently created.
I left a thin white line between each stripe for contrast. It took a few coats to get good coverage, but I just love how these colors pop!
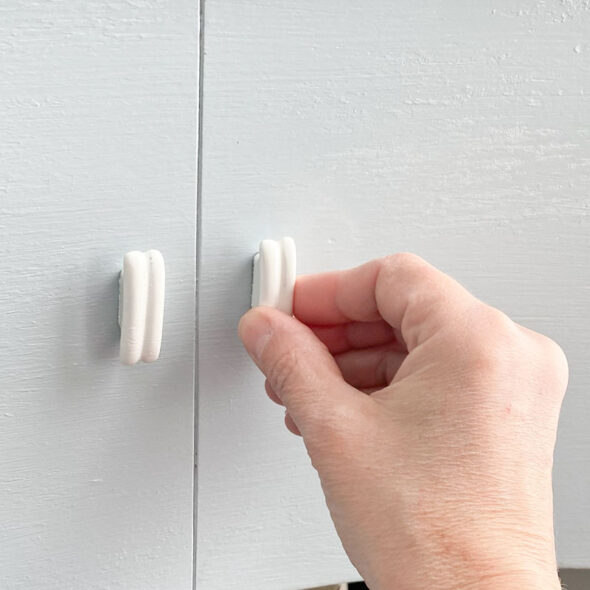
To finish off the hardware, I painted the original knobs white and put them back on the front.
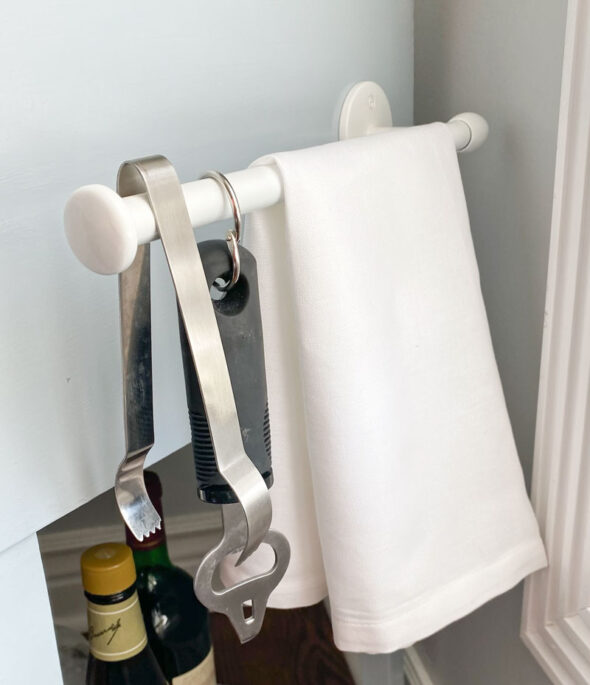
Then I installed a simple bar on the side to hold bar tools and a towel.
Finally, I stocked the bottom shelf with some of our favorite liquors (including plenty of bourbon for us Kentucky girls) and assorted glasses.
This gorgeous cabinet is finished and ready to sit in the corner and be a lovely piece of furniture until it's needed.
Then when it's party time, we just open up the top to reveal a bold and exciting space for drinks. Notice how neatly the bar tools store inside when not in use.
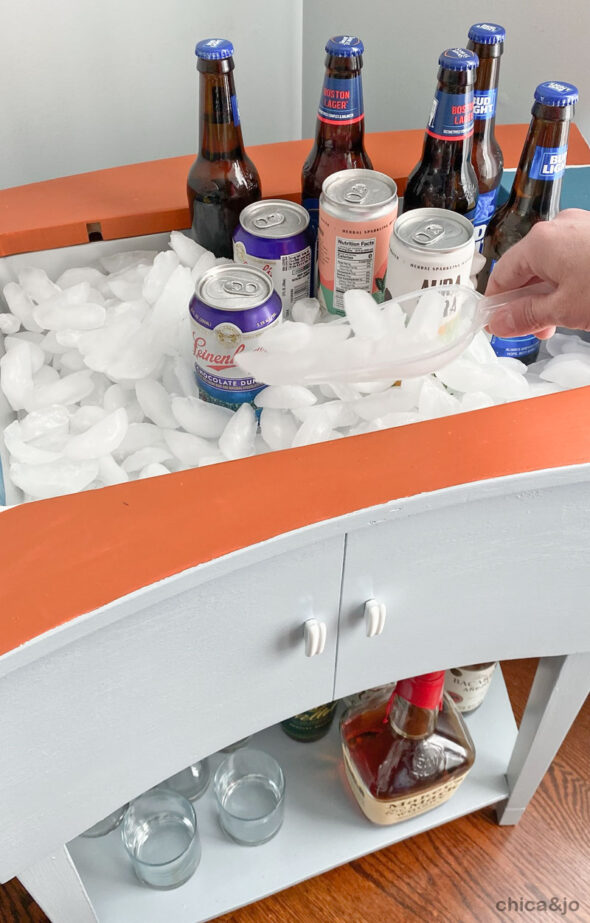
The tray I worked so hard to add makes the perfect container to hold ice that can keep bottled and canned drinks cold. And since it's removable, it will be super easy to empty after the party.
With everything loaded up, our new bar cabinet is ready to serve guests.
The bold and unique stripes really make a wow statement with guests, and make a great serving area.
This project definitely shows how you can breathe new life into vintage pieces, keeping their charm but adding some unique design to them with color. Keep an eye out at garage sales for your own vintage sewing machine cabinet to make over. Until then, cheers!


