No-sew Cupcake Baby Bib Pattern
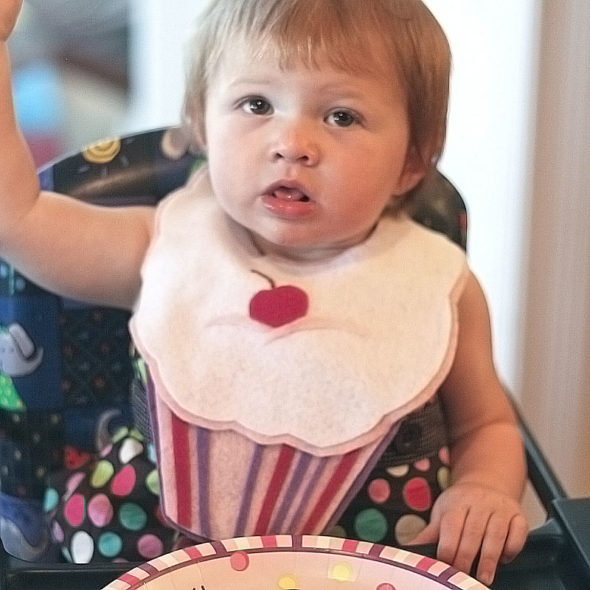
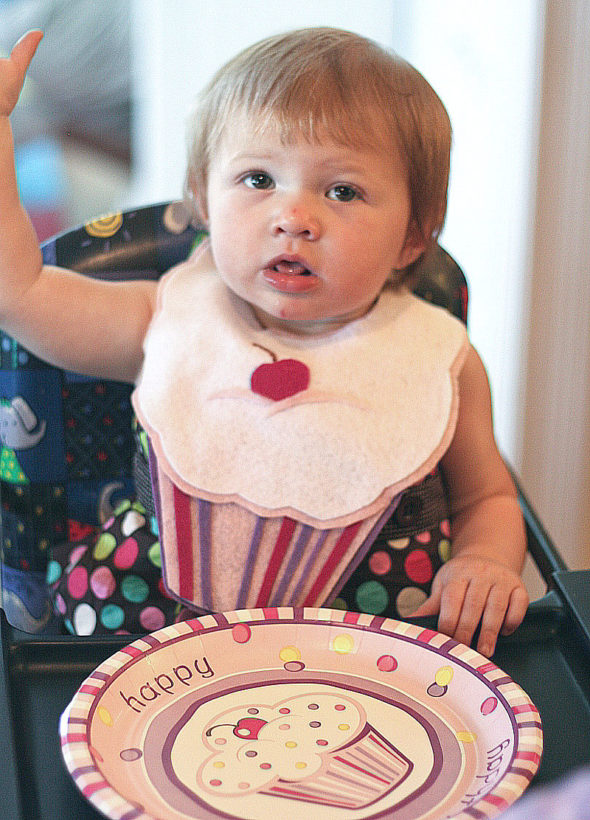
Jo's younger daughter (whom she lovingly calls Mini Me because she looks so much like Jo) recently celebrated her first birthday, complete with an adorable, cupcake-themed party. I stepped in to make a cupcake bib for Mini Me to wear while she ate her first birthday cake. I made it out of felt, and it was so easy... in fact, it doesn't even require any sewing except for the snap at the end.
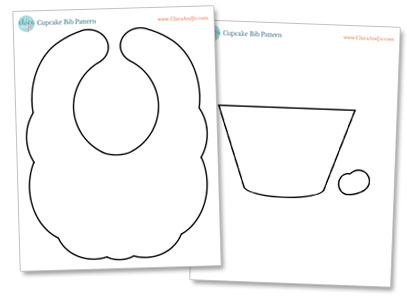
The pattern for this cupcake bib is pretty simple, and can be customized to whatever color scheme you like. Just start by downloading my cupcake bib pattern. Then print it onto regular white paper and cut out the pattern pieces.
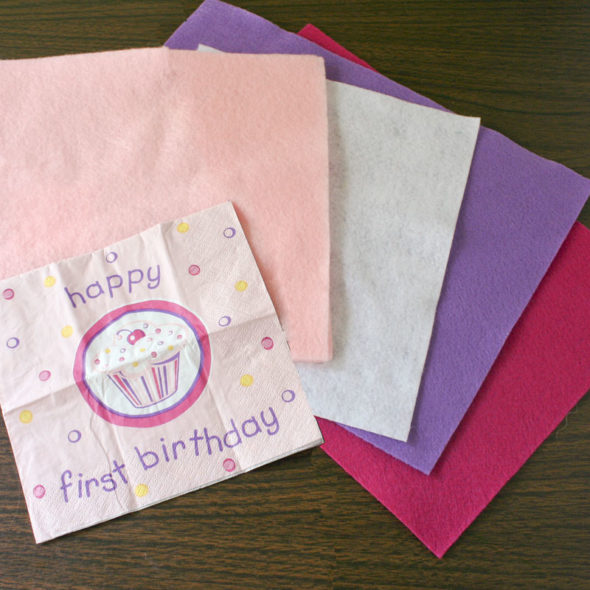
I used felt to make this bib because it's soft for the baby, and really easy to work with (no hemming rquired!) for a quick sewing project. For Mini Me's bib, I picked colors of felt to match her cupcake-themed party ware — white, light pink, dark pink, and purple.
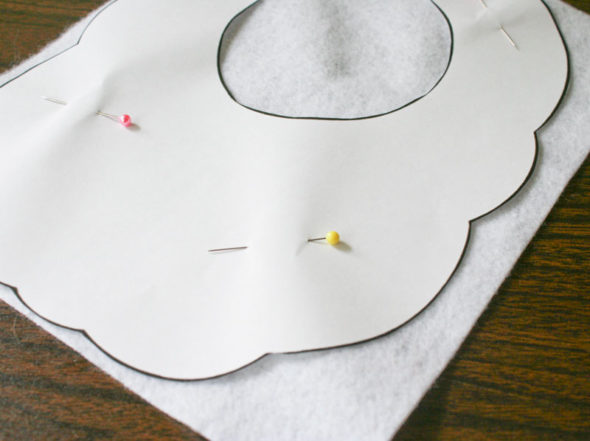
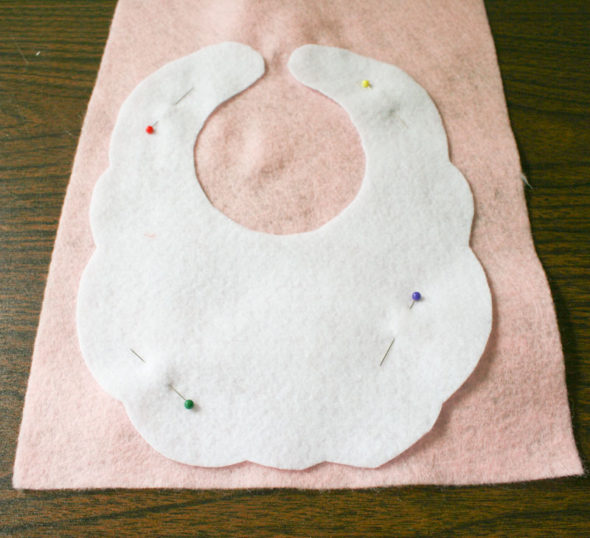
Start by pinning the main bib pattern piece (which happens to look like Santa's beard... go figure) to a piece of white felt, then cut it out.
Then place the cut piece of white felt on top of the light pink felt and pin in place.
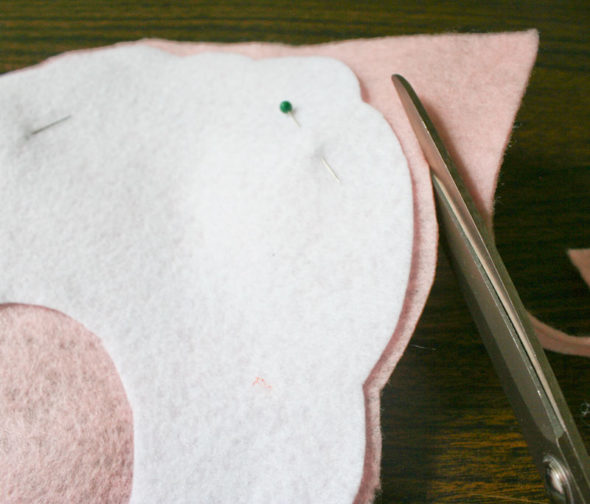
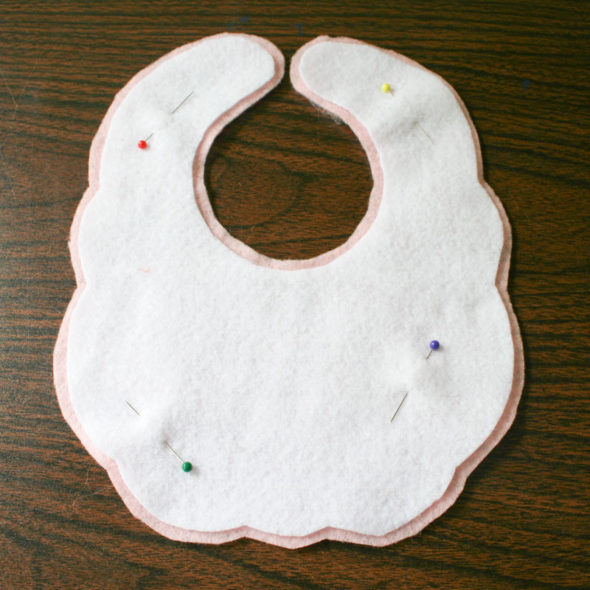
Cut the pink felt, leaving it about 1/4" bigger than the white.
This will create a nice outline for the bib. The second layer of felt will also strengthen the bib. I don't know what it is about white felt, but it's always so much thinner than the other colors, so doubling it up like this really helps.
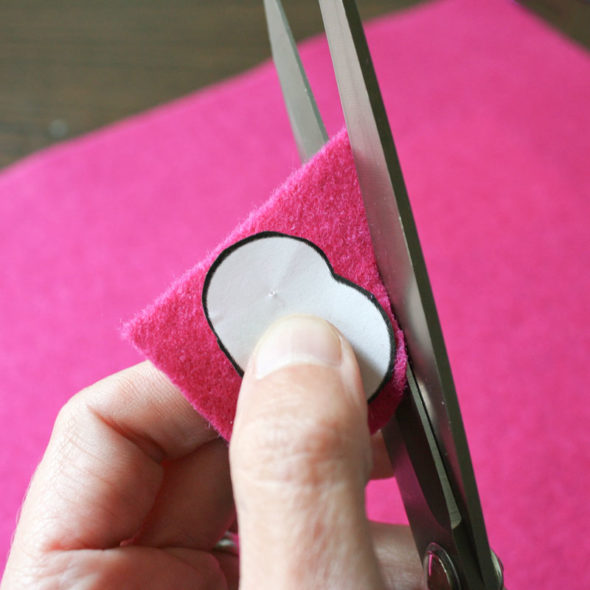
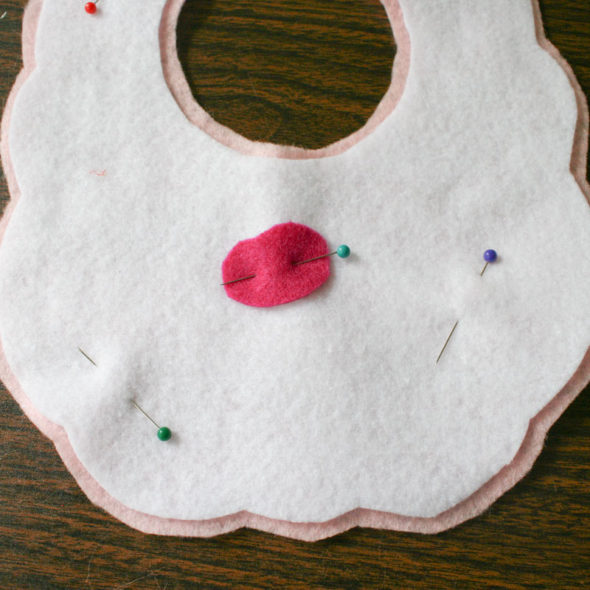
Using the small blob-shaped pattern piece, cut out a cherry from dark pink felt.
Pin it in place in the middle of the white felt.
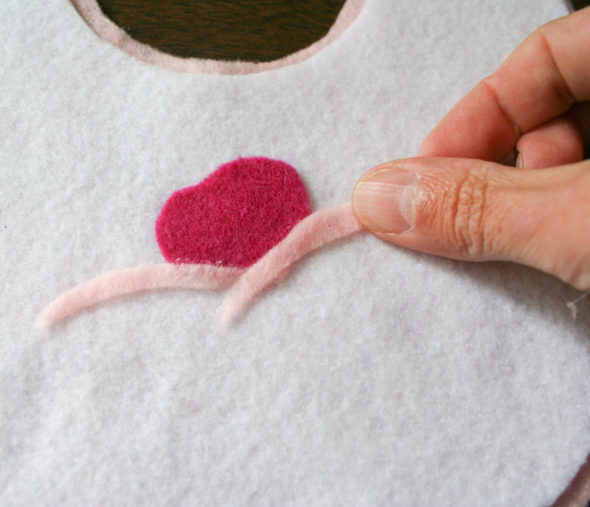
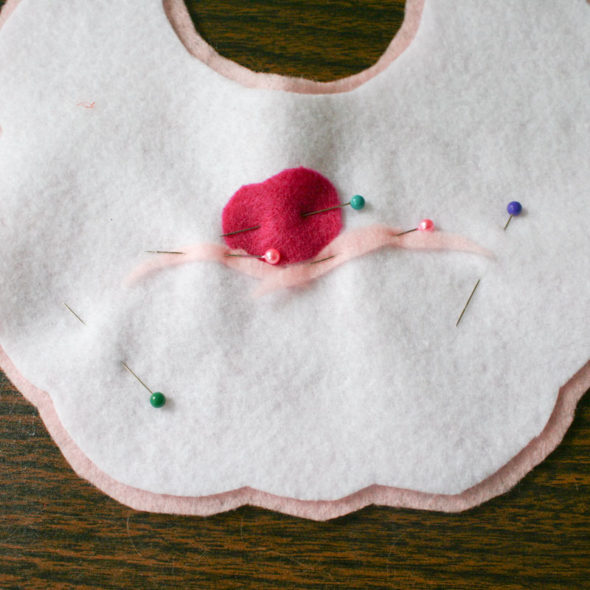
Grab the scraps of light pink you have left and cut out two strips of felt, each about 2 inches long and curved slightly. I would love to give you a pattern for this, but it's just not feasible to try to cut around something so thin, and this is a pretty easy shape to freehand. Place these little curves at the base of the cherry, so that it looks like the cherry is sitting on a billowy pillow of frosting.
Secure with a couple of pins.
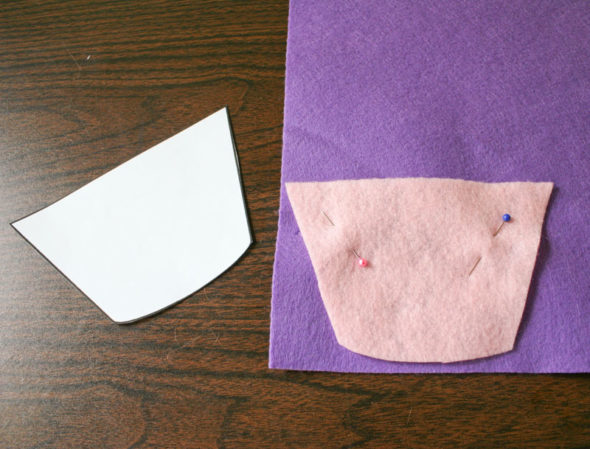
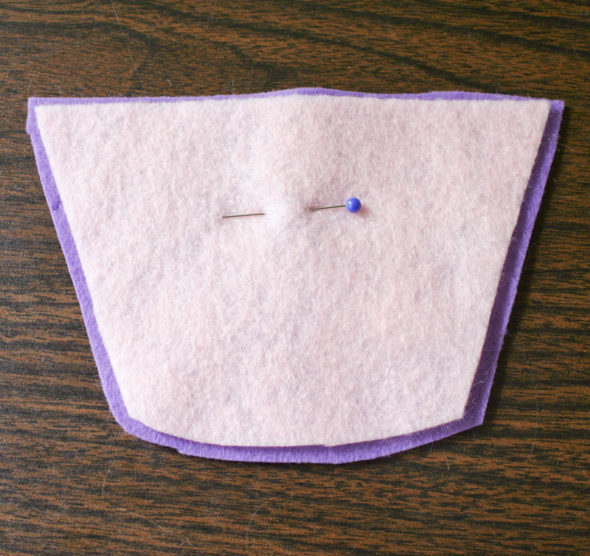
Now let's move on to the base of the cupcake. Use the final pattern piece to cut out a shape in light pink, then place that piece on the purple felt.
Using the same technique as before, cut the purple felt so that it's about 1/4" larger than the pink, all the way around.
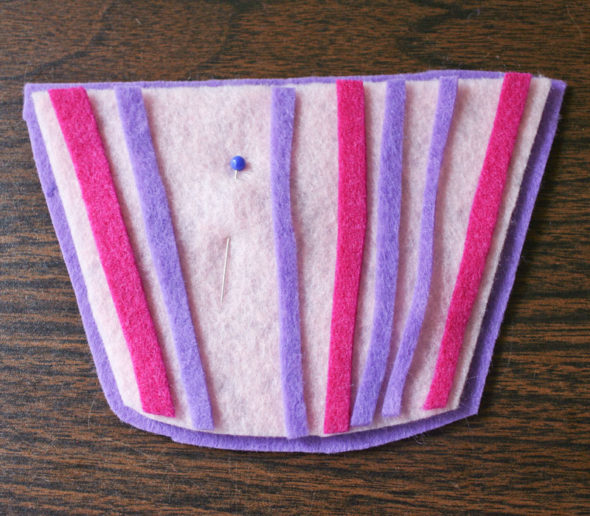
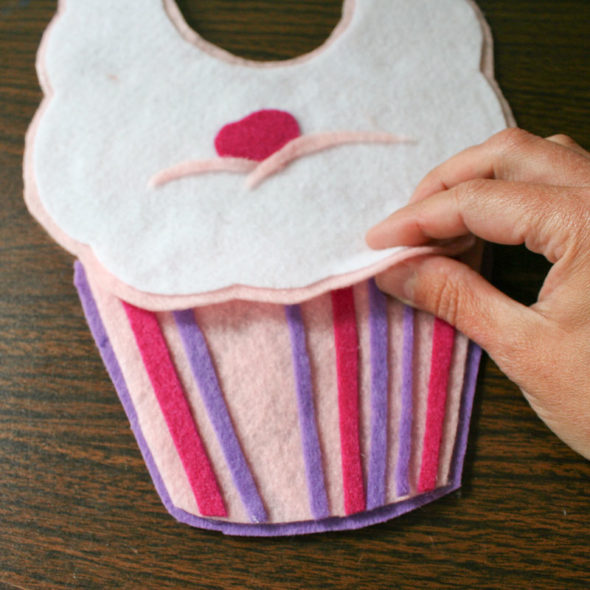
To decorate the bottom of the cupcake, cut some strips of varying widths out of the remaining bits of dark pink and purple felt. Arrange them on the base of the cupcake in a design you like. You don't really need to pin them, because they'll stay put just from the friction of the felt.
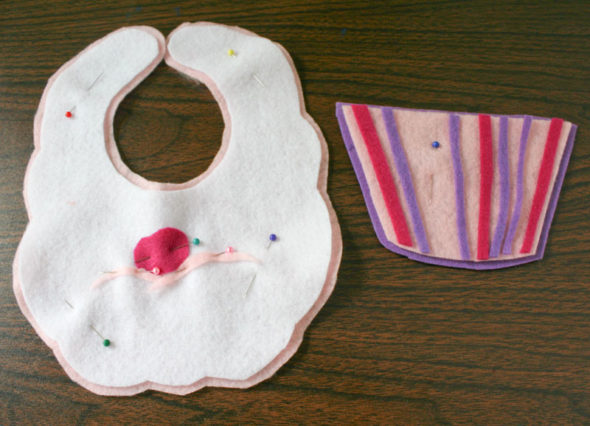
And with that, you should now everything cut and pinned.
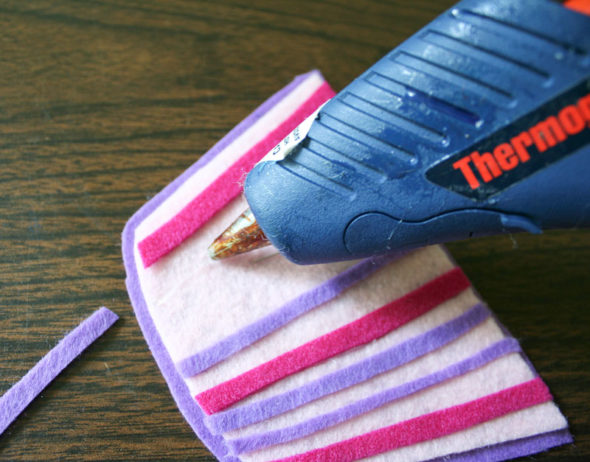
Time to whip out the trusty glue gun! (You can use felt glue if you've got it, but I like the speed of hot glue.) Glue all the pieces in place and remove the pins.
Use some more hot glue to glue the frosting half of the bib down to the base.
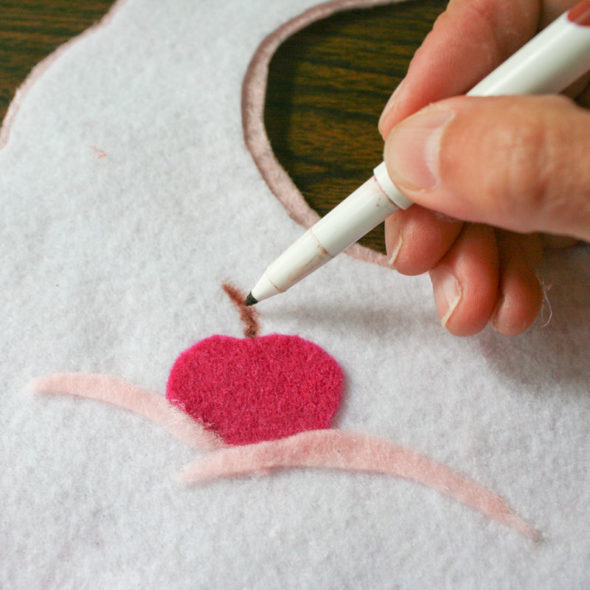
Then, take a brown marker and draw a stem on the cherry.
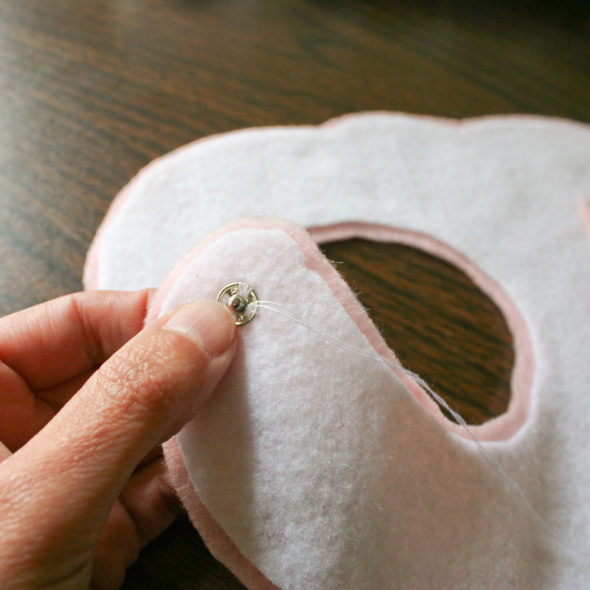
The bib is all done except for a closure to keep it on the baby. To attach the back of the neck, I like to use a quick sew-on snap. You could use sew-on Velcro or if you want to keep this a truly no-sew project, you could cut a little hole in each side and string a ribbon through it, and tie it in a bow.
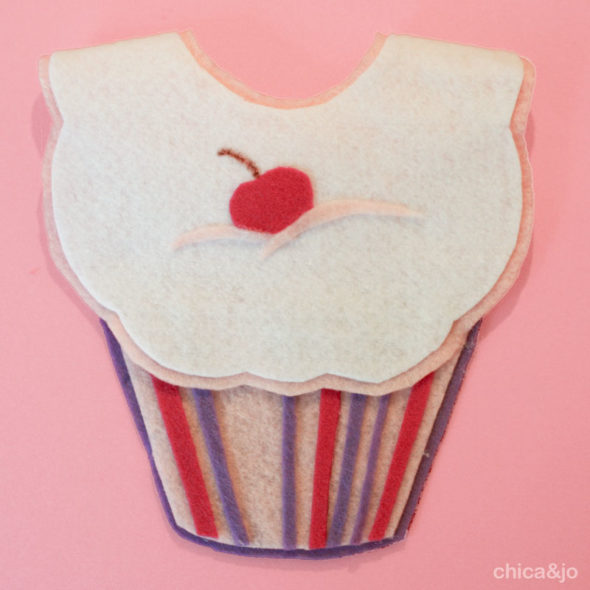
Just look how cute this cupcake bib is!
Mini Me was a huge hit at her party with her fancy bib, which just happened to match her cupcake-themed partyware perfectly.




6 comments so far:
That is the cutest! What a great idea :D
Aww, that is the cutest bib ever! Thanks so much for sharing this, I'll be linking.
Thanks Anissa and Rachel!
oh my so adorable!!
Thank you for the great pattern and directions. I just made one in blue for my son's birthday and it turned out great! It took me less than 30 minutes and was soo easy!!
That's wonderful to hear, Nicole! We'd love to see a photo if you'd like to e-mail it to us.