Coat Closet Organization and Makeover
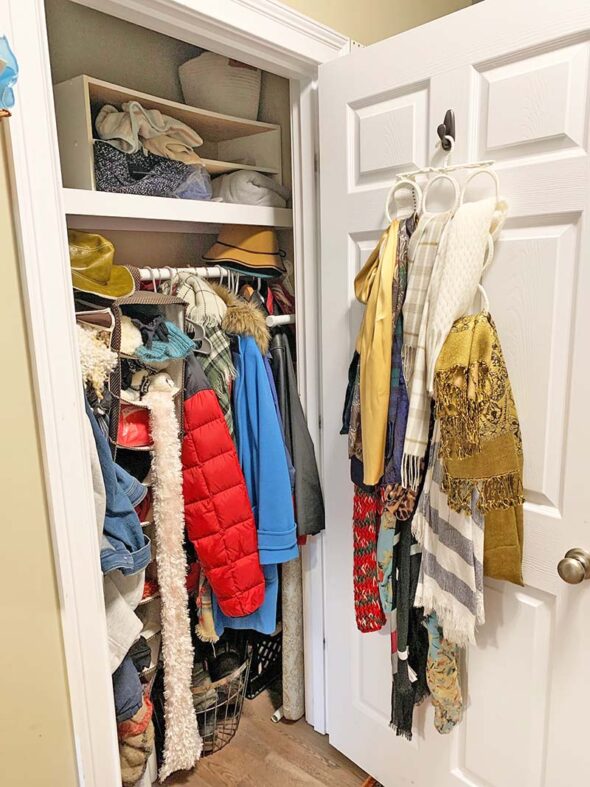
In my laundry room, I had a builder-grade, standard coat closet that wasn't really working for my family. The space was so small that it filled up quickly and the organization in the closet was non-existent. And since it is the room you enter from the garage, it was the dropping zone for every coat, hat, shoe, and glove in the house. It was jam packed.
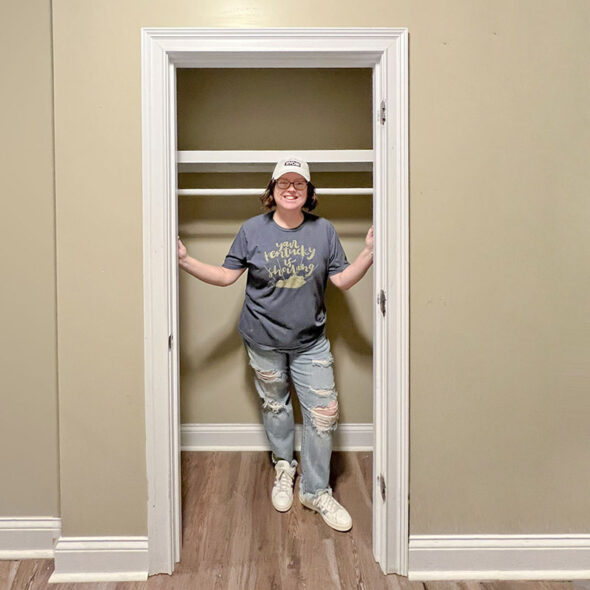
The kicker is that our ceilings are a bit higher than normal, which meant lots of space at the top of the closet, but that doorway blocked it all. There was so much space at the top of the closet that I couldn't reach. The wall was preventing access the top of the closet... so we decided to get rid of the wall completely!
Video: How we opened up a closet for more storage space
Here's a quick video showing the transformation of this closet into a wide, open, new storage space.
If you can't see the video, try viewing it directly on YouTube.
Removing the closet door and the wall around it
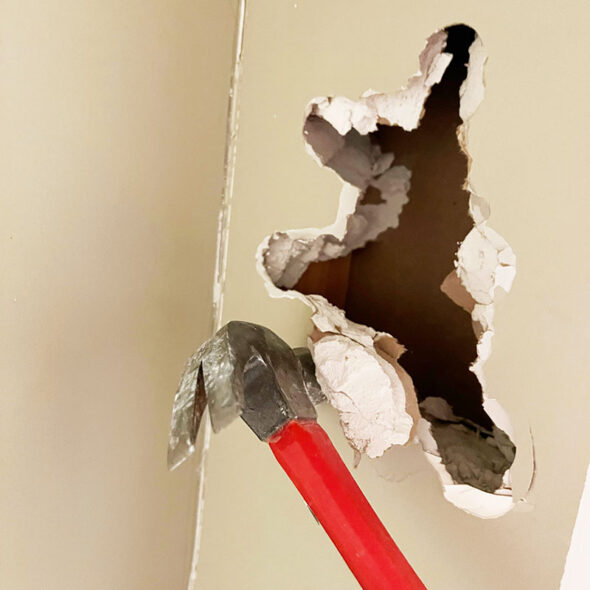
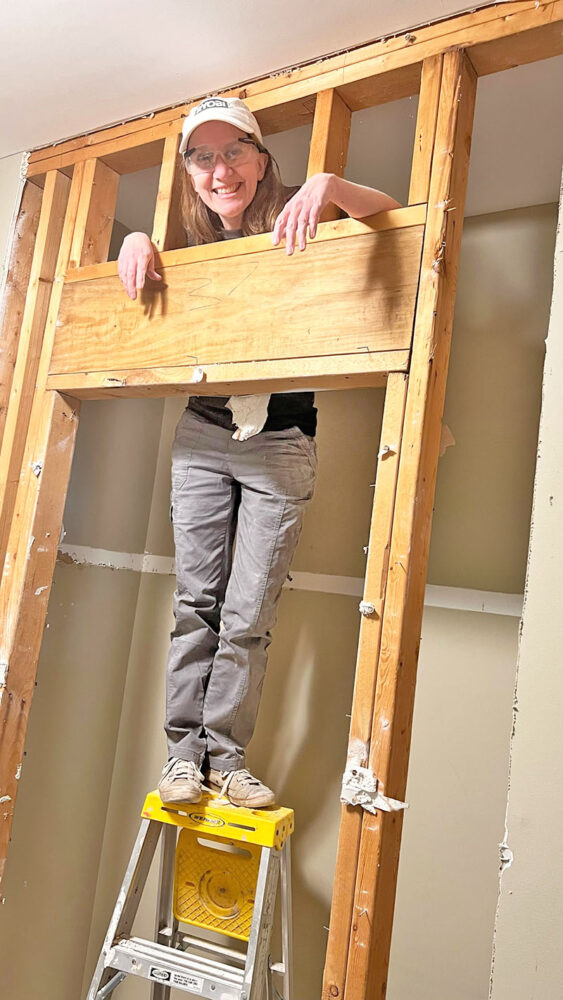
Our plan for opening up the space started with removing the door and the door frame, and then the parts of the wall that made up the front of the closet. Opening this up would allow us to add shelves to maximize the storage space.
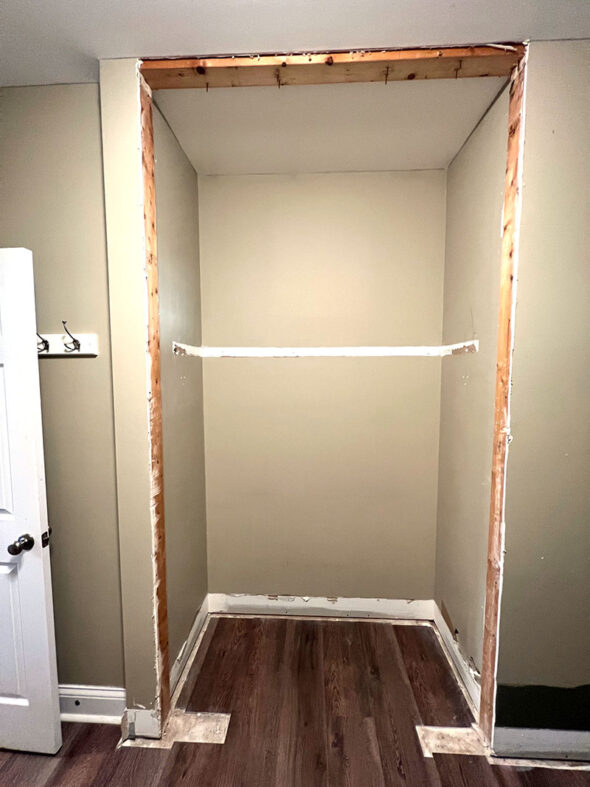
Once the drywall was all removed, we could really see what we had to work with. Since this wasn't a load-bearing wall, we knew we could remove the unnecessary studs that made up the closet frame. There was so much space hiding behind those 2x4s.
Oh, the space! So much space! We couldn't believe how much larger the closet was without that front wall. We had avery tall and deep box to start building out the new closet.
Adding an arched frame
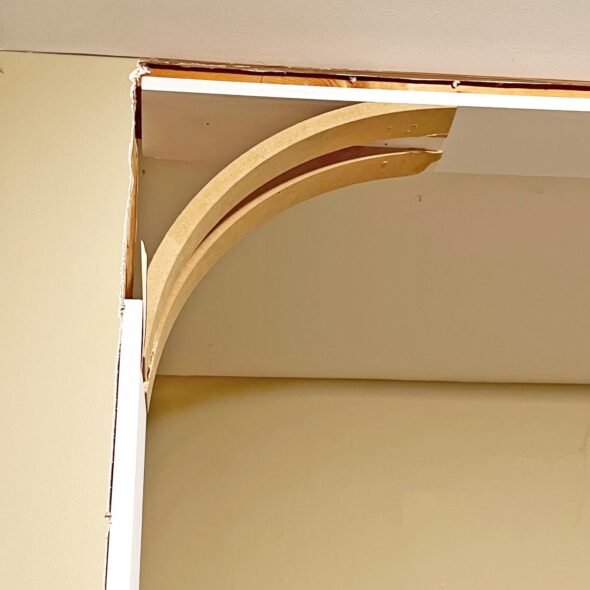
For a little style, we decided to add an arch to the new closet trim. We used an arch kit from Home Depot to add some curves in the corners quickly and easily.
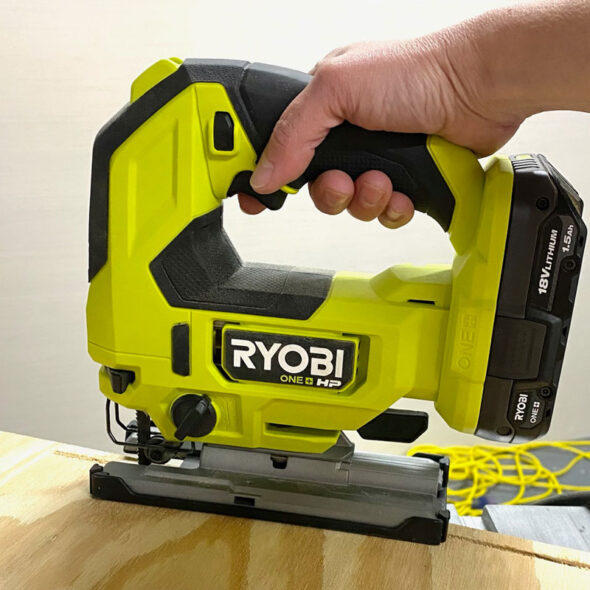
We also trimmed out the sides of the opening with straight 1x4 boards, and used a jigsaw to cut curved trim pieces for around the corners of the arch.
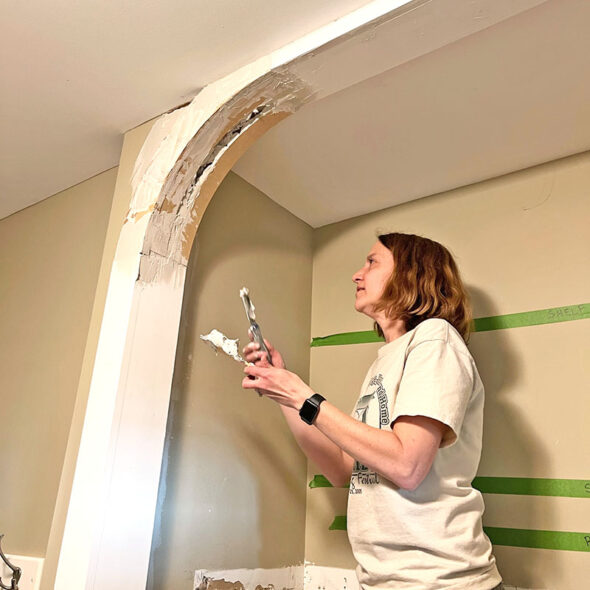
Then we filled the gaps with joint compound and sanded everything smooth, giving the closet a seamless decorative trim all the way around the opening.
Lining the closet with wallpaper
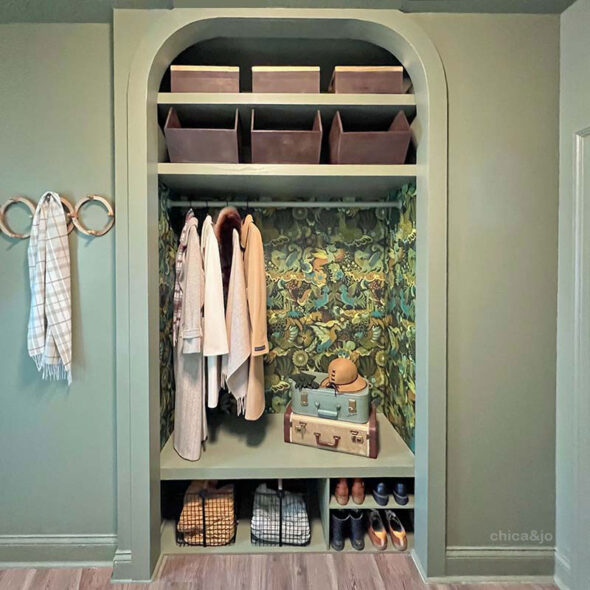
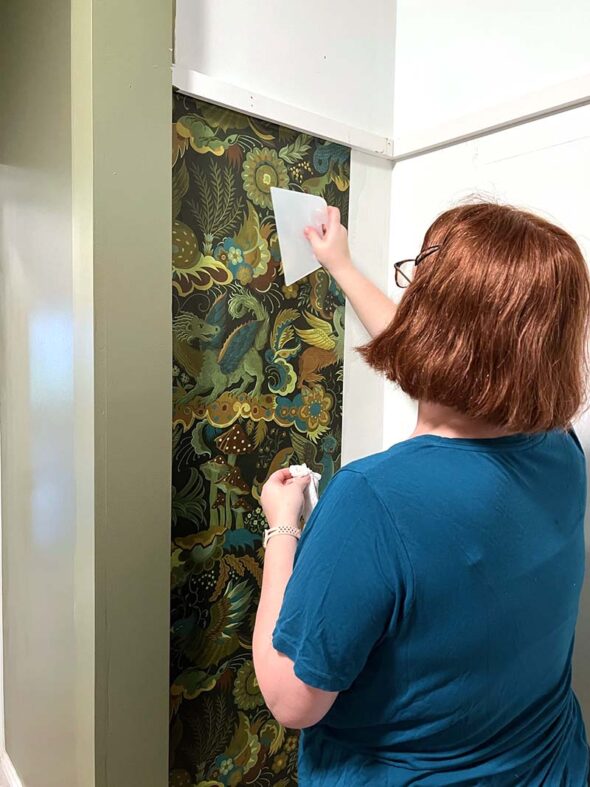
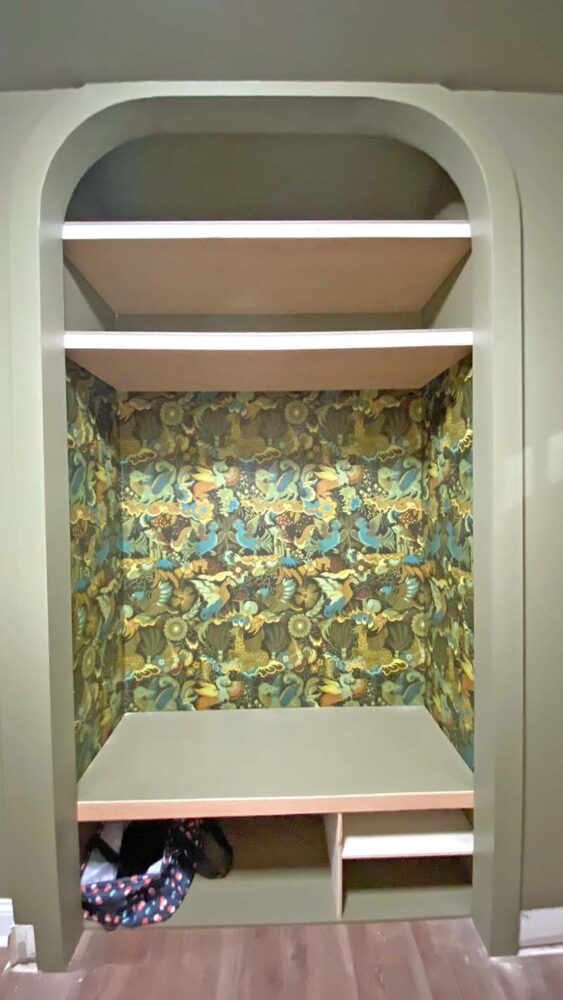
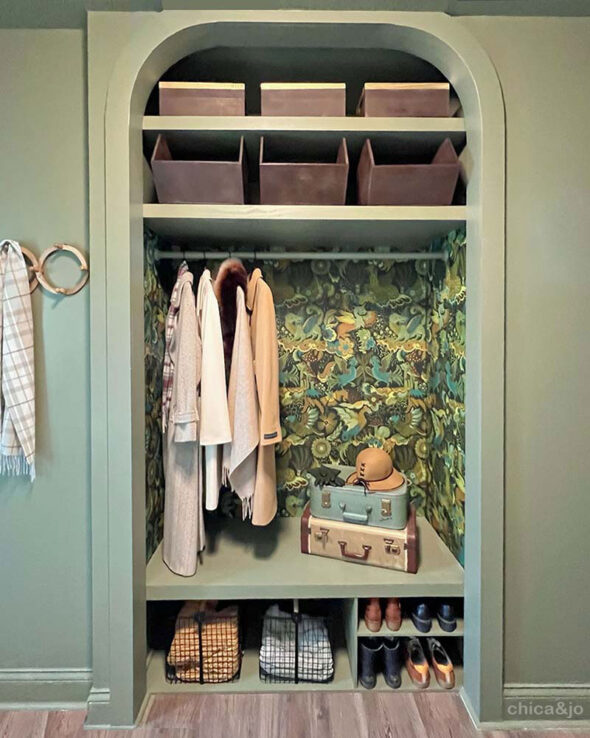
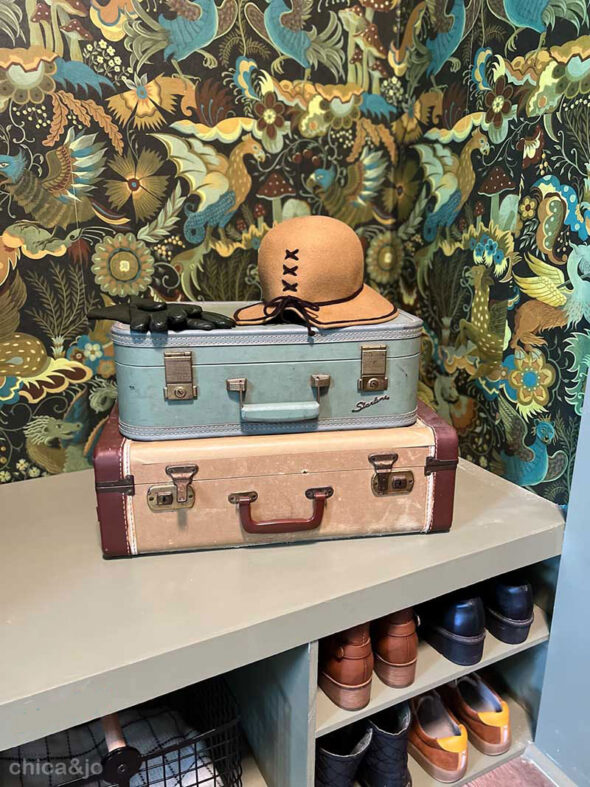
Now that this closet space was so open and inviting, it was screaming for a fun punch of pattern. Wallpaper was just the right choice to easily add some drama. I chose the Phantasia print by House of Hackney, which has a deep green color story that looks fancy and elegant at first glance, but actually features dragons and other fun mythical creatures. We installed in the main open section of the closet where it would be seen the most, and painted the rest of the closet a coordinating green.
Install extra shelving
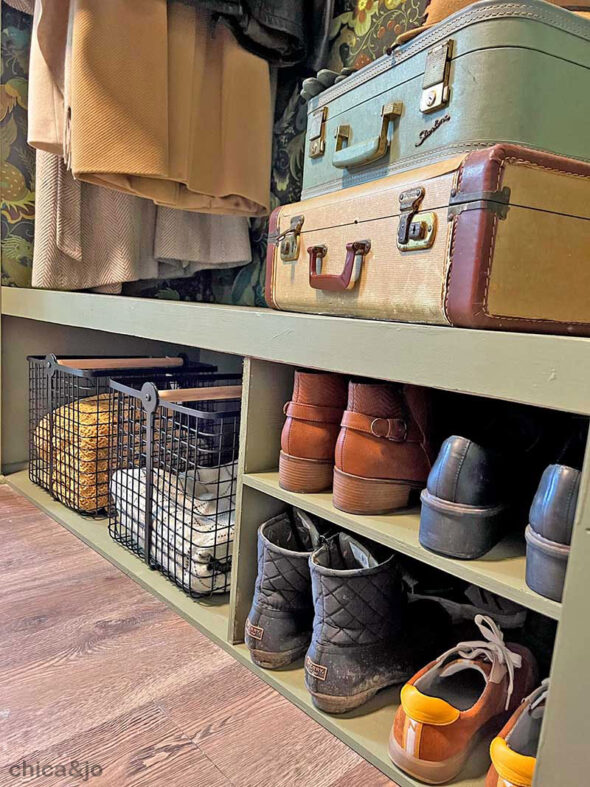
We added two long shelves to the top of the closet using the typical cleat-frame-wrap technique. I planned out the spacing and size based upon the storage needs of my family, and the organizational boxes I had picked out ahead of time. We added another shelf near the bottom, with shoe cubbies and dedicated space for totes.
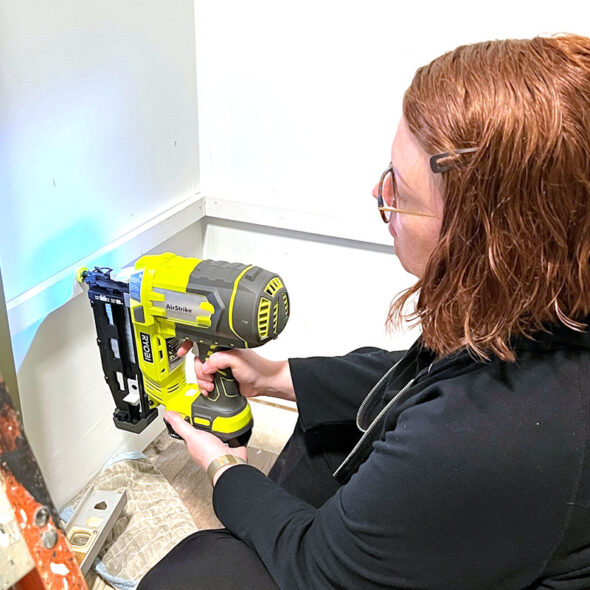
Our new Ryobi Airstrike nailer made it super easy to add install the shelf cleats (as well as the trim). We loved convenience of the battery-operated nailer — no cord or compressor to get in the way! If a nail gun is a new tool to you, check out Chica's TikTok explaining the the pros and cons of using a battery-powered and air-powered nail guns.
Finding the perfect closet storage containers
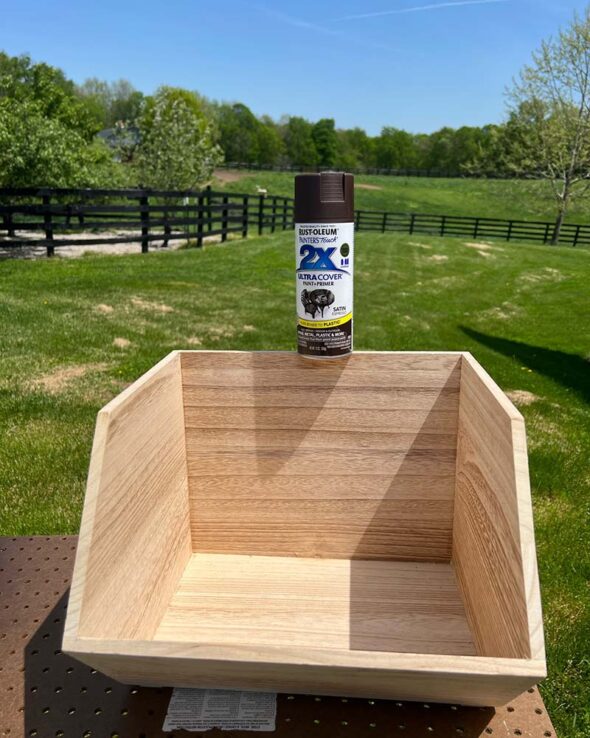
Before purchasing storage containers for my closet makeover, I made sure to think carefully about what I wanted to store. I needed easy access to gloves, scarves, and hats, so I chose open bins. I picked plain wooden ones so that I could paint them to match the colors in the wallpaper.
I based coated them in brown first, then I added a little blingy accent to them with my favorite gold spray paint.
Oh, now look at that! I love the added function of these storage boxes almost as much as I love the rich brown and the pop of gold.
The closet is deep so I actually have two rows of storage containers on the shelves. The front ones contain often-used items like hats, gloves, and scarves, and the ones tucked behind contain less-used items like light bulbs and household backstock.
I might actually have TOO much storage now.
I guess I have to go out and buy some more cute scarves to fill it all up!





2 comments so far:
What is the "cleat-frame-wrap" technique?
Yael, I'm sorry we didn't clarify that more! It's a common technique that I didn't know how else to describe. Basically, you attach a ladder/grid frame to the wall, then wrap it with wood to make a shelf. It creates a sturdy and bracketless floating shelf. Here's a video I found that shows a pretty good example of it.