Christmas Trees Made from Tomato Cages and Ornaments
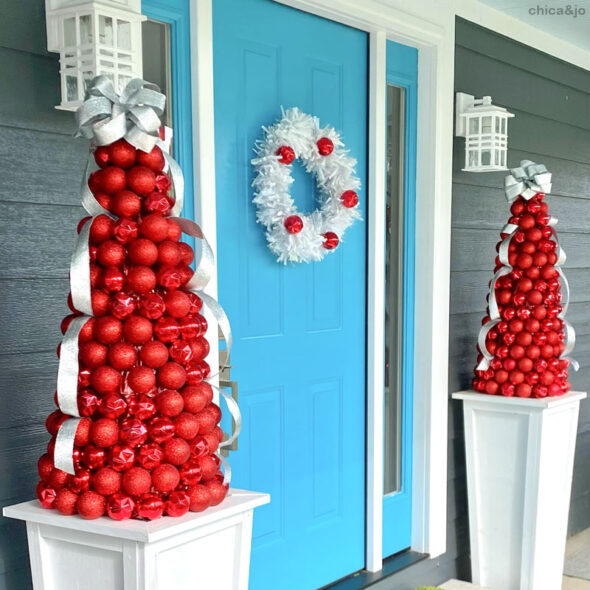
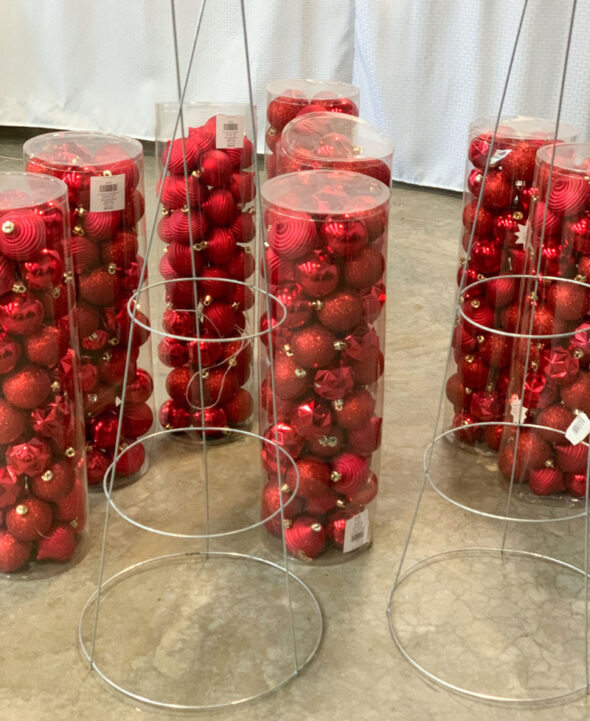
A few days after Christmas last year, I was scouring the post-Christmas clearance sales and found tubes of red ornaments on sale for 90% off. I simply could not pass up such an amazing deal, so I grabbed them all.
It took me and Jo a while before we could figure out what to do with all these clearance ball Christmas ornaments, but inspiration finally struck one day when we realized that upside-down tomato cages are already shaped like a Christmas tree.
We knew right away we could cover the tomato cages with Christmas ornaments and make sparkly outdoor Christmas decor.
VIDEO: Make ornament-covered Christmas trees from tomato cages
Here's a video showing all the steps we took to make these unique Christmas trees from tomato cages covered in ornaments.
If you can't see the video, try viewing it directly on YouTube.
If you prefer step-by-step instructions, keep reading to see exactly how I covered these tomato cages with ornaments.
How to make Christmas trees from tomato cages and ornaments
I was lucky enough to find some new tomato cages at my local hardware store, even in winter. With so many people making Christmas trees from tomato cages, some stores have learned to keep them in stock year-round.
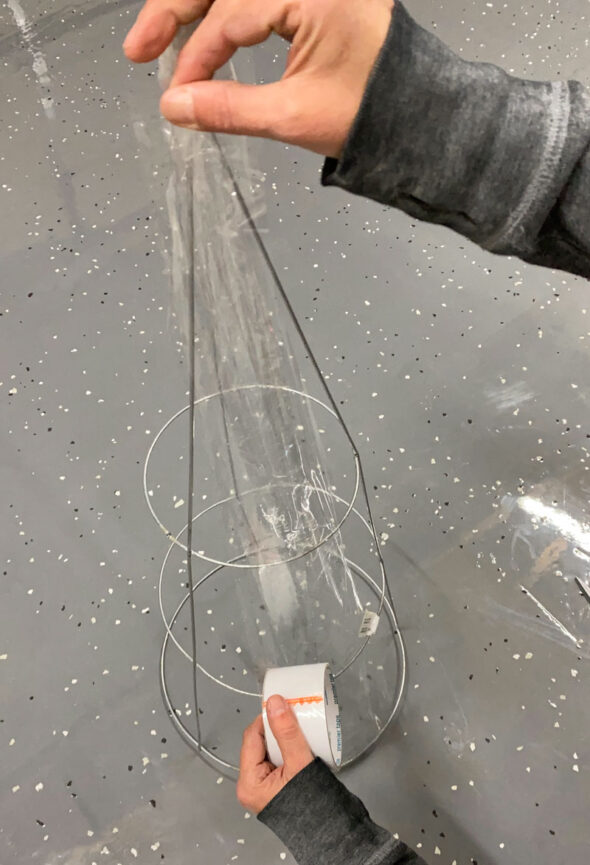
To form them into the perfect tree shape, I just had to tape the ends of the wires together into a point.
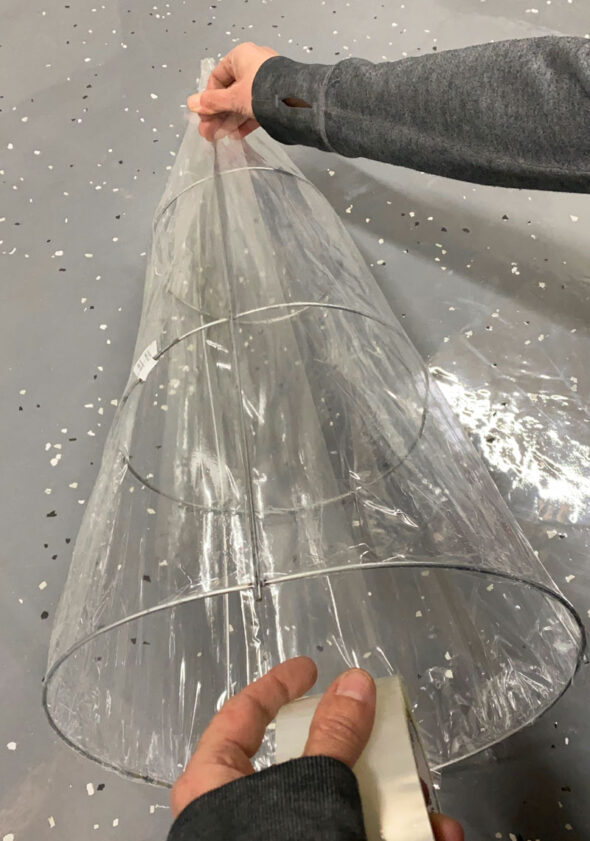
This made them the right shape, but still not solid enough to cover with ornaments. I fixed this easily by covering the sides with inexpensive packing tape.
I just kept applying strips of tape from the top to the bottom until it was covered. No need to worry about being super neat here, because it's just establishing a solid surface that will get covered up.
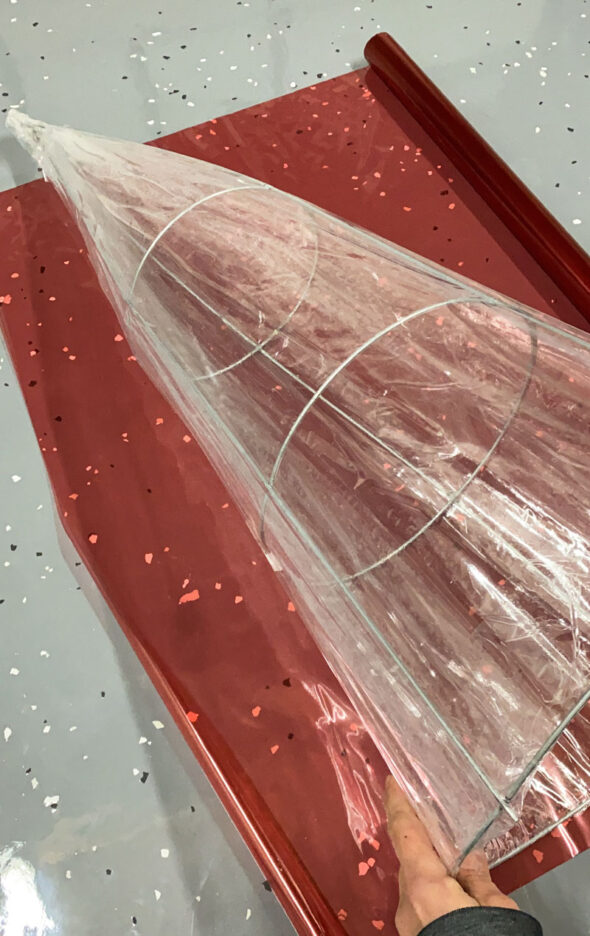
To be sure the tree showed red in between any gaps in the ornaments, I covered the shell with two layers of red cellophane. I used more packing tape to hold it in place, again not worrying about being too neat because it will get mostly covered up.
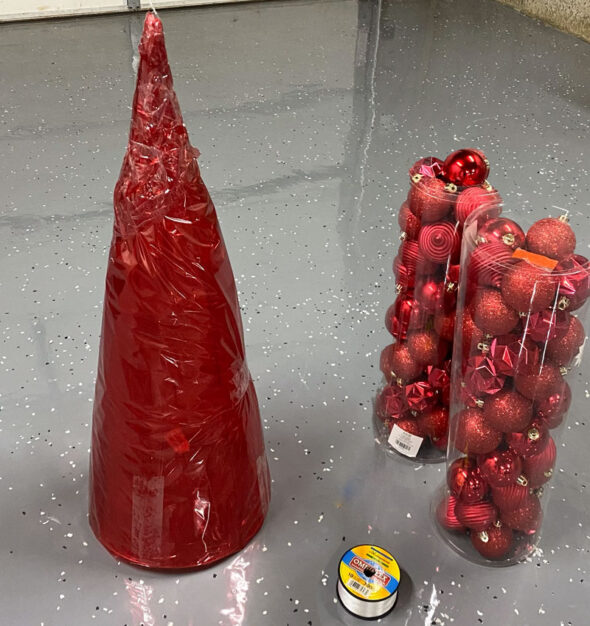
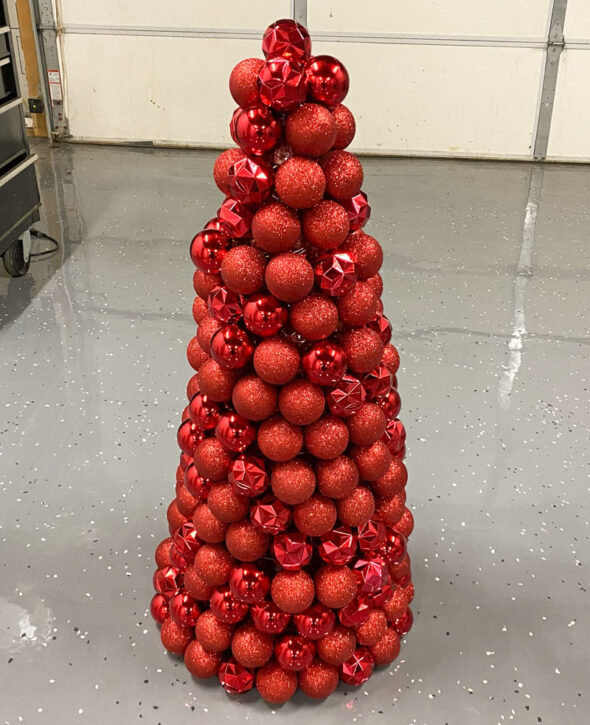
With the tomato cage fully covered, it was time to add the ornaments. For a 36" tomato cage, I ended up using about 200 standard-size 2-1/4" ornaments. (TIP: Be sure to choose shatter-proof plastic ornaments if you plan to put your tree outside.) The only thing I needed to apply the ornaments was a roll of clear fishing line / monofilament.
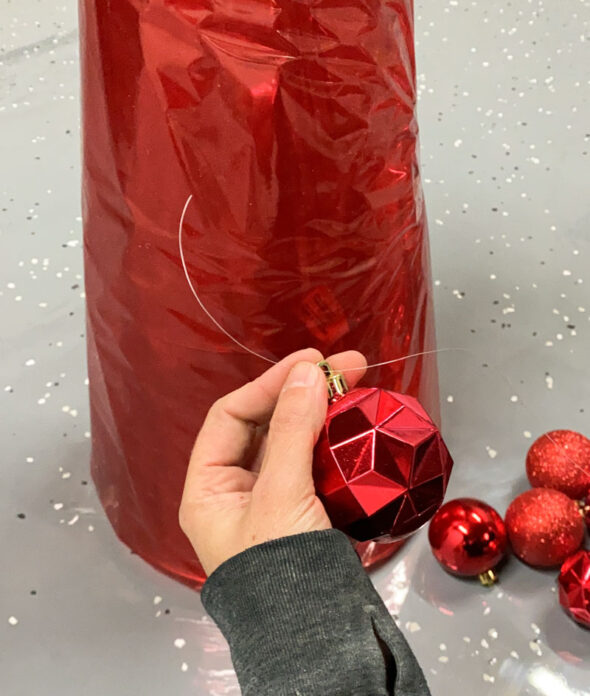
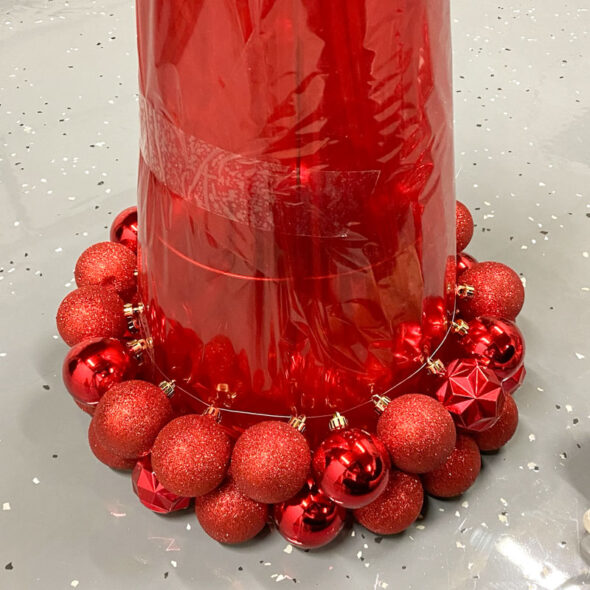
I cut a long piece of monofilament and tied an ornament to one end of it. Then I strung more ornaments on, until I had enough to go around the base of the tree.
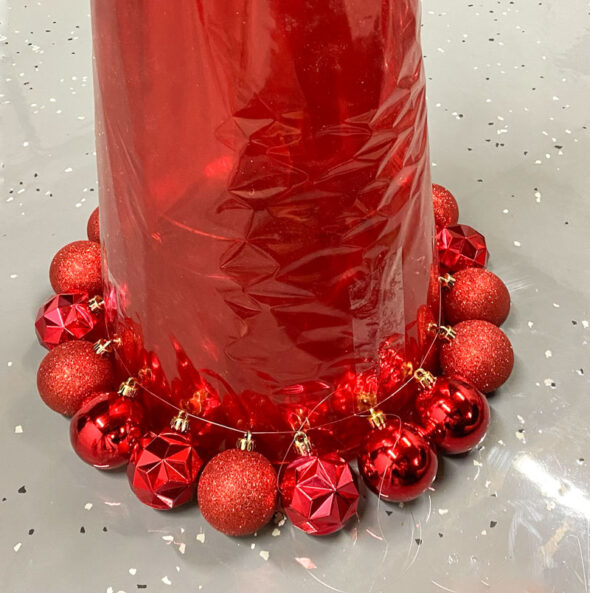
I draped the string of ornaments around and tied it tightly enough so that they hung, suspended, jusssst off the surface of the floor. The angled sides of the tree kept them from falling off, and no further attachment was needed.
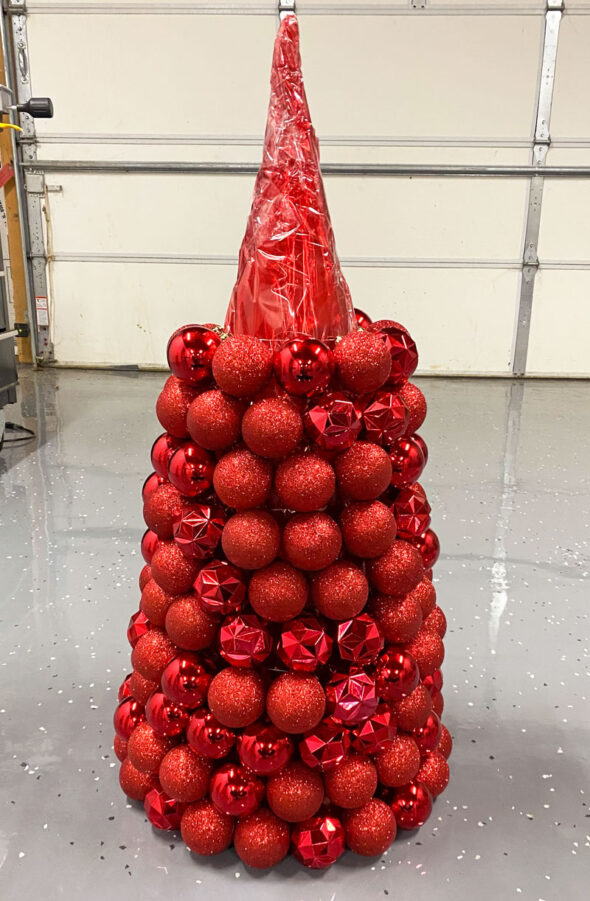
For the second row, I strung another line of ornaments and draped it on top, nestling them between the ones below.
I repeated that process over and over, working my way up the tree and covering it with sparkly red ornaments.
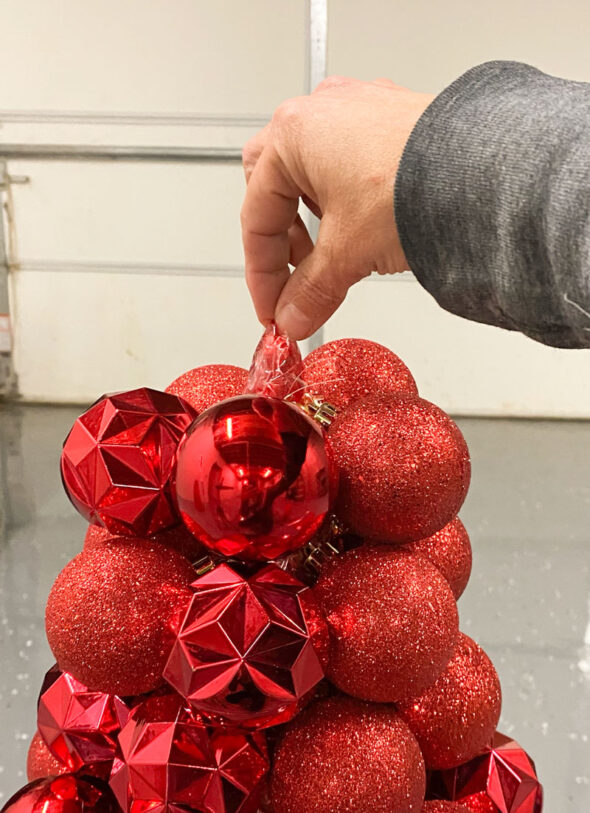
Eventually, I got to the very top, where I couldn't add any more loops, but the tip of the cage was still peeking out.
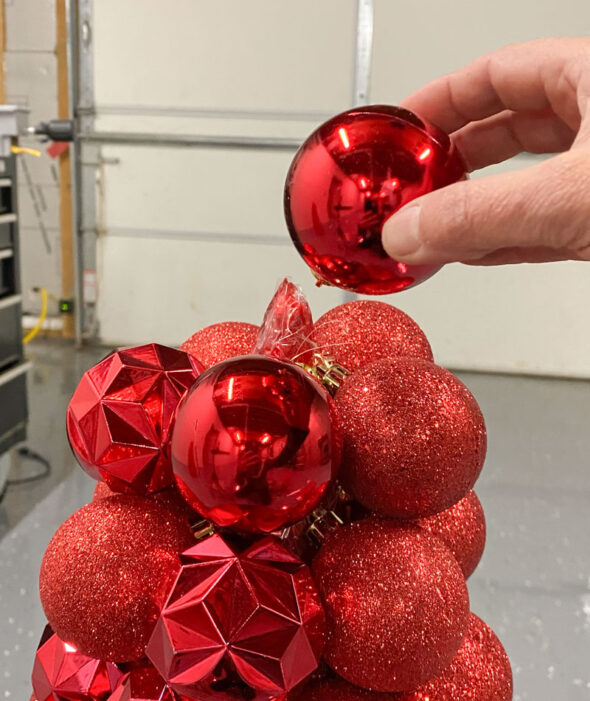
To cover this exposed point, I just added a few ornaments individually, using hot glue to hold them in place.
With that, I had a covered tree, ready to be put to use in my Christmas decor.
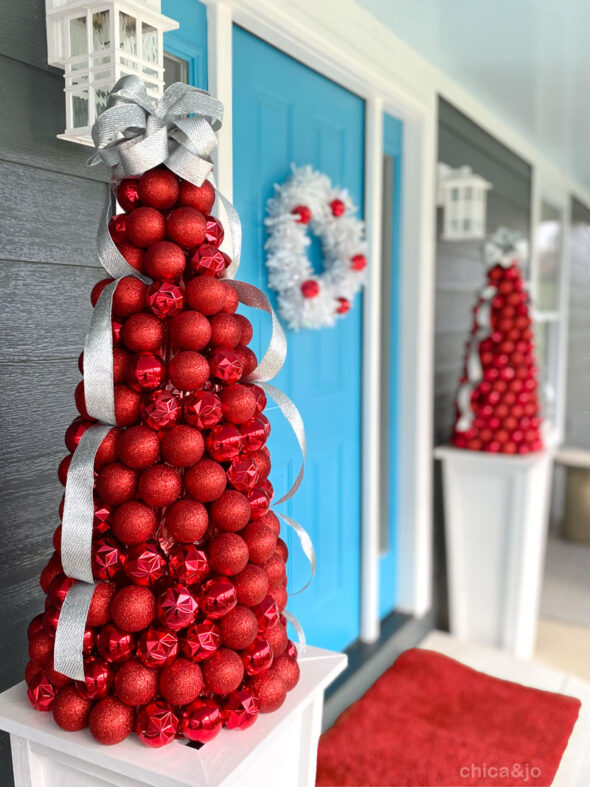
By a stroke of luck, the trees were the perfect size to sit atop the tapered planter boxes I built back when we remodeled my front porch. They look so perfect on either side of the front door!
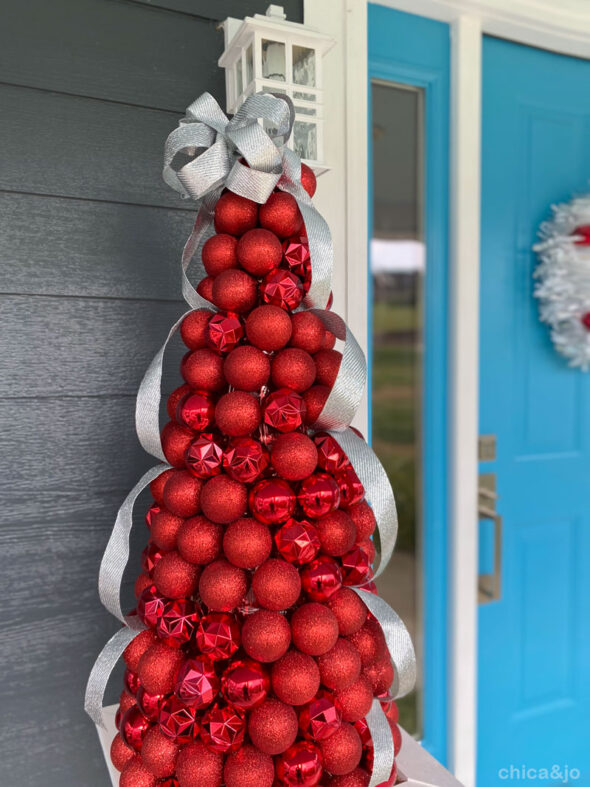
I added some silver ribbon and a bow to each tree to give it extra sparkle. I'm so in love with this look, and if I didn't make them myself, I'm not sure I would believe there were tomato cages underneath.






11 comments so far:
Don't they blow right over?
Kristina, we haven't had that problem but if you are in a very windy location, you can weigh down the trees by adding bricks or wood to the inside and attaching to the cage with zip ties.
Would love to make this how many ornaments did it take for two of them and what size ornaments they are beautiful
Karen, for one 36" tomato cage, I ended up using about 200 standard-size 2-1/4" ornaments.
Love this! Looks gorgeous! Now my brain is racing to think of a different way to cover the cages than all the tape??! Am thinking maybe red plastic tablecloth cut to form a cone shape that fits over the cage? Not sure the purpose of the tape if going to cover it anyway except makes sturdier beneath the cellophane. Greatidea! Did you find that the tape layer was vital? Thanks for the idea of using bricks inside base to anchor against the wind (or critters!)
Kathy, we'd love to see what other ideas you come up with! We did find the tape layer to be critical, because without it the tree wouldn't have rounded sides, and the balls would have fallen between the wires. The cellophane was to give it some background color but also be transparent enough to allow light to shine through if we put lights inside.
These came out lovely! I’ve been wanting to do this for a very long time of course not the exact same way you did it, but I think that the tape gave you a good advantage here. I’ve had everything I need to make them for a long time but finding the time to do all I do now is hard enough! Lol In saying that I’m finding myself working on yet another project right now!
How many ornaments did you use for each ring around the tree?
Tiffany, I don't have an exact number for you, but looking at the photos, I would guess 18-20 on the bottom row and then reduce it by 1 or 2 for each row on top of that. But please remember that the quantity will vary depending on how big your tomato cages are and the size of your ornaments!
Beautiful! I may have missed this but what size was your tomato cage?
Beth, I used a 36" tomato cage (and to answer what's probably your next question... I used about 200 standard-size 2-1/4" ornaments)