Christmas Trees Made from Resin and Wood Slices
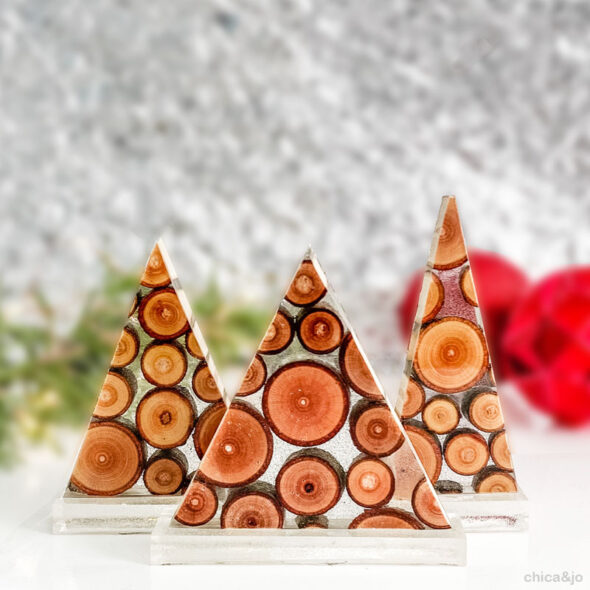
I'm really into the resin crafting trend these days, and wanted to incorporate resin into my Christmas decor. I like mixing the sleek, modern resin with natural wood, so I used that as my inspiration to create the cutest little resin trees filled with wood slices.
Step 1: Cut the wood slices
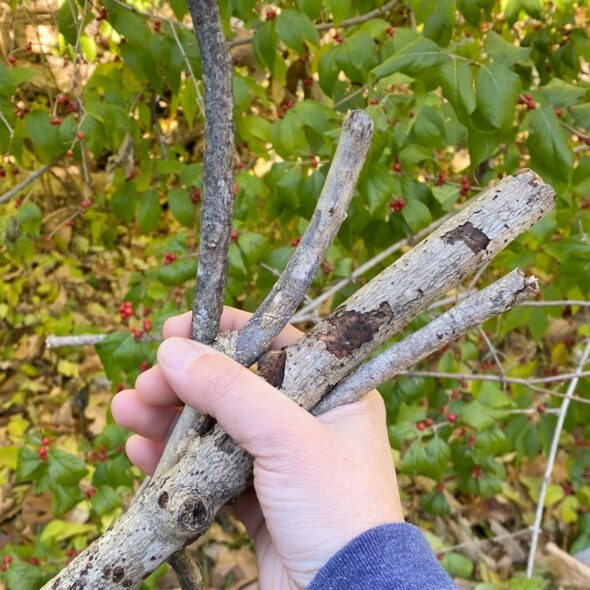
The first thing I needed to get started is a bunch of sticks and branches in various sizes. Fortunately, we have enough trees in our yard to make it easy to find what I needed.
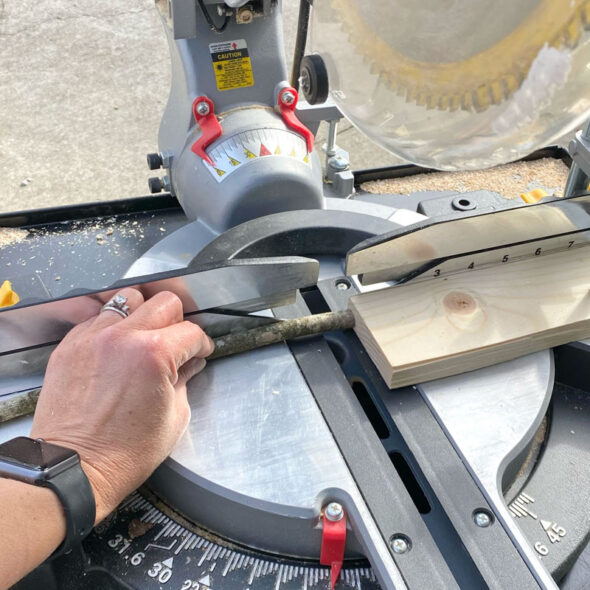
To cut the branches into slices, I clamped a board down to my miter saw to serve as a stop, then pushed the branch up against it and cut a slice. The stop forced every slice to be the same thickness, which was about 1/2".
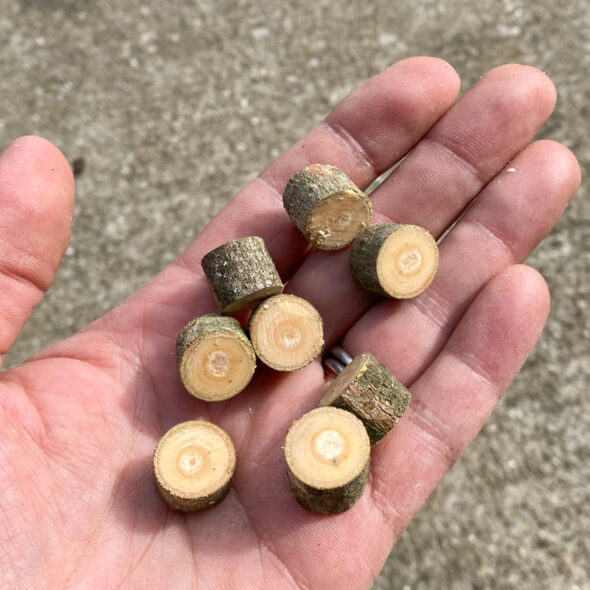
Before long, I had a bunch of little wood slices in various diameters. So cute!
Step 2: Pour the first layer
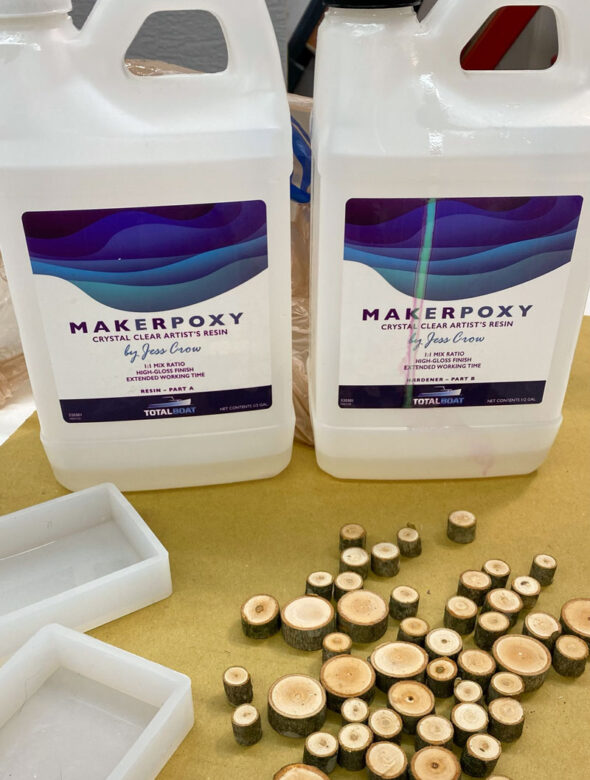
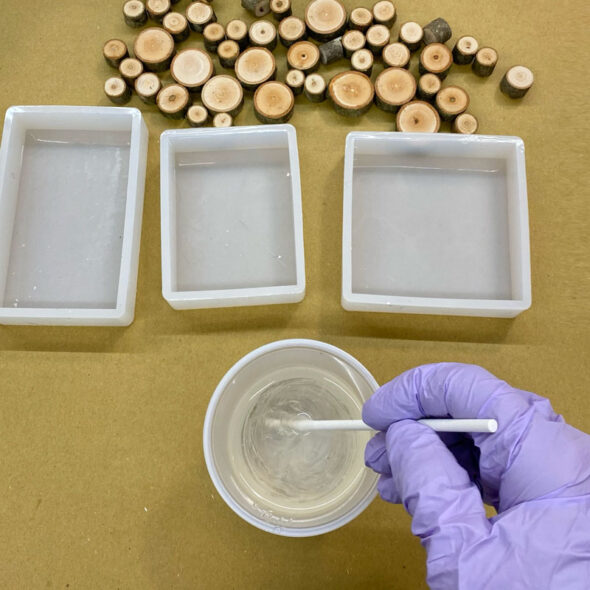
I gathered up the rest of my supplies, including some TotalBoat MakerPoxy resin and a few selections from this assortment of rectangular silicone molds.
I mixed equal amounts of the two-part MakerPoxy together in a cup for four full minutes to evenly distribute it and activate the chemicals.
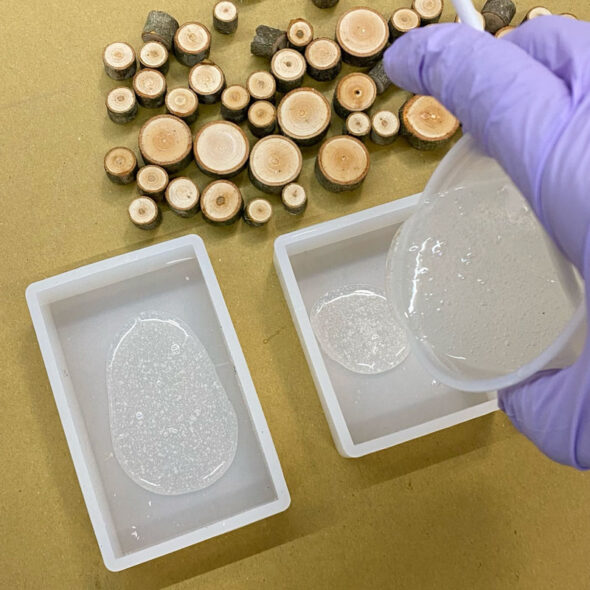
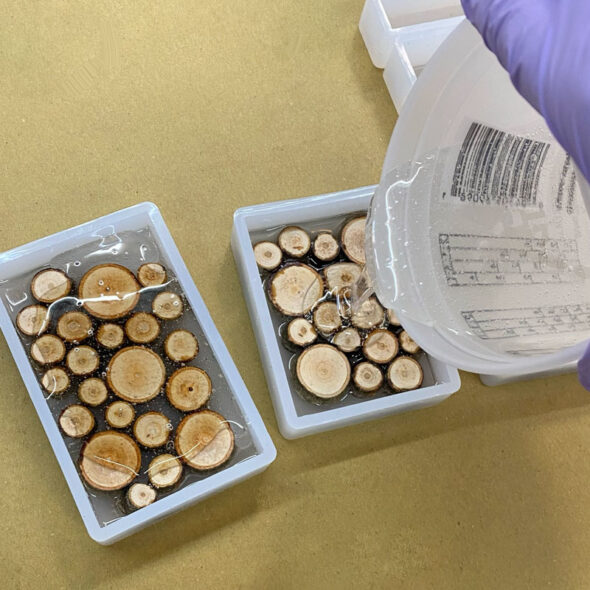
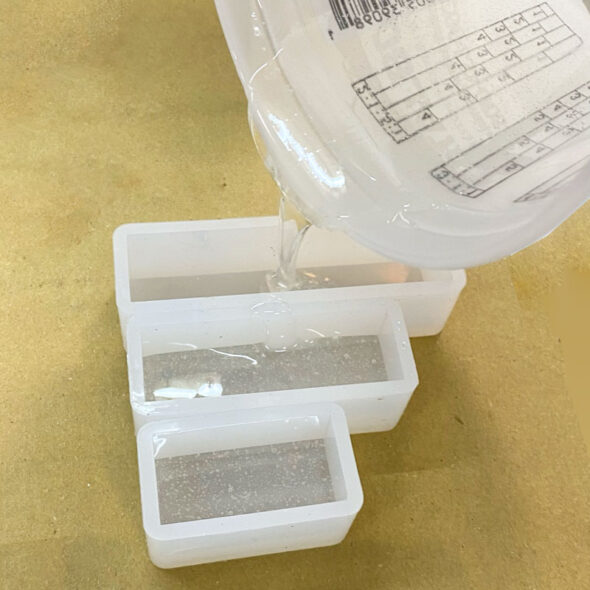
Then I poured just a thin layer of resin into the bottom of each of three molds.
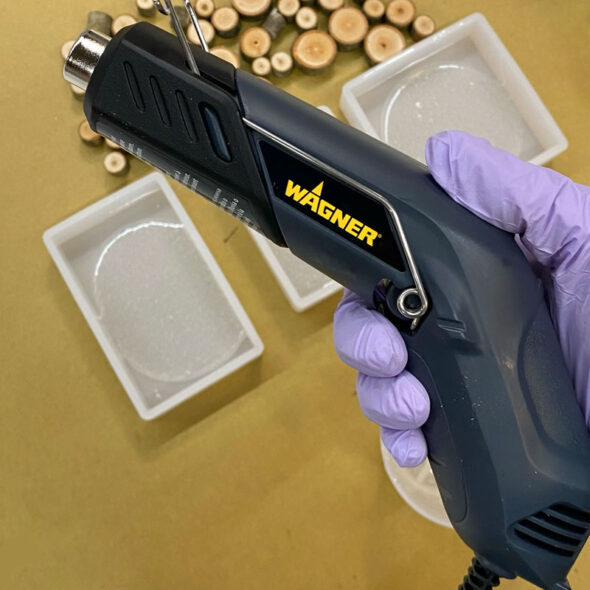
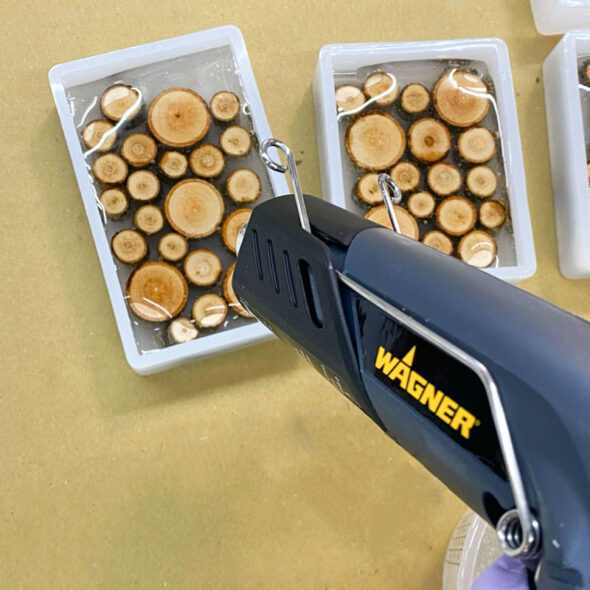
I used my Wagner SprayTech HT400 heat gun to gently warm the resin up so that it flowed evenly to all the corners, and to pop any air bubbles in the resin.
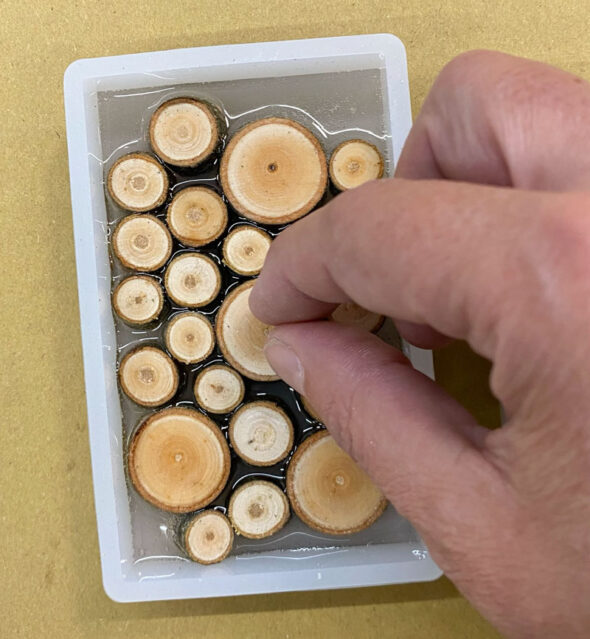
Then I added my wood pieces, nestling different sizes together to create a random design covering the mold. Note that the resin does NOT cover the wood completely at this point. Because wood floats, I started with just a thin layer of resin to anchor the pieces down.
Step 3: Pour the second layer
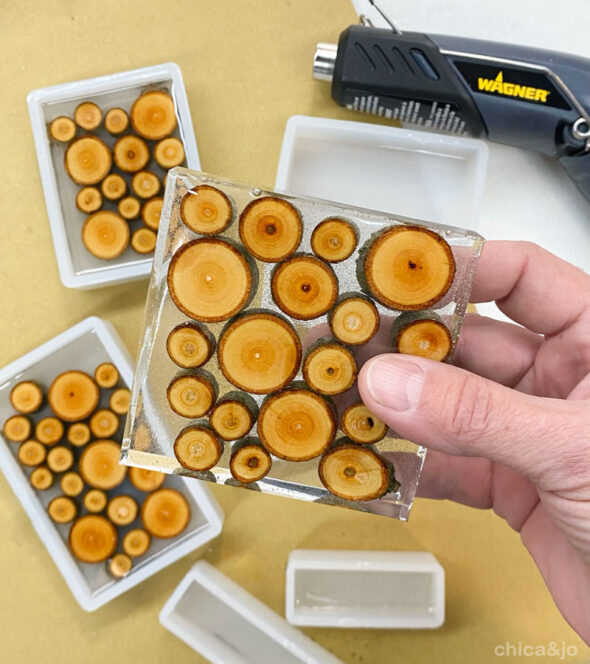
I left the molds to cure up overnight, and then they were ready for the second resin pour. Since the wood pieces were now anchored, I could pour more MakerPoxy into the molds, filling them up and creating a solid, clear piece.
Once again, I reached for my heat gun to warm up the resin and pop the bubbles.
I also poured about 1/2" of resin into three of the long, thin rectangle molds, choosing the ones that matched the size of the larger molds. These will be pedestals for the trees to stand on later.
I checked the molds every few minutes, heating again to pop bubbles if they appeared, then left it to cure overnight. When I took them out of the molds the next morning, I was so pleased with the results!
Step 4: Cut the tree shapes
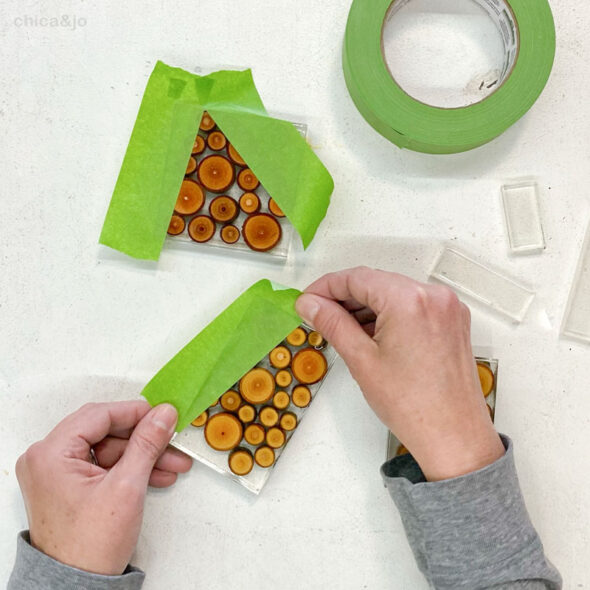
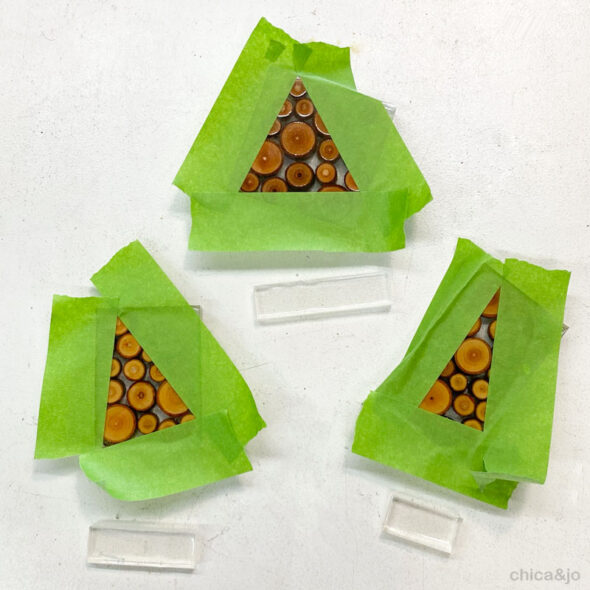
Now to transform those squares into trees! I used some FrogTape to mask off a triangle shape on each piece.
I tried to make each one a slightly different height and width for interest, and I matched them up to my little pedestal pieces to be sure they fit.
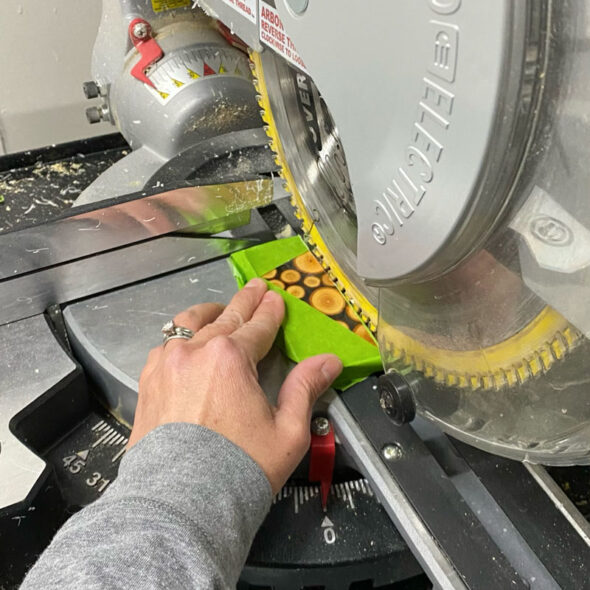
Then I OH SO CAREFULLY used my miter saw to cut the resin along the masked lines. I went very slowly and carefully, and held the piece tightly so it didn't fly off from the power of the saw. And I most definitely had my protective goggles on the whole time.
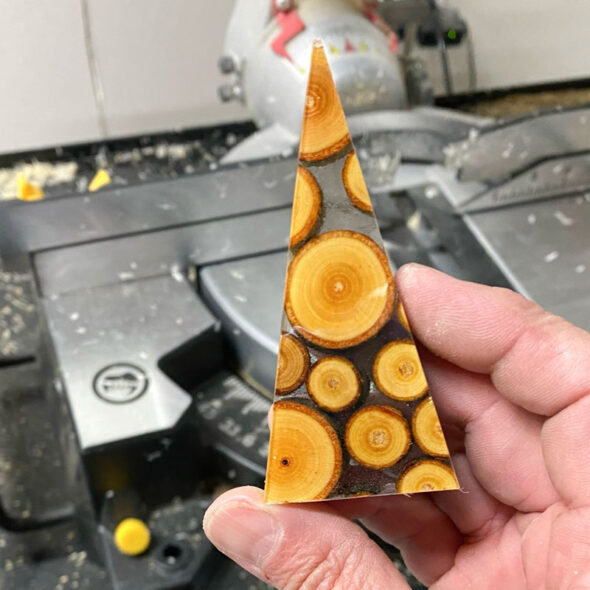
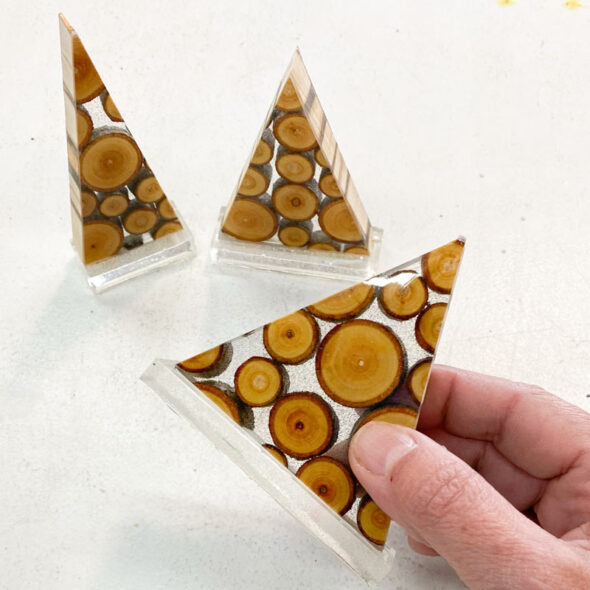
After three trips through the saw, I had the most perfect little tree shape.
Step 5: Add the pedestals
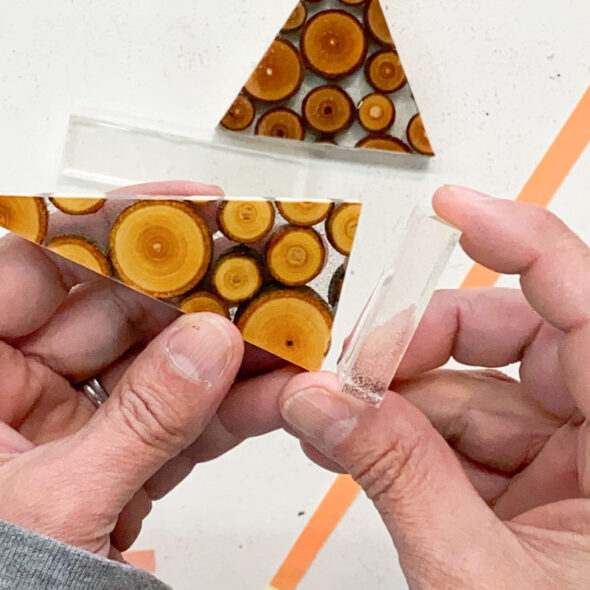
I cut a piece of our exclusive double-sided tape sheets to size and used it to adhere each tree to its pedestal.
The pedestal makes it so much easier for them to stand, and adds a really elegant touch.
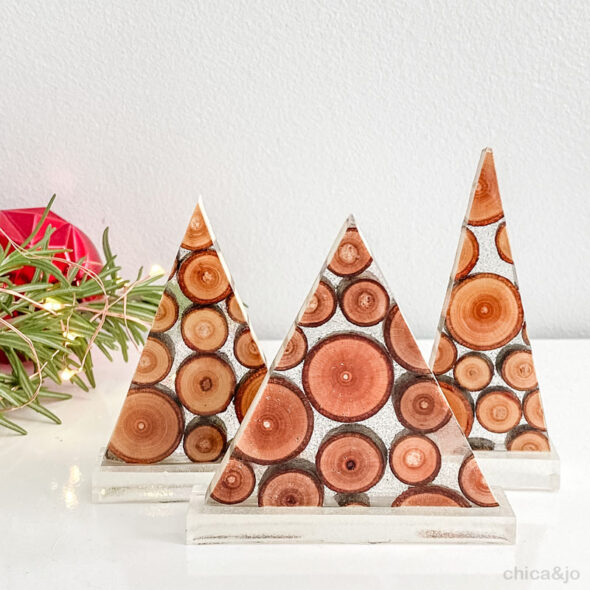
The results
These little resin and wood slice trees are the perfect sweet touch for my Christmas decor, and would also work well in a table setting.


