Christmas Plinko Game for Kids
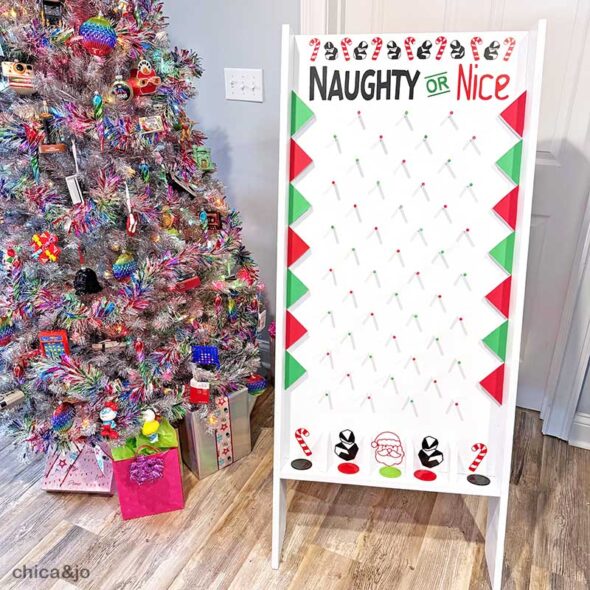
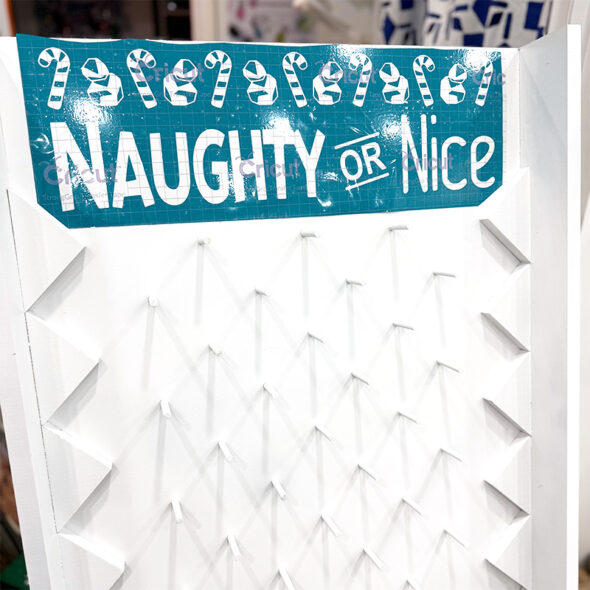
Christmas Plinko is a great game to play at a Christmas party, whether it is in your home, at school, or at a local Christmas festival. The kids will love dropping the Plinko chips to see if they have been "naughty" or "nice".
Making your own Plinko board
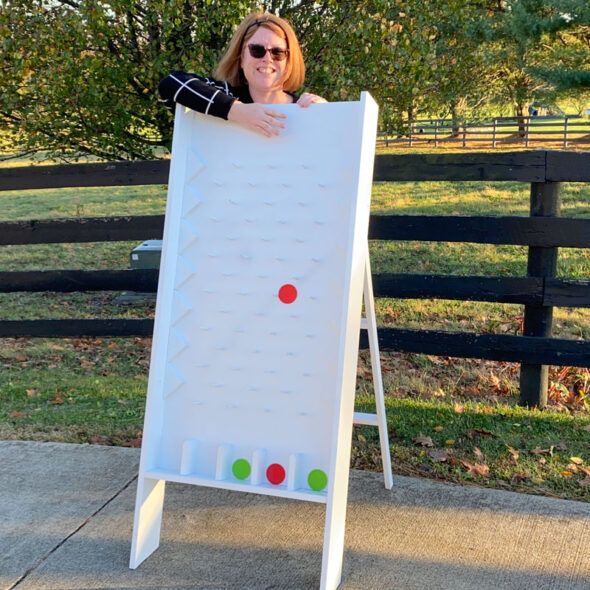
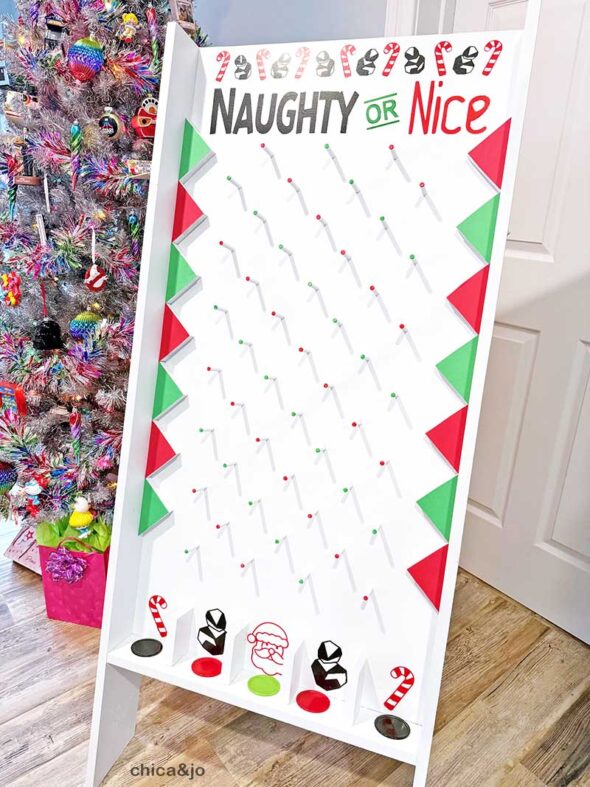
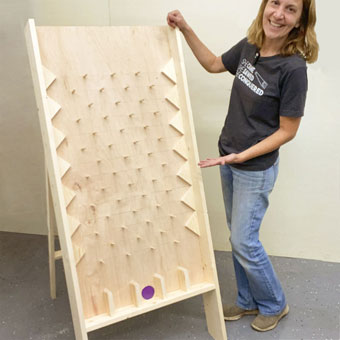
This Christmas Plinko game starts with our basic board that we made with our DIY Plinko board tutorial. I painted it white before adding all my custom directions for Christmas.
Our "Naughty or Nice" Christmas designs
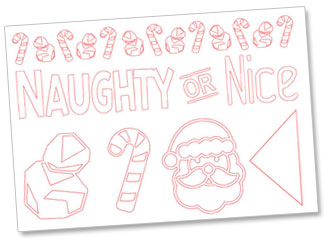
To transform this basic Plinko into a fun kid's game for Christmas, we designed a whole set of digital files that can be cut out of vinyl for an easy stencil.
We titled the game "Naughty or Nice" and created fun images for the bottom compartments of the game. Imagine the kids playing and determining whether they were naughty or nice based on a random chip falling into one slot or another!
I'll show you how I added these elements, which we've made available as a digital bundle for you, to make it super easy for you to recreate this design yourself.
INSTANT DOWNLOAD -
PURCHASE NOW!
"Naughty or Nice" Christmas Plinko Patterns – $4.99
![]()
from here immediately after your purchase is complete*.
Have questions? Email us at chicaandjo@chicaandjo.com
* Files must be downloaded within one month of purchase date.
Cutting the stencil
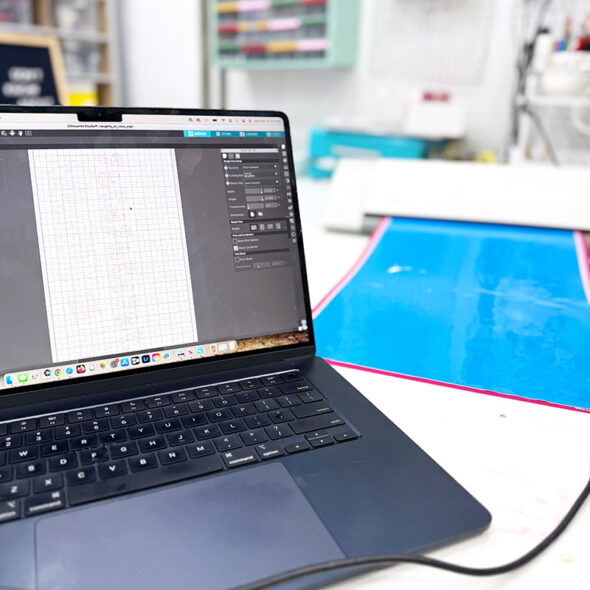
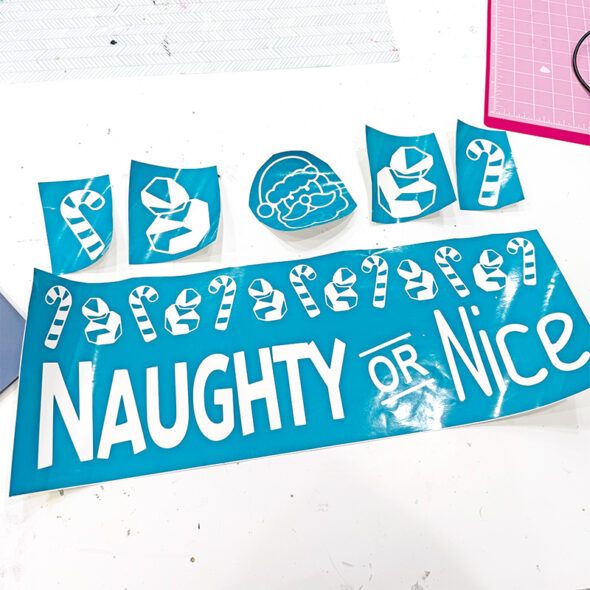
I loaded the designs into my cutting software and cut them out with vinyl. I cut the "Naughty or Nice" sign, one Santa, two candy canes, and two pieces of coal.
Since I was just using the vinyl as a stencil, the color of the vinyl didn't matter, so I was able to use a scrap I had. You can also use special stencil vinyl for this if you prefer.
Once everything was cut, I carefully weeded my design to create the stencil. Make sure you remove the correct pieces if you are going to stencil. The blank areas will be what is painted.
Painting the designs onto the board
I used transfer paper to position the stencil onto the board.
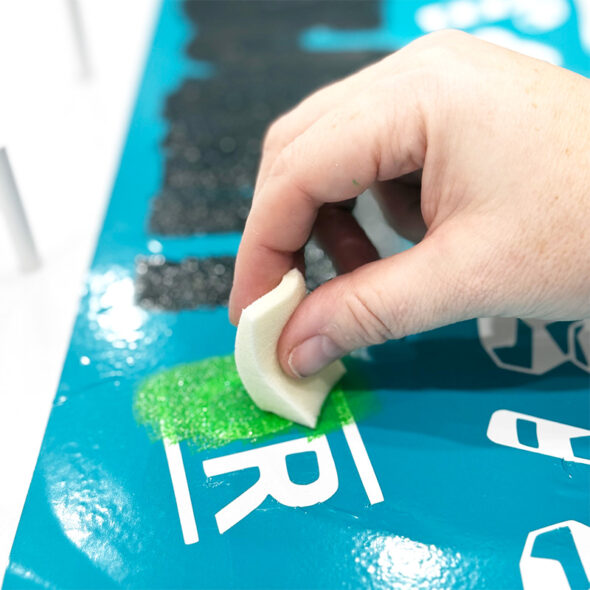
To apply the paint, I used a cosmetic sponge to lightly dab acrylic craft paint onto the stencil. Do multiple light coats to help prevent the paint from seeping underneath your stencil. I ended up doing four coats on each section.
I used the same technique to apply the Santa, candy cane, and coal images to the compartments at the bottom of the game board.
Adding extra touches of color
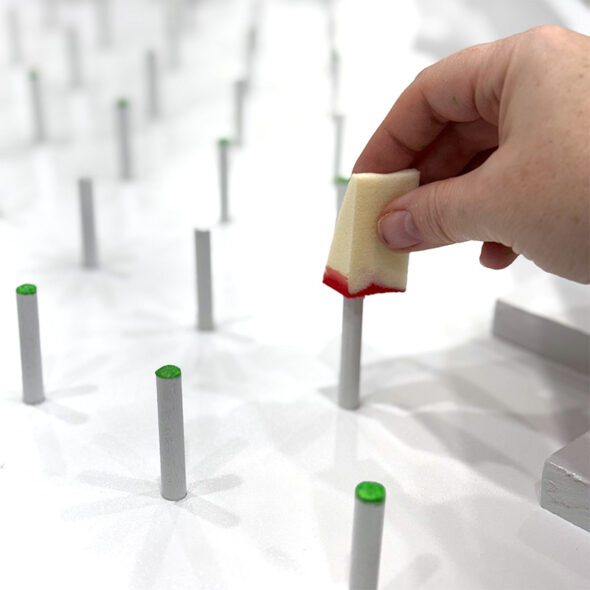
For a little extra fun, I dabbed green and red paint onto the very tips of the pegs.
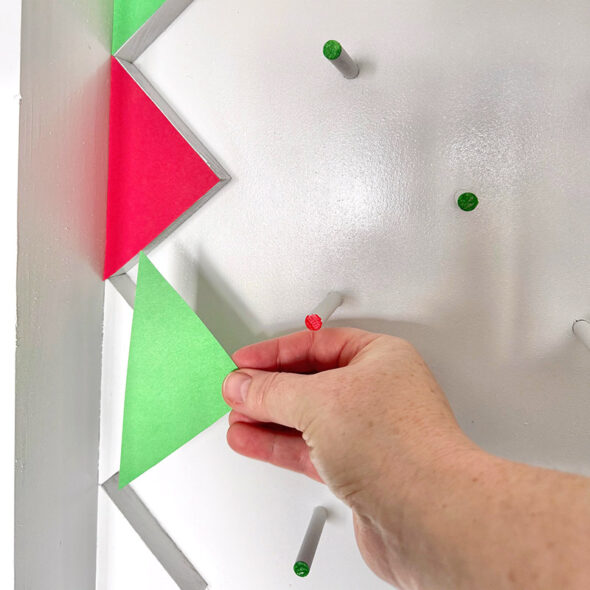
And then for the triangle shapes along the sides, I printed the PDF template from our bundle onto construction paper and cut out the pieces. I used a little double-sided tape to attach them, alternating with red and green as I went.
The finished Christmas Plinko board
These decorative touches turned that plain, white Plinko board into a fun Christmas-themed game.
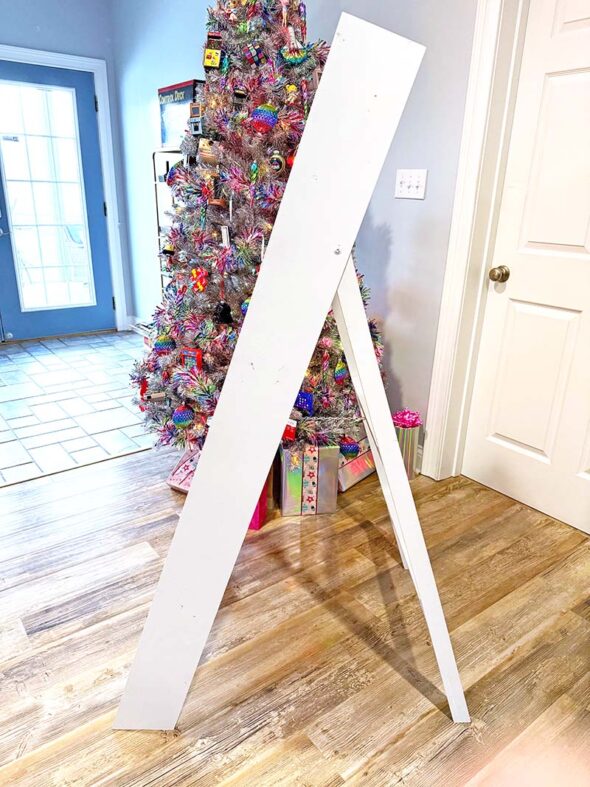
Our Plinko board design even has a collapsible stand that opens up for game play and then fits inside the board for easy storage after Christmas.
How to play Christmas Plinko
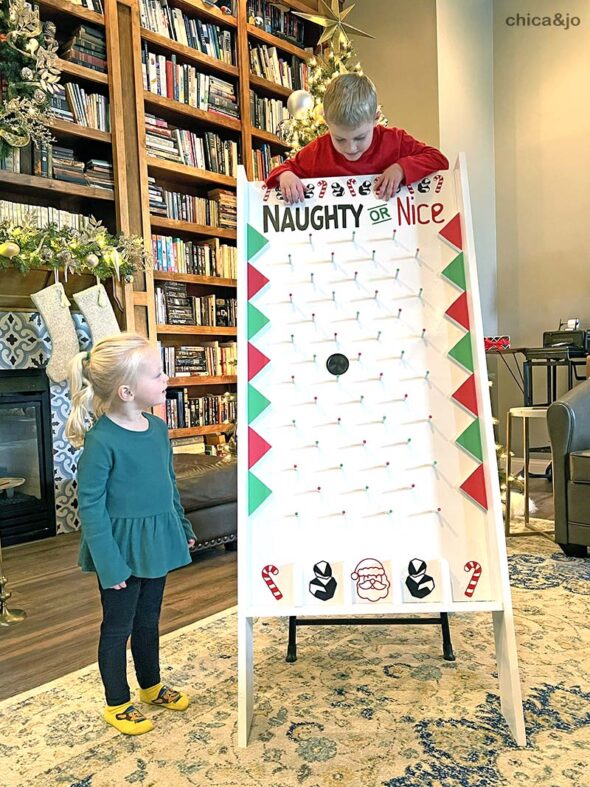
To play the game, I had the shorter kids stand on a three-step stool behind the game board.
They each got to drop five Plinko chips (which were actually these air hockey pucks!) to try and win a prize. The Santa in the middle got them a large prize, the candy canes got them a small piece of candy, and the coal spots got them nothing.
Besides being a fun kid's activity at a Christmas party, this game would also work well in a classroom setting. The teacher could reward kids with one Plinko chip a day, with the potential to earn more by demonstrating good behavior.


