How to Use Laser Waterslide Decals for Tumbler Wraps
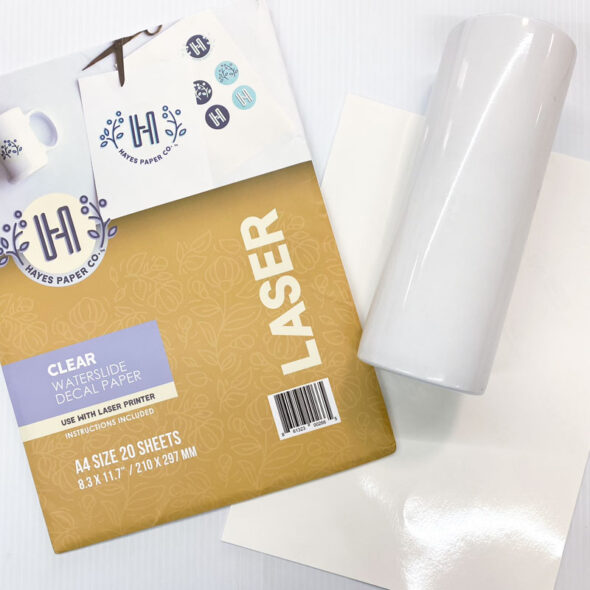
If you want to learn how to make custom tumblers, you might consider options like sublimation or waterslides. After researching both techniques, I found waterslide decals to be a much easier way for beginners to make custom tumblers at home. And better yet, I found waterslide decals that work with laser printers, which is exactly what I needed.
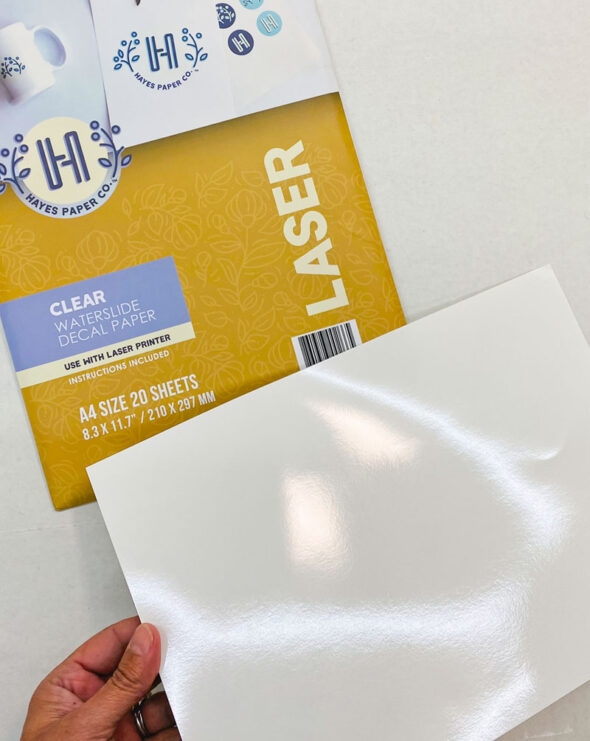
Waterslide decals for laser printers
Since I have a color laser printer, not an inkjet printer, it was super important to find laser waterslide decal paper that would work with my laser printer. Be sure you choose the right decal type — you can't use inkjet decals in a laser printer, or laser decals in an inkjet.
Laser waterslides don't require a sealer
While researching, I also learned that waterslides printed with inkjet printers have to be sprayed with several coats of a sealer to fix the ink before use. Laser water slides doesn't require the sealer step at all. What a time saver that would be!
Choosing a tumbler wrap design
The choices for tumbler wrap designs are endless, and there are tons of digital tumbler wraps available on Etsy.
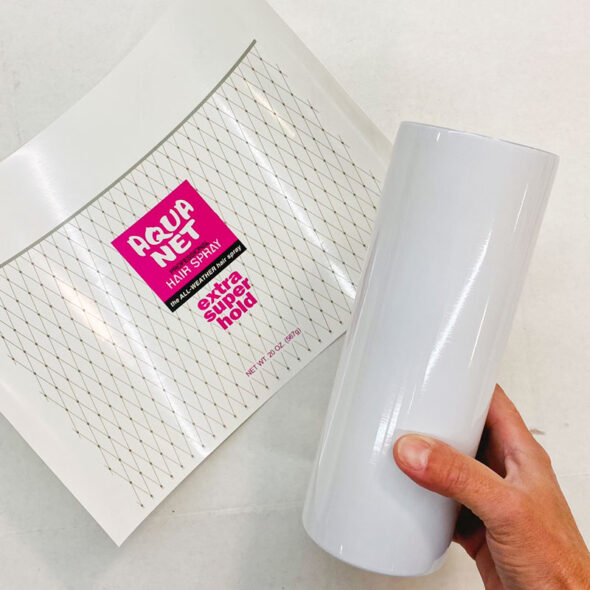
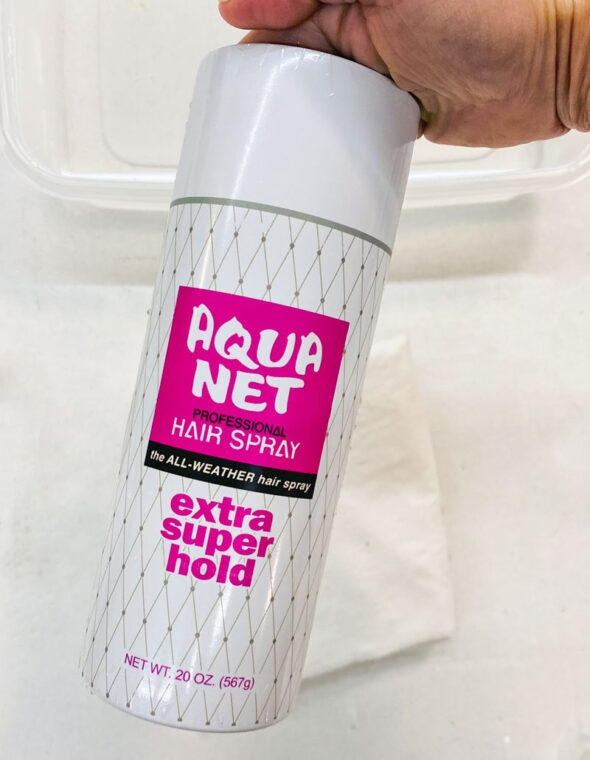
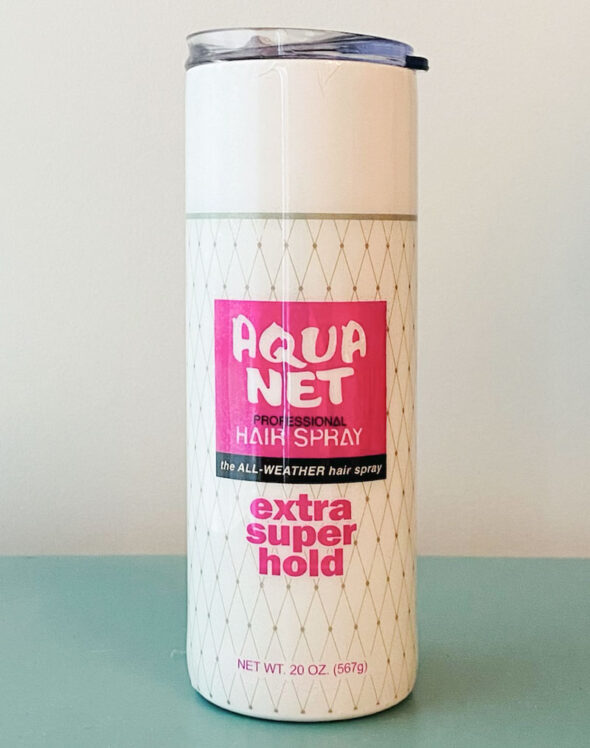
Since we're such huge fans of the 80s, and have created our fair share of 80s-inspired projects in the past, I wanted to make an 80s-inspired tumbler. I hit the jackpot when I found this vintage Aqua Net hairspray can tumbler wrap on Etsy. It comes in lots of colors, and I chose the classic white "Extra Super Hold" in a 20oz size.
I just printed the image onto the laser decal with my color laser printer, it was ready to apply to a tumbler. I chose this 20oz straight skinny tumbler blank to use with the 20oz version of the design.
How to apply a laser waterslide decal to a tumbler
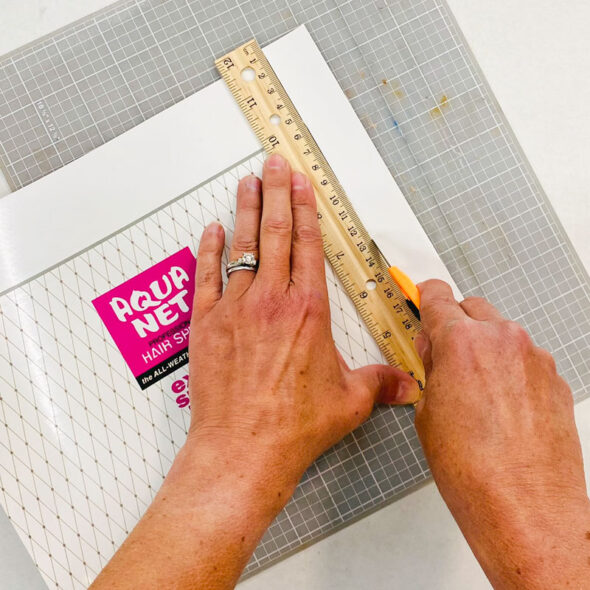
Since the laser printout was ready to go with no sealer needed (inkjet prints require sealers first!), I was able to get right to it, and trimmed the excess off the printout using a knife and straight edge.
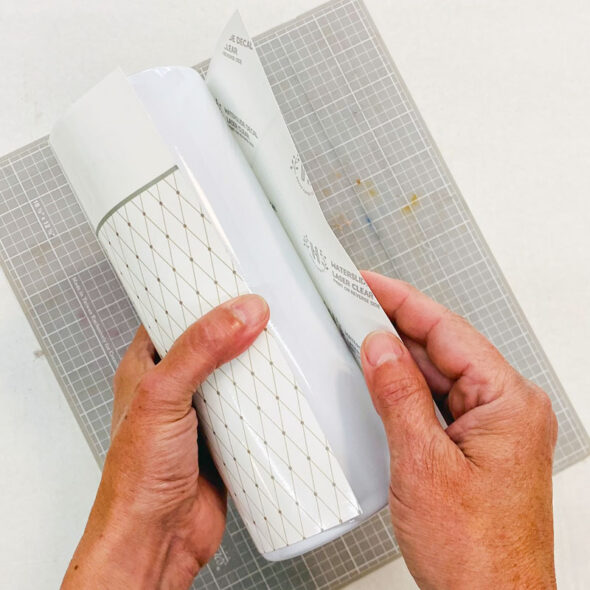
Then I wrapped the paper around the tumbler to be sure the ends met perfectly, and trimmed a little bit more so that it was an exact fit.
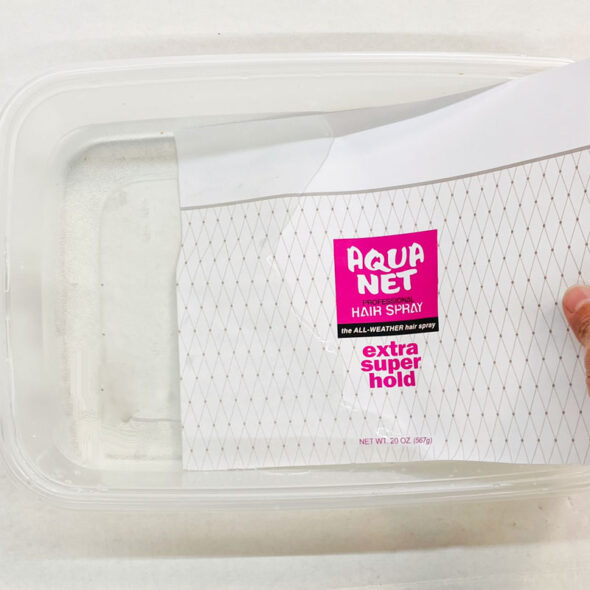
To activate the laser water slide deal, I just put it in a tray of water for the recommended time, just until the decal started to slide around on the backing a little.
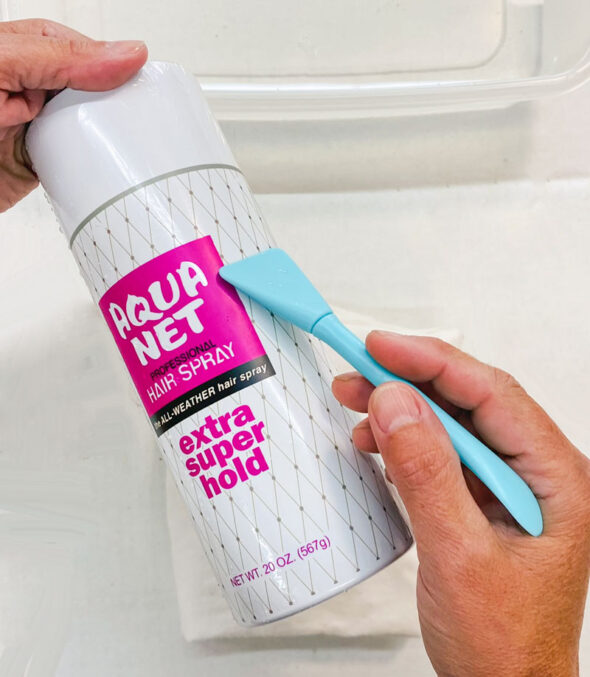
After carefully sliding the decal off the backing and onto the tumbler, I used a silicone brush to gently smooth out the bubbles and wrinkles.
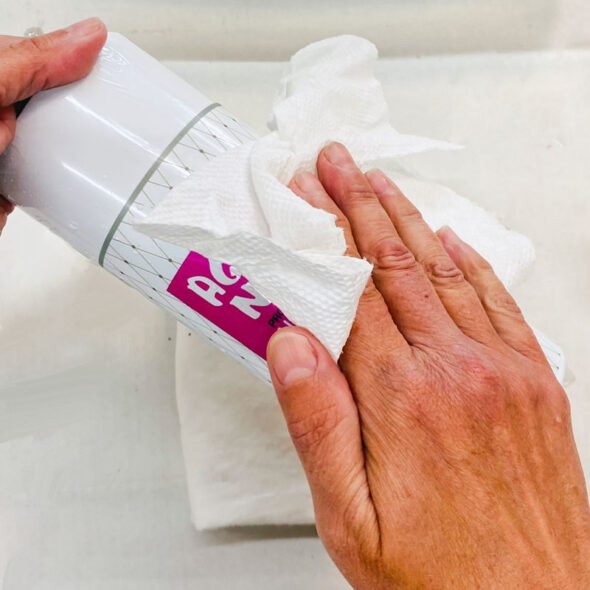
To remove the last of the water, I dabbed it gently with a paper towel.
The last step is to just let the finished decal dry overnight to be sure it sets up properly. Wow, that was easy!
Sealing your waterslide decal with epoxy
Technically you could leave the decal as is, but it will be prone to flaking or peeling if scratched, so for ultimate protection, a coat of resin is a great way to finish it off. It also adds that glorious shine and glossy feel that I love so much!


