Operation Game Resin Tray
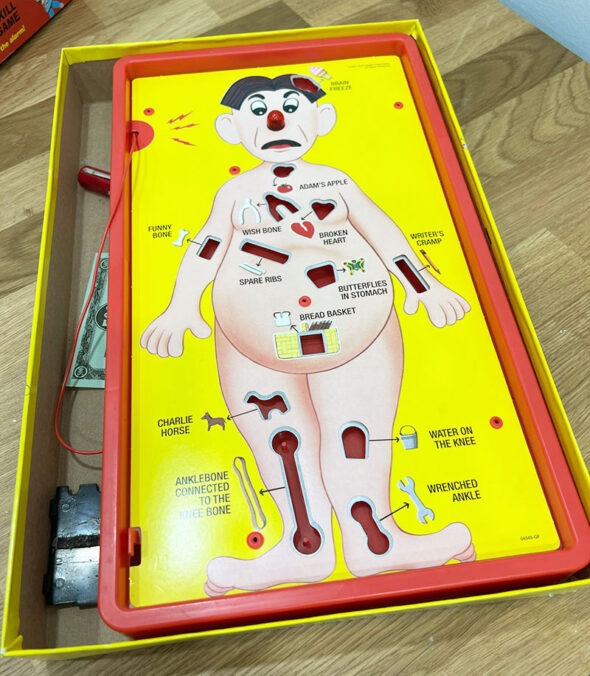
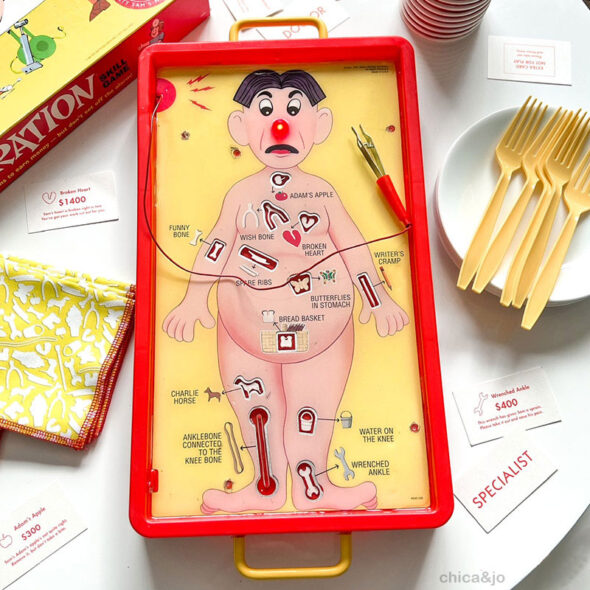
I picked up a vintage Operation board game at a local yard sale and wanted to use it as decor in my game room. I decided to make this game board truly functional buy turning it into a resin-coated serving tray.
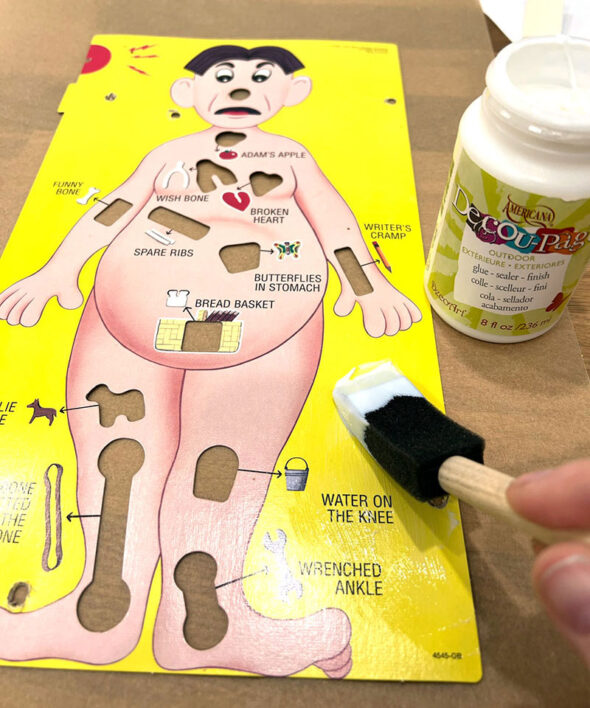
Before I could even think about adding resin to this tray, I knew I had to seal up the cardboard so that the resin wouldn't soak into it and discolor it. First I carefully removed the cardboard insert from the plastic tray, and then I applied a heavy coat of Decou-Page medium on the front.
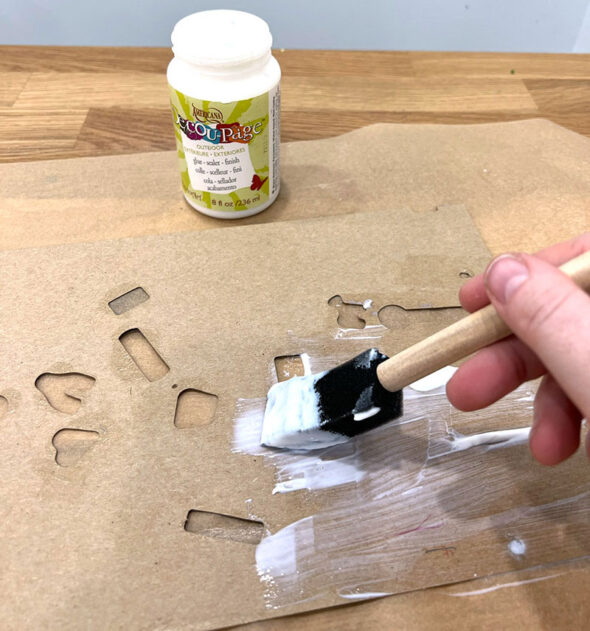
Once that dried, I flipped it over and did the same on the back, making sure to thoroughly coat all of the edges as well. This sealing is really important so that the resin doesn't soak into the cardboard, so don't skip this step!
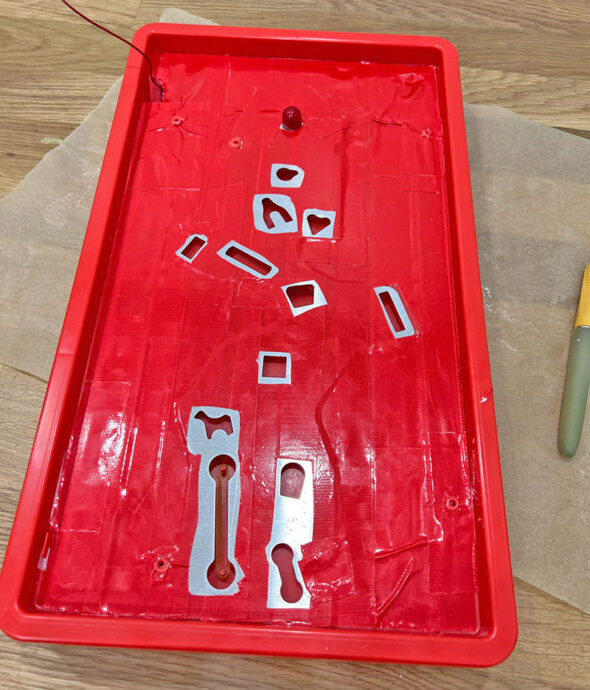
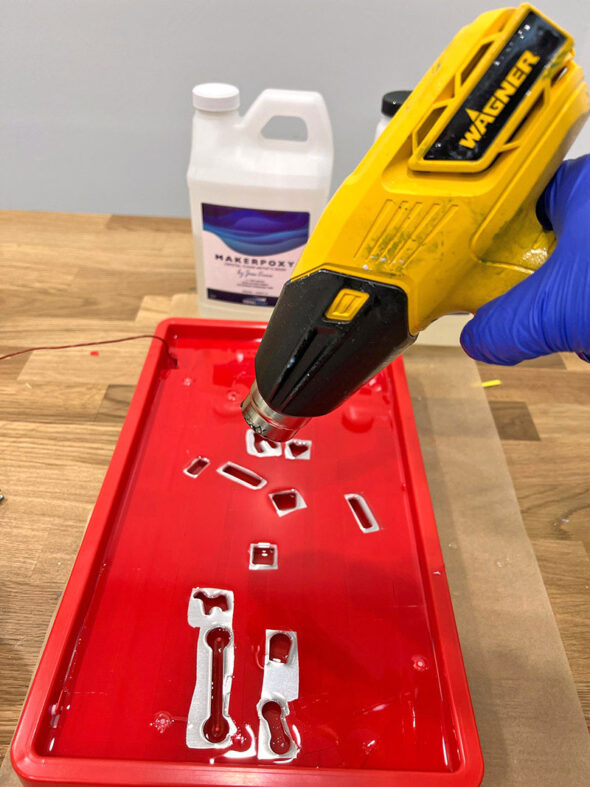
While the decoupage glue was drying, I used some red duct tape to cover all the holes in the tray to create a solid surface. Otherwise the resin would just run out the bottom when I pour it later! Then I used a sharp craft knife to remove the tape from covering the cavities where the game pieces go.
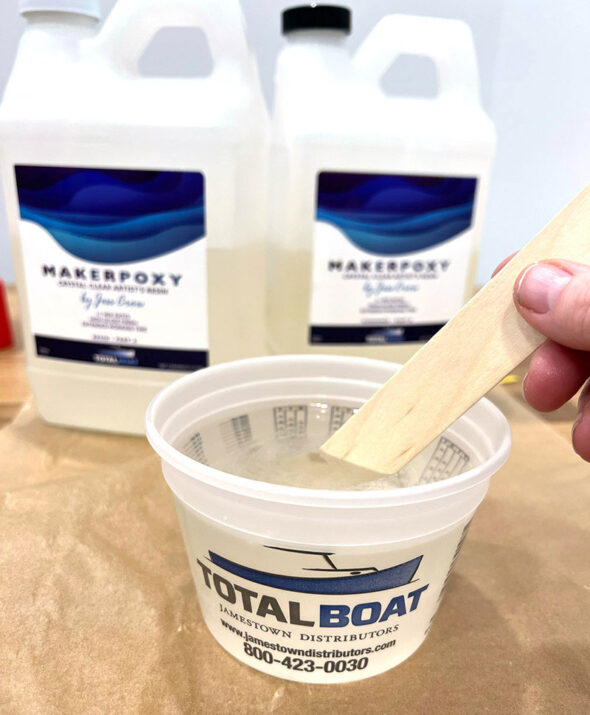
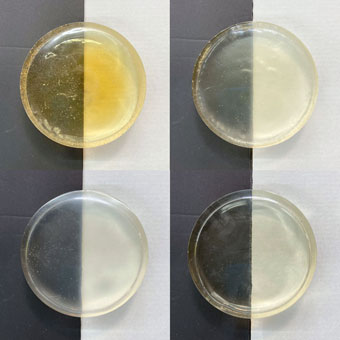
With the tray sealed up, it was time to add the resin. I used TotalBoat MakerPoxy and mixed it up according to the package directions. I only mixed up a little bit, just enough to fill the game piece cavities halfway and to put a thin sealing layer over the red duct tape.
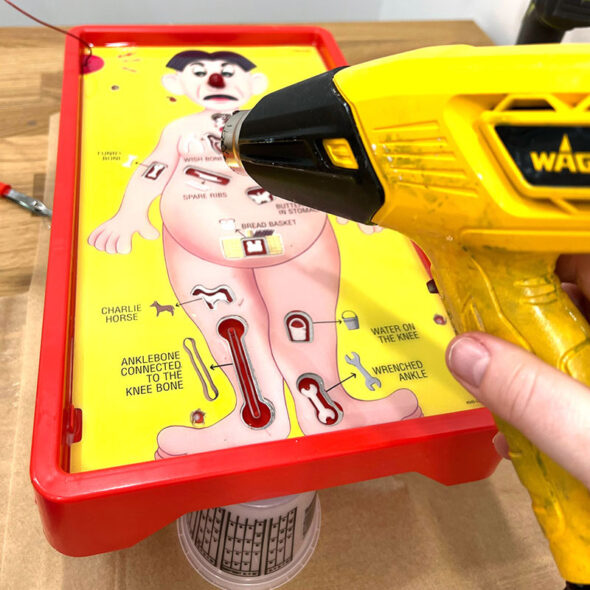
A heat gun works great to help warm up the resin so it flows easily and spreads to the edges, and it will also pop any air bubbles that might appear. When I had a smooth layer, I placed the cardboard game board face on top of the still-wet resin so that it would dry in place.
WARNING - You will likely still get resin leakage no matter how carefully you duct tape the plastic tray, so make sure you protect the surface underneath and elevate the tray while curing so that it doesn't harden onto the protective layer.
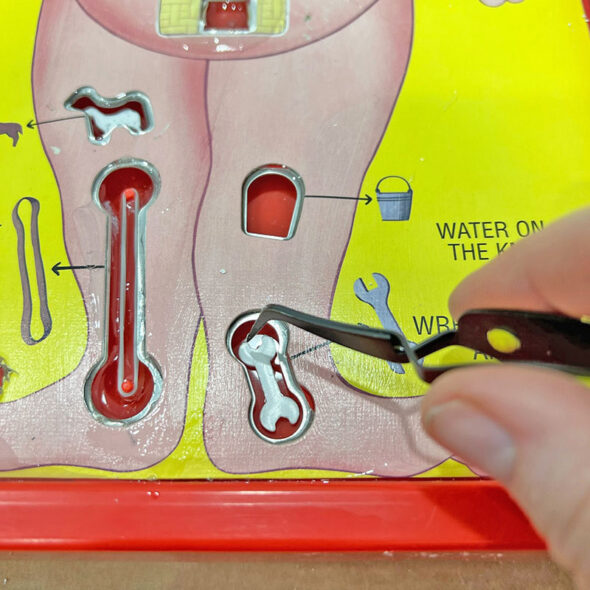
Once that first layer of resin dried, I put all the pieces into the cavities, securing them with a little bit of super glue to make sure they don't move or float.
Then I mixed another batch of resin and poured so that it filled all the cavities completely, and left a thin coat of resin covering the entire cardboard insert. Again, that heat gun works great for smoothing the resin and popping bubbles.
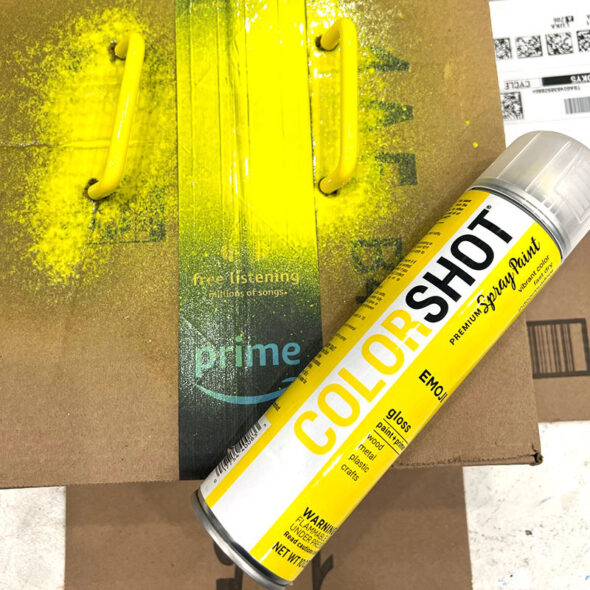
To turn the game into a proper tray, I decided to add some handles. I purchased some simple white handles and spray painted them with "Emoji" yellow ColorShot to make them match the game board.
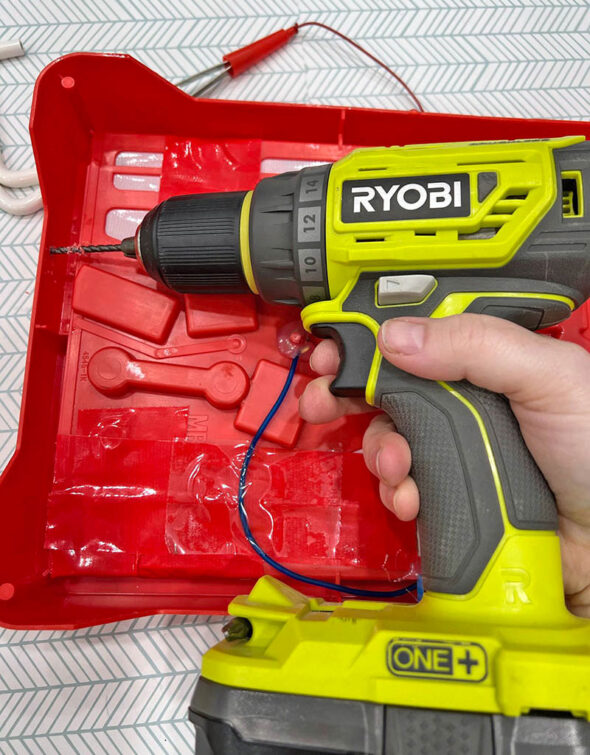
I drilled some holes in each end of the tray and attached the handles with the included screws.
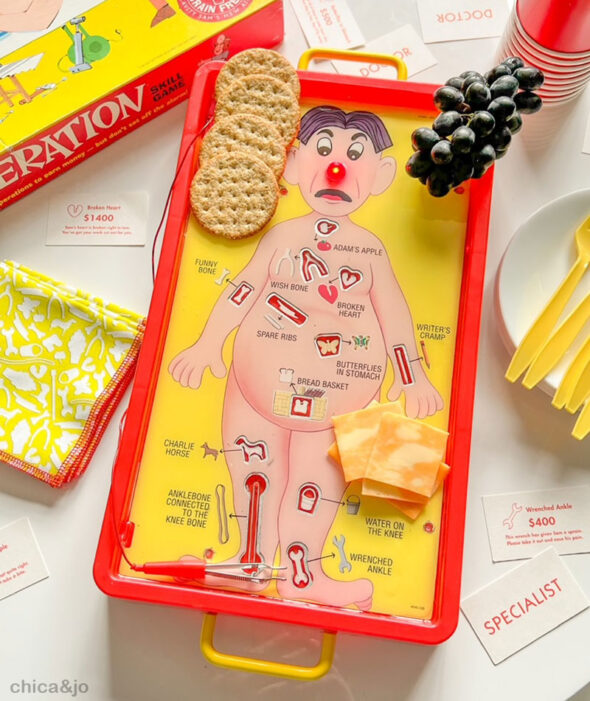
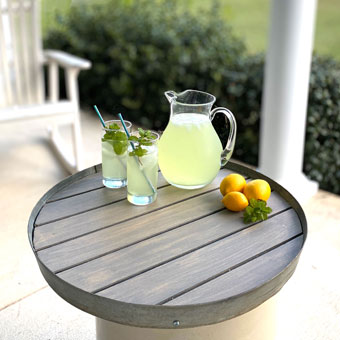
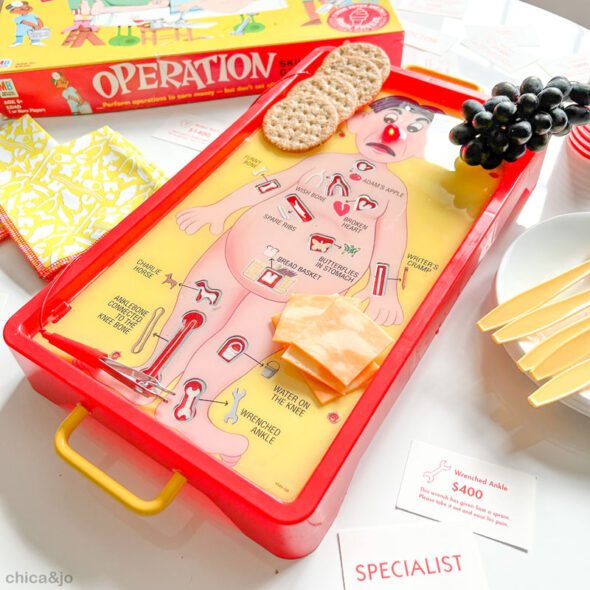
And with that, I had a charming Operation serving tray! MakerPoxy is safe for food contact, so you can place your nibbles right on top without concern. (But don't cut on it.) If you are still hesitant, just place a layer of plastic wrap beneath your food.
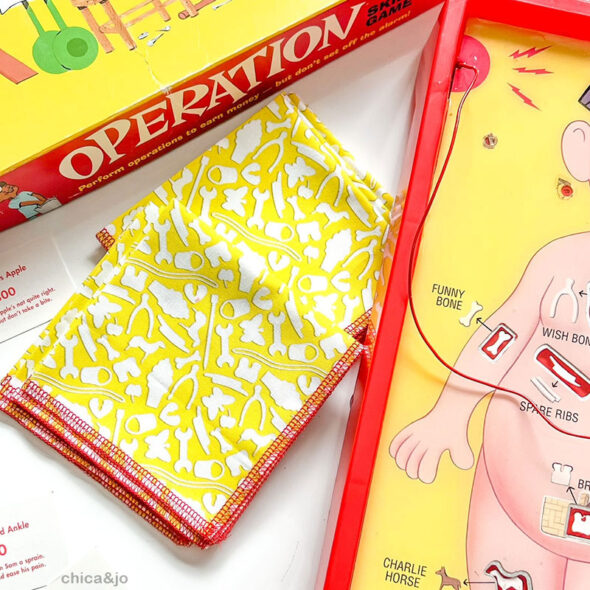
To complete our game night serving set, we designed coordinating Operation game pieces fabric and used it to create some matching cocktail napkins. We just love this fabric, and think it would also work great for making masks or surgical caps for the medical professionals in your life.
My favorite part is that you can even use the game's original surgical tongs to pick up pieces of food!
This Operation game board tray is the ultimate for serving snacks on game night, but I keep it out on the coffee table even when I'm not entertaining, It looks great in our game room and I get so many compliments on it.


