Candied Green Olives Recipe
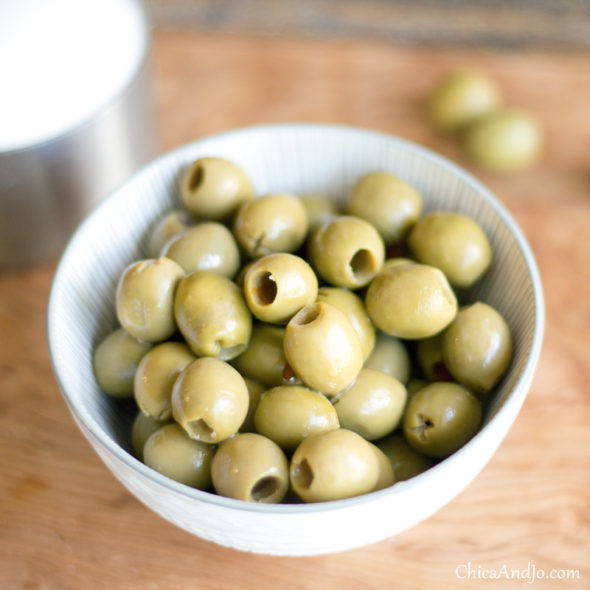
Today I've got a very unusual recipe to share, but if you're willing to try something new, I think you'll be happy you did. We're going to make sweet, candied green olives. Seriously!
I first heard of candied olives when I was at a gigantic gourmet grocery store out of town, and wandered past the olive bar. The person working behind the counter asked me if I wanted to try any, and being the adventurous eater I am, I told him to give me the strangest one he had. With no explanation about the flavor I was to try, he handed an olive to me on a toothpick and I ate it.
I was surprised and delighted with the bright, sweet flavor of this candied olive and bought a tub full to take home. Since I wouldn't be able to return to the store anytime soon, I spent the next few weeks figuring out how to reproduce the results at home, comparing each batch to the original until I finally nailed it. My recipe is super easy and inexpensive, too!
Candied Green Olives Recipe
- 1 cup pitted green olives
- 1 cup water
- 1/2 cup sugar
Drain olives and remove pimentos, if present. Add water and sugar to a pan and stir to dissolve. Bring to a boil and allow to boil for one minute, then remove from heat. Add olives. Allow to cool to room temperature, then put olives back in original jar. Fill jar with sugar syrup. Let sit in fridge 2 weeks, then enjoy.
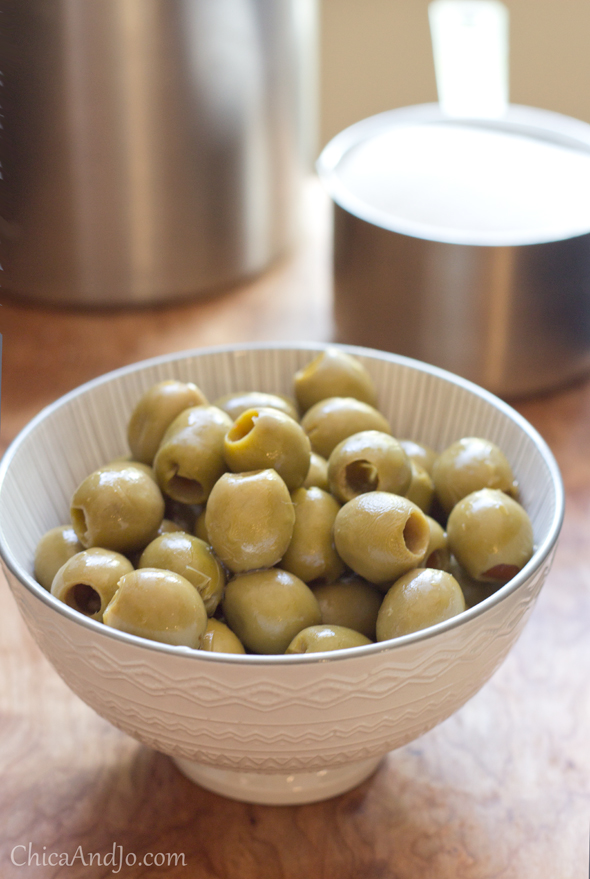
I use regular, cheap green olives for this, but you can use something fancier if you want to spend your money. Make sure whatever you use is pitted (meaning it has no pits), because you need that extra surface area inside so the sugar can soak in.
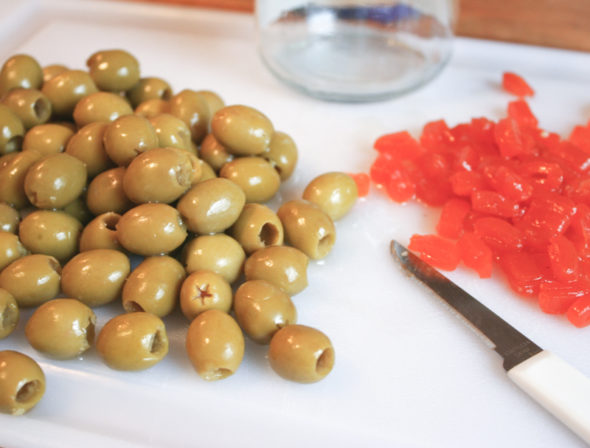
I can never seem to find pitted green olives without pimentos, but it's pretty easy to pop them out with a small paring knife. (I wonder if I could use these unneeded pimentos to make some pimento cheese... Anybody got a good recipe?)
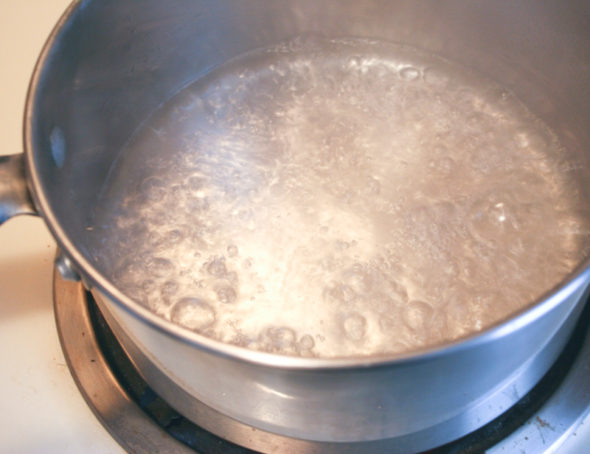
Add the water and sugar to a pan and stir to dissolve.
Bring to a boil and allow to boil for one minute.
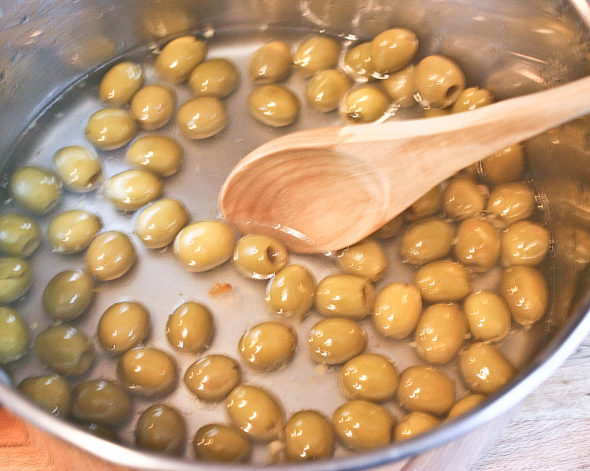
Then remove the pan from the heat, let it cool slightly, and add the olives.
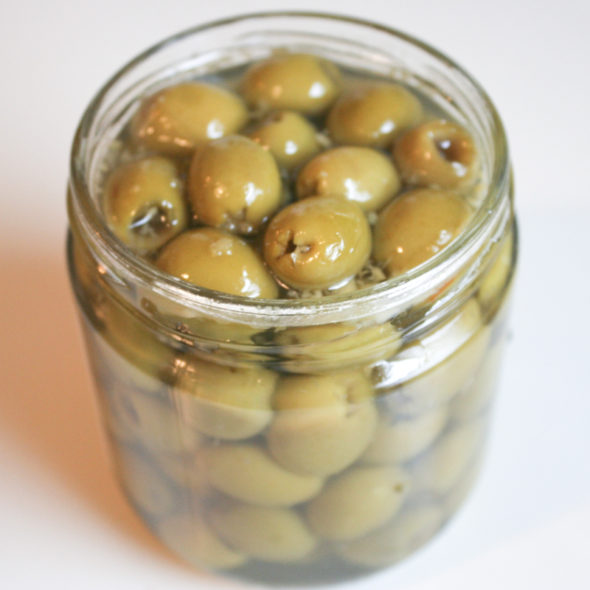
Allow the olives to cool to room temperature, then put them back in the (washed) jar they came in. Pour the sugar mixture in the jar until full.
Put the lid on the jar and stick it in the fridge. Now for the hardest part — you have to wait. Ideally, let the olives sit for at least two weeks before you try them, but if you are impatient, you'll get a pretty good taste after 7-10 days.
They are so incredibly yummy you won't believe it. There's still a tiny hint of the salty, vinegar taste, but the sweet candied flavor takes the lead. They taste great with fruit and cheese, and will definitely surprise your guests if you serve them on a party platter!






11 comments so far:
Okay, I love olives and the recipe looks easy enough...alright! I try it! LOL Thanks Chica :)
Let me know what you think, Brenda!
Just made these! My boys were trying to eat them out of the pan! They are Olive Monsters! We can't wait!!!
Julie, please come back after they are done and let us know how everybody likes them!
Okay, took me long enough but I made them and they are YUMMO! I am making a second batch today :)
Yay! Thanks for checking back in, Brenda. Glad you like the recipe!
Very Easy Pimento Cheese
1 bag of shredded cheese (mild cheddar or monterey jack and colby)
1/2 cup mayo
1/4 cup diced pimentos
1/2 teaspoon Old Bay Seasoning
Mix all together and refrigerate.
You can add more mayo if you want or use light mayo. You can try different shredded cheeses too...gouda, sharp cheddar, etc. You can also use this to do grilled cheese sandwiches, burgers, crackers etc.
Thanks for sharing that recipe, Lisa. It's a great way to use up the pimentos! And boy, do I love Old Bay. Have you tried it on deviled eggs?
yes, i use old bay on everything, i just love it!
We grow our own olives. we only store them in 8 to 9% brine for close to 2 years. the fermentation process brings down the PH (which is needed for shelflife) to close to 4ph.
This means we do not need to add vinegar, so our olives do not taste vinagry. In many of the industrial scale produced olives caustic soda is used to pull the bitterness out. After that procedure the olives need to be rinsed numerous tiomes to wash out the soapy taste (all taste actually) . but this means it is necessary to add vinagre to bring down the PH again.
PS. I hate the taste of the industrial olives. I love ours.
Fred, what a fun hobby! I hope I get the chance to try that kind of olive sometime.